Facebook
 Reddit
 Email
Email
Discover all Gizeh Stele locations in Indiana Jones and the Great Circle with this comprehensive guide to find every stele.

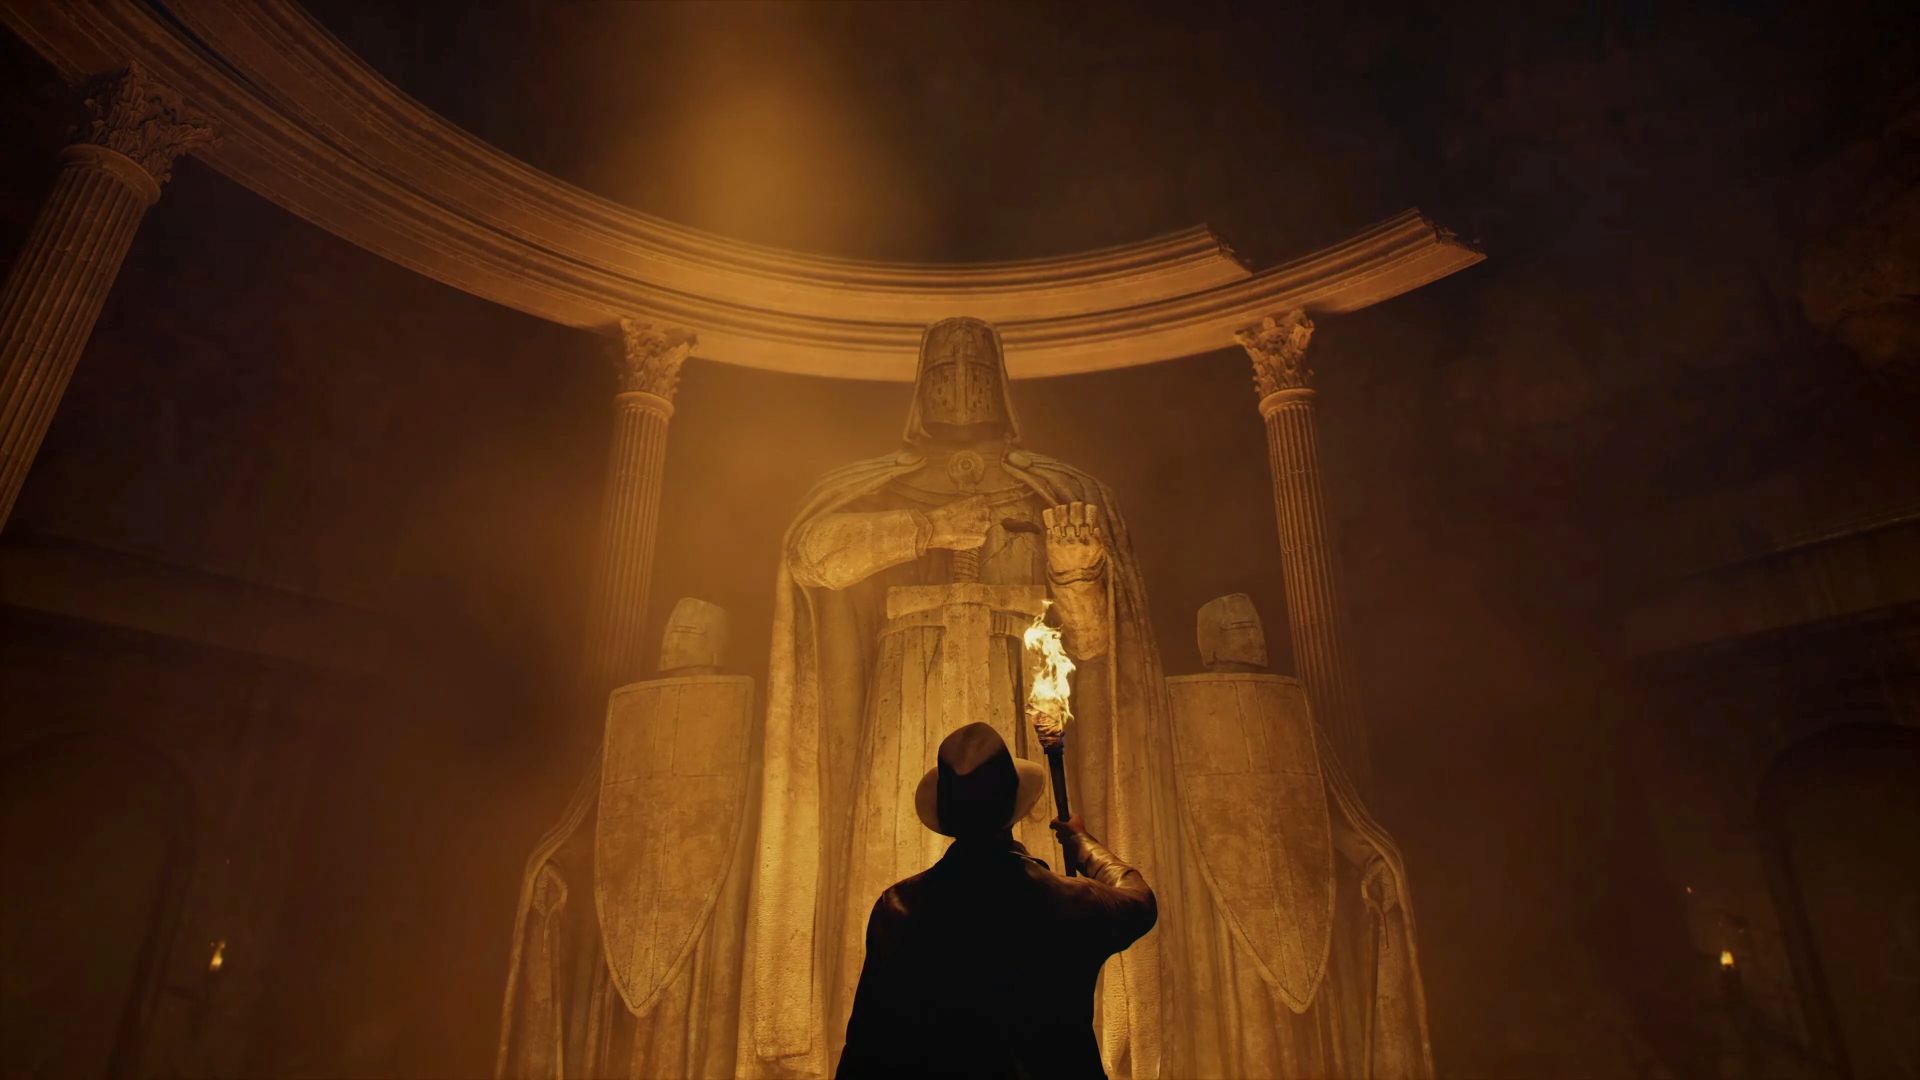
The mysteries of Gizeh await your discovery in Indiana Jones and the Great Circle. As you traverse this treacherous desert, you’ll uncover ancient treasures, solve intricate puzzles, and face dangers that only a true archeologist like Indiana Jones can handle. Among the many treasures to find, the Gizeh Stele locations in Indiana Jones and the Great Circle are some of the most significant. These ten pieces not only progress your journey but also bring the ancient world to life.
This guide is here to help you find all Gizeh Stele locations in Indiana Jones and the Great Circle with ease, ensuring you miss nothing along the way. Let’s dive into the adventure.
Must-Have Items To Explore Gizeh Stele Locations
Before setting out to find the Gizeh Stele locations, ensure you’re prepared.
- Grab a lighter from Asmaa in Gizeh Village for 75 Egyptian Pounds. This handy tool is indispensable for navigating dark areas and clearing obstacles.
- Familiarize yourself with the Gizeh Stele map, as it’ll guide you through the various Gizeh Stele locations. Lastly, remember that four fragments are essential for the Idol of Ra quest, but collecting all ten will unlock additional rewards and lore.
All Gizeh Stele Locations in Indiana Jones and the Great Circle
Stele 1: Giant
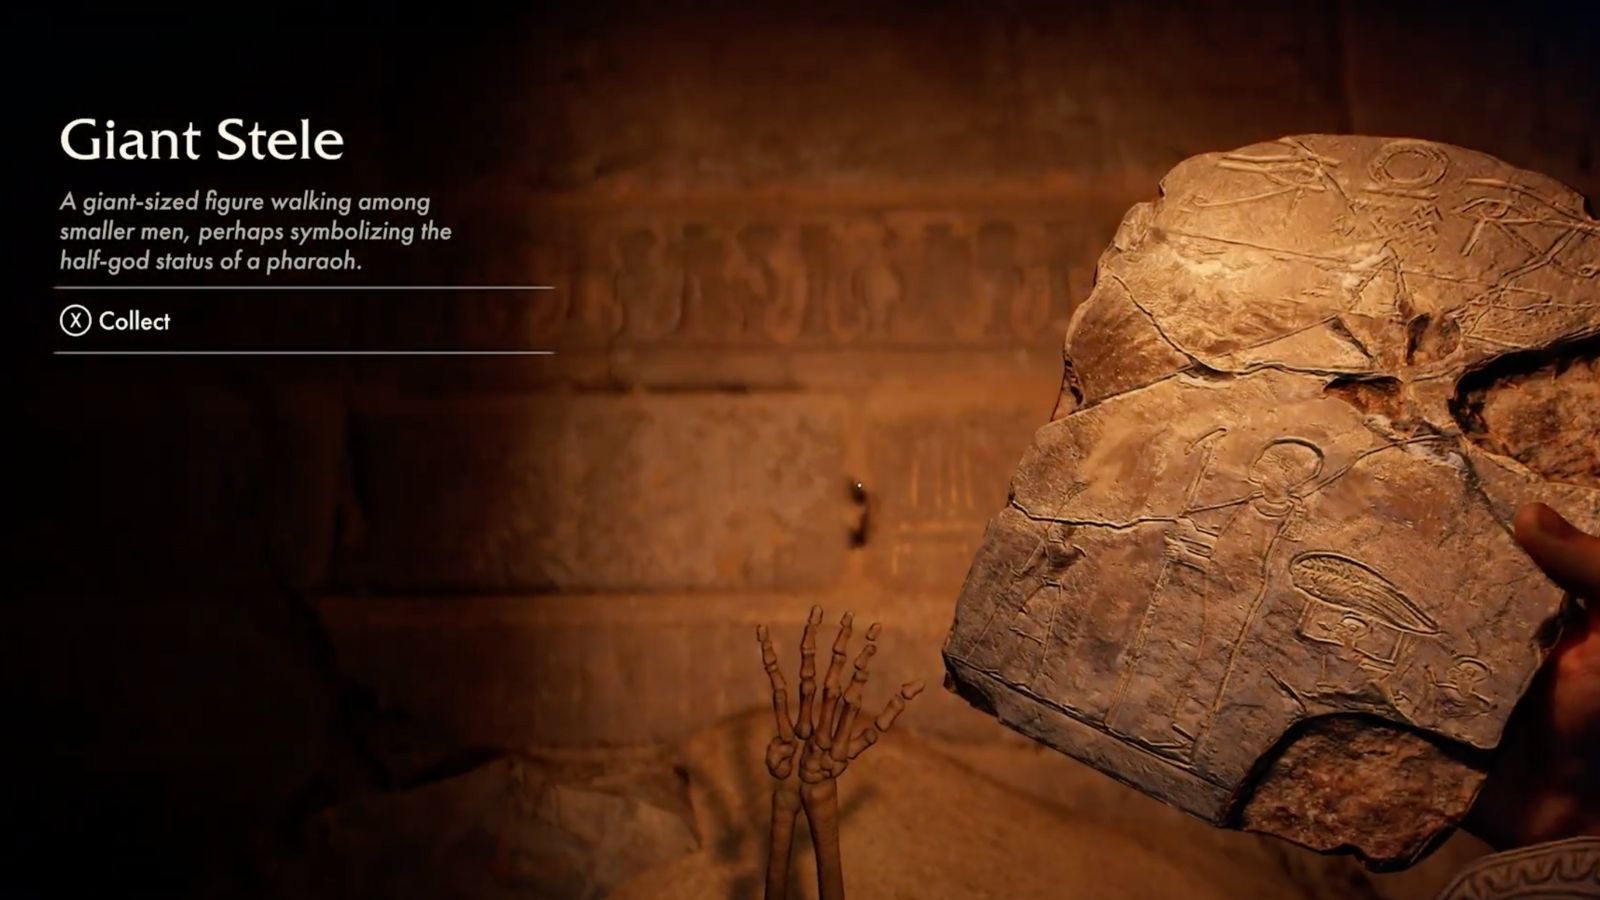
East of the Sphinx ruins, you’ll find a pit guarded by a fallen soldier. Use your whip to lower yourself into the pit. Light your path by burning the grass with your lighter. Crawl through the narrow opening, and the stele awaits you.
Stele 2: Protector
Find the Pendant
To locate this Stele, head to the Sanctuary of the Guardians. Start by entering the dig site on the left of the Sphinx. Equip the Digsite Outfit obtained earlier. A pendant from the Recreation Area is essential. Disguise yourself and offer a bottle of alcohol to a Nazi officer to avoid conflict and retrieve the pendant.
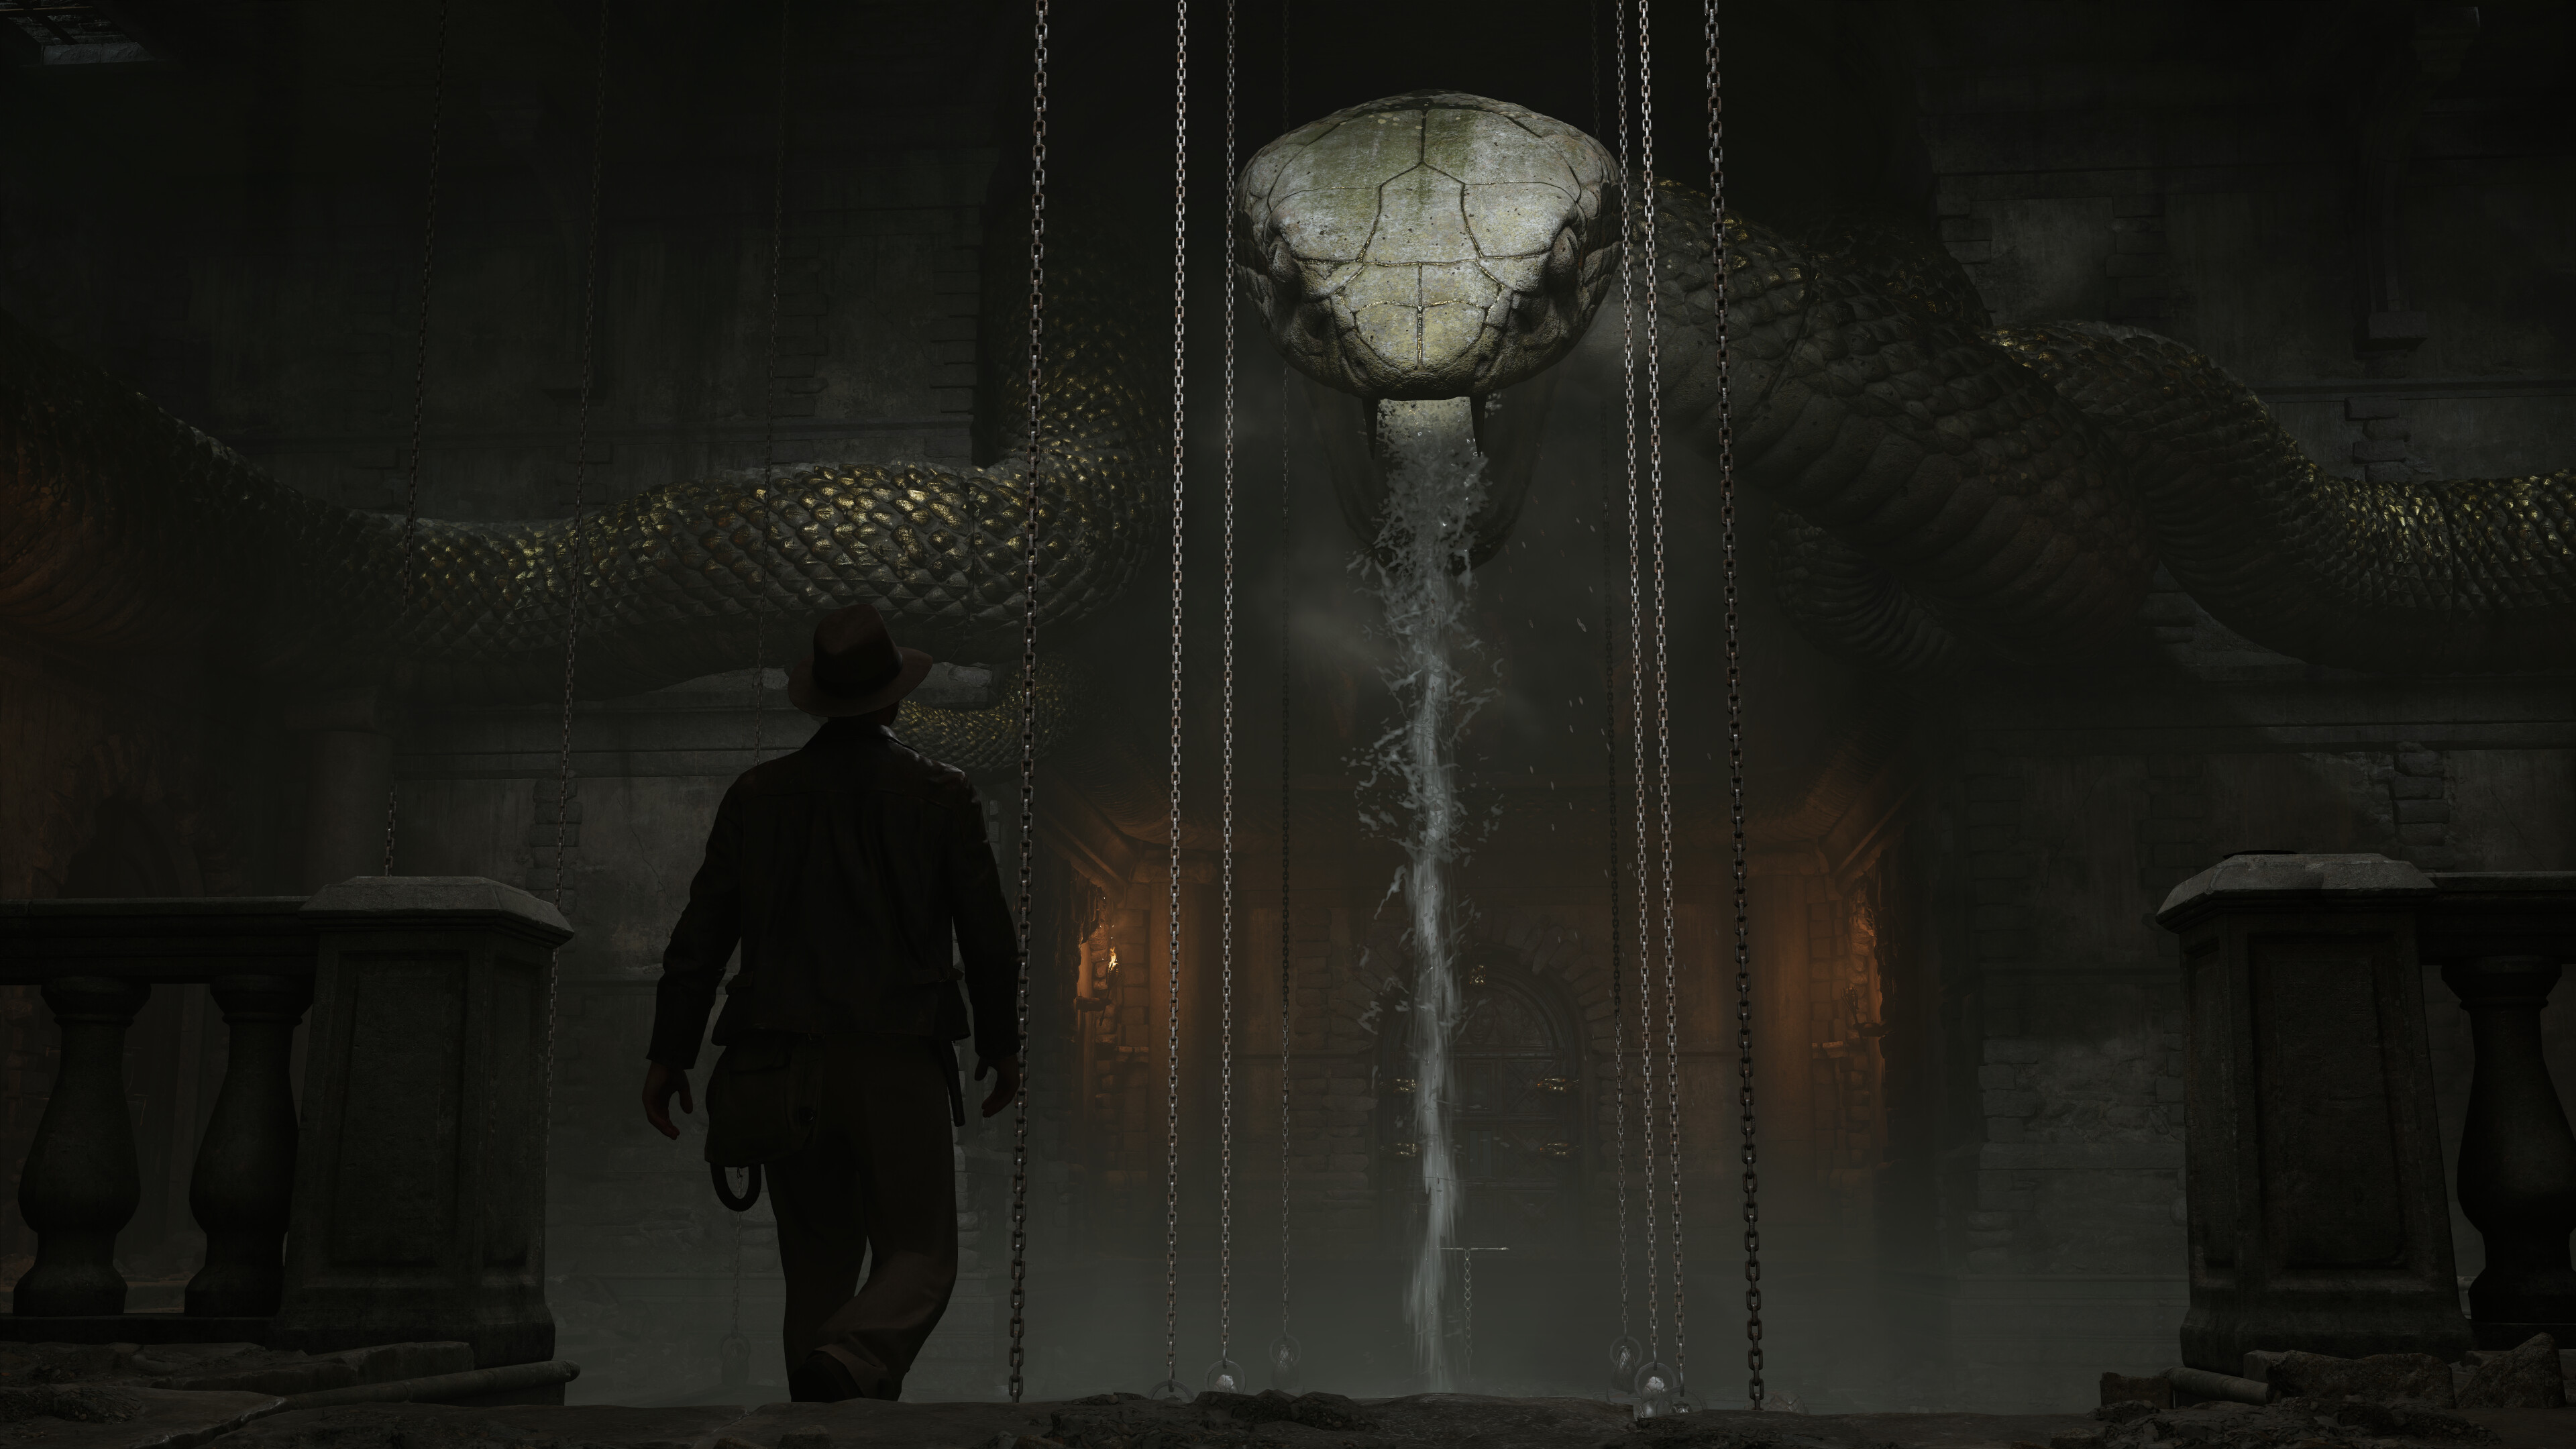
Light Mirror Puzzle and Scorpions
In the sanctuary, solve the light puzzle by directing beams onto specific receptacles. Wield a torch to fend off swarming scorpions. Smash a breakable wall to progress deeper into the chamber and claim the stele.
Stele 3: Sebek
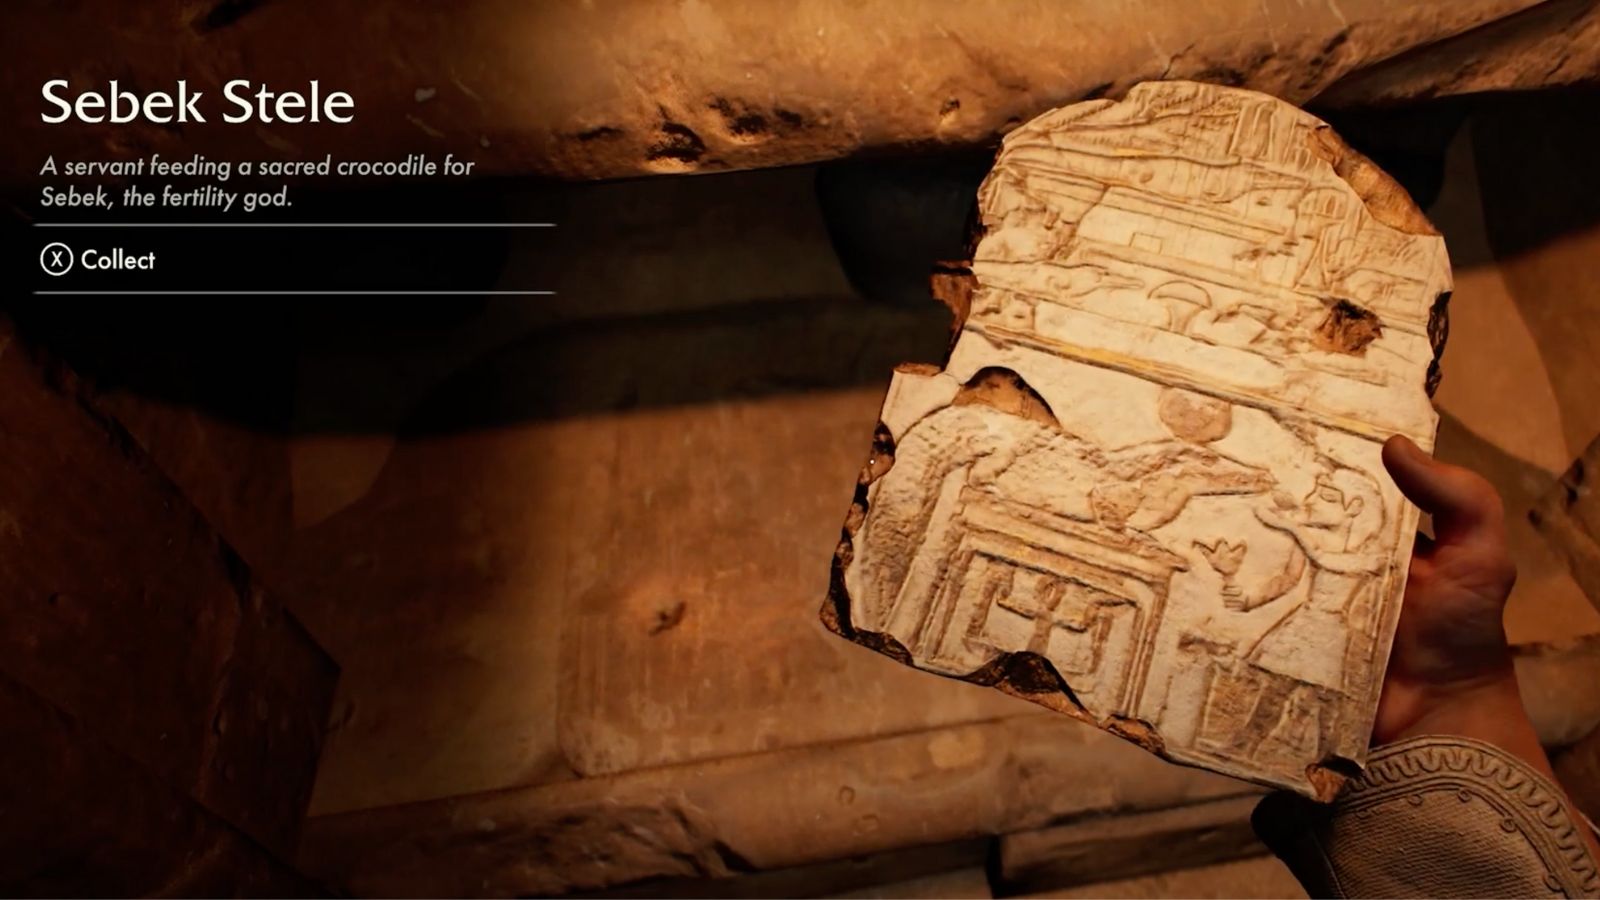
Northeast of the Recreation Area lies a small chamber. Burn the obstacle with your lighter and navigate through the passage to find this fragment.
Stele 4: Harvest
Visit the Recreation Area’s garage. Spot a crate on a truck and unlock it using the code “0-8-0-5.” Inside, you’ll find the stele.
Stele 5: Victory

Head west to a tomb overrun with scorpions. Light a torch and wave it to scatter the pests. Retrieve the stele from a hidden nook inside.
Stele 6: Light
Powering up the Elevator Find the Tomb of Khentkawes I in the southwestern region. Begin the Secret of the Queen Mother side quest by activating generators near the elevator. Flip a switch atop scaffolding and avoid enemy soldiers.
Queen’s Chamber Puzzle Ride the elevator to the Queen’s Chamber. Arrange stone disks in the mural slots in the following order: bird, snake, fish. A light beam will illuminate a breakable wall. Destroy it to claim the stele.
Intermission: Delivering the Stele and Starting the Next Quest
After collecting four stelae, you’ll return to Nawal, who will ask you to hand them over to her delivery boy. These fragments are destined for the Cairo Museum. This task will lead you into the next segment of the story, which involves completing objectives at a Nazi-controlled facility to the north. Once you’ve successfully left the Temple Excavation Site, a helpful NPC will inform you of additional stele to find. Speak with Nawal again to receive a document listing these new locations, marking the start of the Belongs in a Museum quest.
Stele 7: Death

South of the Sphinx ruins, locate a gap with two grapple points. Use your whip to swing across and collect the stele.
Stele 8: Construction
Talk to Professor Savage in Gizeh Village. Learn that Sydney is captured and begin a rescue mission. Follow clues leading to detention centers and excavation sites. Once Sydney is safe, return to the Professor to receive the Construction stele.
Stele 9: Amon

Inside the Nazi Compound, search below Voss’ office. Wear a Wehrmacht Uniform and use the Wehrmacht Key to access the armory. Find the stele within.
Stele 10: Ra
At Khafre Excavation Site, grapple across the two points using your whip. Spot a metal gate in a hidden nook. Grapple again to reach it and claim the final stele.
Rewards

Delivering the first four stelae to Nawal progresses the Idol of Ra quest. Completing the collection and handing over the rest unlocks the Ancient Relic, a key item for the Riddles of the Ancients side quest. With all stelae in your possession, you’ll not only complete this chapter but also deepen your understanding of the ancient mysteries that define Indiana Jones’ adventures.
Looking For More?
Thank you for reading the article. We provide the latest news and create guides for Indiana Jones and The Great Circle. Also, watch Deltia play on Twitch or visit his YouTube channel!
- 5 Things To Know Before Playing Indiana Jones and the Great Circle
- Indiana Jones and the Great Circle PC Optimization Guide: Best Settings for Optimal Performance
- How To Unlock the Belvedere Courtyard Treasure Chest in Indiana Jones and the Great Circle
- All Marshall College Notes and How To Find Them in Indiana Jones and the Great Circle
- Is Indiana Jones and the Great Circle Open-World?
- Indiana Jones and the Great Circle Voice Actors and Character List