 Facebook
 Reddit
 Email
Email
This guide explains how to use the best Elder Scrolls Online (ESO) Magicka Dragonknight PvE Build, skills, gear, champion points, and more!
This build has been updated for the Updated 42, the Gold Road Chapter of the Elder Scrolls Online
Why Should You Play the ESO Magicka Dragonknight PvE Build?
Our ESO Magicka Dragonknight PvE Build is for players looking to complete group content with one of the strongest classes in the game right now. The ESO Magicka Dragonknight PVE build offers some hard-hitting damage over time skills in the game. Putting out similar aoe dps numbers to the Arcanist with a higher single target parse, the Magicka DK in the right hands is possibly the most lethal class in the game at the endgame.
The Magicka Dragonknight is slightly more difficult to play than the Arcanist. Players who enjoy range damage will not want to play the Mag DK. Though some of the dots can be applied from a decent range, the main spammable is a close-range ability. To get the highest possible dps you will have to play close to your opponent.
ESO Magicka Dragonknight PvE Build Features and Mechanics

Below are some of the features found using the PvE Magicka Dragonknight in the Elder Scrolls Online:
- Class – Dragonknight
- Weapon One – Dual Wield
- Weapon Two – Flame Staff
- Armor Types: 1 Light, 6 Medium
- Mythic: Velothi Ur-Mage’s Amulet
- Race: Dark Elf
- Attributes: 64 Magicka
- Mundus Stone: Thief
- Best Grimoires: Ulfsild’s Contingency, Traveling Knife, Torchbearer
Use the following rotation as the starter point. After, apply your buffs and cast the DoT skills on cooldown for the best, highest DPS. In total, the Damage over Time skills (DoTs) do more damage than your main spammable. Thus, they need to be cast less often and are easier to maintain, for example, The Degeneration from Mages Guild or the Barb Trap from Fighters Guild. Maintain DoTs and use your spammable skill as filler until you need to reapply the DoTS.
Survival
Use the healing skill when your health drops below 50% or the shield skill when you anticipate damage. Also, always use the suggested food and potions as they significantly increase your damage, survivability, and resource sustain.
If you run out of resources, do a heavy attack and return to your rotation. Remember that a heavy attack on off-balance enemies will return double the resources.
Related:
Skills
Front Bar: Dual Wield
Front Bar Weapon Style Choices:
- Dual Wield
- Flame Staff
- Lighting Staff
Burning Talons (Morph of Dark Talons | Skill Line : Draconic Power) – Massive AoE damage that teammates can use a high damage producing synergy.
Deadly Cloak (Morph of Blade Cloak | Skill Line : Dual Wield) – Used for area-based damage reduction and damage over time.
Flames of Oblivion (Morph of Inferno | Skill Line : Ardent Flame) – This hits 3 targets every 5 seconds can be cast out of combat to build up molten whip stacks.
Molten Whip (Morph of Lava Whip | Skill Line : Ardent Flame) – Used as main spammable damage skill.
Barbed Trap (Morph of Trap Beast | Skill Line : Fighters Guild) – This skill is a powerful single target DOT that can trigger the hemorrhage status effect.
Flawless Dawnbreaker (Morph of Dawnbreaker | Skill Line : Fighters Guild) – The performance of DB (Dawnbreaker) is very good now that it grants massive spell damage boost of 300 for 20 seconds. Not to mention added spell damage from slayer passive. This is a great ultimate to use on front bar that’s low cost.
Back Bar – Inferno Staff
Back bar options:
- Inferno Staff
- Lighting Staff
- Two Handed
Venomous Claw (Morph of Searing Strike | Skill Line : Ardent Flame) – Powerful single target damage overtime that can be back bared.
Eruption (Morph of Ash Cloud | Skill Line : Earthen Heart) – One of the strongest damage over time abilities in the game, Eruption is a must used for the Dragonknight. Not only does this do amazing damage, but it procs important passives in the Earthen Heart skill line. By using this you’ll get 10% more weapon damage and more ultimate. Consider the other morph, Cinder Storm if you need even more healing.
Igneous Shield (Morph of Obsidian Shield | Skill Line : Earthen Heart) – The trick with the shield is to use this both reactively and pre-emptively. Meaning, when you know you’ll take a lot of damage, pop it for 6 seconds of protection. For newer players I highly recommend double barring this in the exact same skill position. Meaning 3 key on PC front and back that way you don’t have to fuss with constant bar swaps until it becomes muscle memory. Consider slotting Inner Light if parsing since you won’t need a shield.
Degeneration (Morph of Entropy | Skill Line : Mages Guild) – A single target damage over time with Major Sorcerery buff.
Blockade of Fire (Morph of Wall of Elements | Skill Line : Destruction Staff) – Unstable does a lot of things like massive flame AoE damage and an explosion at the end. You can recast the ability to activate this explosion for a spammable AoE ability though we have sweeps. Commonly folks will use the VMA Maelstrom staff on their back bar with infused trait and spell damage glyph because it’ll proc the extra spell damage even when you swap bars. Consider this your most important back bar buff.
Standard of Might (Morph of Dragonknight Standard | Skill Line : Ardent Flame) – Powerful damage over time ultimate that also applies major defile to enemies, decreasing their health recovery and healing received. Great to use this if you’re running low on resources.
Scribing Skills & Grimoires – ESO PvE Magicka Dragonknight Build
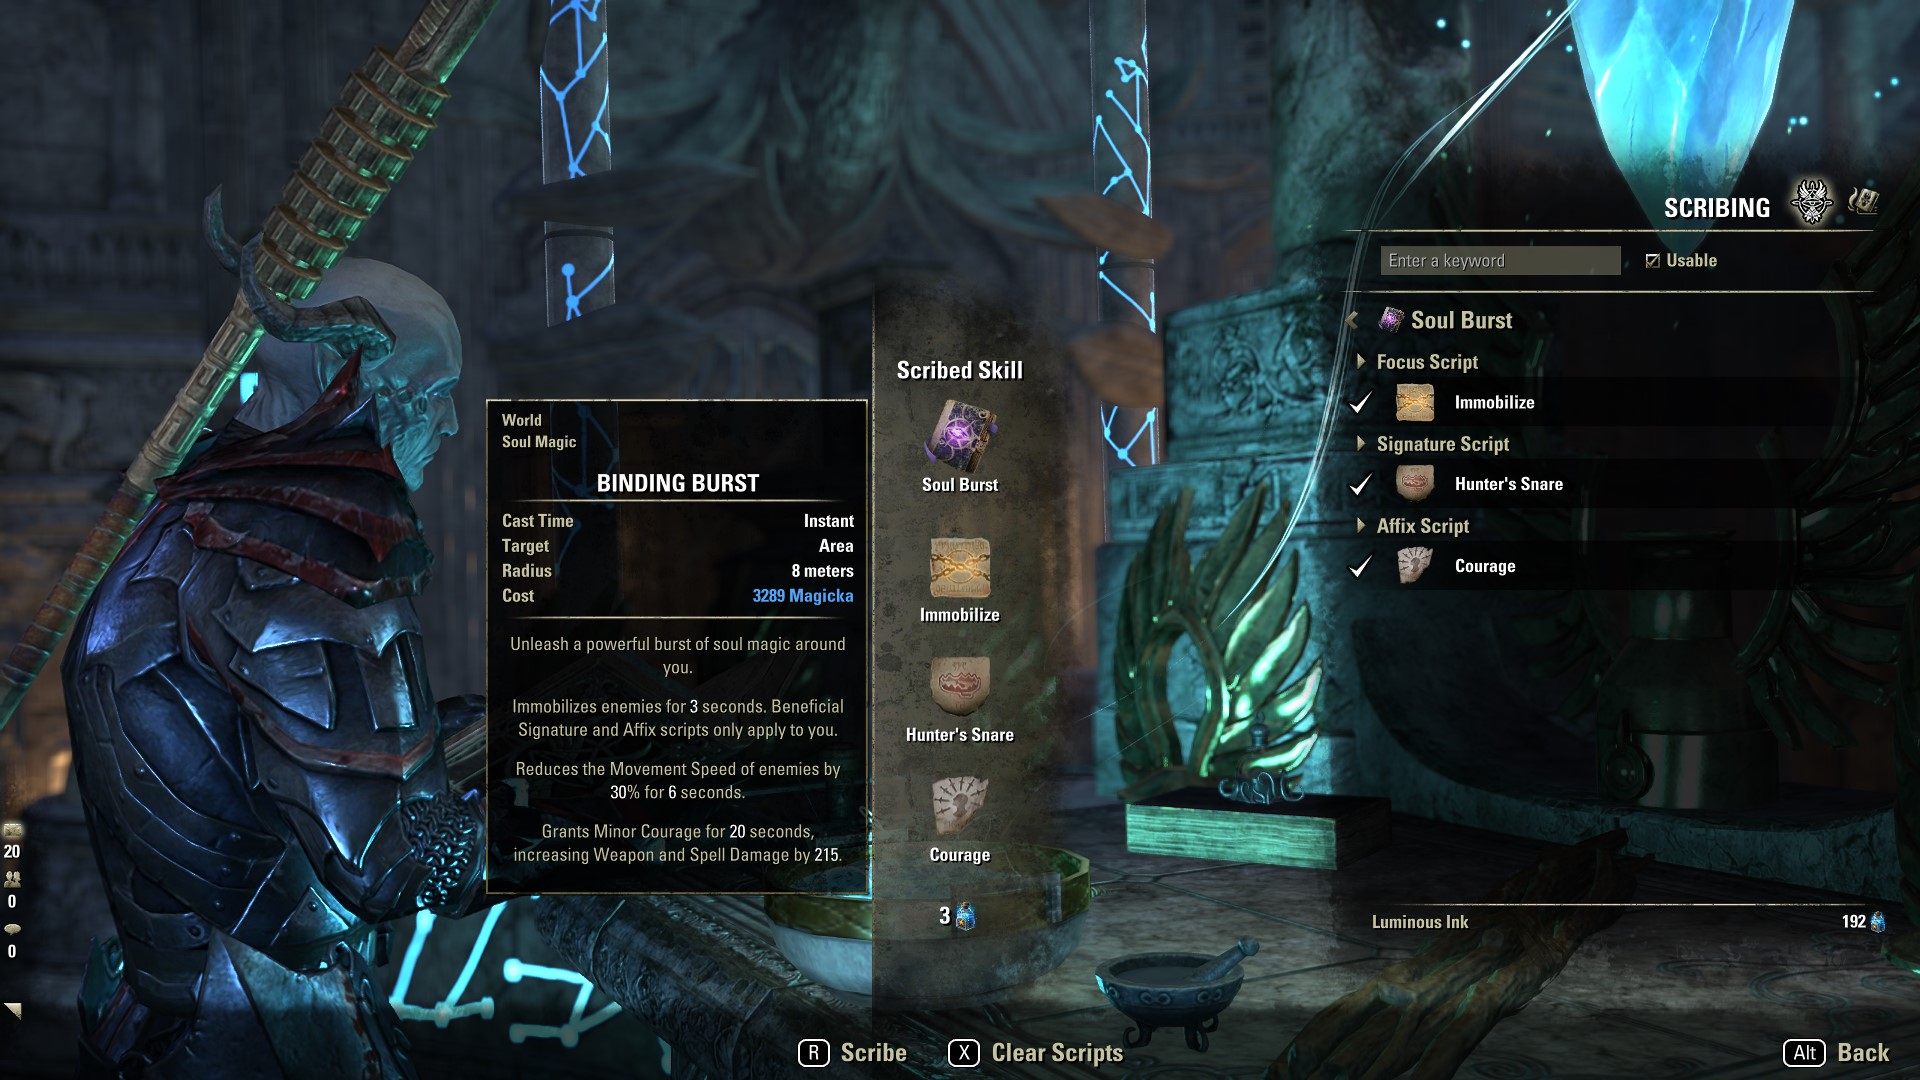
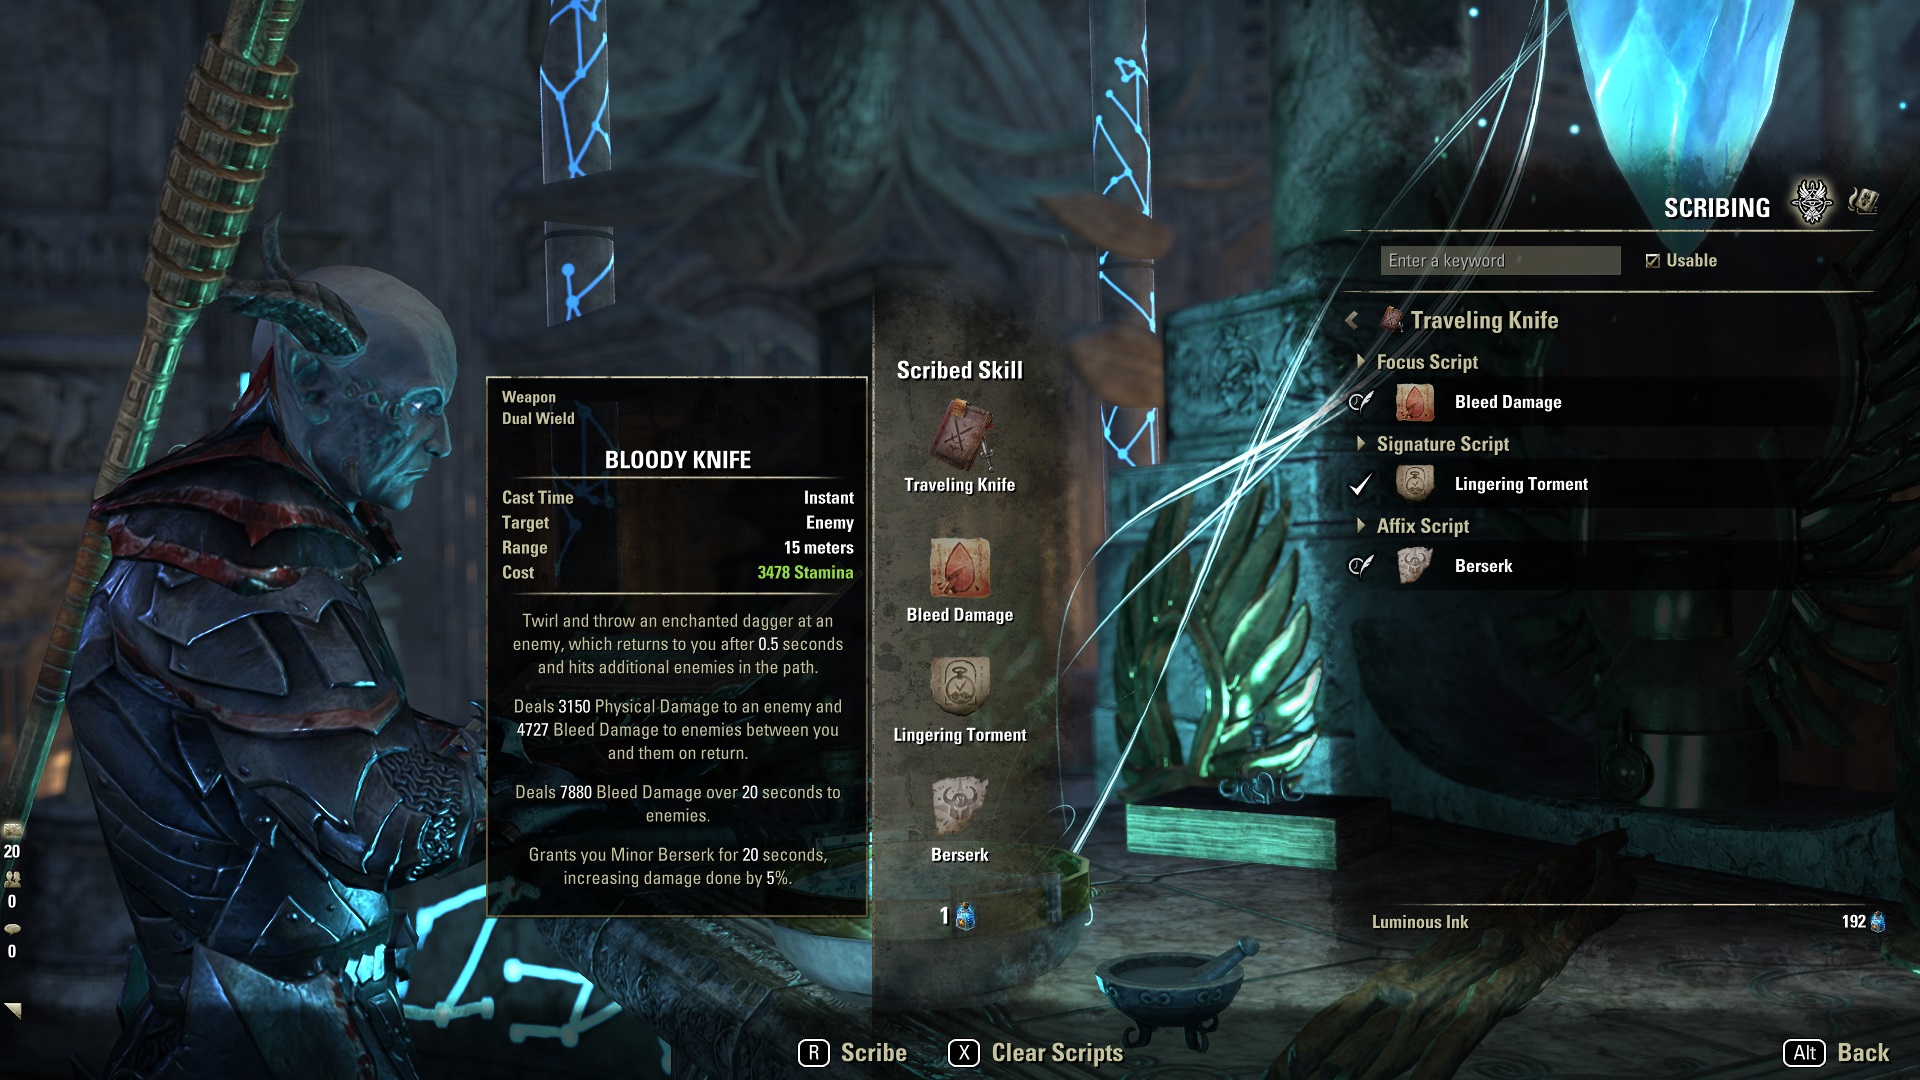
Ulfsild’s Contingency, Traveling Knife, and Torchbearer are the best Grimoires (skills) for the ESO PvE Magicka Dragonknight Build Contingency grants powerful area-based damage and buffs. Traveling Knife gives you a ranged bleed attack that does damage on the return. Torchbearer also gives you a good spammable when in melee range or if your class is single-target heavy. You can also use the Bow Vault skill as an immobilization or mobility tool. Below are the suggested combination of Grimoires, focus, signature, and affix scripts:
- Ulfsild’s Contingency (Mage Guild) – Flame Damage (focus script), Class Mastery (signature script), Vulnerability (Affix Script)
- Traveling Knife – Bleed (focus script), Lingering Torment (signature script), Berserk (Affix Script)
- Torchbearer (Fighters Guild) – Flame Damage (focus script), Class Mastery (signature script), Breach (Affix Script)
The Scribing System utilizes one of 11 new skills from the Gold Road Chapter called Grimoires. With Grimoires, you can customize spells via Scripts. The scribing feature requires the purchase of the Gold Road Chapter (sponsored link). To learn more about scribing, check out our full guide here.
Passives Skills
Below are the lines of the passive skill that add power without requiring a skill slot while playing the ESO PvE Magicka Dragonknight Build. Consider taking all the skill passives in the skill tree listed below:
- Ardent Flame (class skill line)
- Draconic Power (class skill line)
- Earthen Heart (class skill line)
- Dual Wield (weapon skill line)
- Destruction Staff (weapon skill line)
- Light Armor
- Medium Armor
- Undaunted
- Fight’s Guild
- Racial
- Alliance War Support
- Alliance War Assault
- Crafting, Alchemy Medicinal Use
Rotation and Parse
If you have Igneous Weapons in group, usually supplied by a DK tank, drop Degeneration for Engulfing Flames. In general, DKs have very high single target and aoe damage, but the basic rotation is on the more difficult side. This is because you want to apply Burning Talons every fourth skill cast. This makes the DK rotation much more dynamic than other classes.
To start, you can prebuff with Flames of Oblivion>Deadly Cloak. Then, you’ll run up to your target, drop Barbed Trap>Talons>Bar Swap>Blockade>Degen>Eruption>Bar Swap>Talons>Bar Swap>Venomous Claw>Standard>Bar Swap>Flames of Oblivion>Talons>Deadly Cloak>Barbed Trap>Whip>Talons> then continue casting Whip as your spammable, reapply Talons every fourth cast, and keeping your DoTs up.
The key to hitting the highest numbers in content with the Dragonknight is always to be aware of how many priority targets you have around you. In trash or fights with multiple targets, spamming Talon instead of whip will push up your damage. This is very difficult to sustain however, so you can spam Talons until you get under 50% magicka, then switch to spamming Flames of Oblivion, as it is cheaper to cast. Flames of Oblivion only hits three targets though, so you’ll want to continue casting Talons if there are more than three targets around you, as long as you can sustain it.
Gear Setup: Best in Slot
The gear chart below represents the best gear for ESO PvE Magicka Dragonknight Build:
| Slot | Type | Set | Trait | Glyph |
| Head | medium | Aegis Caller | Divines | Magicka |
| Shoulders | light | Slimecraw | Divines | Magicka |
| Chest | medium | Perfected Ansuul’s Torment | Divines | Magicka |
| Legs | medium | Perfected Ansuul’s Torment | Divines | Magicka |
| Gloves | medium | Perfected Ansuul’s Torment | Divines | Magicka |
| Boots | medium | Perfected Ansuul’s Torment | Divines | Magicka |
| Belt | medium | Perfected Ansuul’s Torment | Divines | Magicka |
| Weapon One | Dagger | Aegis Caller | Nirnhoned | Fire |
| Secondary | Dagger | Aegis Caller | Charged | Poison |
| Weapon Two | Inferno Staff | Perfected Crushing Wall | Infused | Spell Damage |
| Necklace | Velothi Ur-Mage’s Amulet | Bloodthirsty | Spell Damage | |
| Ring 1 | Aegis Caller | Bloodthirsty | Spell Damage | |
| Ring 2 | Aegis Caller | Bloodthirsty | Spell Damage |
In PvE, high-end DPS builds, magicka, and stamina builds run similar gear setups, including medium armor. Medium is stronger in trials due to the passive bonuses. If you don’t play with the coordinate trials team, you can swap to Light, though it will suffer overall damage loss.
Monster Helms and Mythic
Veloth Ur-Mages Amulet: mythic item requiring the Antiquies system and Necrom Chapter. Requires five leads; find them here. Incredibly strong passive damage in the current meta.
Slimecraw: obtained in Wayrest Sewers I Veteran dungeon and Maj Undaunted Vendor. Gives us the highest critical chance for a one-piece item.
FLEX OPTIONS
- Harpooner’s Wading Kilt Set = great mythic if avoiding damage and can keep the stacks up.
- Mora’s Whisper = This provides up to 10% critical chance but requires collections of Mages Guild Books on your specific character.
- Death Dealer’s Fete = is a great option because it boosts max stats with zero downsides.
Gear Sets
Perfected Ansuul’s Torment: Obtained in Sanity’s Edge, Necrom Chapter Trial. It is the best overall damage-dealing set that comes in medium armor. If you struggle with resources, you can swap to a light armor setup but it will be less damage.
Aegis Caller: Passive Bleed damage and good bonuses for martial melee build.
Perfected Crushing Wall: from Veteran Maelstrom Arena in Orsinium. Increase your overall DPS due to the ability of the wall of elements and more damage.
FLEX OPTION
- Perfected Bahsei’s Mania: obtained in Veteran Rockgrove trial requiring Blackwood chapter.
- Perfect Whorl of the Depths: This provides a huge single target and AoE and the proc condition is simply light attacking and is perfect because it’s a trial set.
- Perfected Mantle of Siroria = Update 35 made this popular again so consider using it in parse/stationary trials.
- Perfected False Gods = great resource sustain set.
- Order’s Wrath = Crafted and best overall option for great damage.
- Mother’s Sorrow = decent overland set for starters
Gear Setup: Beginner
I use this gear set-up purchase for 100,000 gold or less buying strictly off traders or farming myself.
| Slot | Type | Set | Trait | Glyph |
| Head | light | Silks of the Sun | Divines > Any | Health |
| Shoulders | light | Silks of the Sun | Divines > Any | Magicka |
| Chest | light | Mother’s Sorrow | Divines > Any | Health |
| Legs | light | Mother’s Sorrow | Divines > Any | Magicka |
| Gloves | light | Mother’s Sorrow | Divines > Any | Magicka |
| Boots | light | Mother’s Sorrow | Divines > Any | Magicka |
| Belt | light | Mother’s Sorrow | Divines > Any | Magicka |
| Weapon One | Inferno Staff | Willpower | Charged > Precise | Flame |
| Weapon Two | Inferno Staff | Willpower | Infused | Weapon Damage |
| Necklace | Silks of the Sun | Arcane | Magicka Recovery | |
| Ring 1 | Silks of the Sun | Arcane | Spell Power | |
| Ring 2 | Silks of the Sun | Arcane | Spell Power |
FLEX OPTIONS FOR BEGINNERS
- Silks of the Sun: obtained in Stonefalls overland zone or from guild traders. Why? Buffs nearly all of our damage, overland and dirt cheap! Use Withered Hand if you struggle with sustain and healing (from Alik’r)
- Mother’s Sorrow: obtained in overland zone Deshaan or from guild traders (delves, dolmans, world bosses, chest). WHY? easy to obtain and works well at every stage of the game including end game trials!
- Willpower: obtained through dungeon finder, imperial city area or traders. Why? Dirt cheap 2pc until you can obtain maelstrom weapons.
Race
The best racial choice for the Magicka Dragonknight is below:
- Dark Elf: Gain max magicka, stamina, and weapon and spell damage. The flame resistance is also helpful and considered the strongest overall PVE DPS race.
- Khajiit: This race gets recovery, max stats, and critical damage and healing. Consider the Khajiit a great option if you aren’t over the critical cap of 125%.
- High Elf: Gain resource sustain passive, max magicka, and weapon and spell damage. The downside of High Elf is a lack of stamina or flame resistance.
Attributes
The best choice is 64 magicka, which increases damage, healing, and shields.
Mundus Stone
The Thief is the best Mundus Stone for PvE Builds because it gives Increases Weapon and Spell Critical Strike a chance.
Champion Points – ESO Magicka Dragonknight PvE Build
| Craft | Warfare | Fitness |
| Treasure Hunter | Fighting Finesse | Siphoning Spells |
| Liquid Efficiency | Thaumaturge | Boundless Vitality |
| Rationer | Master-at-Arms | Rejuvenation |
| Steed’s Blessing | Wrathful Strikes | Fortified |
Warfare Constellation Champion Points

Below is a step-by-step method for slotting your champion points in the Warfare tree (blue). We have used the minimum possible to reach 4 slottable selections all maxed out. If you have more CP, consider taking more in the passives for optimal performance.
Below are recommended Warfare Champion Point selections for the ESO Magicka Dragonknight PvE Build:
- Precision 10
- Wrathful Strikes (slottable) 50
- Fighting Finesse (slottable) 50
- Extended Might – sub constellation – piercing 10
- Thaumaturge (slottable) 50
- Master – at- Arms (slottable) 50
This would be the bare minimum setup, spending 220 CP (660 total required). The next step is to max out passives, that do not require a slottable but increase performance.
- Precision 10
- Piercing 10
- Tireless discipline 20
- Eldritch insight 20
- Blessed 20
- Quick recovery 20
- Flawless ritual 40
- War mage 30
- Battle mastery 40
- Mighty 30
- Elemental aegis 20
- Hardy 20
- Preparation 20
This would max out the Warfare tree with all active and passive champion points at 520 spent 1,560 total spent.
Fitness Constellation Champion Points

Below are recommended Fitness Champion Point selections for the ESO Magicka Dragonknight PvE Build:
- Fortified (slottable) 50
- Boundless vitality (slottable) 50
- Rejuvenation (slottable) 50
- Sprinter 10
- Winder chaser – sub con – hasty 8
- Hero’s Vigor 10
- Siphoning Spells (slottable) 50
This would be the bare minimum setup, spending 228 CP (684 total required). The next step is to max out passives, that do not require a slottable but increase performance.
- Hero’s Vigor 10
- Tumbling 30
- Sprinter 10
- Defiance 20
- Hasty 8
- Tireless guardian 20
- Fortification 30
- Nimble 6
- Mystic tenacity 50
- Tempered soul 50
- Piercing gaze 30
- Savage defense 30
- Bashing brutality 20
This would max out the fitness tree with all active passive champion points at 542 cp spent and 1,626 total spent.
Craft Constellation Champion Points

Below are recommended Craft Champion Point selections for the ESO Magicka Dragonknight PvE Build:
- Steed’s blessing (slottable) – 50
- Breakfall 10
- Wanderer 15
- Steadfast 10
- Treasure hunter 50 (slottable)
- rationer (slottable) 30
- liquid effiency (slottable) 75
This would be the bare minimum setup, spending 240CP (720 total required). The next step is to max out passives, that do not require a slottable but increase performance.
- Steadfast enchantment 40cp
- Breakfall 40 cp
- Wanderer 60
- Fortunes favor 50
- Friends in low places 25
- Out of sight 30
- Fleet of Phantom 40
- Soul’s Reservoir 33
- Gilded fingers 50
- Fortunes favor 40
- Inspiration boost 45
- Infamous 30
This would max out the crafting tree with all active passive champion points at 723 cp spent 2,169 total spent
Consumables
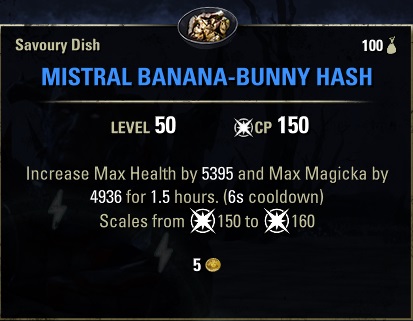
The best consumables for the Magicka Dragonknight PvE build are Mistral Banana-Bunny Hash and Essence of Health tri-stat potions. Mistral Banana-Bunny Hash gives a massive amount of health and magicka, stats that give you both the most survivability and damage of any other consumable. DKs have very good sustain, but if you struggle with magicka sustain, you could switch to Clockwork Citrus Filet or Witchmother’s Potent Brew, giving up some magicka and health for magicka sustain.
For your potions, both of your major weapon/spell damage and critical chance buffs are sourced through the build, so you can run tri-pots. This gives you a large burst of resources when you need them. You can of course switch these out for heroism potions, but with Update 42, many groups can source Minor Heroism through group scribing skills instead.
- Mistral Banana-Bunny Hash: Increase Max Health by 5395 and Max Magicka by 4936 for 1.5 Hours. Ingredients: Bananas (1), Seasoning (1), Small Game (1).
- Clockwork Citrus Filet: Increase Max Health by 3326, Health Recovery by 406, Max Magicka by 3080, and Magicka Recovery by 338 for 2 hours. Ingredients: Frost Mirriam (1), Lemon (1), Perfect Roe (1), Red Meat (1).
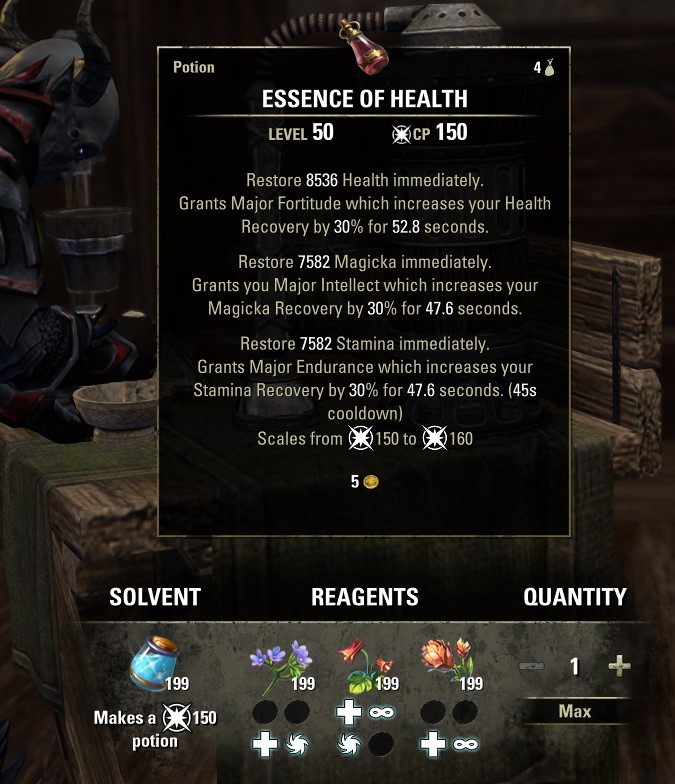
- Essence of Health (tri-stat): Restore 7329 Health, 6618 Magicka, and 6618 Stamina immediately. Grants Major Fortitude, Major Intellect, and Major Endurance, which increase your Health Recovery, Magicka Recovery, and Stamina Recovery by 20% for 31.7 seconds. (effects are scaled based on your level) Ingredients: Bugloss, Columbine, Mountain Flower.
Build Summary – ESO PvE Magicka Dragonknight
Class: Dragonknight
Race: Dark Elf
Attributes: 64 Magicka
Mundus Stone: Thief
Weapon One: Dual Wield
Weapon Two: Destruction Staff
Armor Set 1: Aegis Caller
Armor Set 2: Perfected Ansuul’s Torment
Monster Helm: Slimecraw
Mythic: Velothi Ur-Mage’s Amulet
Armor Weight: 6 Medium, 1 Light
Potion: Essence of Health (tri-stat)
Food: Mistral Banana-Bunny Hash
Skill Bar 1 – Dual Wield
- Molten Whip
- Burning Talons
- Flames of Oblivion
- Barbed Trap
- Deadly Cloak
- Flawless Dawnbreaker (Ultimate)
Skill Bar 2
- Blockade of Fire
- Degeneration
- Eruption
- Venomous Claw
- Igneous Shield
- Standard of Might (Ultimate)
Scribing Grimoires and Scripts
- Ulfsild’s Contingency
- Flame Damage (Focus Script)
- Lingering Torment (Signature Script)
- Minor Vulnerability (Affix Script)
Looking For More ESO Builds?
Thank you for reading the ESO Magicka Dragonknight PvE Build Guide. We provide the latest news and create guides for ESO. Also, watch me play games on Twitch or visit my YouTube channel!