Facebook
 Reddit
 Email
Email
Break down every killer in Violence District with this full tier list, from top meta picks to niche options. Master their perks and dominate matches.
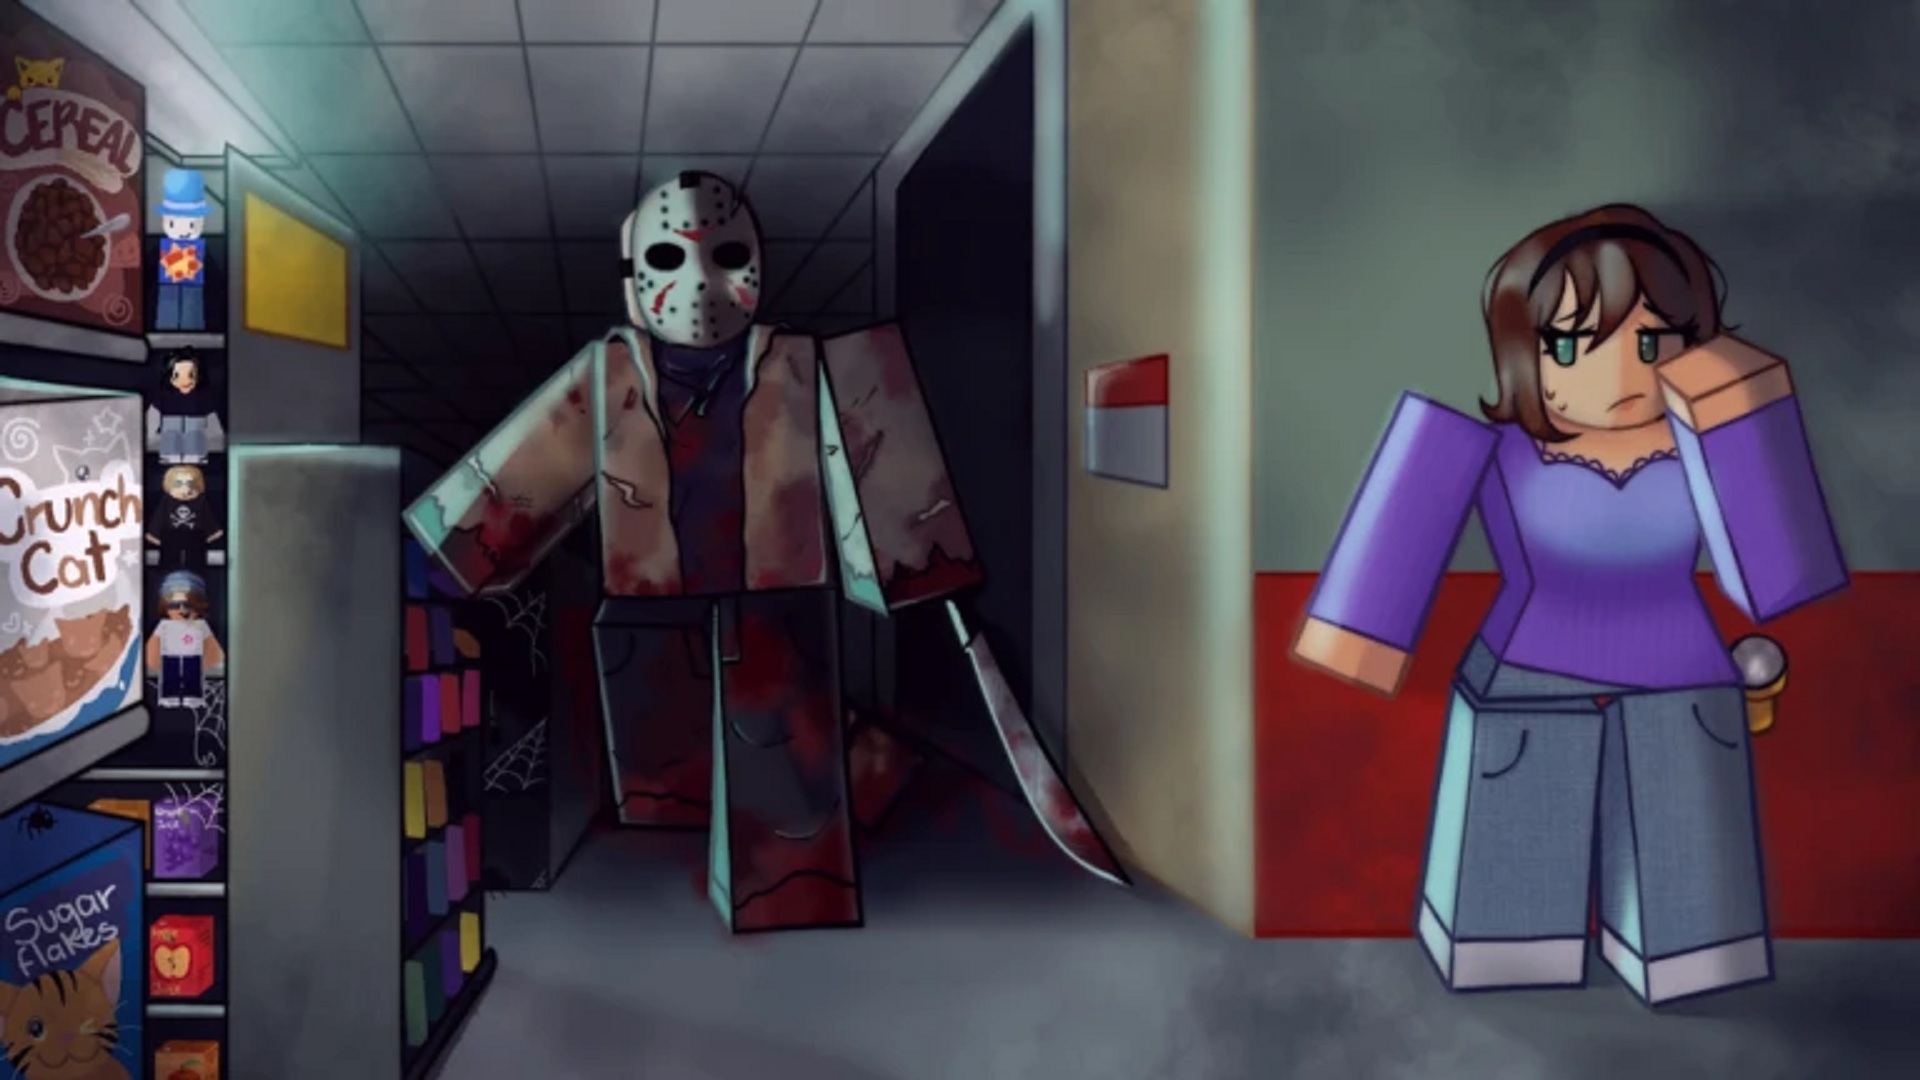
Violence District takes the familiar hide-and-hunt gameplay and pushes it closer to Dead by Daylight than most Roblox horror titles.
The killers shape every match, and knowing which ones can consistently pressure survivors is what separates wins from wasted chases. This guide breaks down every killer in the current meta, ranking them by mobility, capture potential, and overall impact.
Every Killer in Violence District Roblox
The killers in Violence District define the pace of every match. Mobility, map control, and capture potential determine how well they perform. Below is a structured tier list that covers each killer’s rank, strengths, weaknesses, and their best perk.
S-Tier Killers
| Killer | Strengths | Weaknesses | Best Perk |
|---|---|---|---|
| The Hidden | Excellent mobility with Mark Dash that can hit multiple survivors and grant wallhack vision. Leap allows bypassing obstacles for quick map control. Invisibility creates strong ambush potential and generator defense. Low cooldowns make abilities easy to use repeatedly. | Requires good positioning to fully capitalize on invisibility. Survivors who anticipate Mark Dash can avoid chain hits. | Next in Line |
- Why S-Tier: The Hidden’s combination of chase potential, map pressure, and forgiving cooldowns makes it the most reliable killer in the current meta.
A-Tier Killers
| Killer | Strengths | Weaknesses | Best Perk |
|---|---|---|---|
| The Slasher | Exceptional map mobility with Mist for fast repositioning. Pursuit ability grants high speed and obstacle immunity, making it effective for aggressive chases. Consistent pressure on generators and survivors. | Shorter M1 attack range reduces hit consistency. Long cooldowns limit sustained aggression if abilities are used poorly. | Brutal Strength |
| The Abysswalker | Dark Severance can down multiple survivors in a single strike when timed correctly. Abyssal Burst offers long-range hits and highlights survivor positions. Strong M1 range allows effective zoning. | Attacks are heavily telegraphed, making them vulnerable to crouch or parry counterplay. Requires precise timing and baiting survivor defenses. | Abyssal Covenant |
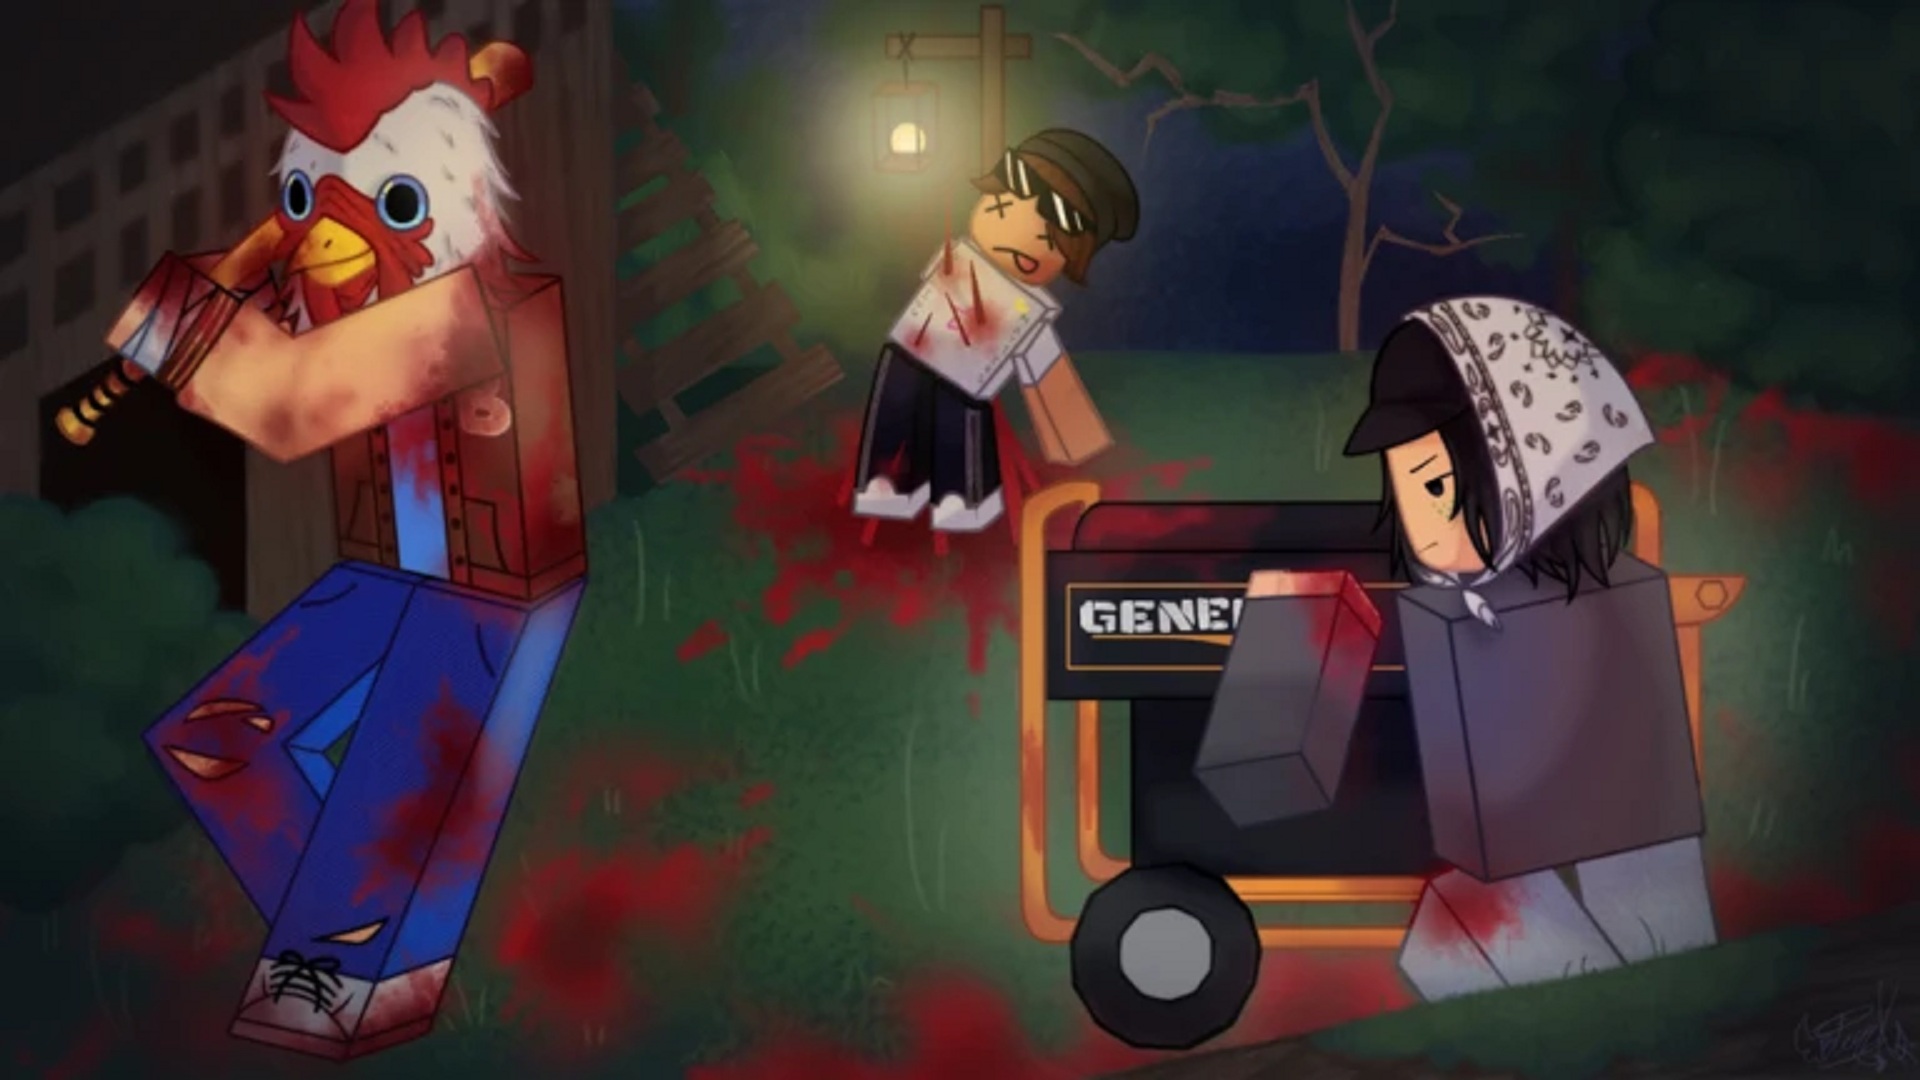
| The Masked | Wide variety of playstyles based on mask rolls. Panther and Lizard Masks enhance speed and lunge range for strong chase potential. Tiger and Duck Masks grant instant down capability for high pressure. | Highly reliant on mask RNG for consistent performance. Self-stun during mask changes creates vulnerability. Weak Bunny and Chicken Masks offer minimal value. | Hard Swing or Combo Streak |
- Why A-Tier: These killers provide strong pressure when used effectively. Slasher offers consistent map control, Abysswalker rewards precision, and The Masked can become S-Tier with the right mask rolls.
Also Read: Violence District: A Beginner’s Guide
B-Tier Killers
| Killer | Strengths | Weaknesses | Best Perk |
|---|---|---|---|
| The Stalker | Infinite Tier 3 provides top-tier movement speed and one of the longest lunges in the game. Tier 1 offers low aura radius, making it strong on close-quarter maps. Can adapt playstyle to map size and survivor behavior. | Tier 2 has a large aura radius that reduces stealth potential. Early game pressure is limited until Tier 3 is reached. Highly dependent on map layout for full effectiveness. | Predator |
- Why B-Tier: The Stalker has the potential to dominate with Tier 3 but is highly situational. It performs best on smaller maps and in skilled hands.
C-Tier Killers
| Killer | Strengths | Weaknesses | Best Perk |
|---|---|---|---|
| The Killer | Sloppy Mess perk enables strong anti-healing strategies. Ability to chain three hits and secure an instant down on the fourth creates lethal potential against coordinated healing teams. | Current survivor meta often avoids healing, which reduces the impact of anti-heal strategies. Without frequent heals to counter, core abilities lose effectiveness. | Sloppy Mess |
- Why C-Tier: The Killer is mechanically good but misaligned with how survivors play now. He rises in value only when teams coordinate heavy healing strategies.
Focusing on S and A-Tier killers is the most efficient way to secure consistent wins in Violence District. Learn their perks, practice their abilities, and adapt your strategy to keep survivors under constant pressure.
We provide the latest news and create guides for Roblox games. Meanwhile, you can check out the following Roblox articles: