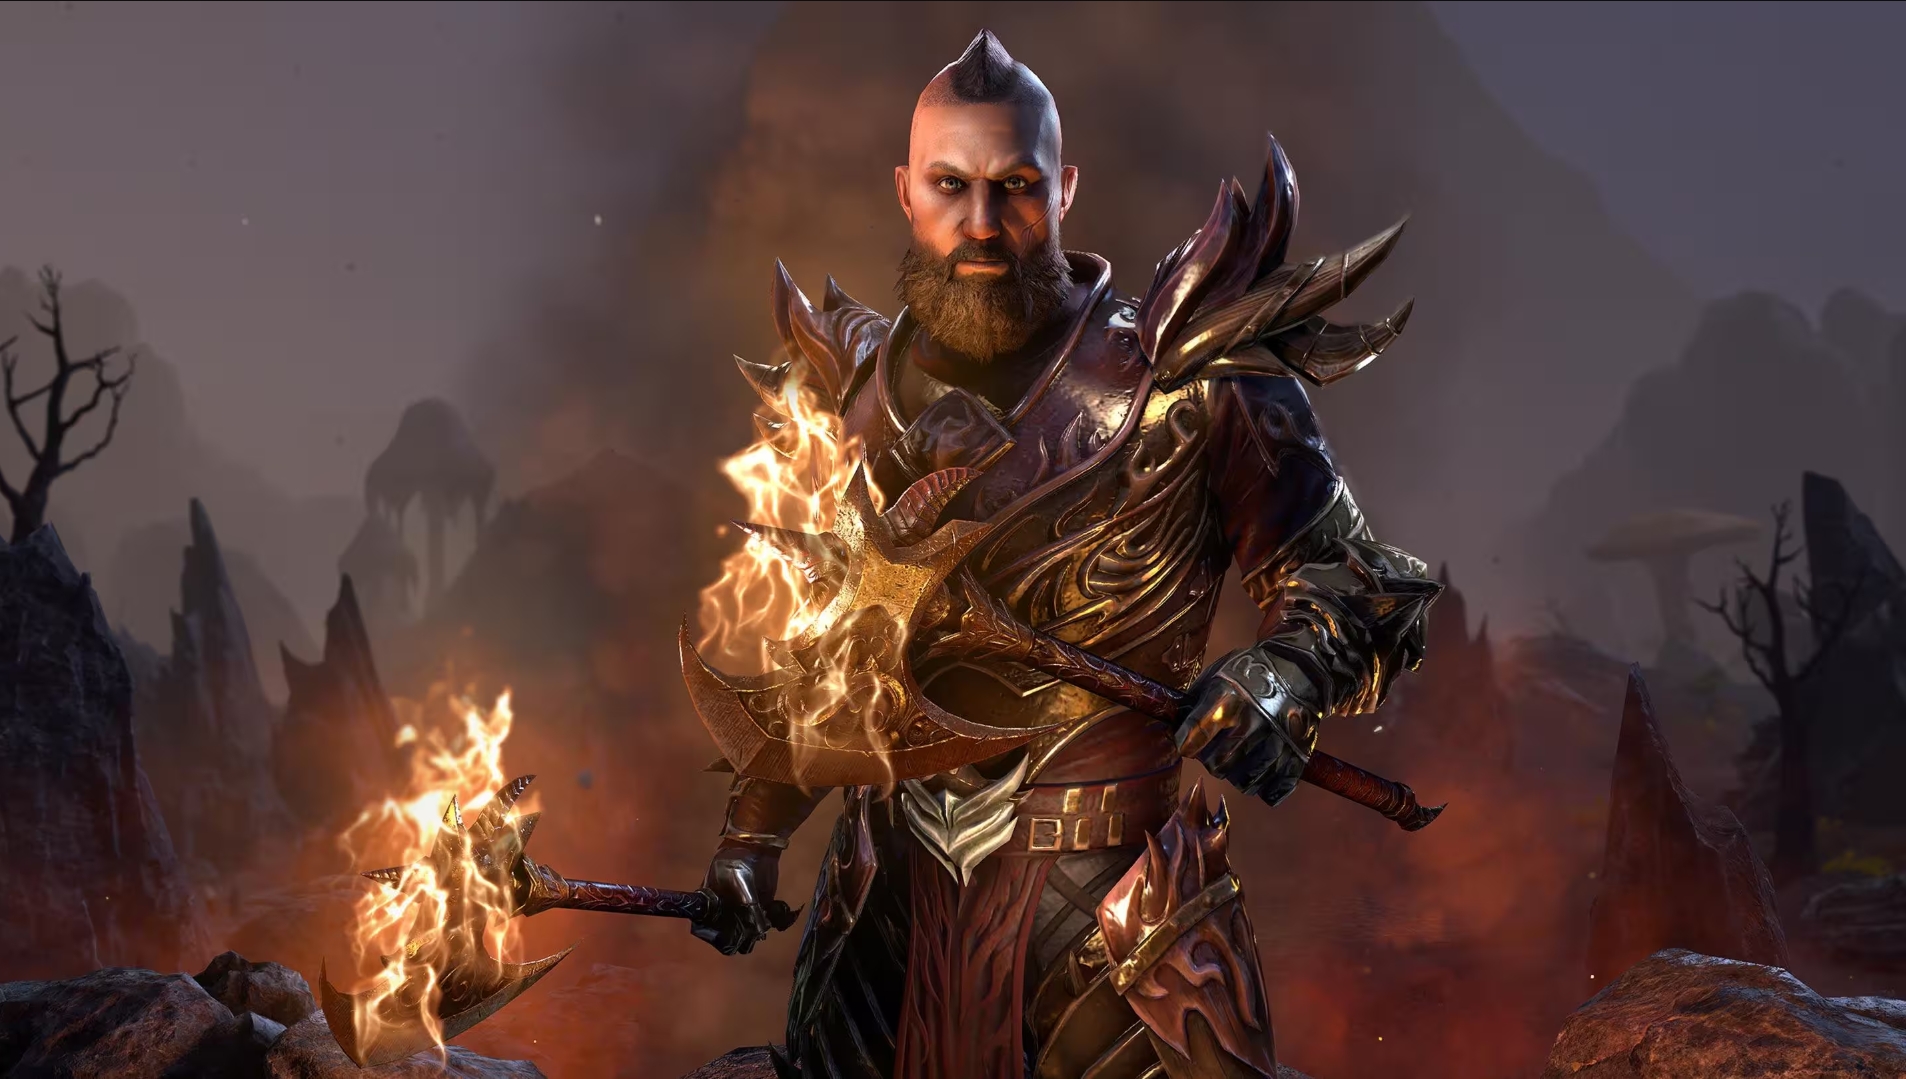
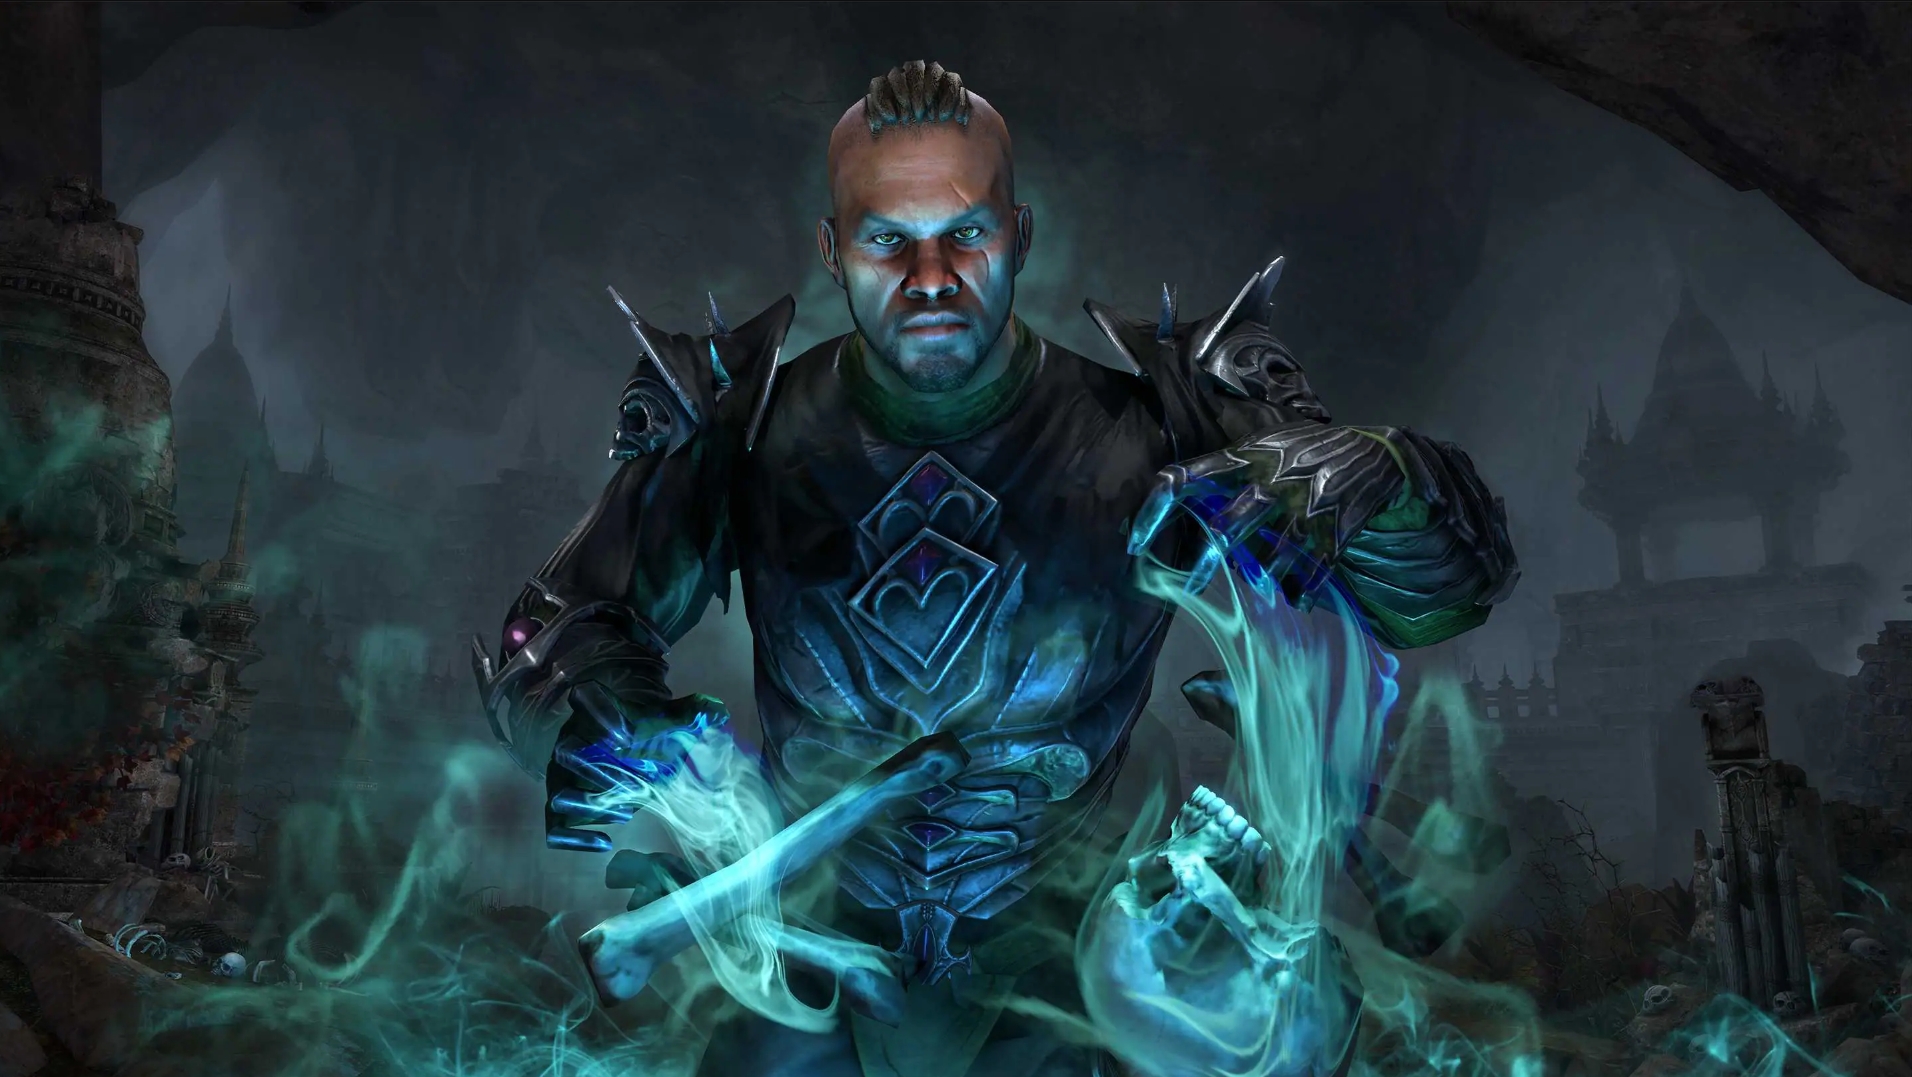
Welcome to Bee Mode an ESO Magplar PvP Build for The Elder Scrolls Online Patch 2.5. This build was created by my friend Bee or Karstyll PC NA. I’ve been playing this non stop and it’s truly special. I didn’t come up with this, she did so all the credit goes to her. I’m going to post her build and list my changes throughout the guide. Either way, this is incredibly powerful and uses mostly crafted gear and we wanted to share it with those Magplars looking for somewhere to start in PvP.
Table of Content
Objective
[Last updated August 7, 2016]
Bee’s Hype Video
https://youtu.be/Uh7Hsmhvskk
Hello everyone! My name is Bee or @Karstyll in-game! Deltia has asked me to share my Templar PvP build with you all! If you’re looking for something that can not only output a lot of damage, but can also provide enough tankiness and sustain to keep yourself alive and your allies, I might have something for you! The idea for this build was to not only provide support for whoever I’m playing with, but to also get away from sets like Reactive and Malubeth. I’ve gone through a lot of gear to get my stats where they’re at, and finally found a nice sweet spot! So let’s get into the build.
The nice thing about this build is the gear is simple and easy to obtain. After you get most of it, the real work begins, and that’s getting better. Timing your burst, surviving with line of sight, healing and killing many many folks. Take a look at Bee’s video one time, the hype is real.
+ Solo and small group
+ Damage and healing
+ Mobile
– Fully melee
– Siege hurts!
Skills
Dual Wield (offensive bar)
- Toppling Charge (morph of Focused Charge | Aedric Spear skill line) – Our primary means to close the gap and initiate combat. Remember that you need to be at least 3.5 meters away from the target so it’s not going to work if you’re both fighting in close proximity. Keep the pressure on targets by spam casting this if they streak/dodge roll away. Also try to stun your priority target when they are “cc-able,” meaning no circle around their feet.
- Degeneration (morph of Entropy | Mages Guild skill line) – I take this morph because I need a lot of healing and I weave light attacks in between my Puncturing Sweeps. Plus I don’t see the point of having tons of health on one bar, and significantly less on the other. You’ll want to keep this active for your major sorcery buff and recast prior to doing a Dawnbreaker (DB) for 20% more damage. Just remember, don’t light weave in between using this and your DB, otherwise you’ll miss out on the extra damage.
- Repentance (morph of Restoring Aura | Restoring Light skill line) – If we are killing targets, we can block forever with this skill and it passively gives us regeneration. Consider this your flex spot if you’re running with another Templar using it.
- Proximity Detention (morph of Magicka Detention | Alliance War Assault skill line) – If I’m going against clustered up groups and I have another Templar, I slot this for extra magicka regeneration and try to time the explosion with my empowered DB.
- Puncturing Sweeps (morph of Puncturing Strikes | Aedric Spear skill line) – AoE and single target DPS that heals us making it extremely strong. You’ll need to play around with until you learn 1) it’s 8 meter range (just past the yellow spear) and 2) if you can out-heal someones damage. Both are critical because the more targets you hit, the more possible healing you can receive, essentially out healing large groups while doing damage. After a DB, Sweeps then finish the target with the next ability.
- Radiant Glory (morph of Radiant Destruction | Dawn’s Wrath skill line) – Beam, Jesus Beam or what I like to call it Lazar Beam (RD) is extremely powerful and will likely get a nerf some day. I take this morph because you’re vulnerable while spam casting this on a target and the healing returned negates some of this. Don’t be the guy who just spams this on targets at 100%, time it when they dip love say 40% and finish them off.
- TIP – How do you counter getting beamed? 1) Bash them if in range 2) Cleanse yourself with Ritual 3) Stun them with Charge or Spear | People panic when beam is on them but it can easily be countered by good players thus you need to know how to counter it for survival sake.
- [Ultimate] Dawnbreaker of Smiting (morph of Dawnbreaker | Fighters Guild skill line) – A fantastic ultimate even though it scales off of physical damage. When empowered, I can hit players up to 12,000 on the initial hit. The reason it’s so effective is the stun and DoT. It allows us to drop one or more players health into that critical 40% range allowing us to quickly RD for an easy kill (combat frenzy 20 ultimate). The more killing blows, the more ultimate, the more DB the more stam from corpses thus you’re a walking regeneration machine.
- Crescent Sweep (morph of Radial Sweep) – This can actually hit harder because it magicka damage and can proc burning light, however it doesn’t have a stun and the pulse magicka damage is unreliable. The reason I don’t like this is elevation really screws up it’s hit chance and I often miss targets DB would have otherwise nuked. But if you’re in a group, and another is running DB, try this out for more burst damage.
Sword and Shield (defensive bar)
- Restoring Focus (morph of Rune Focus | Restoring Light skill line) – I take this morph because I run around Cyrodiil with “Deltia” above my head and people try to kill me, a lot of people. I need to be extra “tanky” and this morph really helps because 8% damage reduction and 8% more healing received. Plus the base ability gives us our major resistances anyways making it a must cast ability prior to charging into combat. Even then, the effect will last eight seconds because you need to either recast or move back into the run. Usually it’s buff, run, charge, bomb, return to rune or recast.
- Extended Ritual (morph of Cleansing Ritual | Restoring Light skill line) – I recently changed morphs to this since it purges or removes 5 negative effects. When I’m being attacked by five or more people, I often have 10 or more negative effects. While blocking, the damage doesn’t kill me, the DoTs and debuffs do. Now that I’ve switched I die far less though I sacrifice AoE damage. This is another ability you want to cast constantly to remove negative effects like poisons, healing debuffs or siege DoT damage.
- Elusive Mist (morph of Mist Form | World Vampire skill line) – The entire reason I use Vampire, escape-ability with Mist. You can’t be CC’d, rooted, or snare and it removes the effects. The downside is you cannot regenerate magicka while in the four second Mist. I’ll show you in detail how to use this to survive in our Magplar videos.
- Blazing Spear (morph of Spear Shards | Aedric Spear skill line) – A good spammable AoE DPS ability and also a stun. I place on my back bar so I can cast and swap prior to it landing to get the damage bonus. We also get the benefit of extra critical damage and healing on our back bar as well. Even in a duel, try to keep the spear on the target and refresh every six seconds not only for the stun, but the DoT that can proc Burning Light.
- Honor the Dead (morph of Rushed Ceremony | Restoring Light skill line) – A very very strange morph to take at first, but great for solo play or very small groups. Remember when I said you can’t regenerate magicka while in Mist? Doesn’t apply to this effect, so when you’re in trouble, HtD heal, mist and recover some of that magicka you just spent. If you’re playing with more than four people often, I’d switch morphs but this and Radiant Glory are fundamental for solo play.
- [Ultimate] Devouring Swarm (morph of Bat Swarm | World Vampire skill line) – When I’m getting zerged down (meaning 10 people are chasing me in the middle of no where), I’ll cast this, hit an immovability potion, bar swap and Sweeps. You’d be surprise how many people will sit in this effect and get destroyed from the combo. Some fights you just can’t get out of or some zergs of people won’t leave you alone, but you can make a last stand and get AP from them 🙂
Combos and Counters will be shown in video series.
Gear
At first glance this is a very odd gear setup but it’s effectiveness cannot be denied. You get the benefit of Seducer reduced cost on your Sword and Board bar so you have high cost helpful skills there. And you get all the offensive power from Kags on Dual Wield when you charge in (Big Ernie’s suggestion). It works very very well.
- Seducers – Three trait craftable gear which is very easy to obtain. Keep in mind, you get more magicka recovery on your Sword and Shield bar so even while walking around, make sure you’re on that bar.
- Kagernac’s Hope – Eight trait craftable set that is a little more complex to get. The crafter must have completed the Fighters Guild story line in order to access the crafting area but a lot of players have eight traits by now. If you wanted more burst, you could go with Clever Alchemist but you’d have much less sustain.
- Willpower – Found via keys in Imperial City or buying them guild traders/players it’s pretty easy to get. If you cannot afford Arcane jewelry, just get robust as placeholders because the 2/3 pieces are insanely powerful for PvP.
- Molag Kena – Final boss of White Gold Tower drops the helm or you can get the shoulder from Undaunted keys or you can sometimes buy the helm from PvP vendor for gold or AP. Either way, it’s not very hard to obtain, but anything that gives a one piece bonus could be used here if you don’t have Kena.
Unbuffed DW stats | Unbuffed Sword and shield stats (zero Cyrodiil bonuses like Emperor, offensive scrolls etc)
Champion Points
Since my CP is far different than Bee’s I’m going to give you both to play with. My relies more on burst with DB while her offensive tree benefits heavy from Sweeps.


Race, Mundus and Vampire
- RACE – I’ve played this build on a High Elf, Dunmer and Imperial and I can tell you High Elf is by far the best. Can you play this on anything else? Sure, but the best performance is High Elf.
- ATTRIBUTES – all into magicka.
- FOOD – Tri-stat for the extra stamina pool CP 150 purple.
- MUNDUS – Atronach for recovery.
- VAMPIRE – An absolute must for mobility, if you don’t have Mist, you won’t be able to escape solo.
Once again I’d like to thank Bee and Big Ernie for creating something so powerful, simple and effective that it’s a classic build for Magplar PvP in ESO Patch 2.5. Give it a try and leave me a comment on how it worked for you!
 Reddit
 Email
Email


Comments are closed.