 Facebook
 Reddit
 Email
Email
Welcome to our ESO Veteran Maw of Lorkhaj Guide, a lengthy, in-depth look into the basic mechanics of Veteran difficulty.
Table of Contents
This will be a lengthy, in-depth look into the basic mechanics of Vet Maw and some of the things you can do to combat them. As well as some quick tips that could help you out in your Maw endeavors!
Why?
 Perhaps some of the readers here have not had much interest in Veteran Maw of Lorkhaj… maybe some people have been intimidated by what they have heard about it… maybe some just need a reason to do it. That’s what this section of the article is for! Apart from the fun of working hard at something and overcoming a challenge and a journey with your peers, completing Veteran Maw of Lorkhaj offers best in slot gears that are both useful in PvP and PvE like Alkosh which debuffs both resistance types and adds a Damage over Time (DoT) to the target when synergized, Moondancer which is a spell damage godsend for all you who like to see that spell damage skyrocket, and Twilight Remedy which is one of the few true healer/support sets available… You also get this fancy costume 😉 And if it intrigues you and your friends, a chance to dominate the leaderboard!
Group Play
First and foremost I wanted to go over the importance of group play and teamwork. In any 12-man trial the absolute best way to handle anything is as a team and to support each other through your journey through such mystical places. As a result I will give you an idea of some of the things you can do in whatever role you play to be the best teammate you can be!
- Tank – Let’s start off with the Tank role. This is a very misunderstood role a lot of the time. A majority of players like to gauge how good a tank is on how “Tanky” they are and that is certainly something to be proud of! But you don’t want to be without use, especially in a raid scenario. So what makes a good tank then Kuscoe? Well, a good tank would be someone who provides some sort of group buff (or multiples) whilst still maintaining the basic positioning, resource management, and aggro management as any tank should. To give some idea to any tanks out there looking to be the best they can be, you should look into sets like Tava’s Favor, Alkosh, Ebon Armory, Worm Cult and many other sets. There are many skills too that any tank should almost always use, such as Heroic Slash (damage debuff), Aggressive Warhorn (group increase damage) , and Pierce Armor (for major resistance debuffs).
- Healer – As a healer in 12-man content, and in general, your role strays slightly away from that of a strict “healer” and more towards a Support role. You fulfill that is by, you guessed it, buffing your group. Now how do we do that as best we can in Vet Maw? For starters an absolute must if you have had the luck to obtain it is the Spell Power Cure set obtainable from White Gold Tower this set effects six players at a maximum so you will need both your healers running it. Unfortunately there isn’t a lot of diversity in what healers can run in a 12-man raid group like this but I’ve heard rumors about a set coming out in the upcoming patch directed at healers! Apart from gear sets, healers should be running specific skills to buff their group as well. Some of those skills being Elemental Drain (resource return of magicka users), Spear Shards (resource return for stamina users), Siphon Spirit (magicka and health return), Mystic Orbs (magicka return upon use), and anything else to help sustain your DPS’s resources and increase their damage.
- Damage Dealer (DPS) – And last but certainly not least we have, in my opinion, one of the most important roles, DPS! Like your healers and tanks, some of your DPS will be doing support builds to increase raid wide DPS. They may or may not be at a personal loss for their DPS but so long as the raid wide DPS is increased they have played their role! And well! The interesting thing about DPS is you will need buffs for both magicka DPS and stamina DPS which means you will need sets like Night Mother’s Gaze to debuff the physical resistances of the mobs you encounter or Infallible Aether to give damage increases against the targets affected by this debuff. I won’t go over them all because there are so many! However what I will say is that some of these debuffs will vary in importance based on the amount of stamina DPS and magicka DPS you have so you as a raid group will need to decide and test whether or not certain things are worth it for you!
And that’s it! If you have ever heard the phrase “teamwork makes the dream work,” that is certainly the case here and will promote a fun and effective raid environment for you and your team to dominate your journeys!
Initial Trash
First off we will start with the trash (or non essential enemies) because that is what you will be walking into first, no bosses just yet… only a few (who am I kidding?) khajiits to deal with.
- Immediately you will see a mob called a Cursed War Priest or Scholar These guys are fairly squeamish and shouldn’t give you any trouble the only thing they do that might be worth mentioning is they will apply a snare to enemies they attack.
- After dealing with the the Cursed Khajiits you will have 3 elites spawn….
- A Sun Eater, A Dreadstalker, and a Shadowguard…
- In the current meta/power level it is best to focus down the Sun Eater and thus I will break down his particular mechanics first.
SUN EATER MECHANICS (CASTER)
- The absolute most dangerous thing he does is put down an AoE (area) silence or negate called Eclipse Field that will damage you whilst you are in it. If you are using spells you won’t be able to use skills either whilst you are in the negate. However if you are a stamina based character all of your attacks that use stamina for the most part can still be used in the negate. Make sure you are spreading away from the Sun Eater when you hear her screaming as that is the tell she is about to cast the field and because of how dangerous it is you want to have the least group coverage as possible.
- The second mechanic he has is a frontal cone attack called Dark Torrent this isn’t to much to deal with but as with anything you want to avoid the damage it does and you can do that by getting behind the mob as he casts this ability which you can see by him throwing his left paw up into the ground
- And that is all the mechanics you need to know for her the one other thing I will mention is her basic light attack is called Void Bolt and can be deadly.
- NOTE: You cannot “counter” Negate the Eclipse Field,
SHADOWGUARD MECHANICS (SWORD AND SHIELD)
- This mob does 3 attacks, the most dangerous being Shadow Slash, a hard hitting AoE that will kill many people if not managed correctly.
- He also does two less worrying attacks which are relatable to a Power Bash that tanks need to make sure to block and a Shield Charge.
- There isn’t really any management needing to be done with these mechanics other than the Shadow Slash, which you can manage by making sure you keep Minor Maim (Heroic Slash) on the mob aswell as blocking the AOE… the way you can tell it is coming is he will do a Power Bash before the AoE so just pay attention to him and you will know exactly when to block. In addition to those things stamina DPS can run deadly cloak for AOE damage mitigation and if you want, you can run a Nova or a Veil of Blades.
DREADSTALKER MECHANICS (ARCHER)
- Finally we have the Dreadstalker, depending on the circumstances he can be very dangerous but like the Sun Eater only has two things you need to worry about
- The first I will go over is his kitties, after you engage him he will use a ability reminiscent of Mark Target, the Nightblade ability and will periodically spawn panthers to come attack the marked individual. The longer he is alive the more panthers will spawn until it eventually wipes your group. If you are marked it, is a good idea in some cases to just run the panthers away from the group that way you aren’t taking the damage they do to you (Raking Claws) whilst also taking damage from things like Eclipse Field or Shadow Slash.
- The other attack he does is about a 170 degree conal AoE that has “safe zones” in between the partitions of the AoE. This attack will put a nasty bleed (DoT) on you so it is a good idea to have your tanks turn the archers away from the group and your DPS and Healers position themselves in a way that they won’t be affected by this really nasty DoT
Now that I have gone over the mechanics of each individual mob I will go over how the CSH raid group currently handles this. After the Cursed Khajiits are clearedm we head toward the spawn of the Sun Eater and drop our ultimates on him getting him down as quickly as possible. Whilst we are doing that our tank is stacking the other two mobs for us to attack when we are done with the Sun Eater… Once dead we go over to the rest of the mobs (stacked up and ready to kill) and start DPSing them both down, making sure to block the Shadow Slash and avoid the Ruthless Salvo (Archer bleed). After that we head through the door located to the northwest and continue on. Once you’ve headed through that doorway more Cursed Khajiits will spawn and you can completely ignore them heading to the spawn location of the Sun Eater, which will be an archway located to the north. Use your ultimates on the Sun Eater and get him down as soon as possible. While you are doing this your tank will be stacking up the Dreadstalkers and the Shadowguard for your raid to AoE when done with the Sun Eater. After that, you will be introduced to another pull with all the same mobs plus a new Two-Hander wielding khajiit called a Savage.
He isn’t particularly hard to deal with but he does have some mechanics you need to manage. His most dangerous mechanic is his armor shatter he will do an animation where he slams his two hander on the ground and will bring your armor to 0. This attack has an AoE radius and will need to be removed from the group to avoid taking obscene amounts of damage. The other potentially dangerous thing he does is a frontal cleave all you really need to worry about with this is that the tank that is managing him isn’t facing him toward your group and causing them to take more damage than needed.
The way CSH handles this pull is to, like always, first focus down the Sun Eater, while doing that Tanks will be stacking mobs for the group (all of them even the two hander) and positioning them in a way that will cause the least amount of raid wide damage so we can AoE them down and get them gone as quickly as possible… After that we move up the stairs and onto the first boss.
Zhaj’hassa The Forgotten
Aka The Forgotten Kagit

 Now you’ve made it to the first boss of Maw a giant two handed wielding khajiit which we will go over the mechanics below:
- Curse – At various times in the fight the Boss will shoot out three projectiles and “curse” three individuals who will have 20 seconds to cleanse themselves. It is important to know that this mechanic works a little bit like the poison in Sanctum Ophidia Trial where it has a contagiousness period. What will happen is you will see the boss animate his curse by pulling his arm into his chest and then throwing his fist into the air, shooting three projectiles onto three random raid members, they will get a small red circle under them indicating two things, one that they have been cursed, and two that they are contagious. For someone else to get cursed they would have to be in the red circle of another player as it dissipates. Once the red circle does dissipate you are no longer contagious and are free to move around as you need to in order to deal with the mechanic.
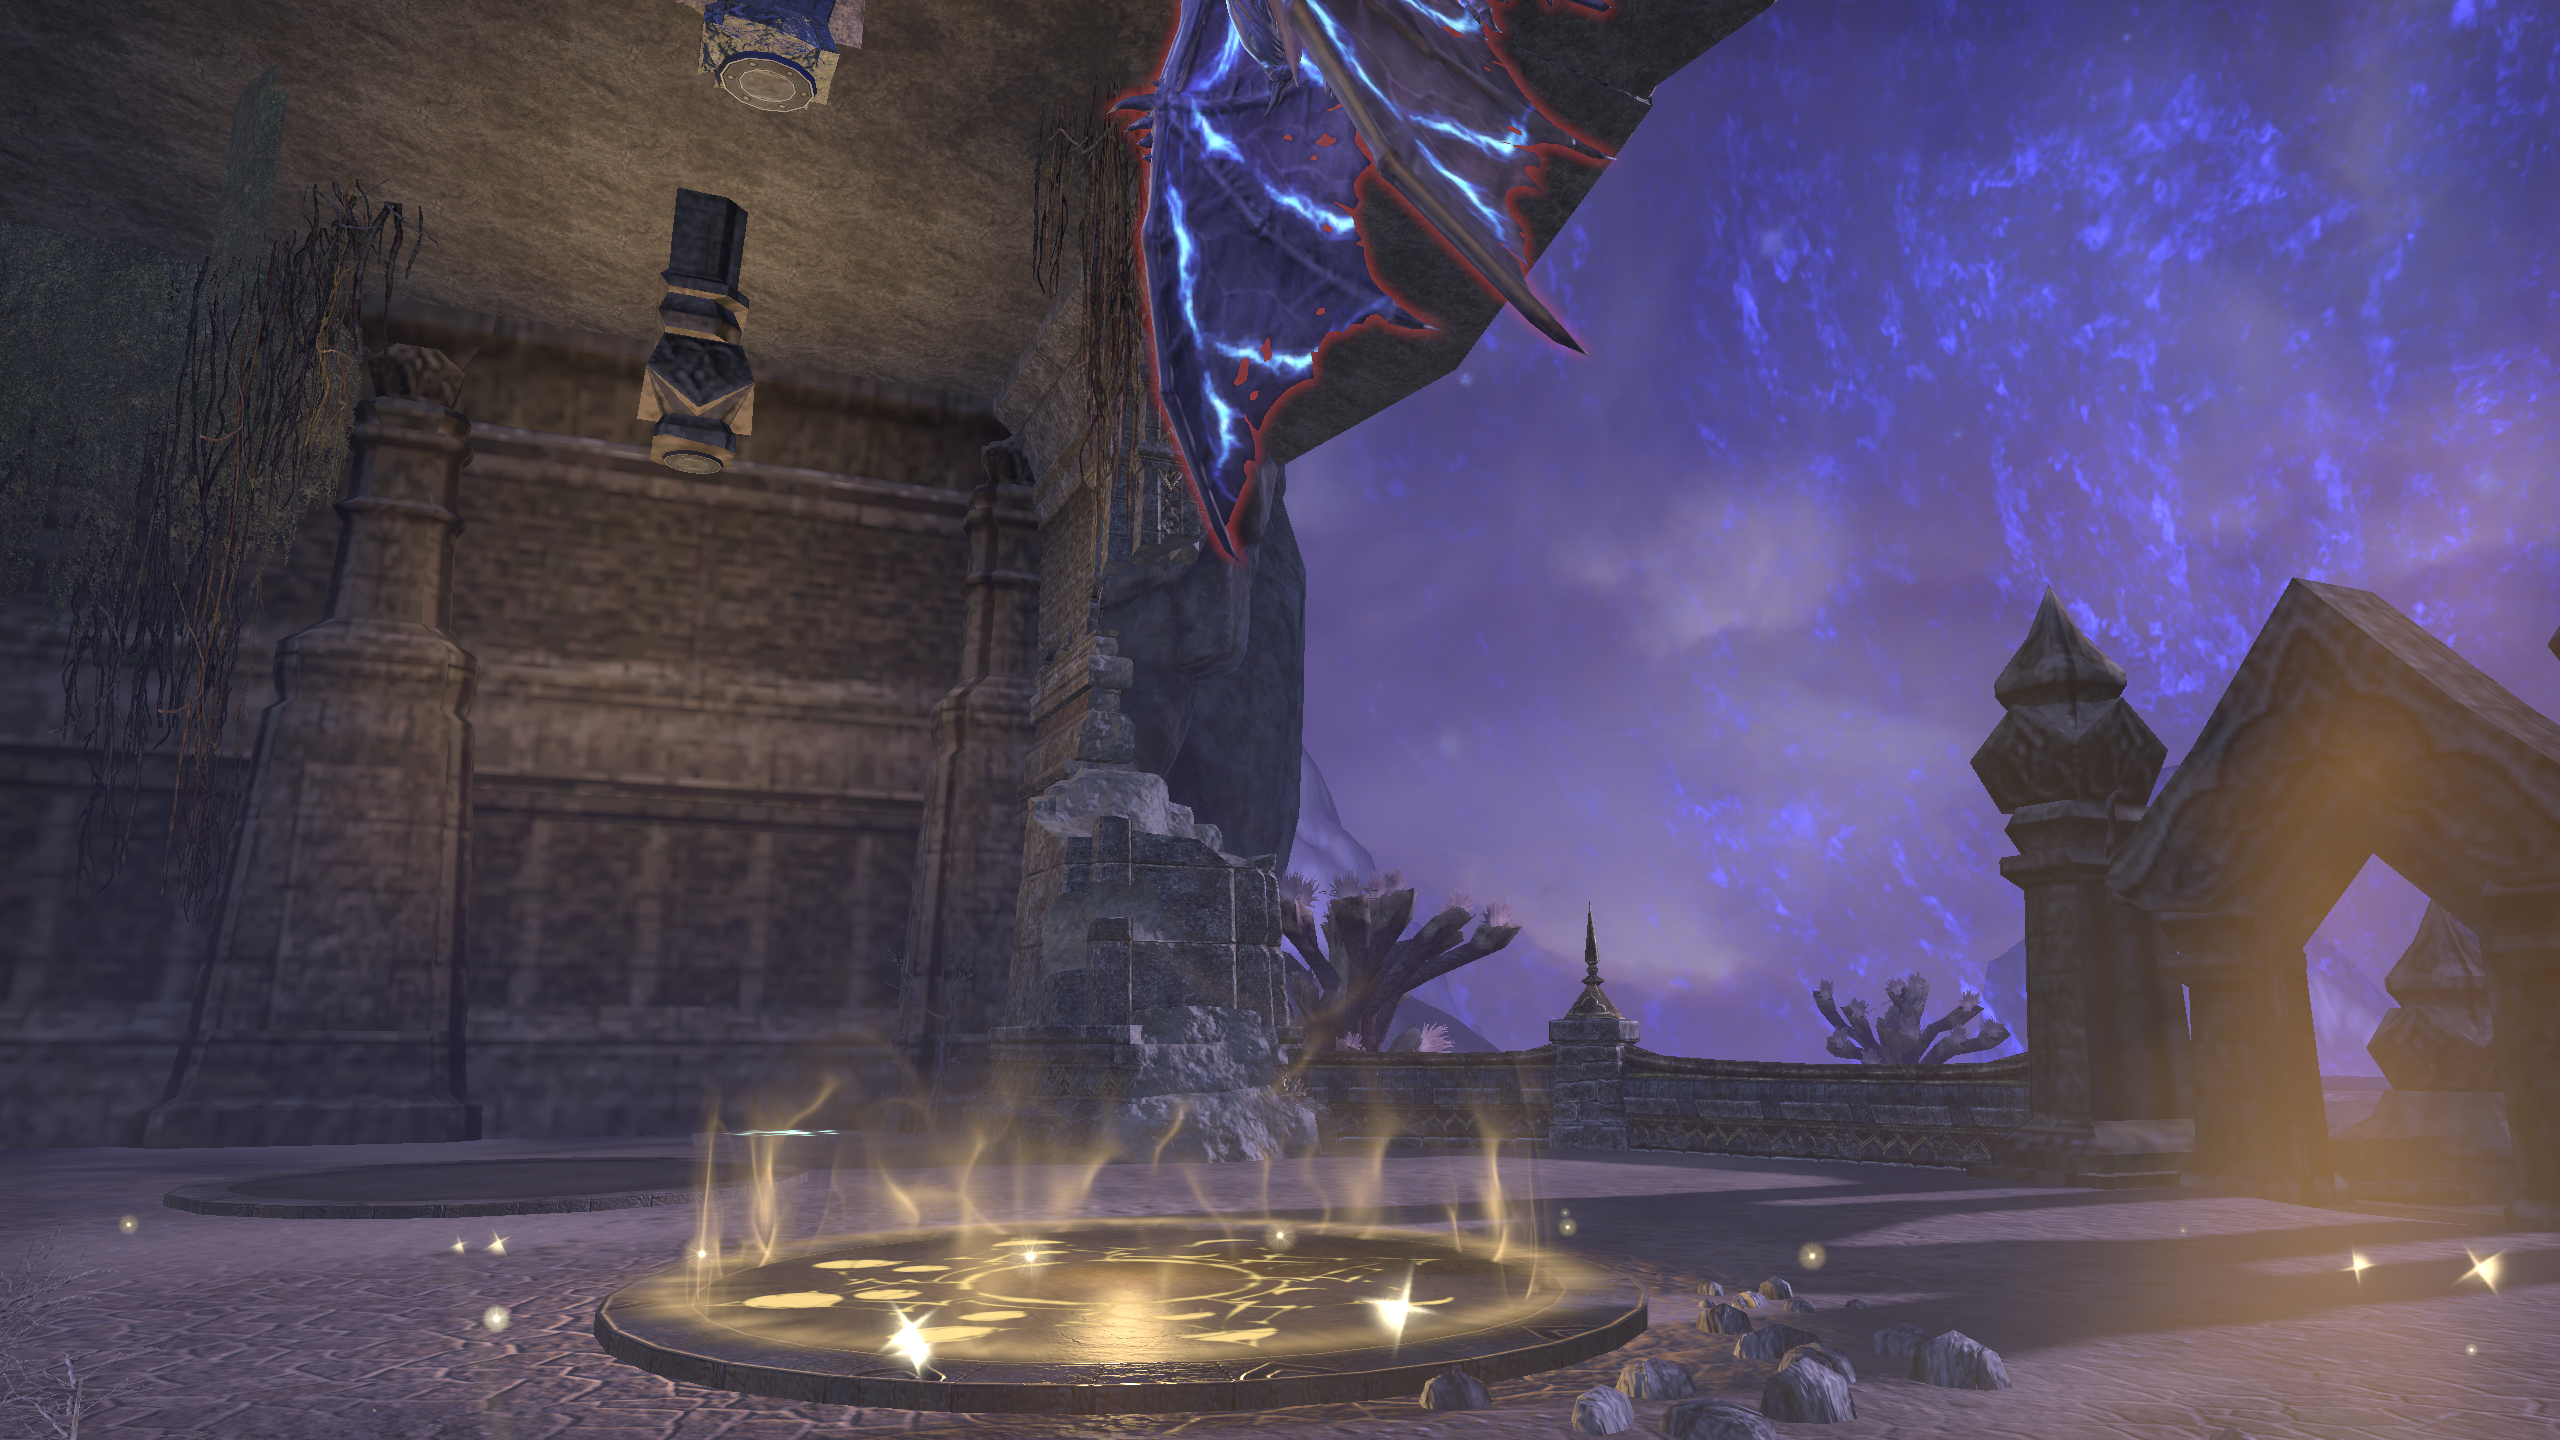
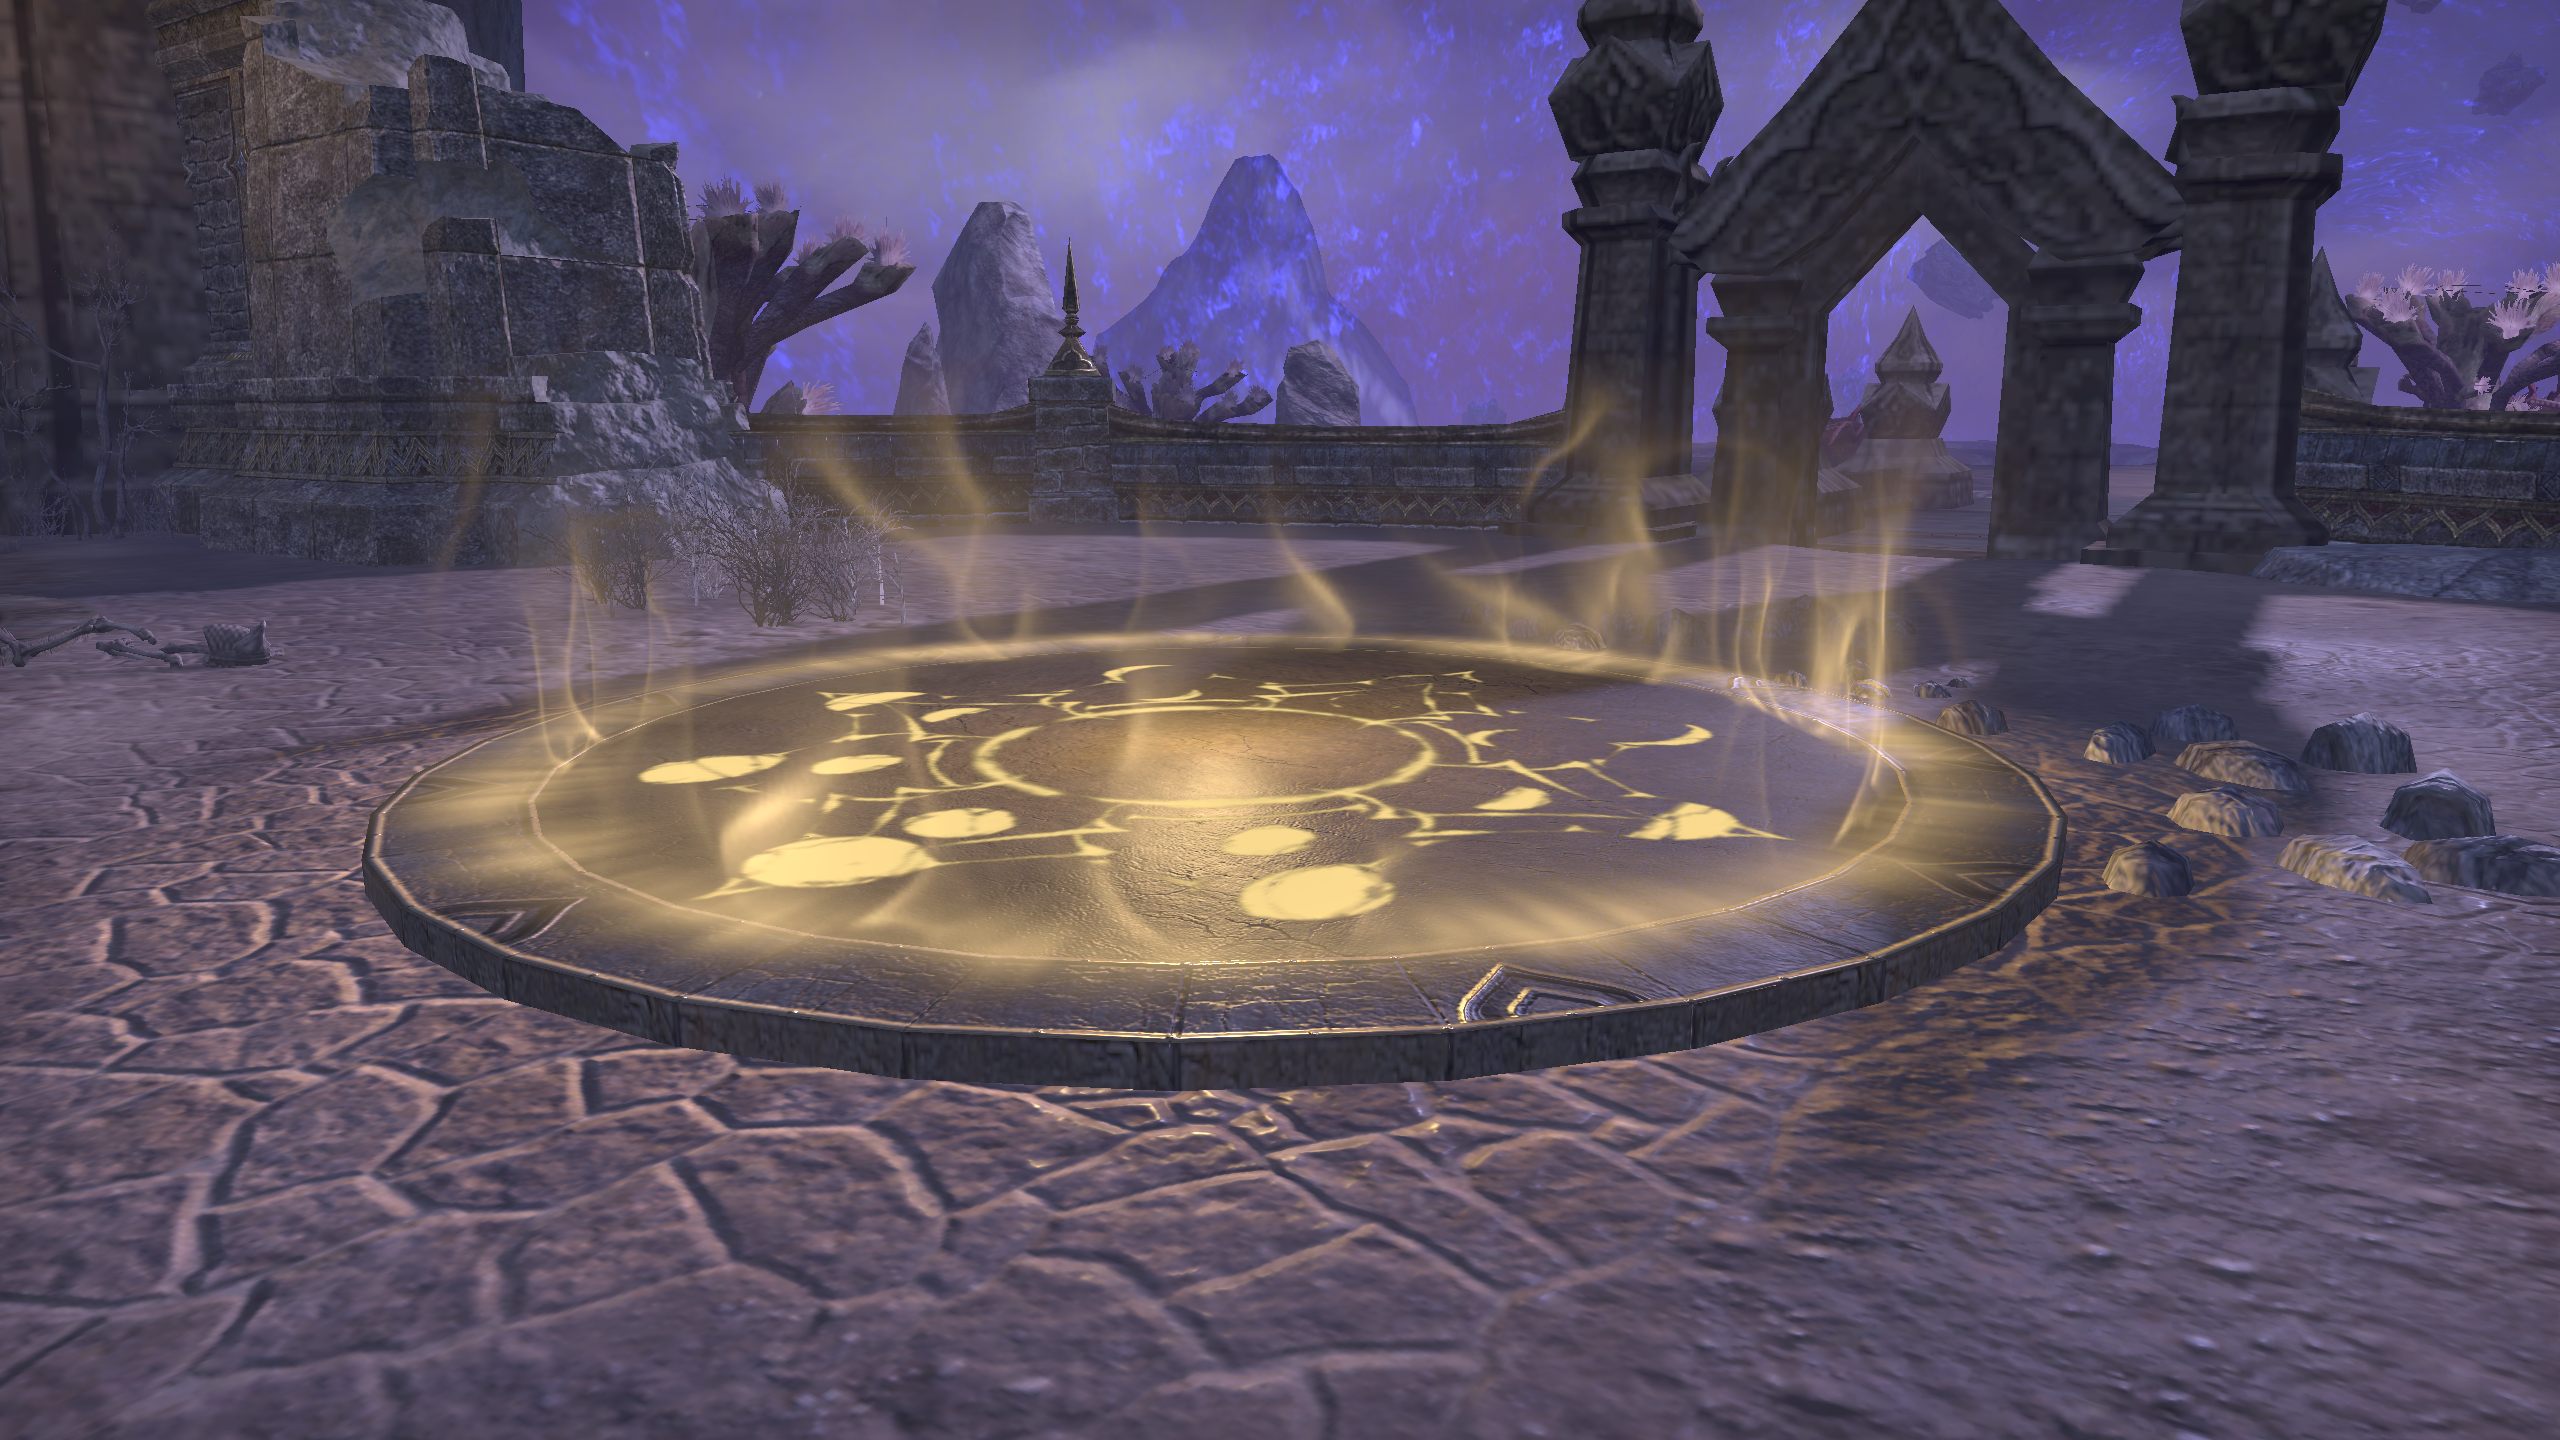
- Cleanse Pads – After the red circle from the Curse dissipates, you will need to cleanse yourself of the Curse otherwise you will begin to be snared until you cannot move and will eventually die from the mechanic. So you cleanse yourself by going to a pad. There are six pads spread out around the room. Once you take a cleanse pad it will be on cool-down (CD) for 25 seconds so it is very important that you maintain your positioning and do not spread curse otherwise there will be no cleanse pads and you won’t be able to survive.
- Panthers – at fifths of the bosses health (20/40/60/80&), he will spawn panthers that are untauntable and deal deadly damage. At 80& he spawns two and increases the amount he spawns at each interval by one each time he hits the next health percentage. Ending on the last percentage (20) and spawning five panthers. Dealing with the panthers is fairly simple, you will need someone in melee range to be running Dragonknight Chains and either the same person or another person in melee range to run Talons or some other rooting ability (perhaps Bow Bombard which does not need to be used in melee). Once they spawn chain them in, CC them with Talons, and let them passively die to ground AoE. You may need to focus the cats if your DPS is having trouble with them or you are having trouble getting them into center in time. Do not let mechanics stack, what I mean by that is you shouldn’t be entering any other phases while cats are still up. Chain them quick, kill them, and move onto the next phase of the fight.
 Shatter – Periodically throughout the entirety of the fight the boss will spawn pillars. Once five of them spawn he will begin channeling a room wide wipe mechanic. In order to avoid wiping you must break positioning and seek out the nearest pillar and line of sight the pillar between you and the boss (stand behind the pillar with the boss in front of you). This eventually becomes and enrage mechanic as well, where if you are taking to long to kill the boss the amount of pillars, the boss spawns with dwindle and the amount of time in between shatters with shorten as well… speeding up until there are no pillars and thus nowhere to hide from the room wide wipe. It’s important to know that the pillars are placed on the furthest person from the boss and if you are in the red AoE when he spawns one it will damage and knock you back however that can be blocked. The enrage for this boss is about 7 minutes and 30 seconds.
- Shield Phase – at 71 and 31% the boss will go into a burn phase in which he puts a shield on himself that you must DPS through in order to stop the impending wipe. During this phase you will have a small AoE under you pulsing for damage so it is very important to maintain your positioning on this phase otherwise people will die due to stacking, unhealable damage. Occasionally you will have a Shatter phase just before a shield, do not slow DPS, instead continue DPSing follow the mechanics of the shatter phase and quickly get into position for shield phase. At 71% his damage shield is 1.8 million and at 31% it is 2.8 million. Also because it is a shield it is uncrittable.
Now I will go over the flow of the fight and how I do it with CSH:
We come into the room and get ready by the pad we like to start at, place down our Trap Beast and other precast skills for the best amount of burst we can get. Once the boss spawns the tank immediately taunts him and positions him around all our DPS and we basically burn him. He will do curse and he will send out pillars periodically try not to get stunned by them, make sure you aren’t overlapping curses and continue to DPS. Aat 80% he will spawn panthers, chain them into the center and CC them so the die to your AOE’s. Shortly thereafter, the panthers spawn we start entering the shield phase, if we have a Nova from a DPS we use it if not we make due without. Once we are through shield phase it is likely he will do his shatter mechanic so we anticipate that and then follow the mechanics of it as needed to prevent death. After returning from that the boss will be somewhere around 60% and we can start dealing with the next panther phase. Panthers spawn, we chain and CC them, whilst also dealing with curses and shatters throughout the whole fight. Eventually we get to 40% and deal with another set of panthers… making sure to kill them before the impending shield phase at 31%. Shield phase comes and we burn through mitigating if we have the ultimate to (Nova/Veil) making due if not, and continuing to burn boss to the next and final phase. Finally, we get 5 panthers at 20% so we burn to 20, chain in and CC the panthers, whilst killing the boss dealing with curses and shatters as we need to until he is eventually dead.
There are many ways to position yourself on this boss so you can do it however you like this is just the way we have been doing it up til this point.
Ogre Trash
After the first boss you will continue up a ladder and into your first pull after the first boss. Which will consist of a Ogre Shaman and a bunch of basic Ogre Brute adds. The important one, The Ogre Shaman has 2.8 million health and is by far the most dangerous thing in this trash pack. His mechanic that he does is a channeled heal that he casts that also does damage! When he throws his fist up in the air he starts casting a heal on any ogre mob in about a 28 meter range of him. The interesting thing about this heal is it also damages you if you are in the radius of the effect. So there are two ways you can deal with this trash depending on your DPS you can either run in together and AoE all the ogres down so that the healing/damaging ability the Shaman does doesn’t wipe your group, or you can pull the shaman away and have a tank take the Brutes and have your raid group burn down the Shaman and then focus the adds.
After the Ogre pull, you will have another standard Khajiit pull. Priority focus the Sun Eater down while your tanks are stacking up the trash. Once the Sun Eater is dead move to the stacked mobs and AoE them down making sure to manage to avoid and mitigate all the mechanics the mobs do (Shadow Slash, Armor Shatter, Archer AoE).
Once you’ve killed all the Khajiits, you will come up on a pull that will consist of a few Ogre Brute, an Ogre Shaman, and a new mob a Flesh Renderer.
The Flesh Renderer is highly dangerous because he does a large radius AoE knock-back that puts a bleed on you and snares you whilst he is screaming. In order to stop him from screaming simply interrupt him. The thing about the Ogres is that their mechanics are on the same timer so at the same time the Shaman starts his channel the Renderer will do his scream. In combination, not handled properly, can be a highly dangerous situation.
There are a few ways to deal with this trash pack that you will ultimately have to decide on. I would have to say the least dangerous way for most will be to have one tank take everything but the Ogre Shaman, have the other tank take the Shaman and then take it away from the Flesh Renderer and other mobs and burn it down and then AOE all the other mobs down.
The other way you can do this is by have someone who can perma interrupt the Flesh Renderer and to stack and AoE them down. Basically you go in, you have your tank aggro Shaman and bash interrupt him into the pillar they will be next to while making sure to kill the Ogre Brutes with your AoE so that the Shaman heal doesn’t do excruciating amount of damage to your raid and then AOE down the Shaman and Renderer while he is being perma interrupted (bashing over and over). It is dangerous because if your tank runs out of stamina the Renderer will do his knockback while your raid is right next to him and he will be enraged so it is extremely important in this method to make sure to constantly keep him interrupted.
After this pullm you have another standard Khajiit pack, focus the Sun Eater by the brazier at the left of the base of the hill by the pillar. Tanks should be stacking mobs while this is happening. After Sun Eater is dead kill the rest of the trash, and move onto the second loot event we like to call the Gauntlet.
The Gauntlet
This is going to be the second loot event (chest) in Vet Maw, luckily it doesn’t offer anything we haven’t seen mechanically already within the trial so we have that to our advantage. The important thing to remember about this is we know how to deal with the individual mobs its just kill order that we need to decide upon.
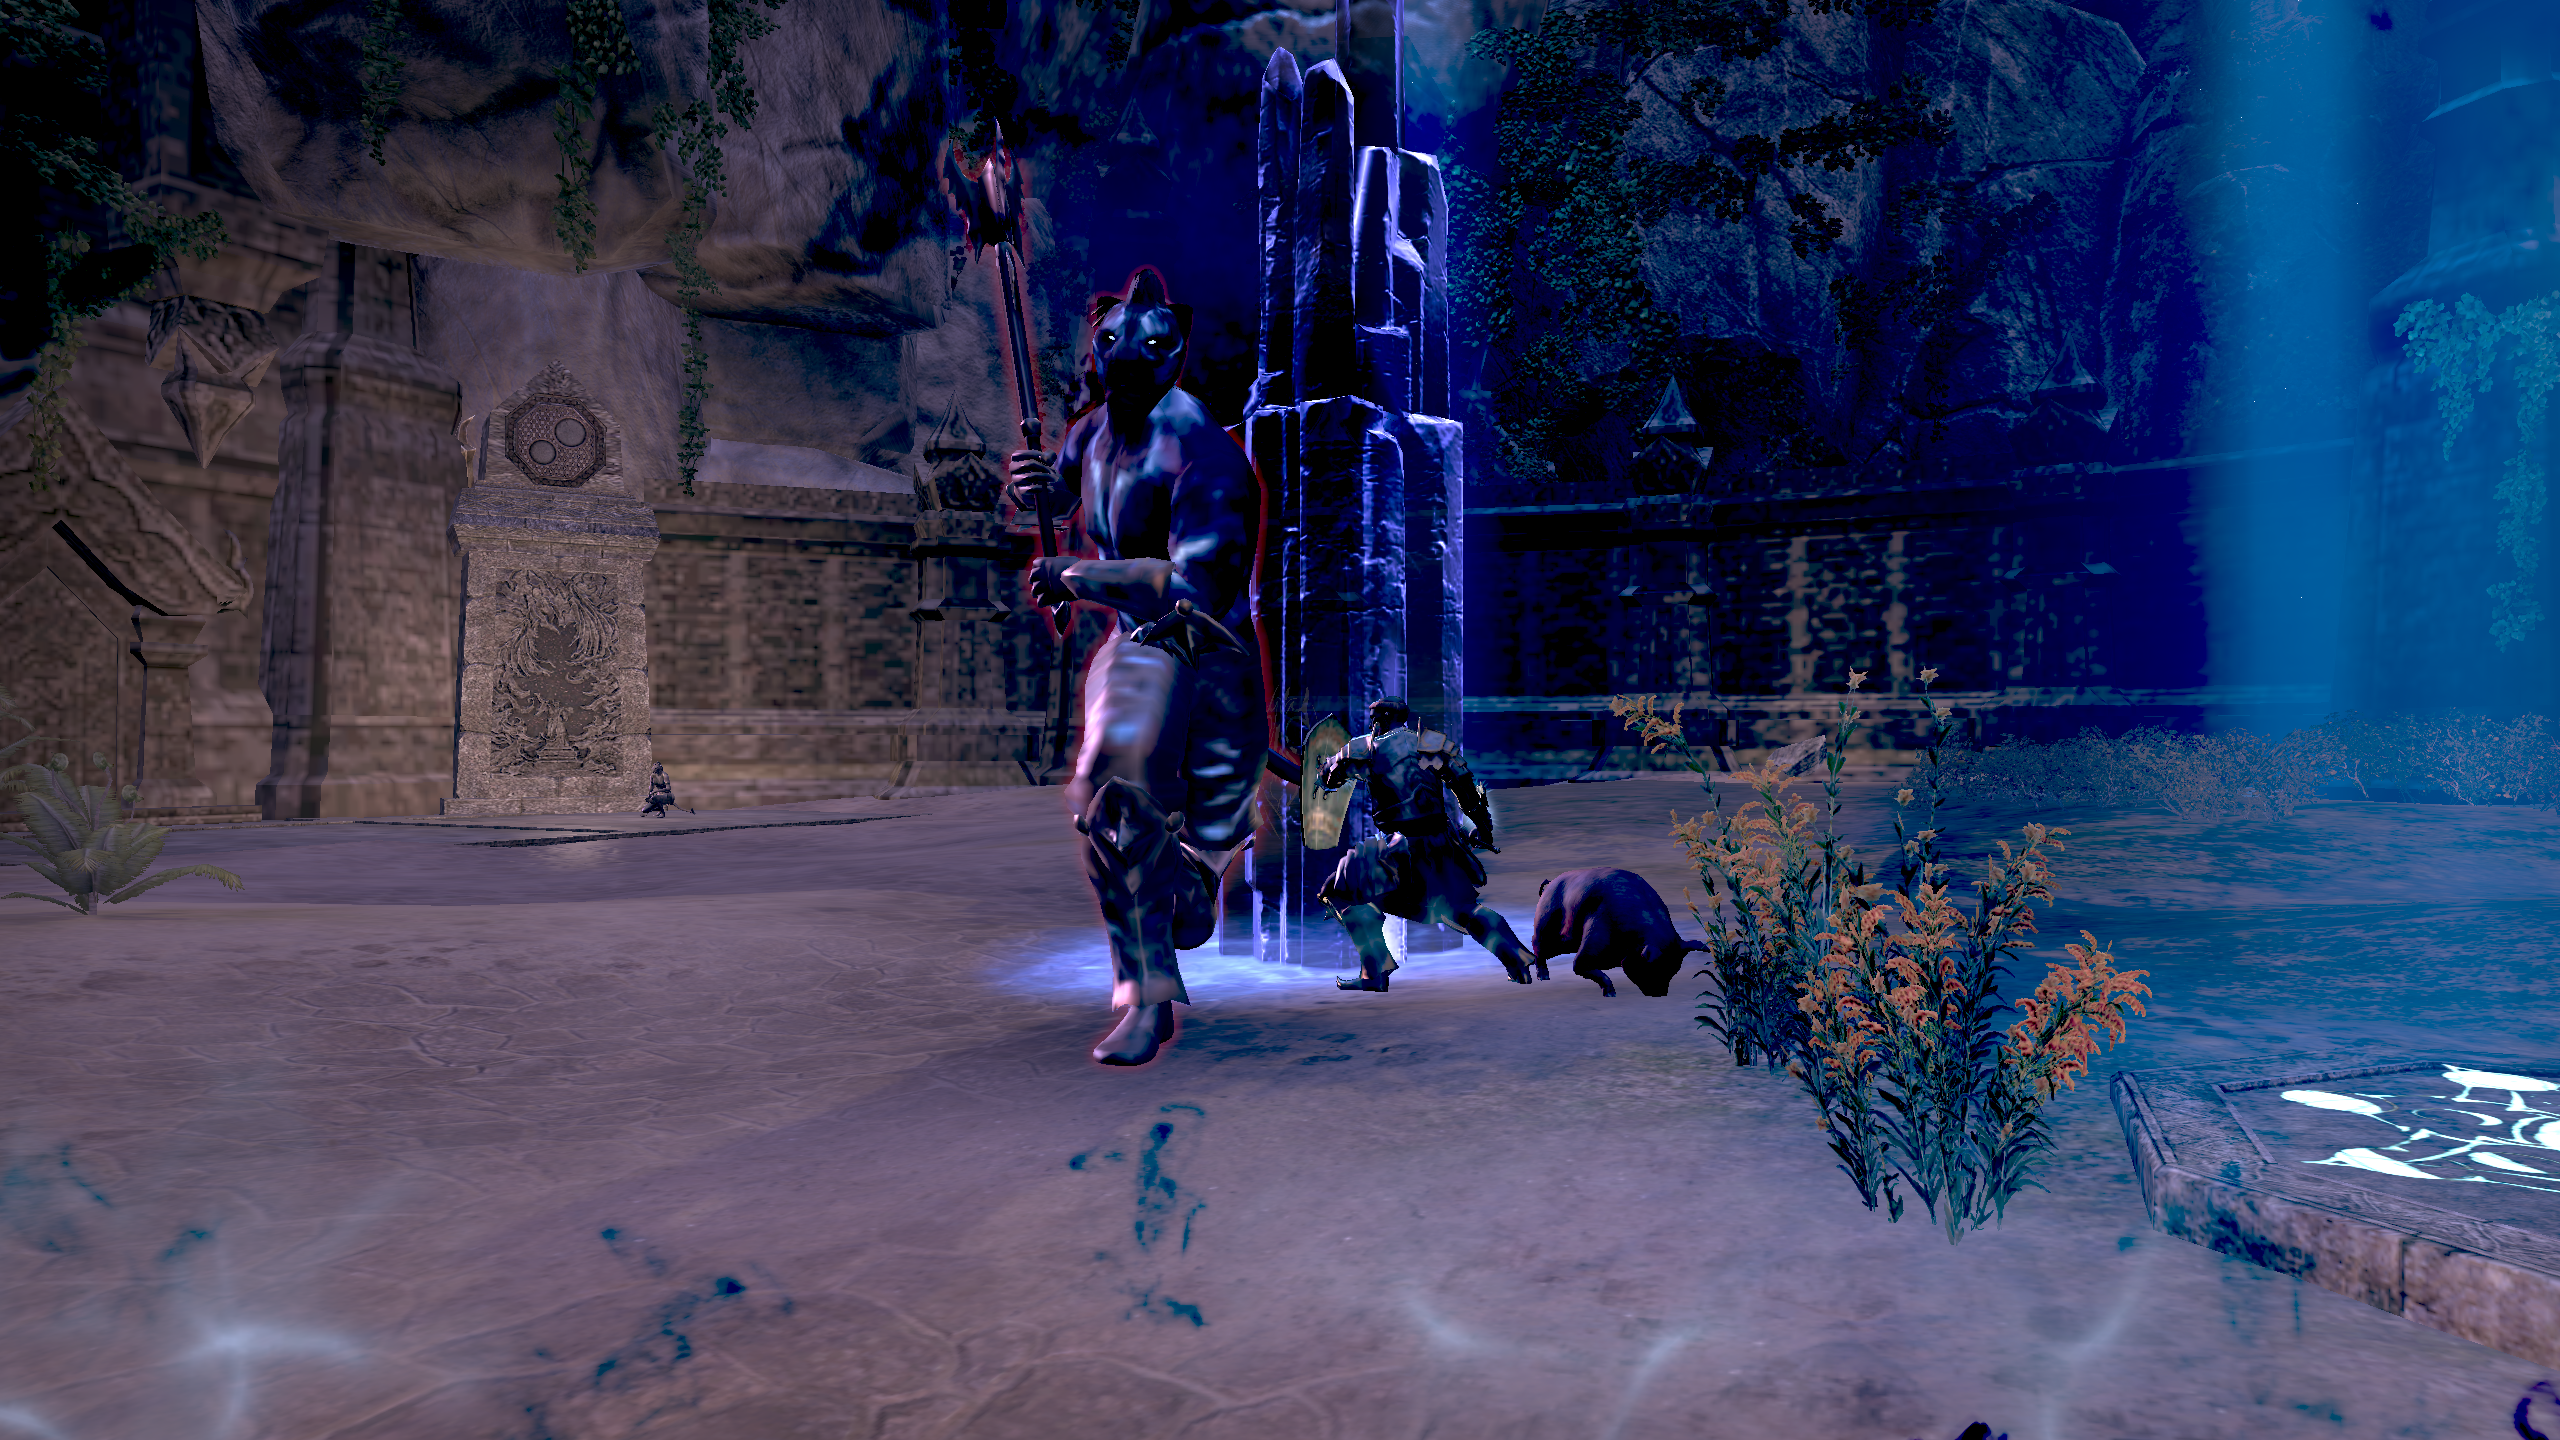
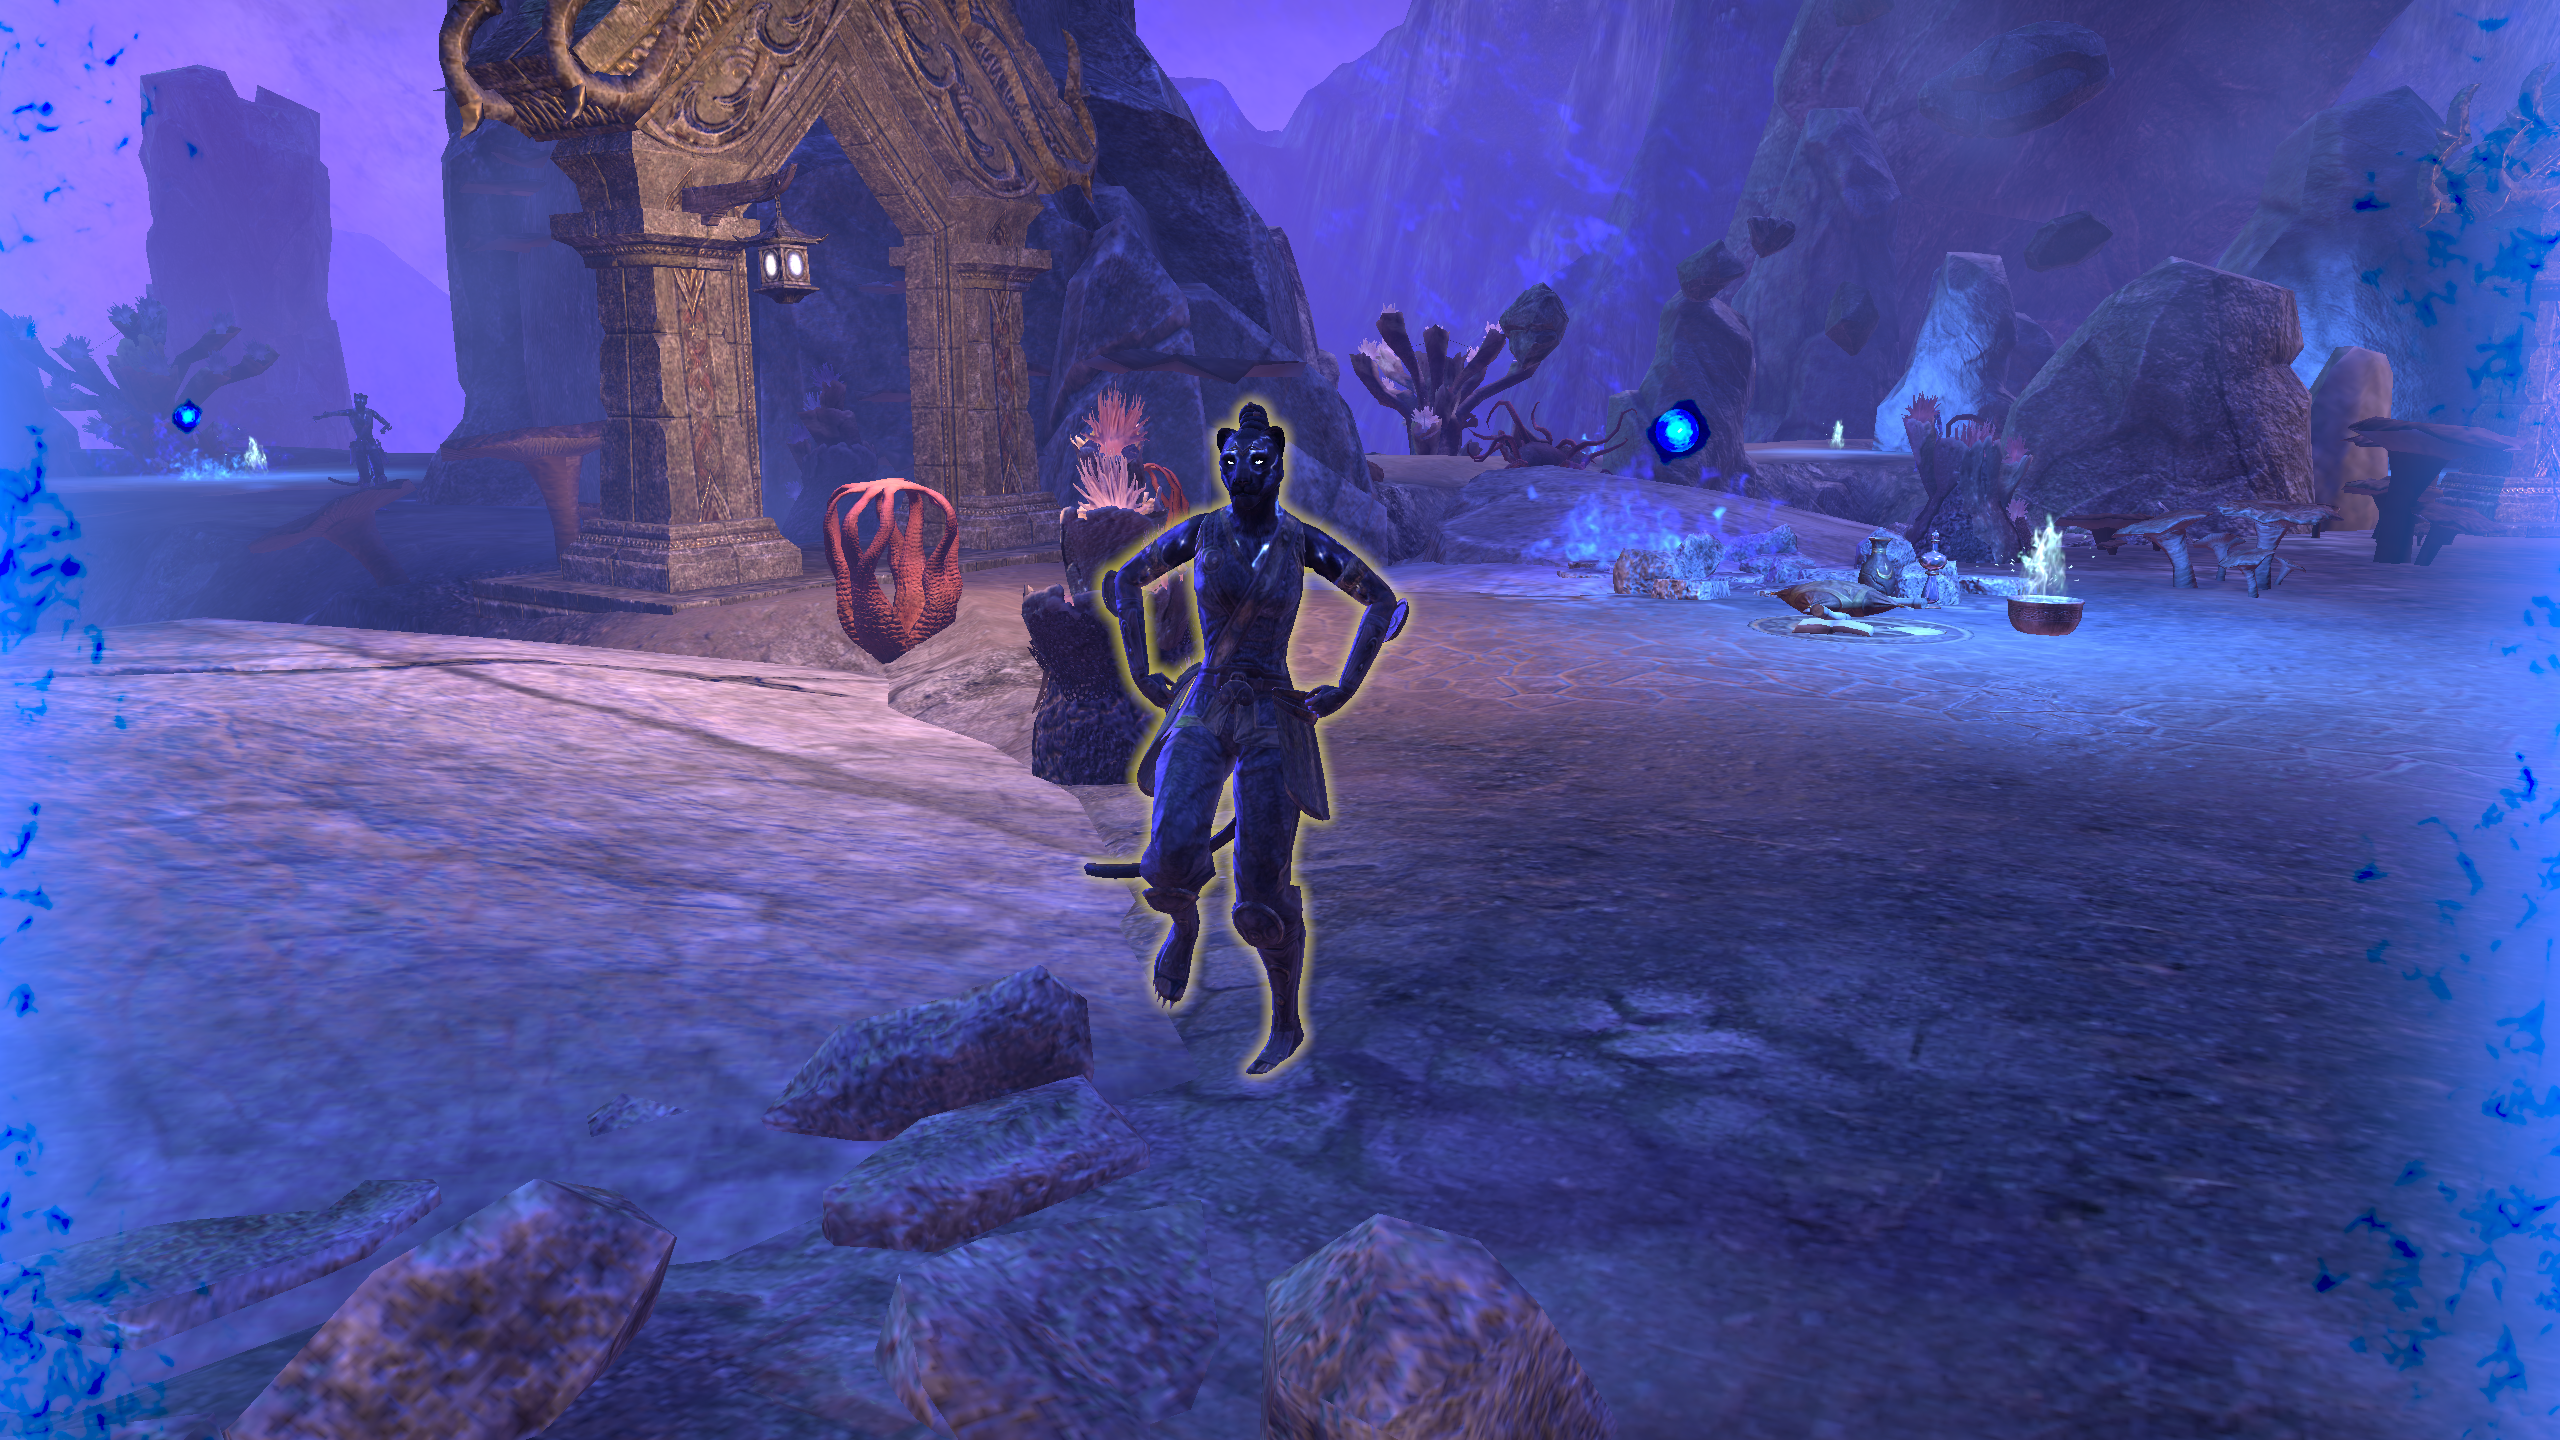
As you are approaching this event you will be heading down a hill to an open area, immediately take a left off the hill and to the left there will be a cave (Pictured). Shortly after you enter the cave two Ogre Brutes will spawn with an Ogre Shaman.
Kill those Ogres and have your other tank taunt the Flesh Renderer that spawns near the big golden gate and take him to the next priority spawn point. Kill the Flesh Render and then shortly after kill the Sun Eater which should spawn on top of you. When the Sun Eater is dead urgent priority adds are down and you just need to stack and AoE the rest. However you do need to hurry as this Gauntlet is on a timer so if you don’t kill the adds in the wave you are in the next wave may spawn while you are still dealing with the adds from the prior wave. After the second wave there will be two Renderer’s and an Ogre Shaman, pull the shaman away, get him down and then kill the Renderer’s (ideally near the next Sun Eater Spawn). Once you’ve killed the Renderer’s a Sun Eater will spawn… Have one of your tanks taunt the shaman and put him near the Renderer in order to simultaneously get the Sun Eater and the Shaman down but priority focusing the Sun Eater. Once both are down move to where the tank has stacked up the rest of the mobs in the wave, AoE them down and prepare for the final wave of adds. Once those adds are down go to the base of the hill next to the torch and kill the Sun Eater there, behind you there will be another so make sure to kill that after and then AoE down the final adds in the gauntlet.
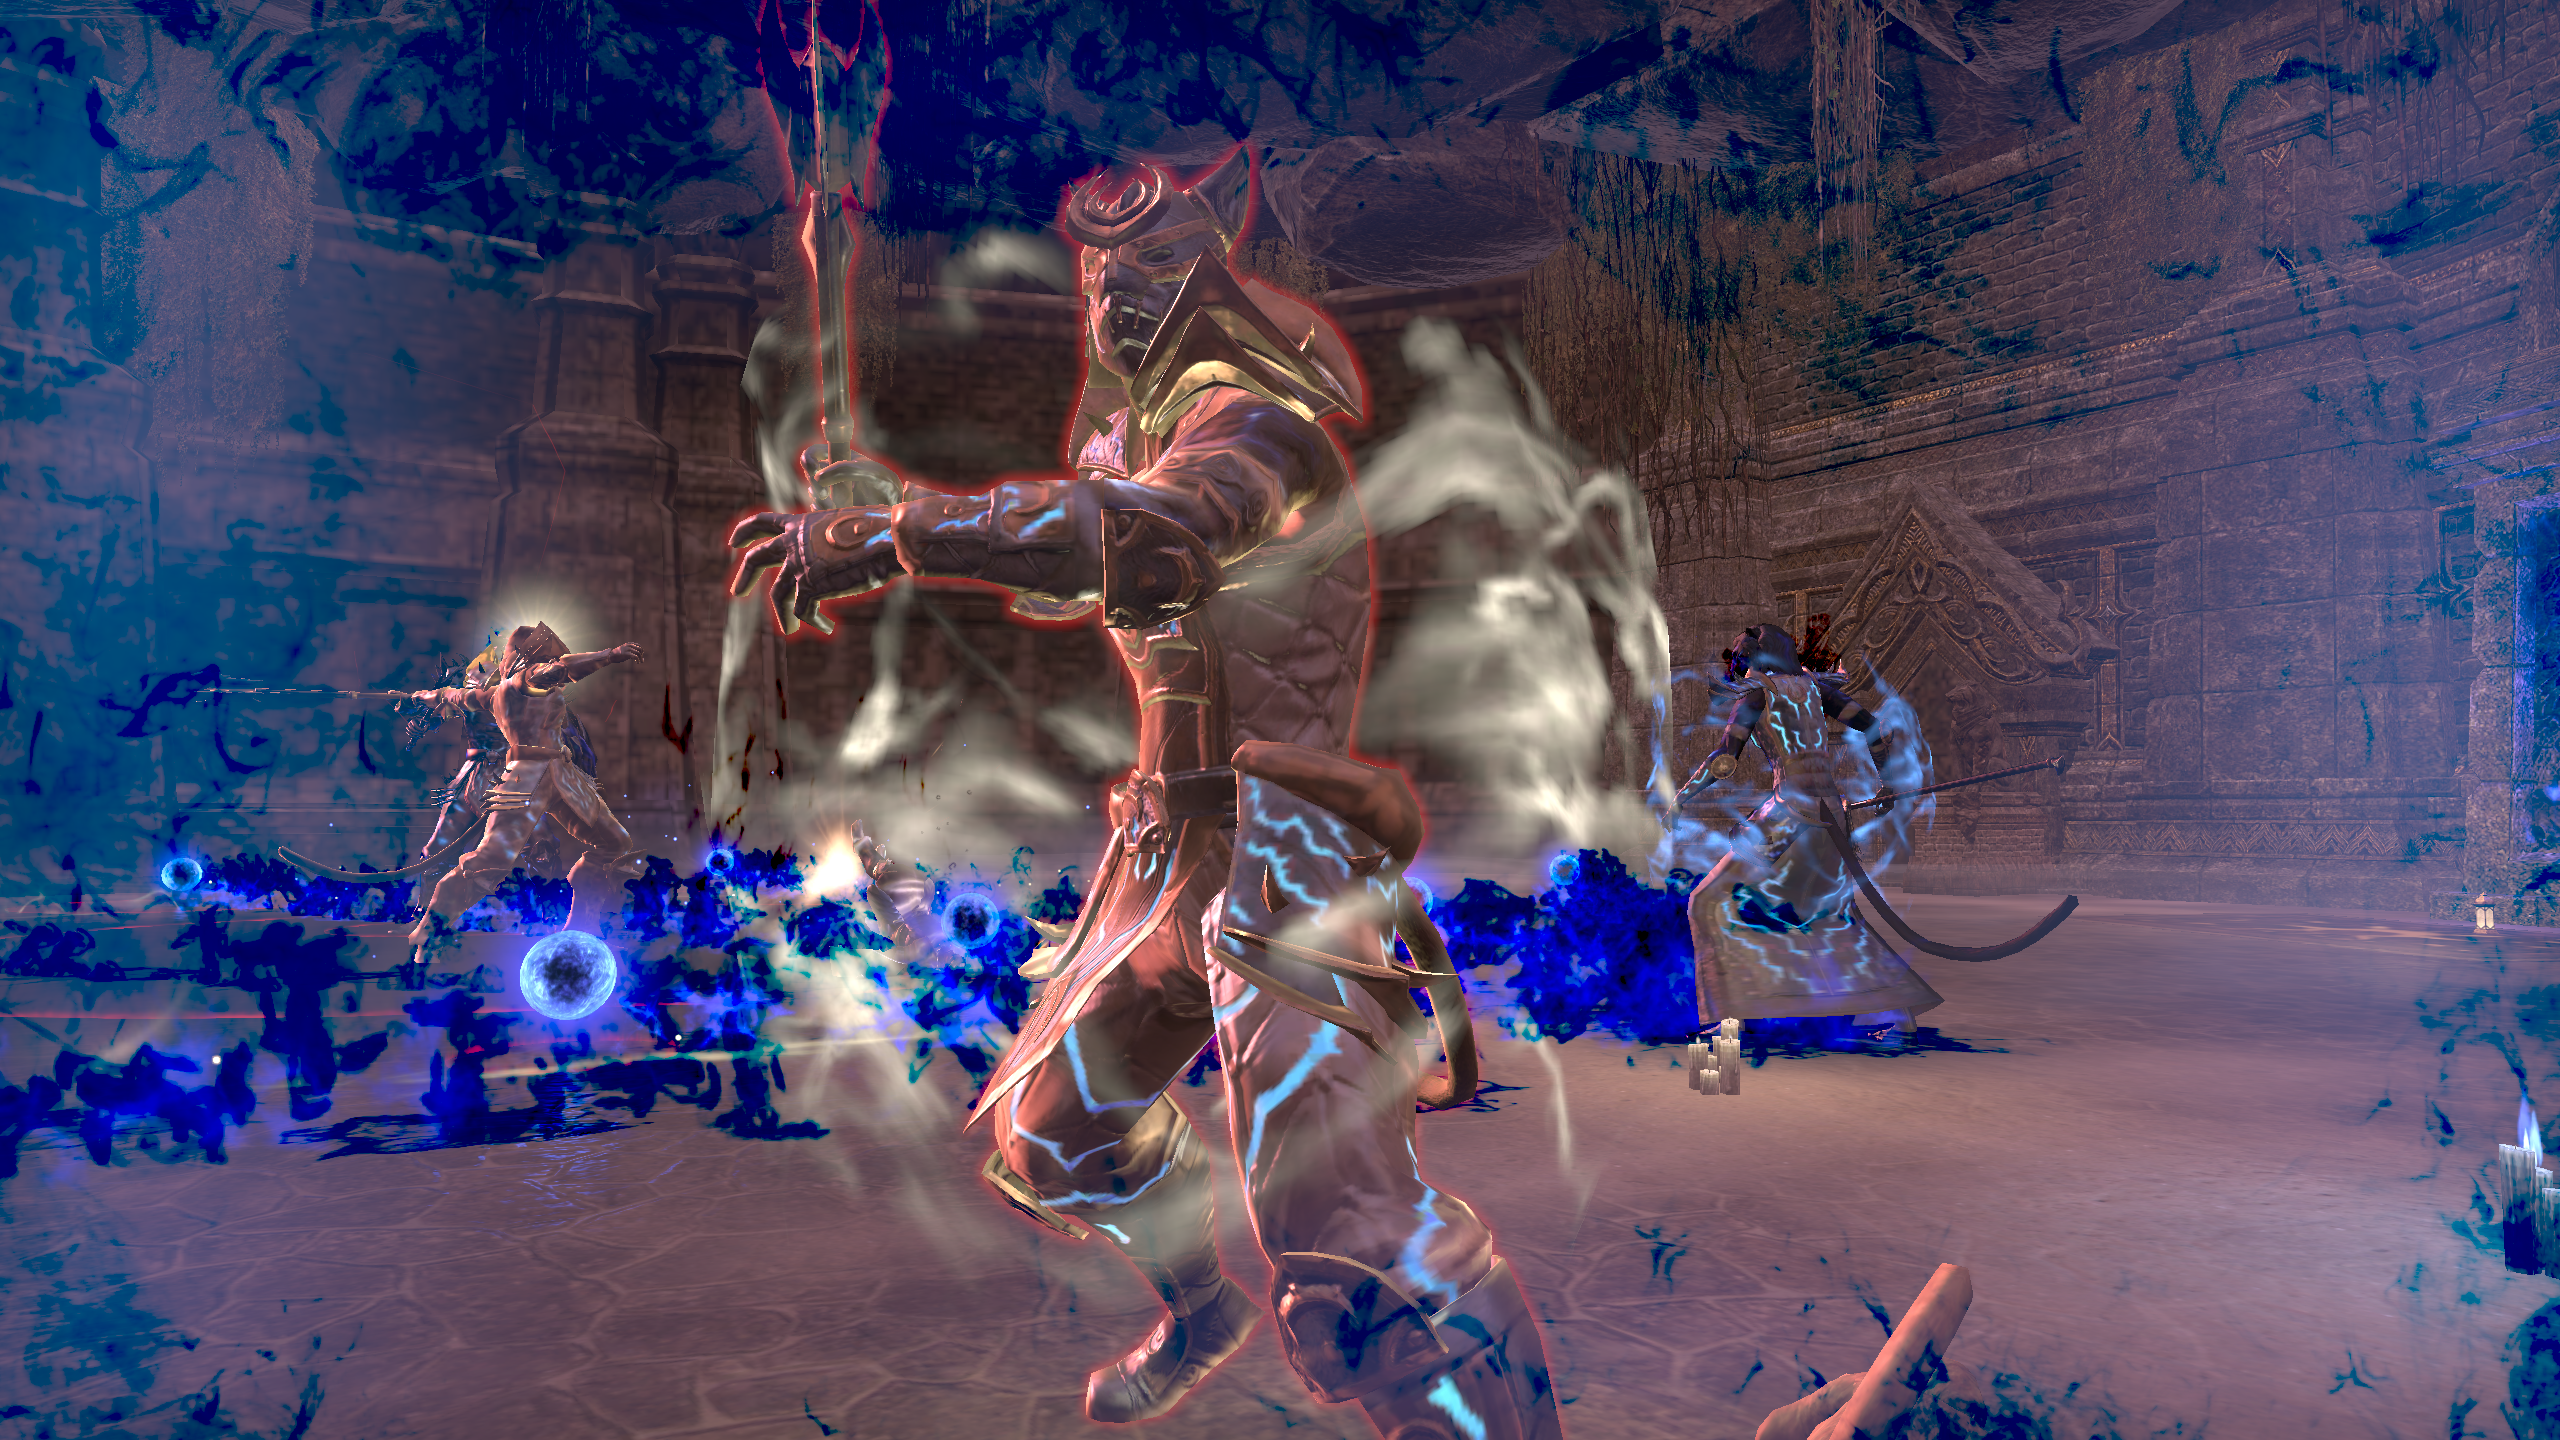
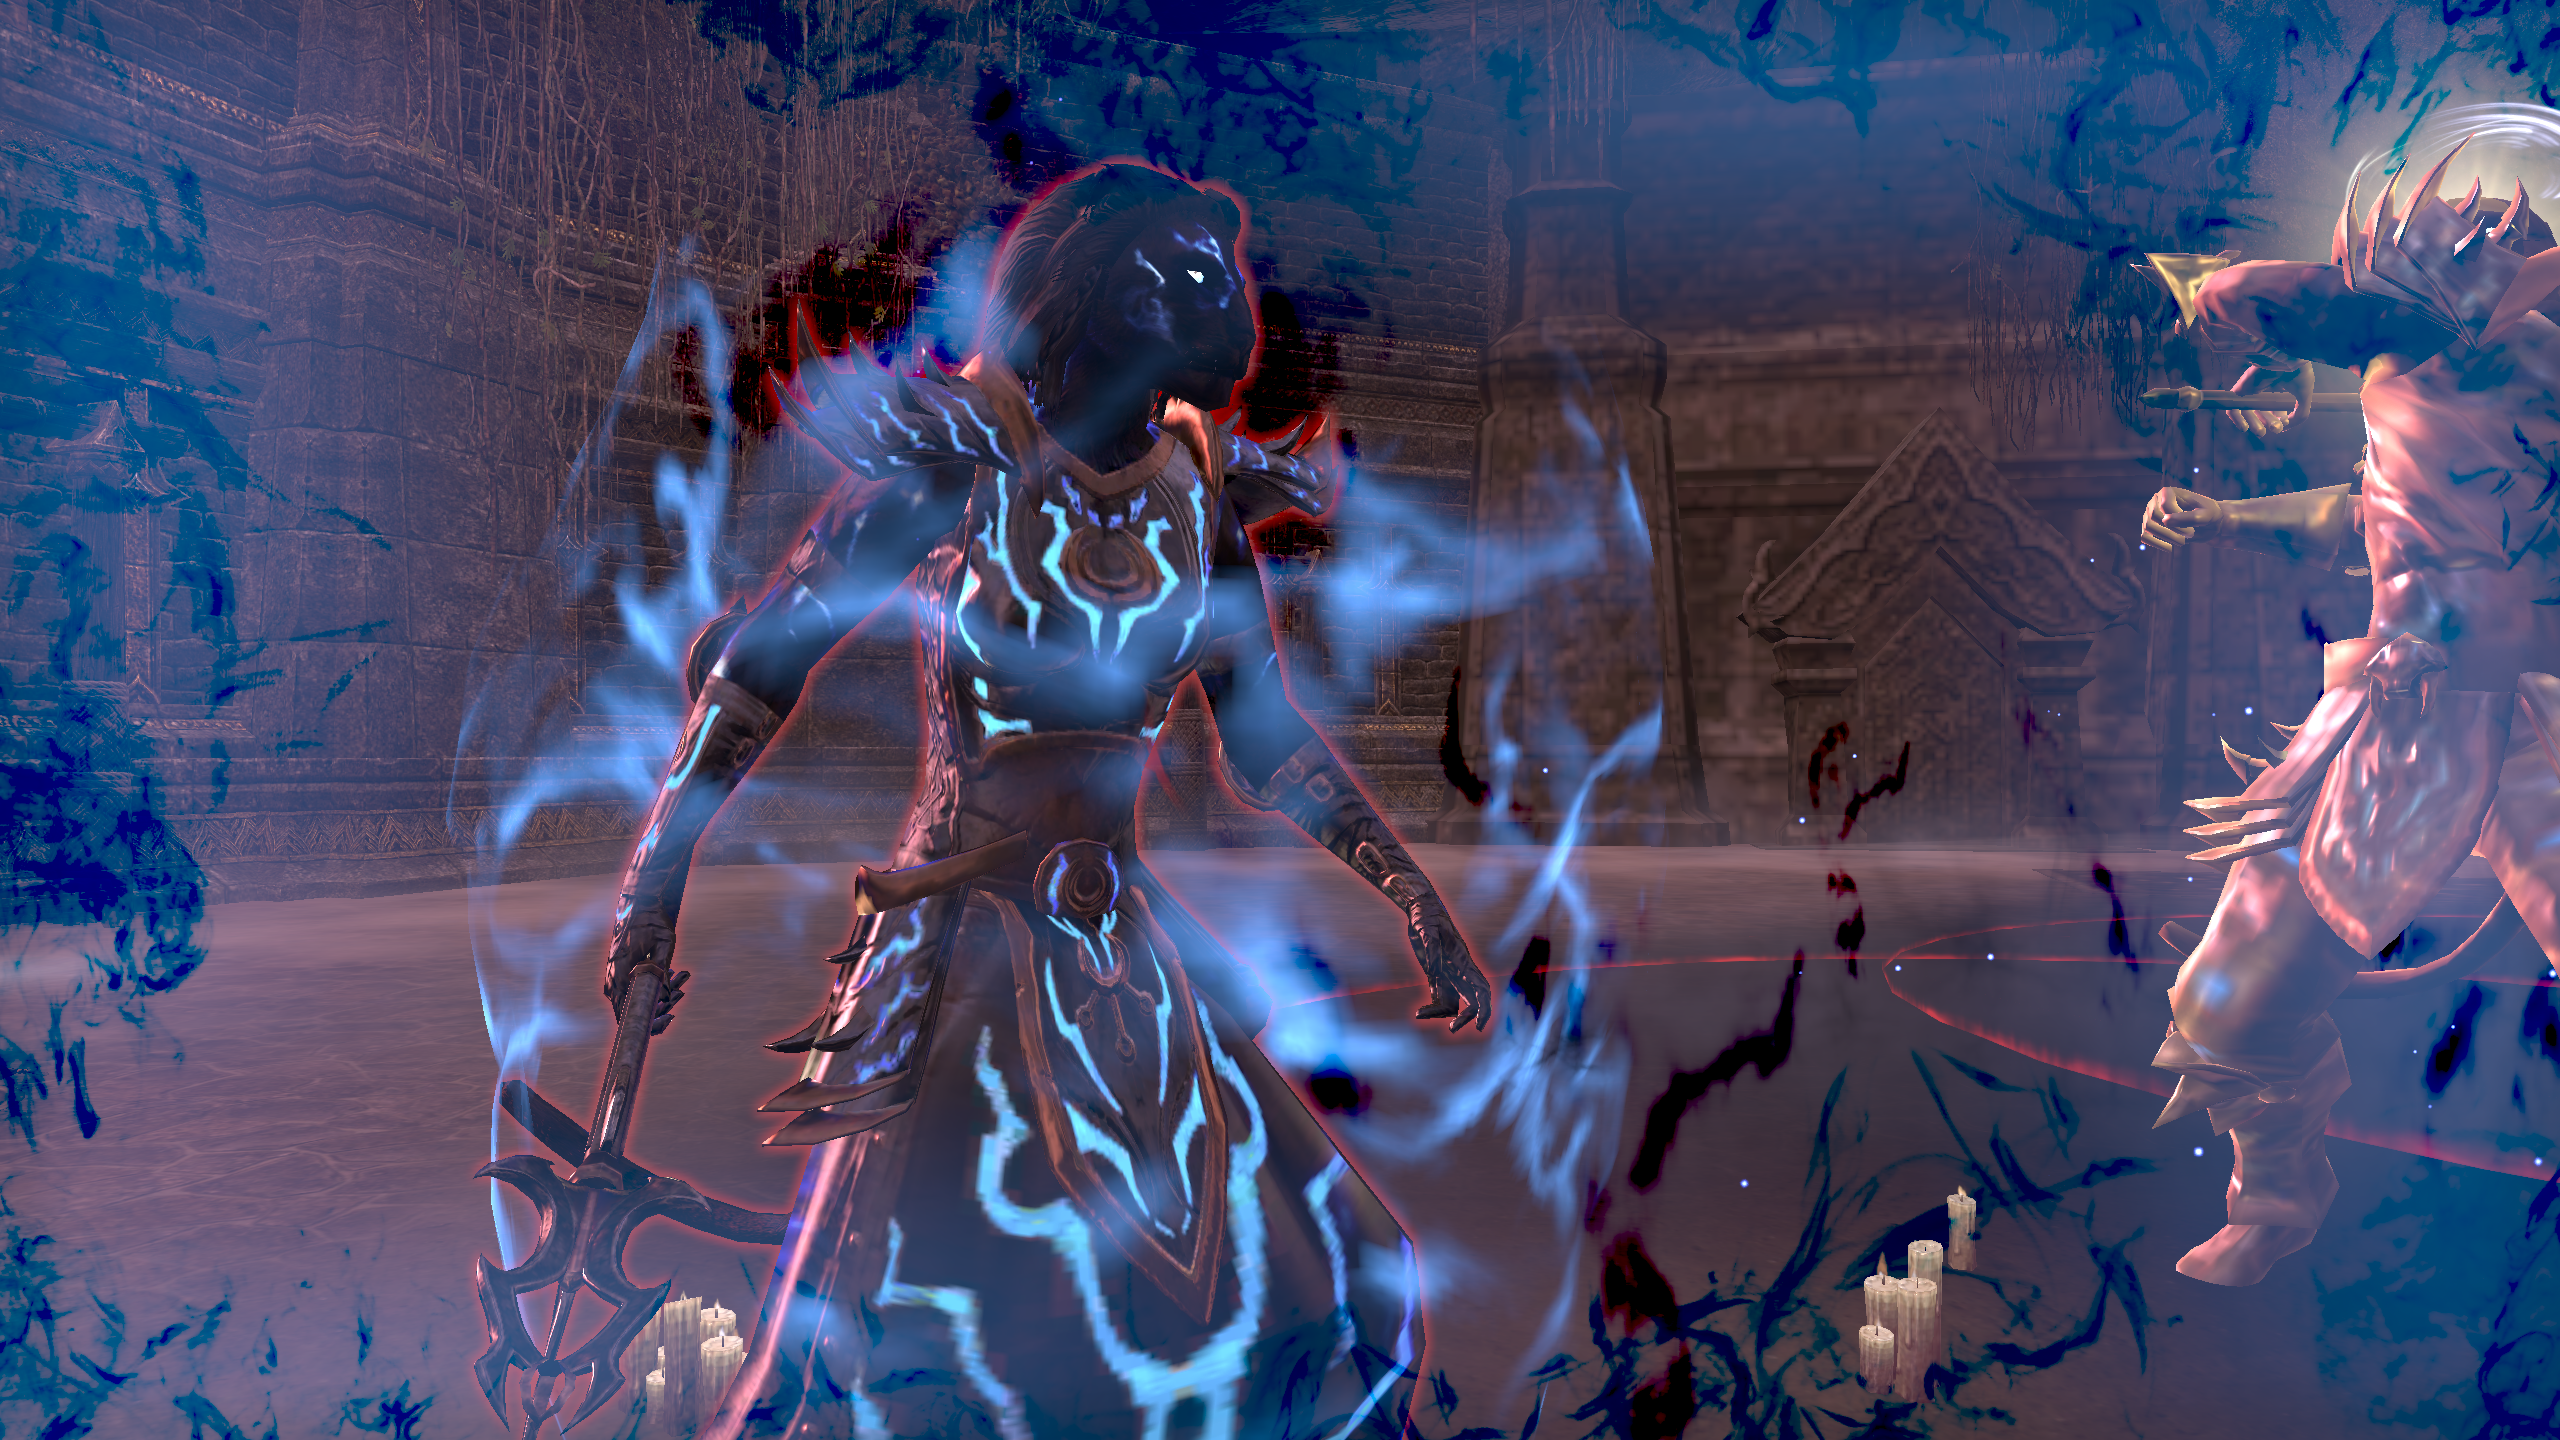
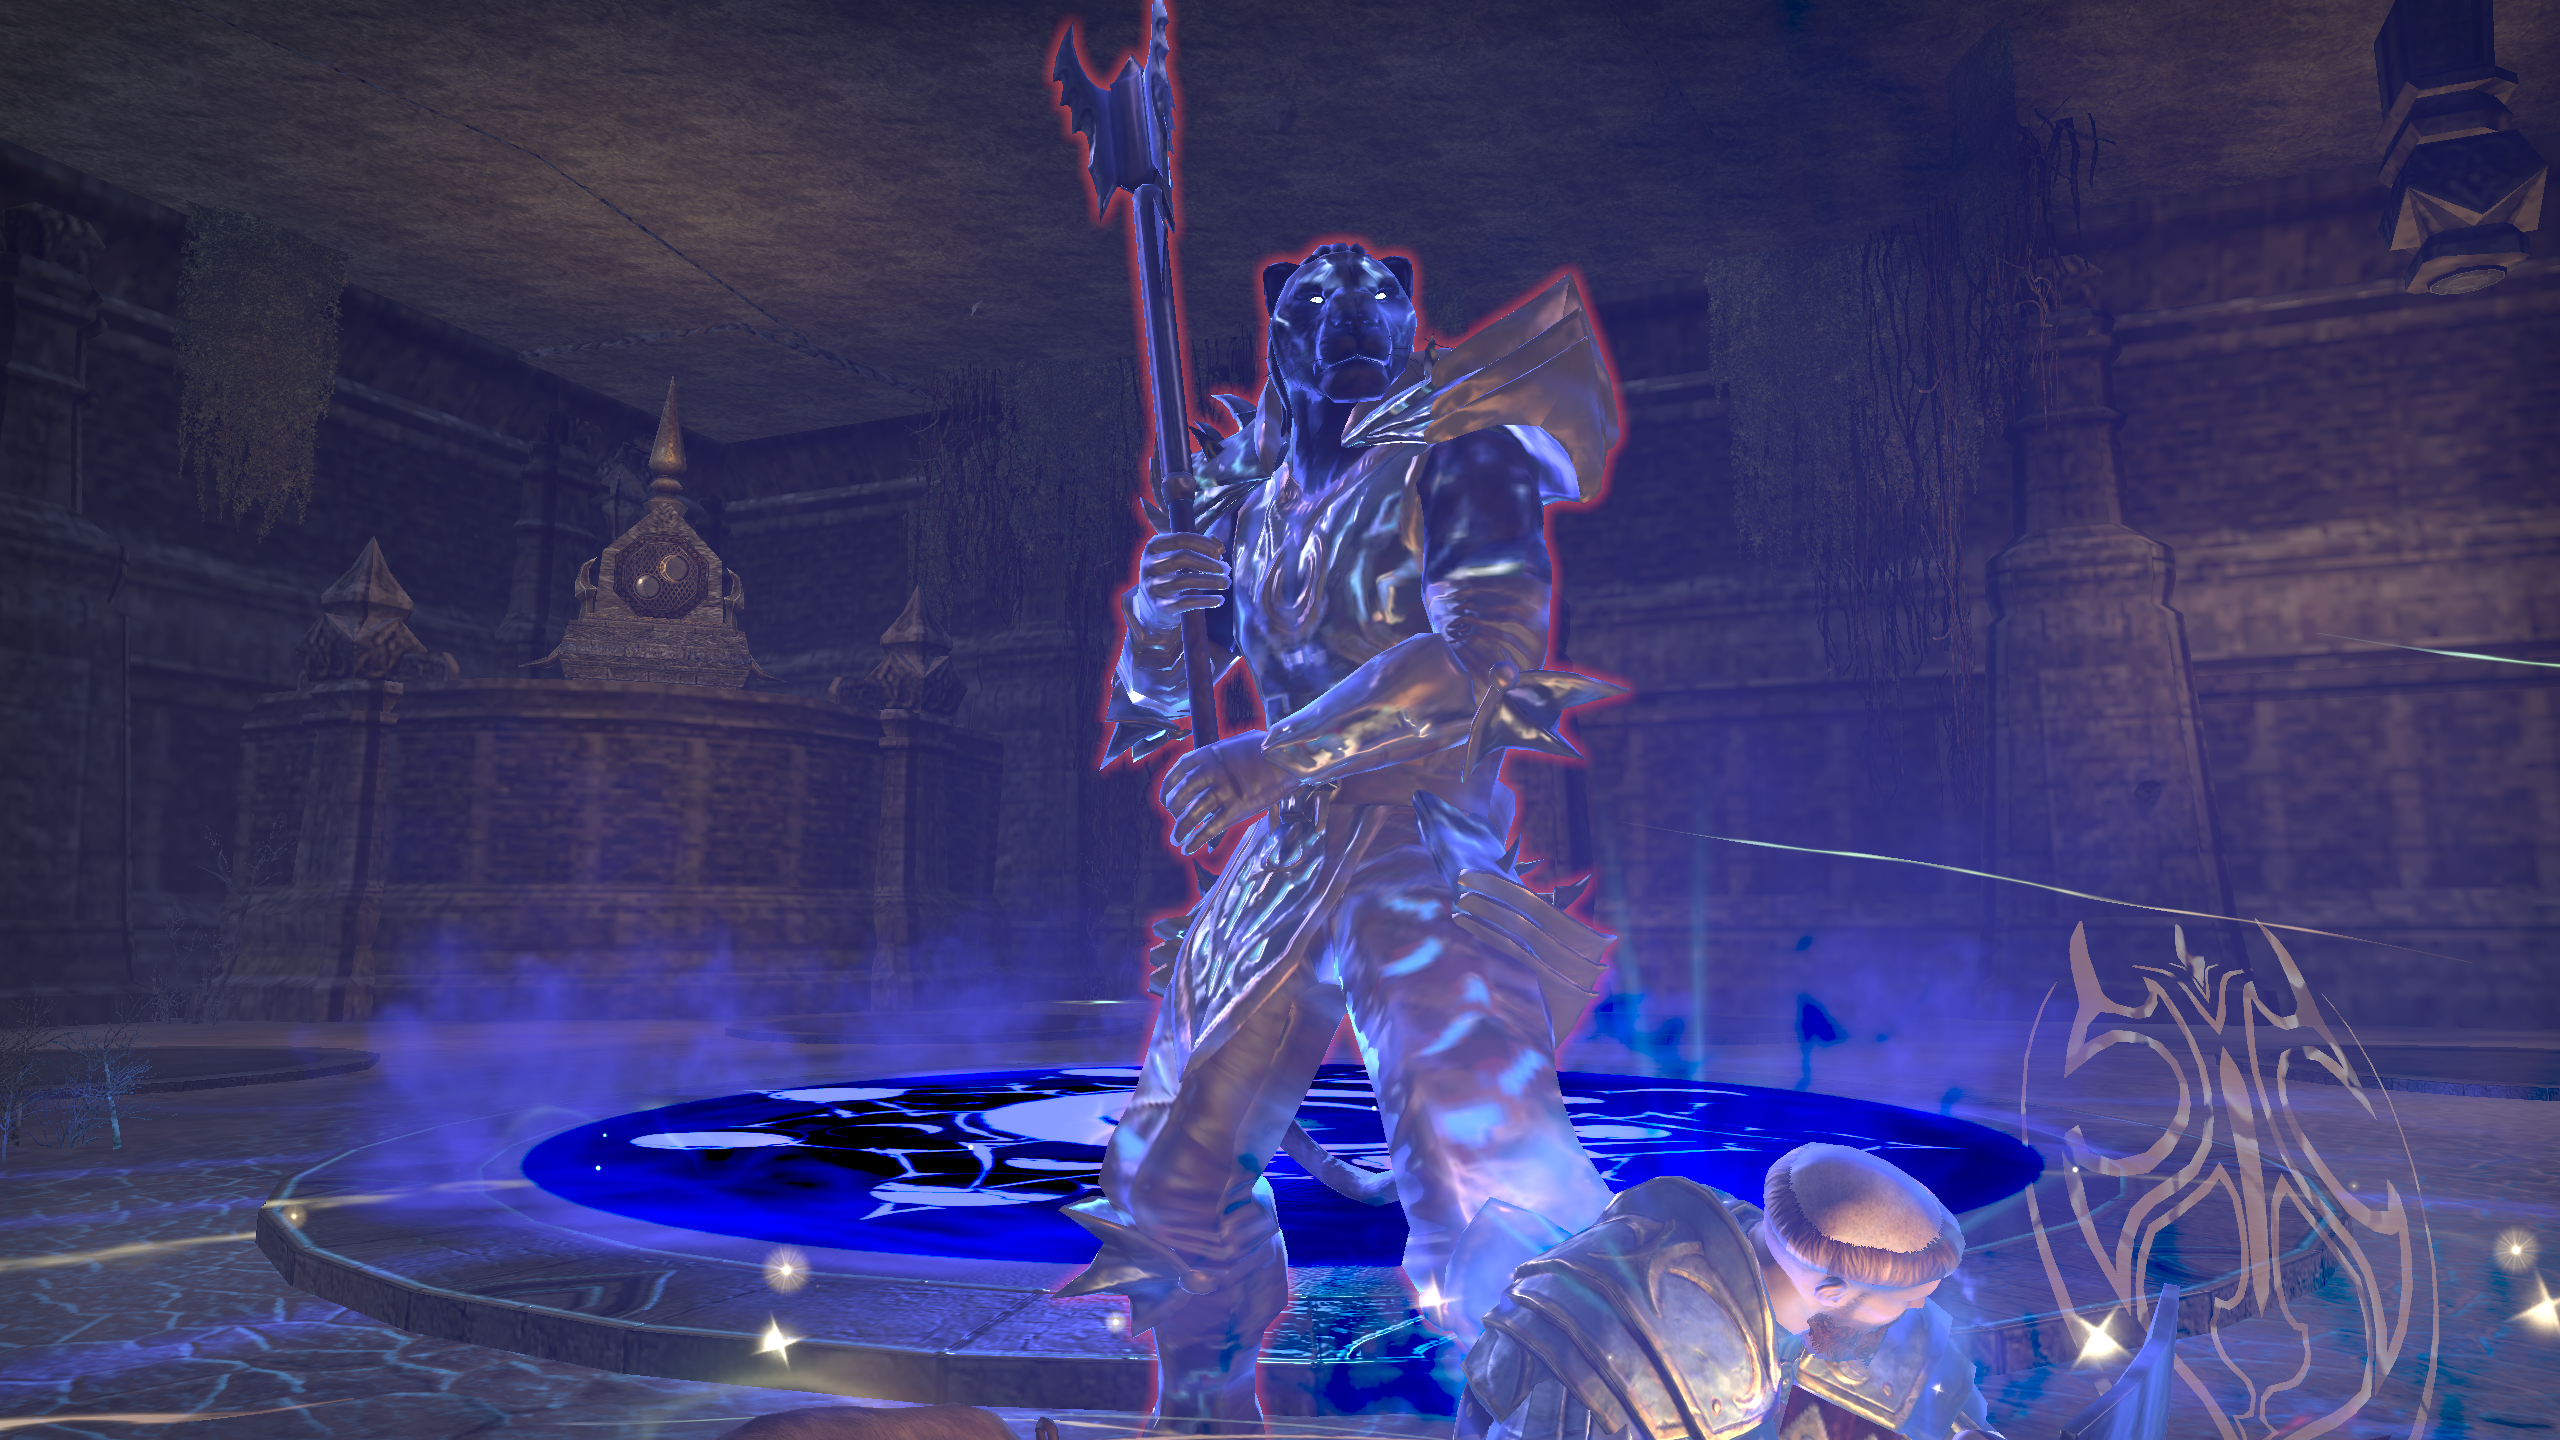
Skinrai & Vashai
AKA The Twins
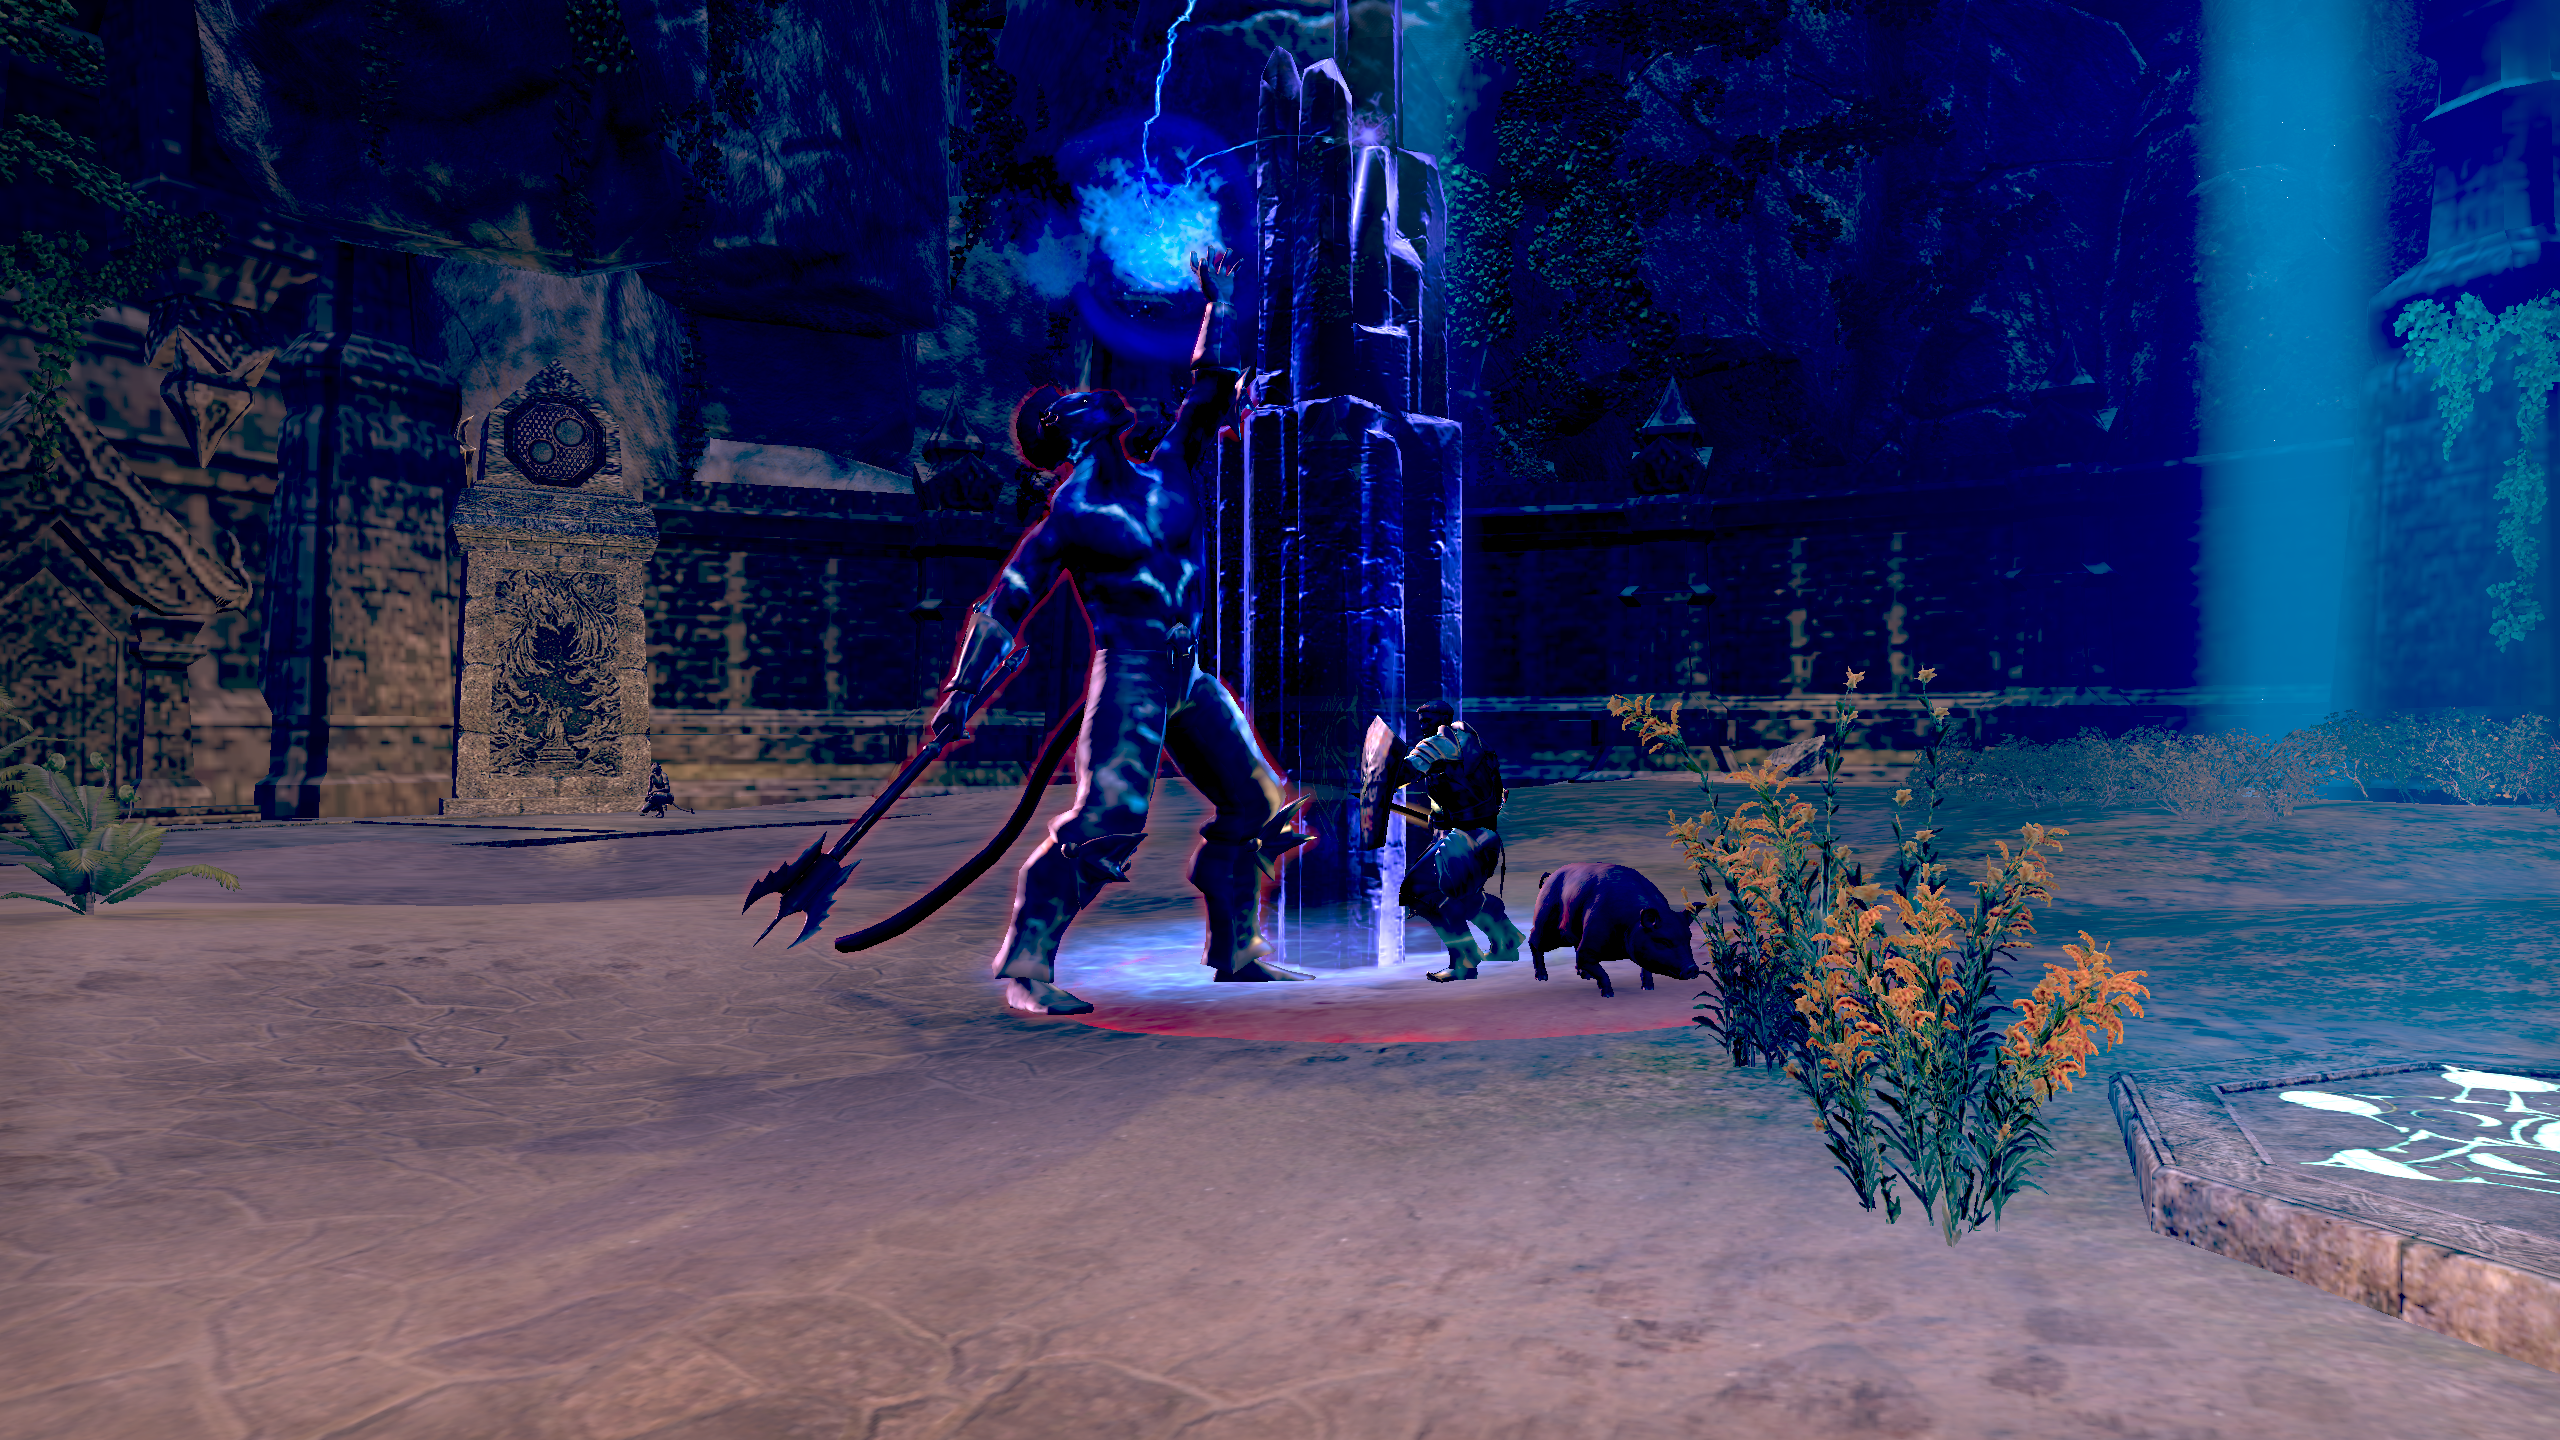
Arguably the most mechanically intensive fight in the Trial, Vashai & Skinrai the Khajiit twins.
The theme of this fight is polarity sort of a yin and yang type fight mechanically, where everything you need to do is opposite in color otherwise you won’t do damage, you may blow up your friends and plenty of other fun activities. So the first and most important mechanic is…
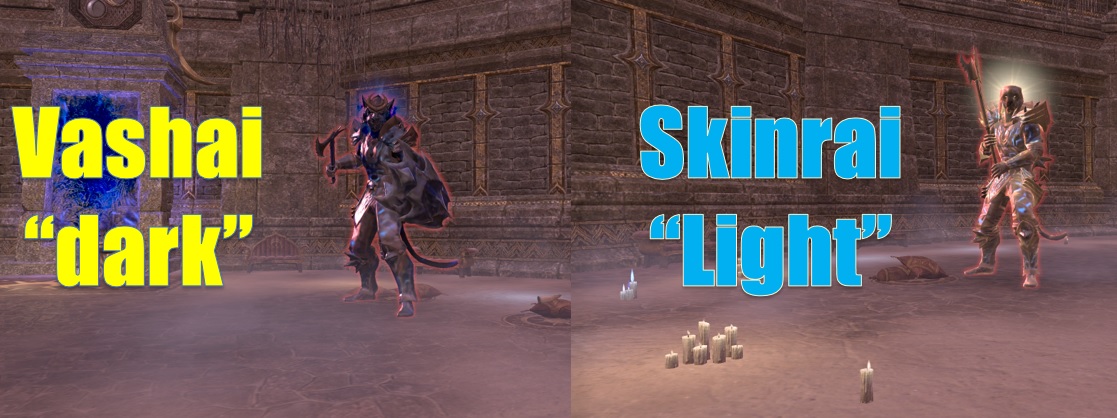
 Adds – Periodically throughout the fight the bosses will spawn adds that are either “Light” adds or “Dark” adds. A Dragonknight with you will need to do is Chain (Unrelenting) the “Light” (Melee) adds to Skinrai (Light Boss) and the “Dark” (Mage) adds to Vashai (Dark Boss) and then proceed to AoE them down getting as much DPS as you can on the bosses in the process.
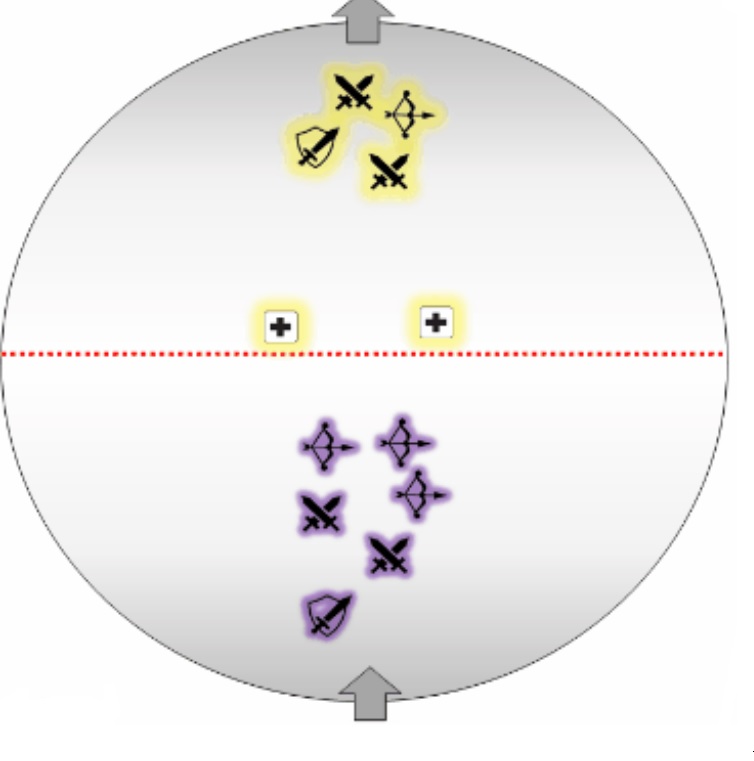
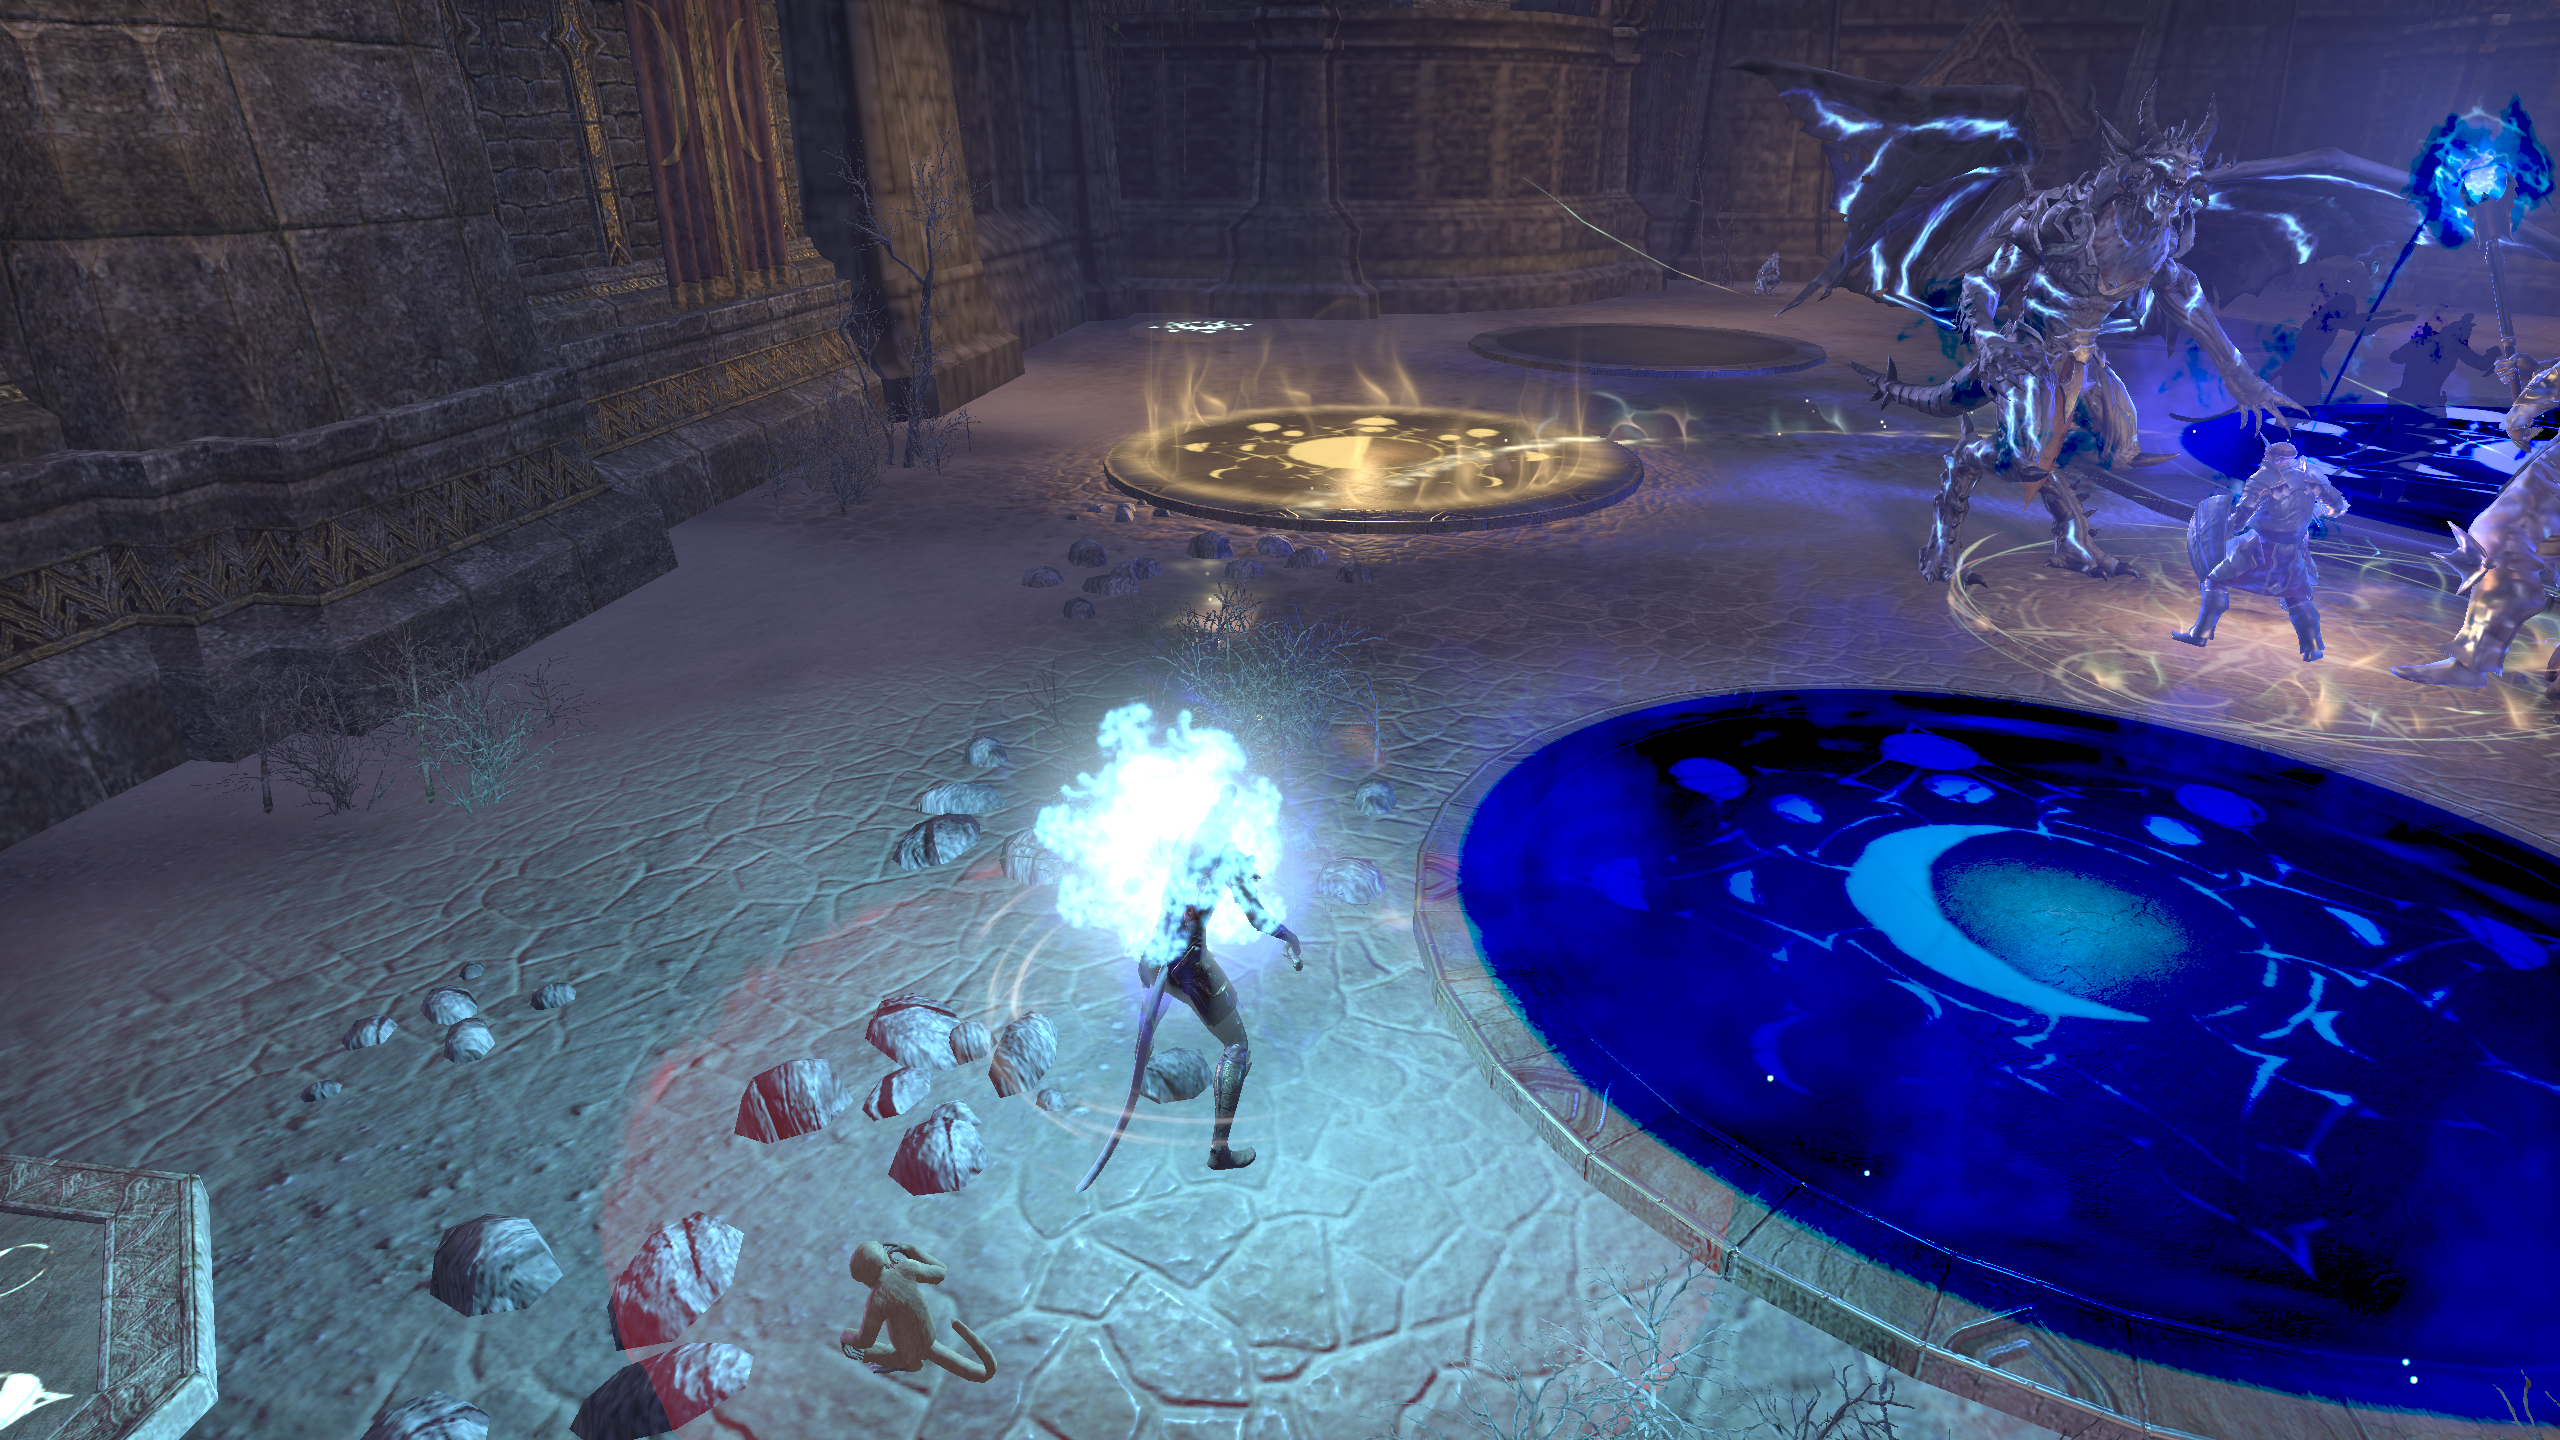
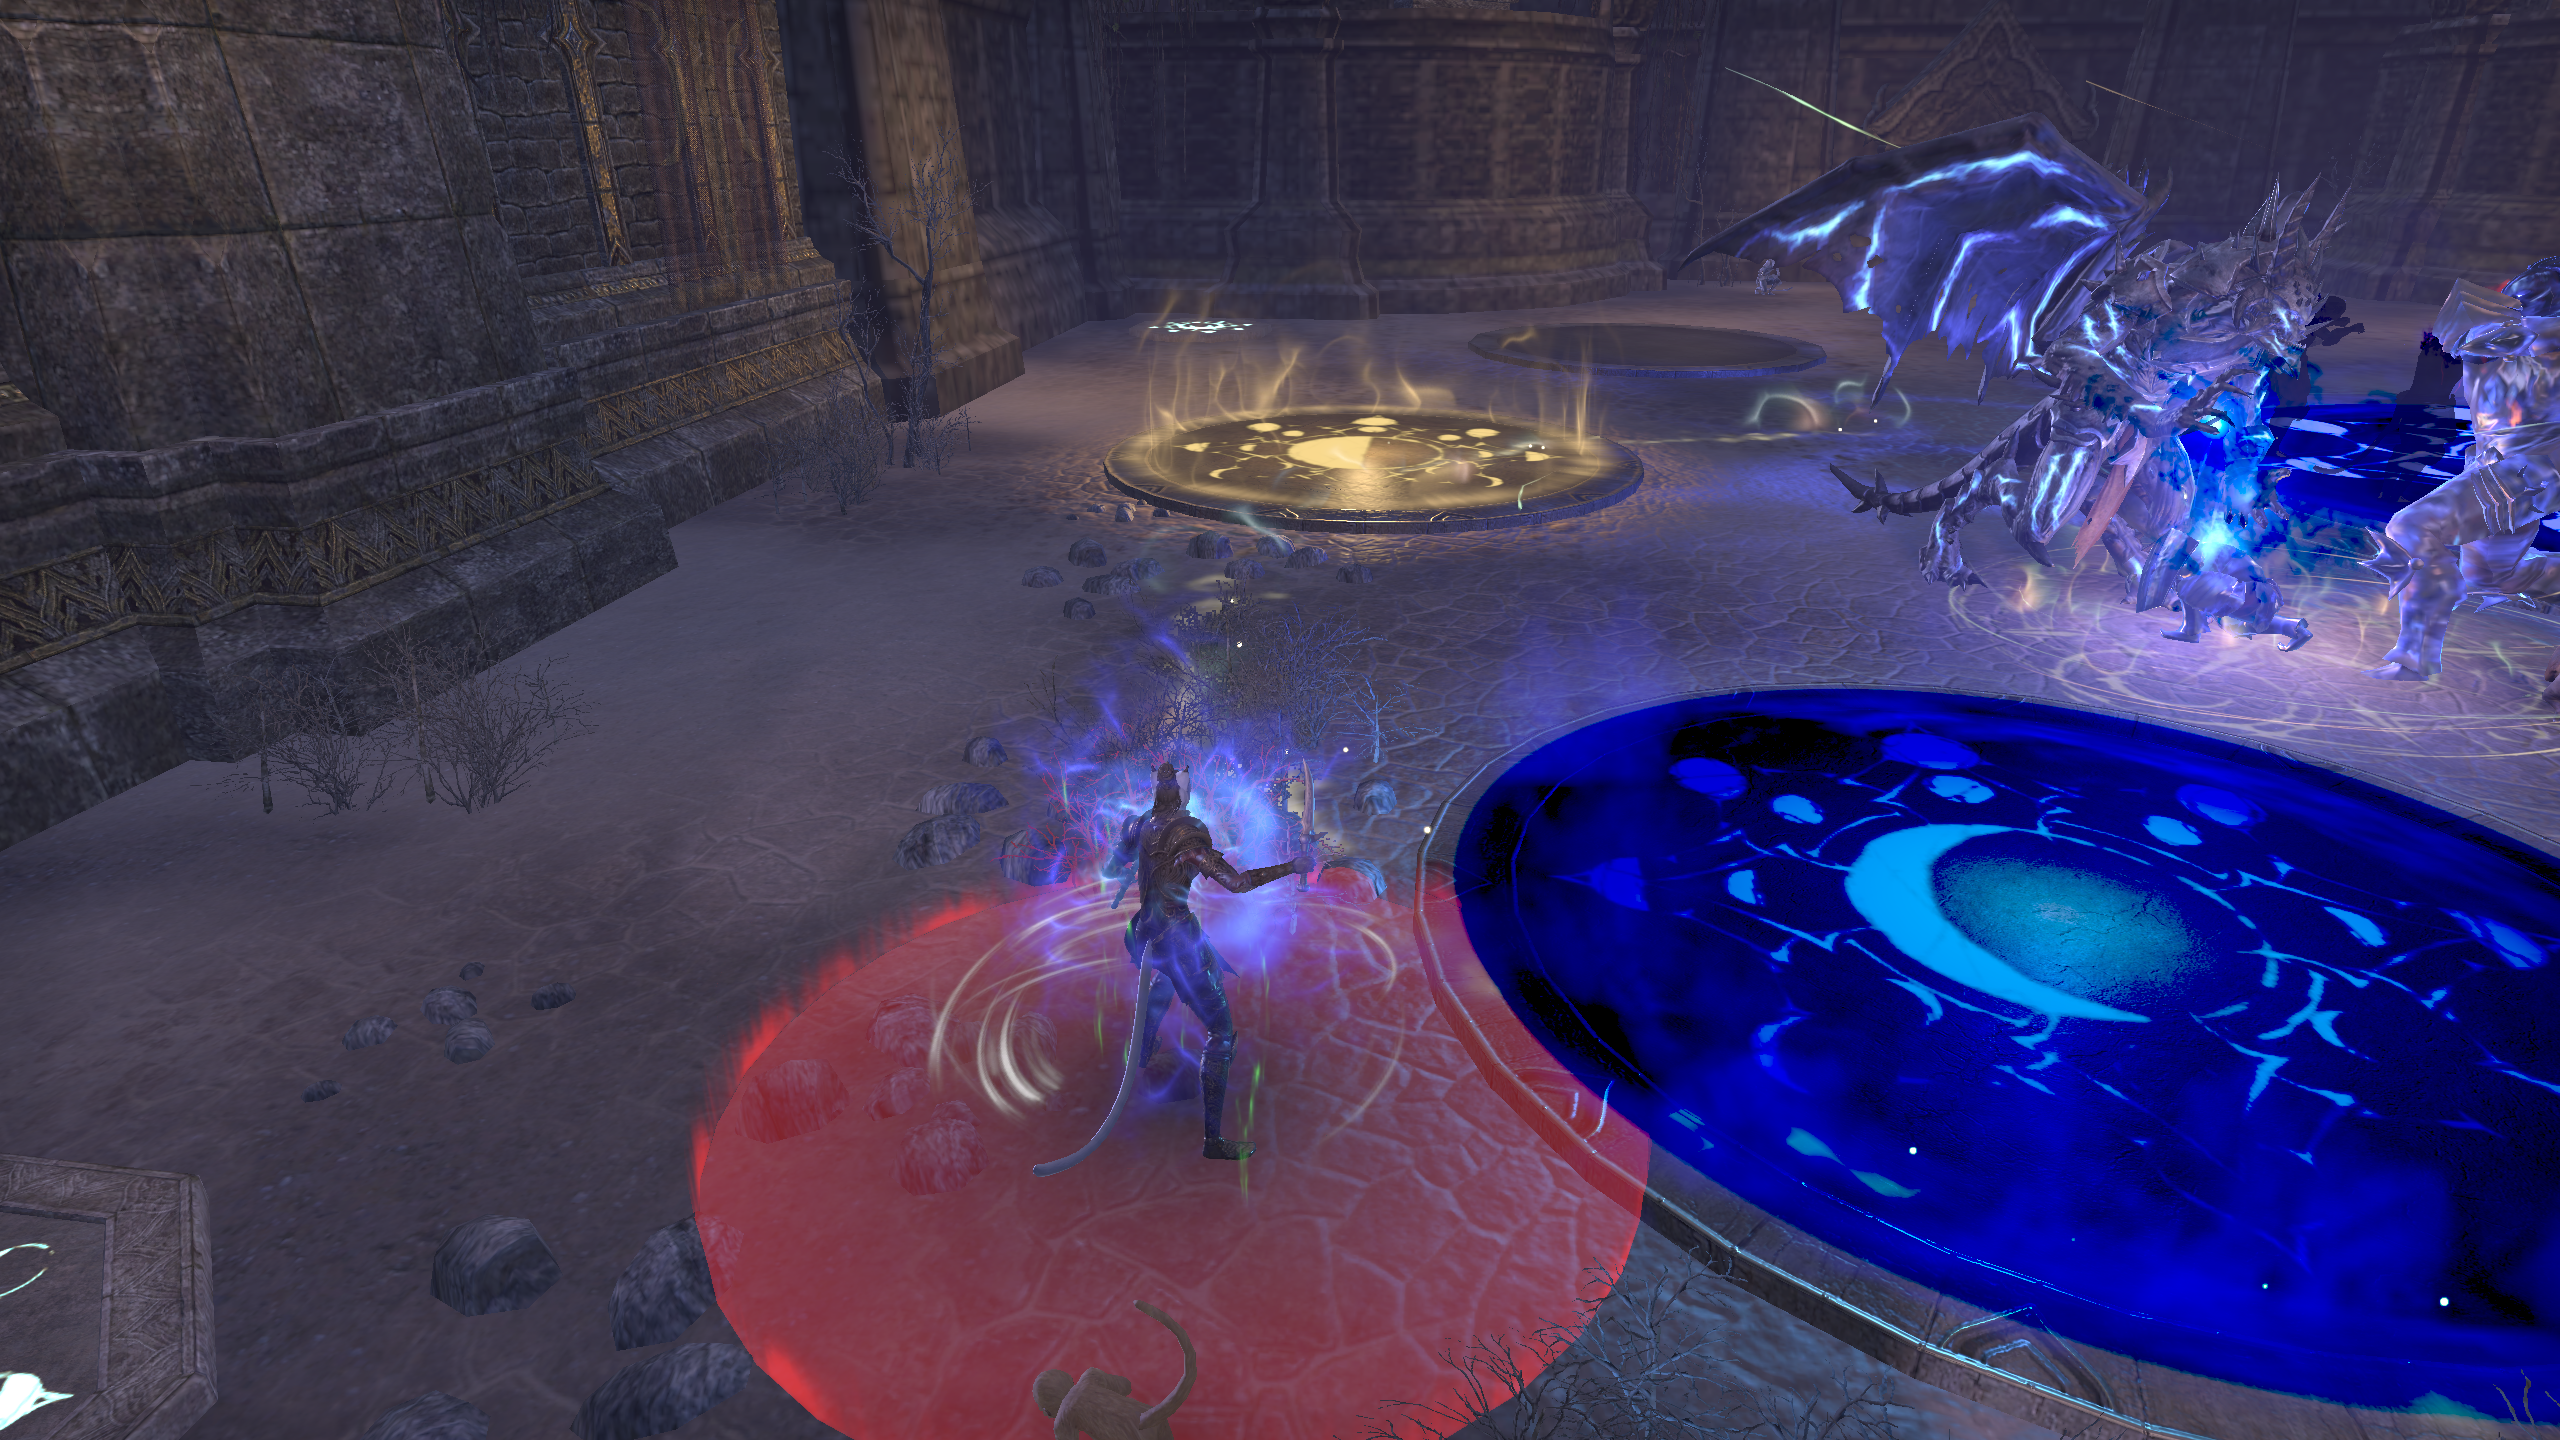
- Color Swap – Shortly after adds spawn, the boss will do a fist pump animation in which they launch three projectiles out of their fist and land on six random people in your raid group that will they need to switch the boss they are on. They will also need to follow a clockwise rotation to avoid clashing with people of opposite color.
- Infernal Fusion – When two people of the opposite color get too close to each other they explode in a one shot ball of fire, which is why it is important to follow a strict traffic path and clockwise rotation.
 Split – After the color swap mechanic, the bosses will port to two set locations, where the individual bosses end up is random but the locations they can be at is static. This is a group wipe mechanic that if done improperly will wipe your group. So in order to do it correctly, you need to be on the side of the room that has the boss you can DPS on. So if I am assigned the light color I would need to be on the side with the dark boss, and vice versa if I am assigned the dark color I would need to be on the side with the light boss. During this phase make sure you follow the clockwise rotation around the room as to not wipe your group with the infernal fusion mechanic.
- Enrage Timer – Once you kill a boss you will have about 45 seconds depending on when you kill him to kill the other boss so it is important to even out your DPS between bosses. Your group can alleviate some of the disparity between them by ranging the dark boss down when the raid is unassigned. Don’t leave your side though otherwise you will have mechanical imbalances and the raid will inevitably wipe
 Radiant Destruction – The light adds and Skinrai will do a AKA “Jesus beam” similar to the Radiant Destruction skill from the Templar. This does an insane amount of damage that needs to be interrupted. Unfortunately they can all beam at the same time so it is important to have a few Dragonknights in your raid group who can use Deep Breath skill (AoE interrupt) to interrupt all the beams at once
- Dark Torrent – The dark adds do a conal that does a lot of damage as well where they constantly shoot out projectiles in a sort of triangular trident type cone, you just need to do your best to mitigate and avoid this damage by either using blade cloak or some sort of life-stealing ability such as Deep Breath for Dragonknights or Sap Essence for Nightblades.
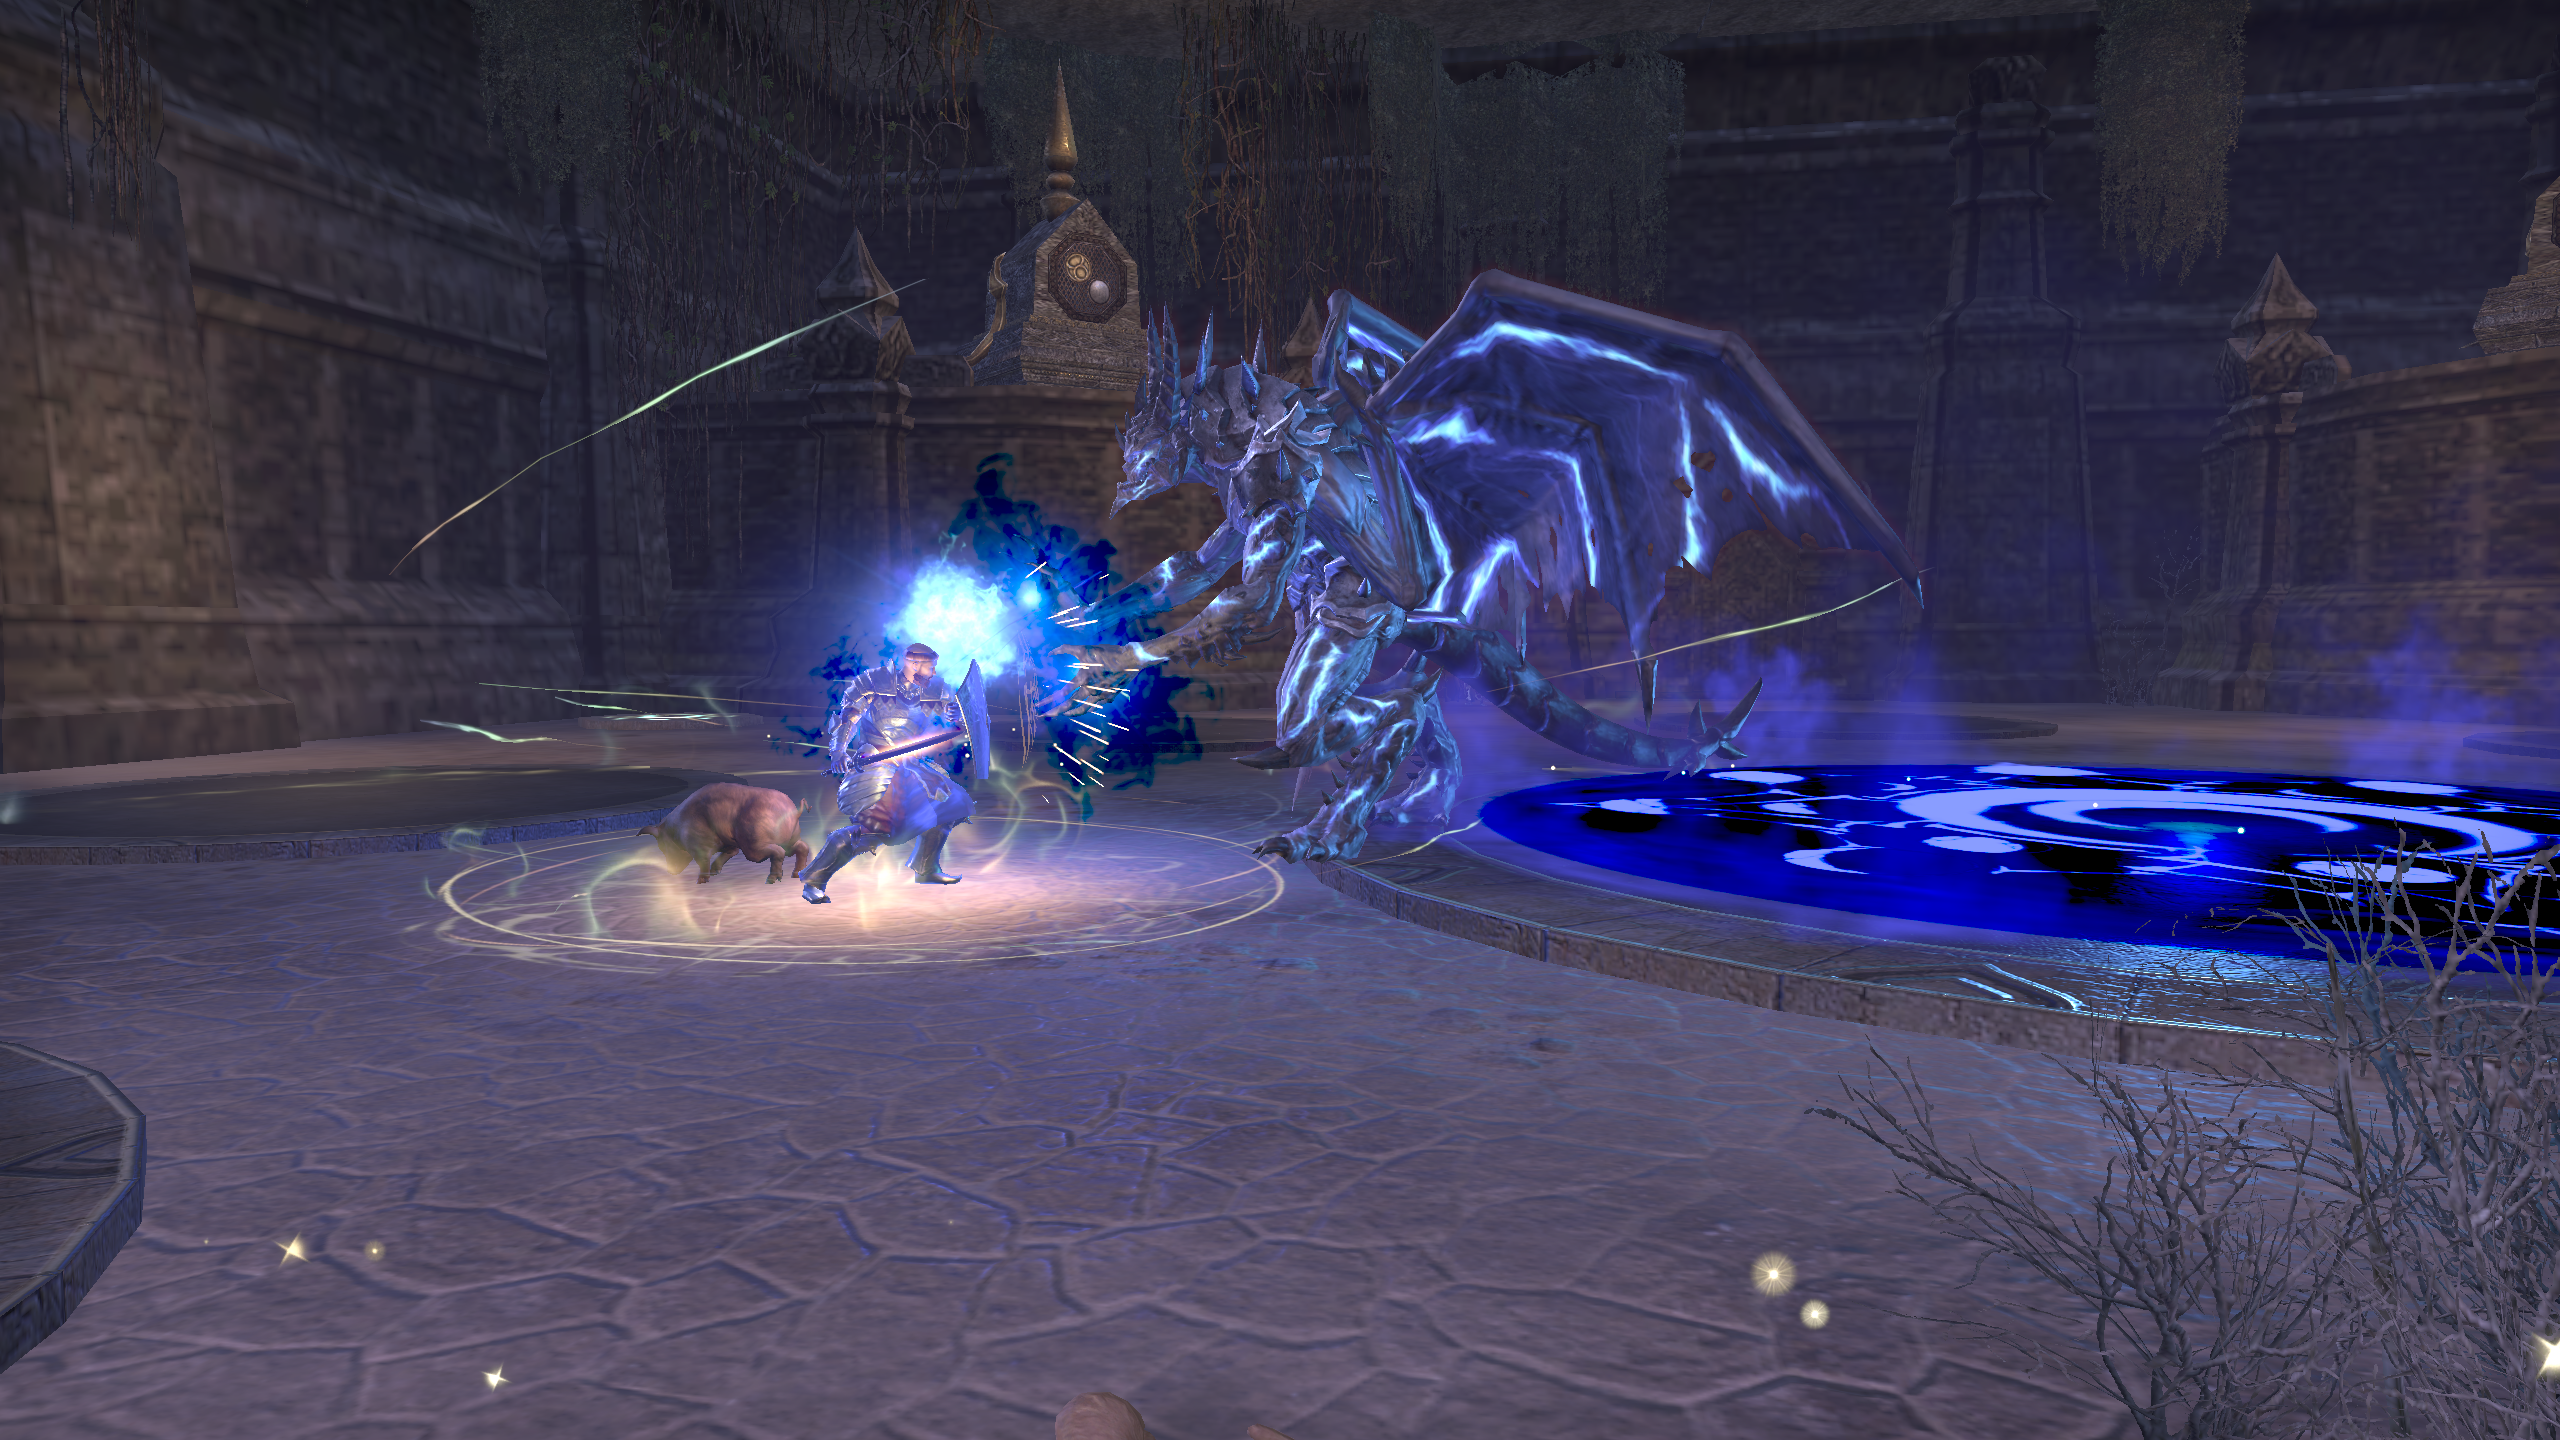
- Fearsome Cleave – The “Light” boss (Skinrai) does an attack called “Fearsome Cleave” that will do a lot of damage to your raid group if you do not turn the boss away from them and they keep themselves away from his front. The really bad thing about getting hit with this ability is that it will put a DoT on you as well making it particularly deadly. NOTE: This DoT cannot be cleansed.
 Negate – The “Dark” Boss (Vashai) does a negate seemingly at random. The negate is weird because of its targeting system. Your tank will need to face Vashai away from everyone but himself by facing him toward the wall because the negate is a distance conal. Basically what that means is he will place it on the furthest player in front of him. So, in order to better control all the fight mechanics and the boss you face him toward the wall with only the tank in front him and chain stack the negate so they take up as little space as possible.
So those are all of the main mechanics but the really important thing about this fight is that you execute on them near flawlessly. To avoid redundancy I am only going to go over the first full rotation that CSH does. Everything else is pretty much the same going through the fight you just need to execute on it.
Walk-through – We start everyone on the dark boss except the second tank. Engage Vashai and burst him down as much as possible. It’s questionable to use ultimates here, personally I don’t but a Aggressive War Horn to start is good nonetheless. After a few seconds, the boss will start channel the initial color assignment, you will need to learn the timing on this otherwise you will end up wiping your group time and time again to an imbalance in the mechanics scales. In order to prevent the wipe you need five of your raid in close proximity to each boss plus each tank on a separate boss. The candles in the center of the room have nothing to do with the color assignment. After you have colors assigned the tanks will need to switch boss aggro (they should taunt the other boss before color assignment happens so he gets there quicker) because the six in close proximity of the Light boss will be assigned the light color and therefore cannot DPS the light boss so they will need the tank to get the dark boss so they can DPS effectively. Shortly after the tanks have swapped bosses adds will spawn, chain the dark adds as close as you can to the dark boss and AoE them down, at the same time the light boss tank should be taunting the light adds so they will aggro on him and can be AoE’d down as well (of course when there is only one add spawning at a time don’t worry so much about AoE’ing him just single target cleave him so you get the boss down faster).
A little while after the adds have spawned the color swap mechanic will happen, don’t panic, just follow the image here traffic paths I will include below and make sure you are not running into anyone of the opposite color. Once you’ve all made it to the appropriate sides you need to switch to, without blowing anyone up I hope. Continue DPSing the boss until he does his “Split” mechanic and then adjust as needed to survive the mechanic (by either staying on the side you are on and continuing to DPS your boss or swapping to the other side follow the correct clockwise path). Once you are on the appropriate side continue DPSing the boss while he is stunned. After the scream noise everyone in the raid will be unassigned and if needed you can swap people around but I would advise against this (the reason you would want to swap is if a side didn’t have chains… If you do swap you need to make sure there are 6 and 6 on each side of the room in close proximity to the boss like in the beginning otherwise your raid will be assigned colors you don’t want them to be assigned and potentially wipe your group). While the color are being assigned when the bosses are channeling the tanks will taunt the opposite boss of the side they are on position him in the starting position and continue on throughout the fight going through cycles with increasingly more adds… the adds spawn like so… 1, 1, 2, 2, 3, 3, 4, 4, and 4 until you kill the bosses so you will get 2 single add spawns 2 double, 2 triple, and then you will get 4 adds for as long as the fight continues on.
Panthers + Second Gauntlet
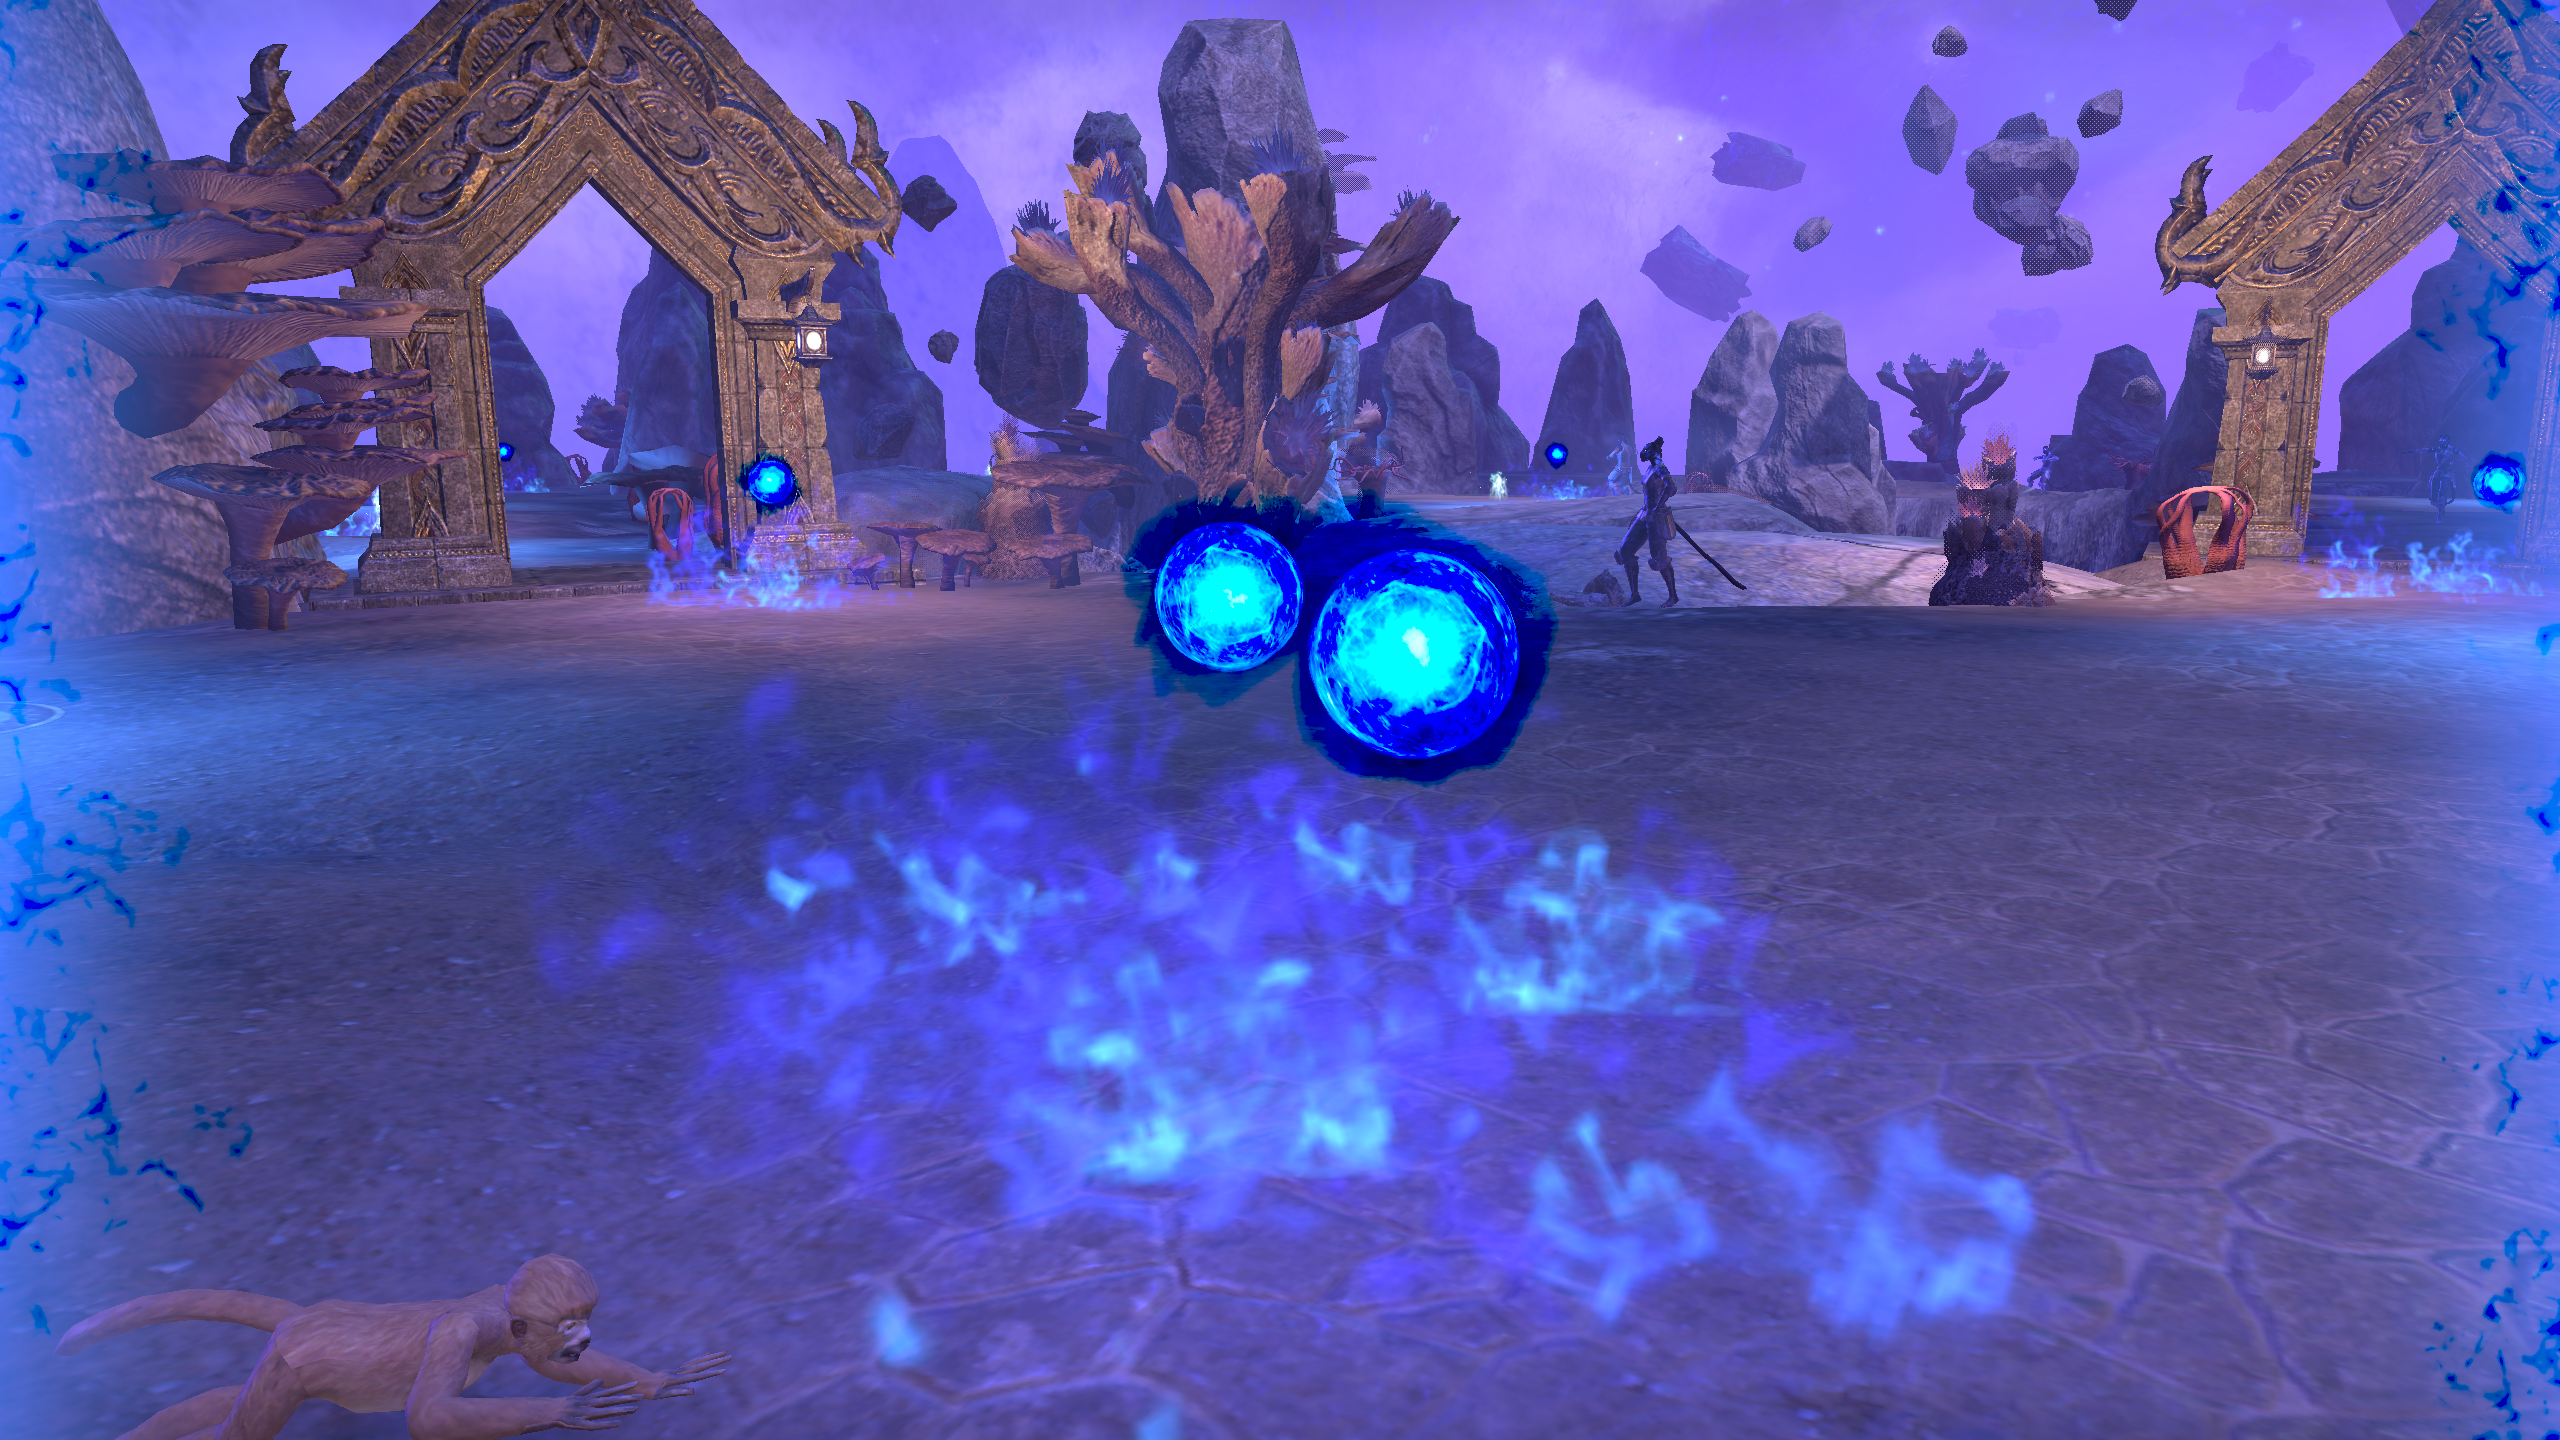
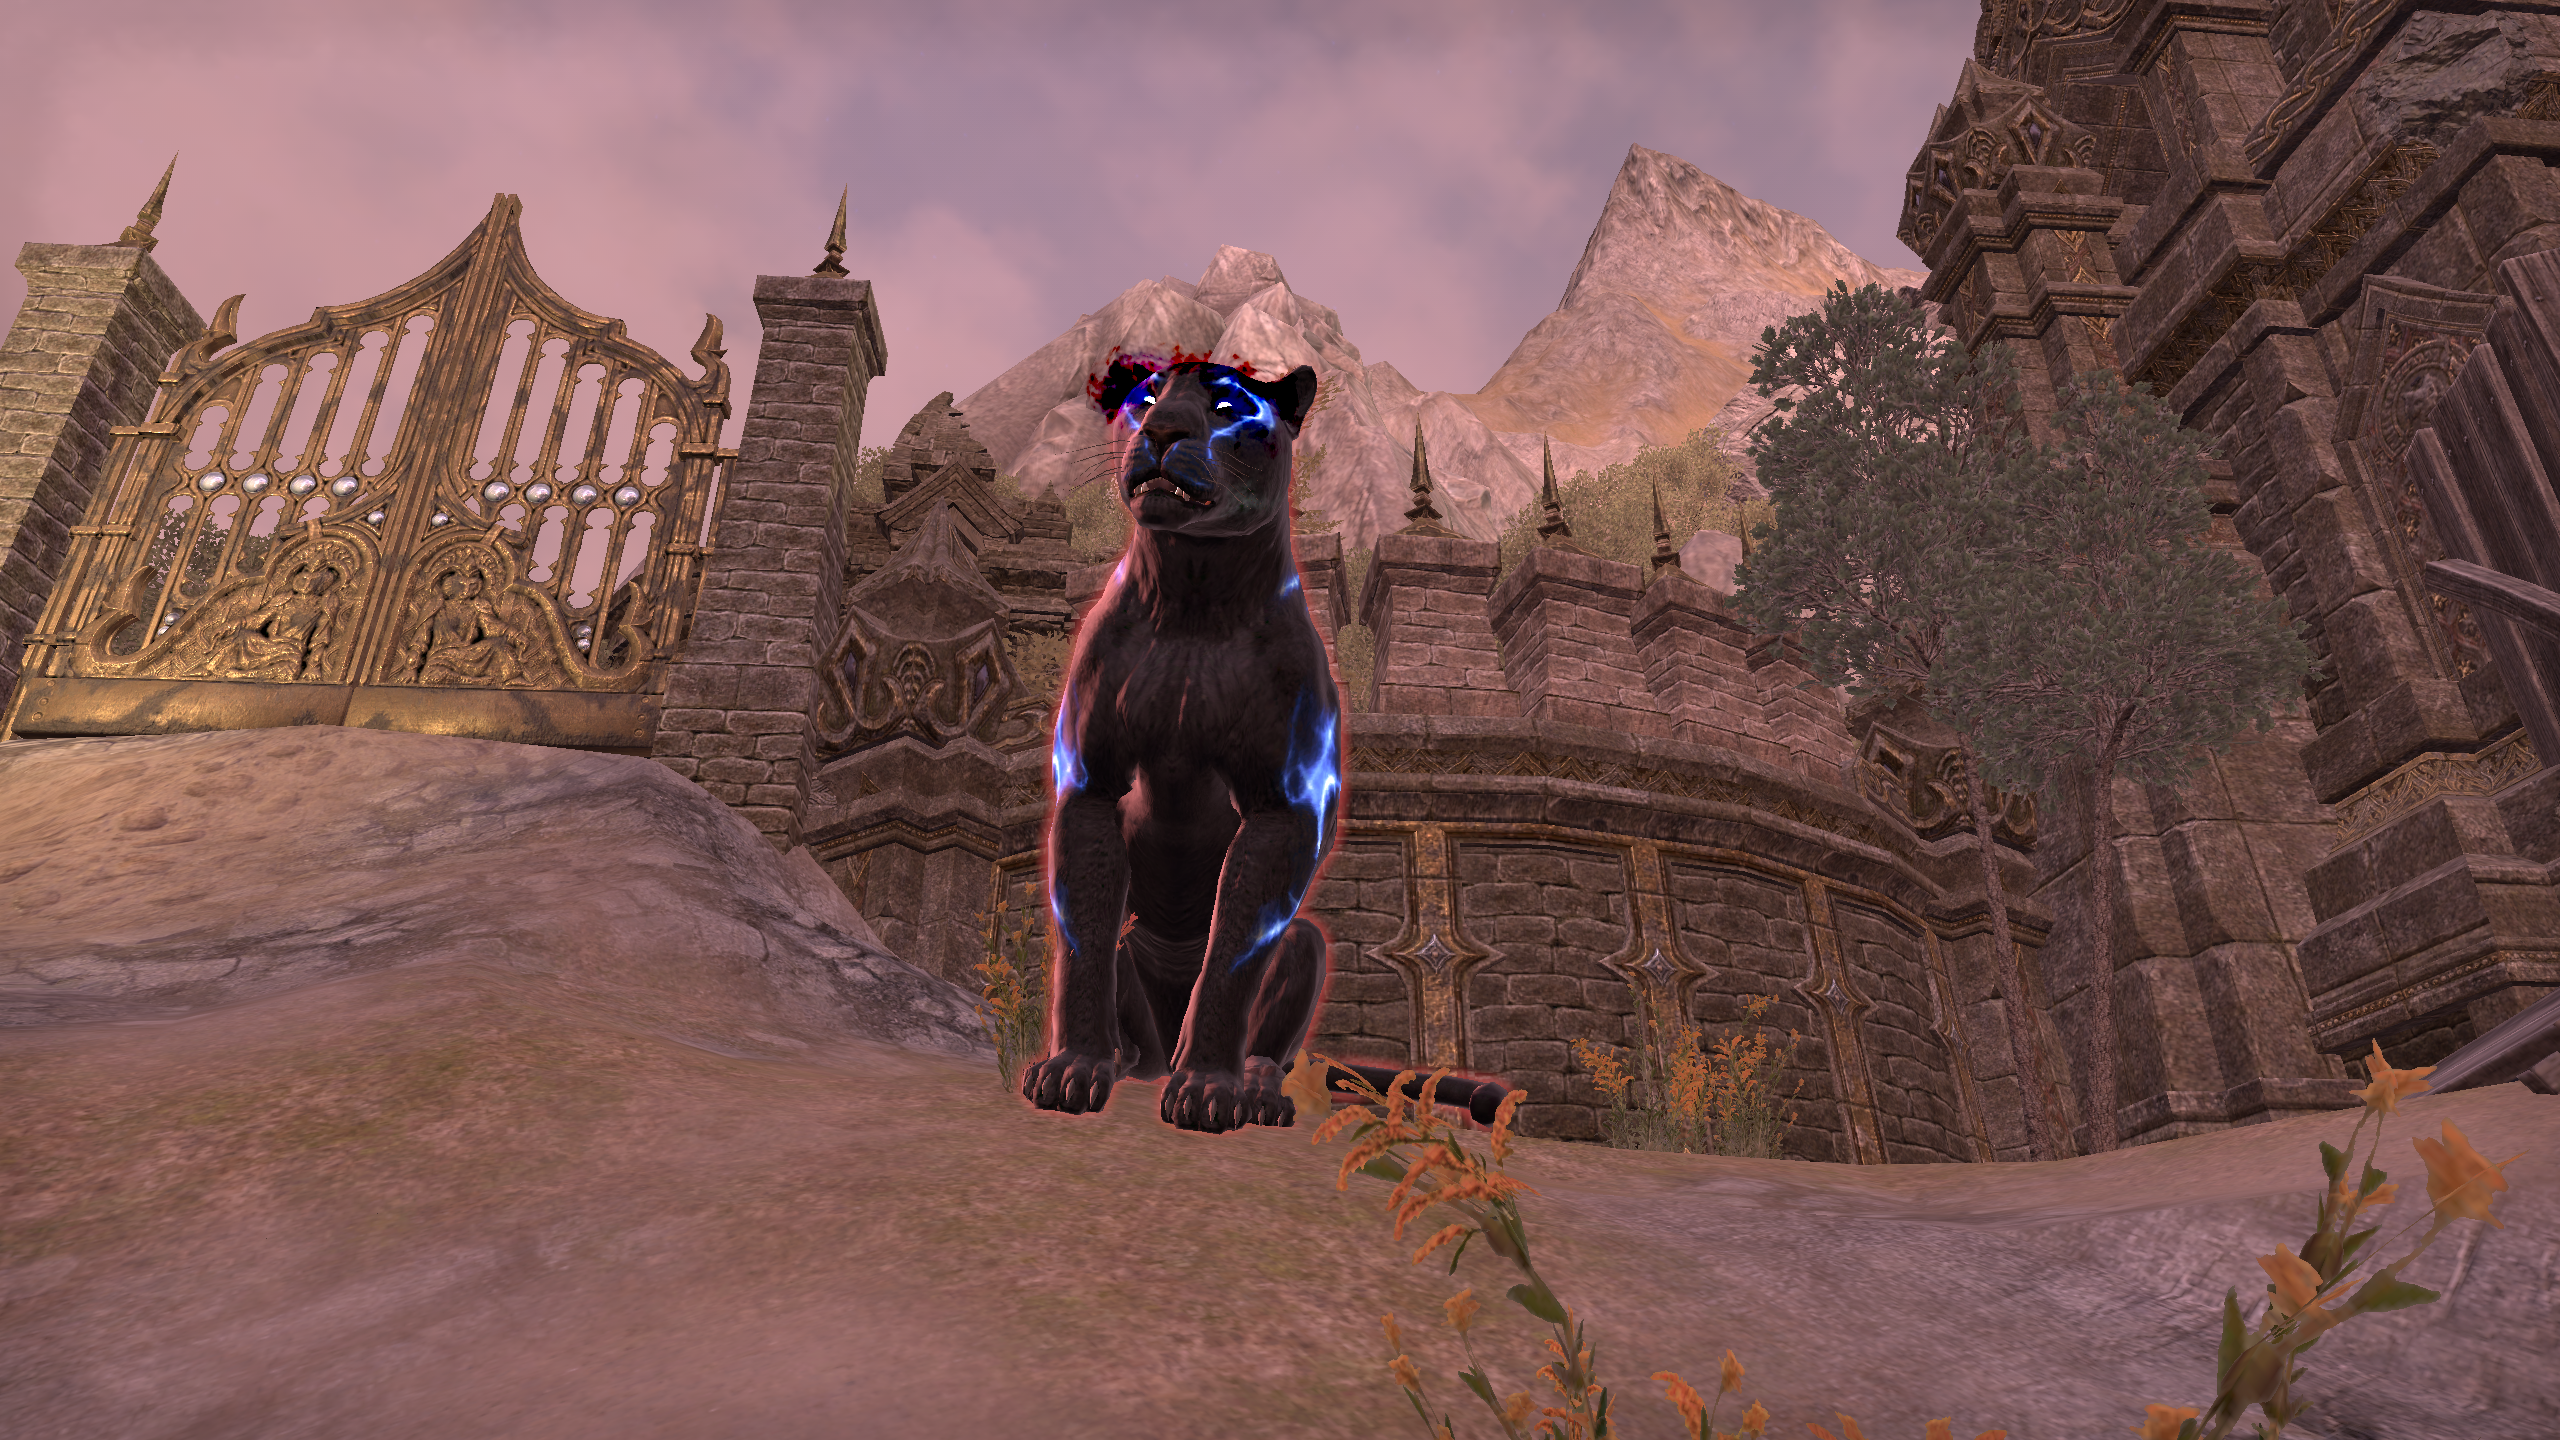 After defeating the second boss you will head up a ladder and continue on through the trial. Heading through a golden gate you will see two massive panthers.
Mechanically they function in the same way the archer panthers do where they will mark someone and then hunt them down until they die or they decide to change target. It’s a good idea for everyone to have a source of major expedition such as speed potion or dodge rolling with a bow for the Hasty Retreat passive, so that when you engage them and they start chasing you you can outrun your death. Engage the panthers focusing one down whilst the two people who get marked kite them. You can use the ramps as a safe way to LOS them so they slow down a bit, just be careful not to get stuck on the ghost that will spawn up there. Once you’ve dealt with the hulking panthers there will be two events you can engage, I would recommend starting on the left side as it is probably the harder one and if you wipe you will have to do less over (if your raid wipes everything resets even the giant panthers). Once someone pulls the left chain the Khajiit mobs will spawn and you will need to deal with them how you would any Khajiit pull, tank everything away and then stack it (excluding the Sun Eater) and focus down the Sun Eater immediately. Once Sun Eater is done AoE the rest down. The next two spawns (three for each lever) will have two Sun Eaters pick one to focus down first then focus down the other and AoE everything else down. Once you’ve gotten through the left lever you’ll need to complete the right event to continue on through the trial, luckily this is the easier of the two and shouldn’t give you much trouble just follow kill priority and AoE everything else down.
Hallway
This hallway has got to be one of the most annoying things in the trial, and it should have its own loot event!
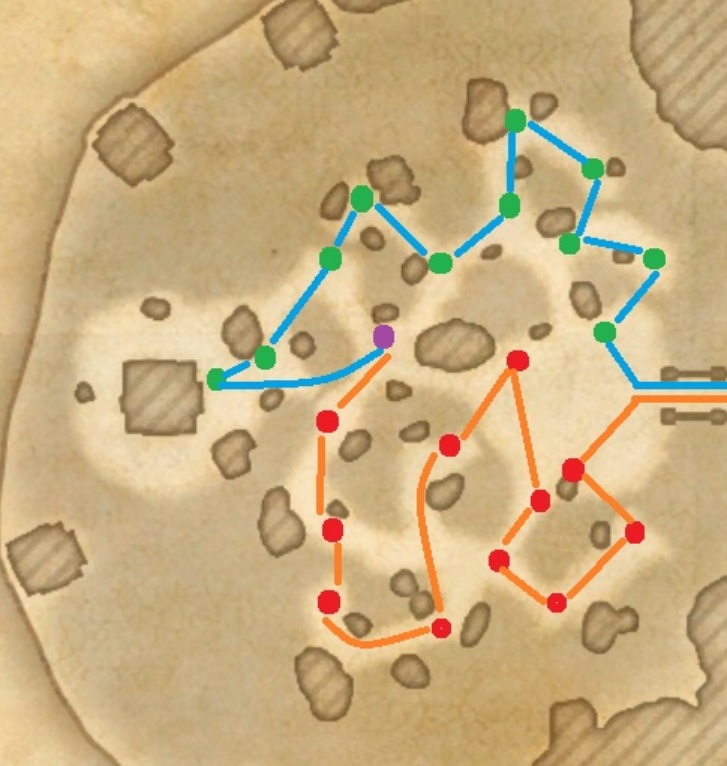
It is just like any trash pull but with a bit more flavor in the mix. In this hallway there are added Cursed Monks otherwise known as Kamikaze Cats who will run up to you and explode on you when in close proximity for insane amounts of damage. In order to alleviate this it is a good idea for the stamina DPS to run Razor Caltrops . Ideally you want about two Caltrops to cover most of the area but three isn’t going to hurt either, especially when they can get negated. If you look up on the left and right sides of the ceiling you can see the there will be sections illuminating that will determine where these Kamikaze Cats spawn from.. So that can also help you deal with them as well. Other than that it’s going to be business as usual with the add killing focus the Sun Eaters first then AOE down any remaining leftover trash. I will include maps of the spawn to make it easier to deal with.
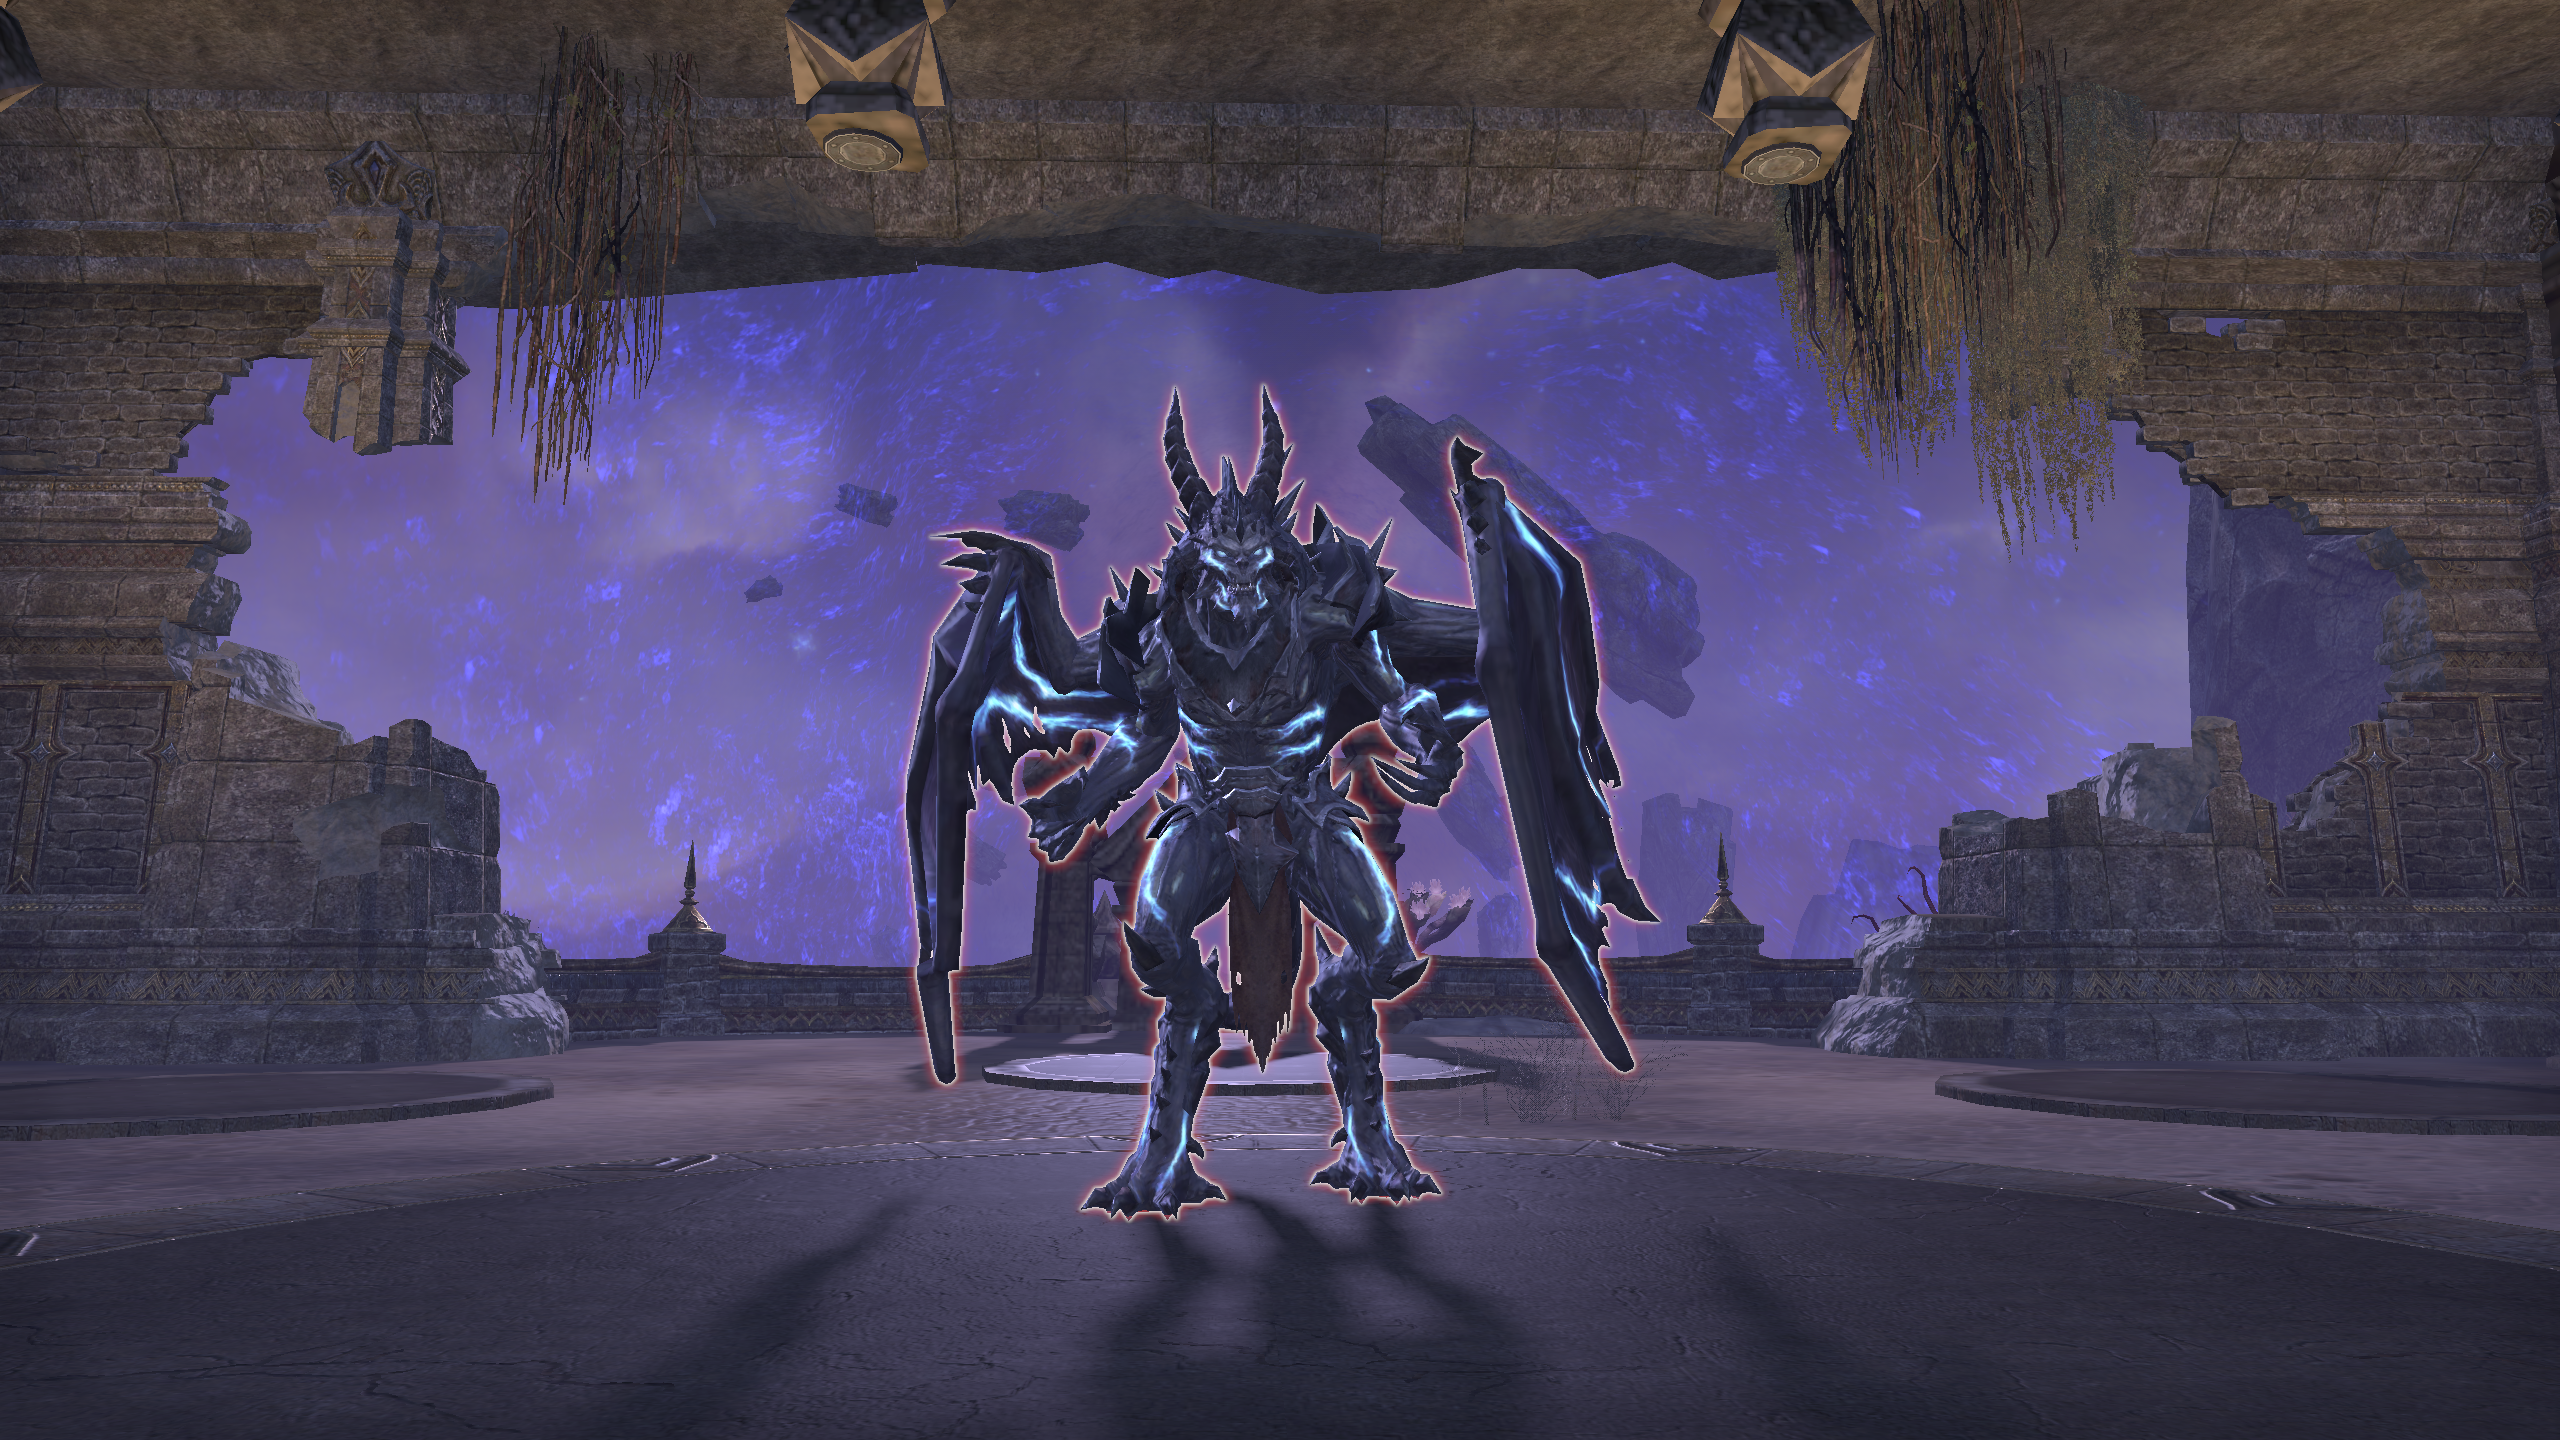
Rakkat
AKA Lord Warden Rehash

After all that you have finally reached the final boss. At first he can be very challenging but once you understand everything he is one of the easier bosses in the Trial. And probably the most fun out of all the bosses.
- Hulk – On pads 2, 4, 6, and 8 a “Drom’othra Hulk” will spawn from the center, this will be the responsibility of the second tank. The Hulk and the boss each have interruptible mechanics. The hulk has an AoE stun that does a bit of damage. Rakkat has a mechanic that will empower the hulk . Both need to be interrupted, no questions asked. The Hulk also will “Weaken” and “Shatter” your armor the main tank will need to take the hulk just BEFORE the armor shatter happens otherwise the off-tank will get one shot.
- Meteors – Occasionally in the fight Rakkat will throw his hands in the air and call down meteors, these meteors empower themselves so if you get hit by one, and then another the damage from the second will be increased by 20% (similar to City of Ash Titan fight). Then the third even more. It is critical you have some range in your group to place the meteors outside of any potential stacking.
- Gun – Periodically the boss will do a Gatling gun mechanic like the boss in vet prison, the more people that take damage from this mechanic the less damage it does. However that does not mean that your DPS and Healers can tank the damage. Ideally you want both your tanks taking the damage spamming their sword n board reflect, sharing the damage. Often there will be times where they won’t be able to share the damage due to stacking mechanics so they do need to be able to survive it on their own.
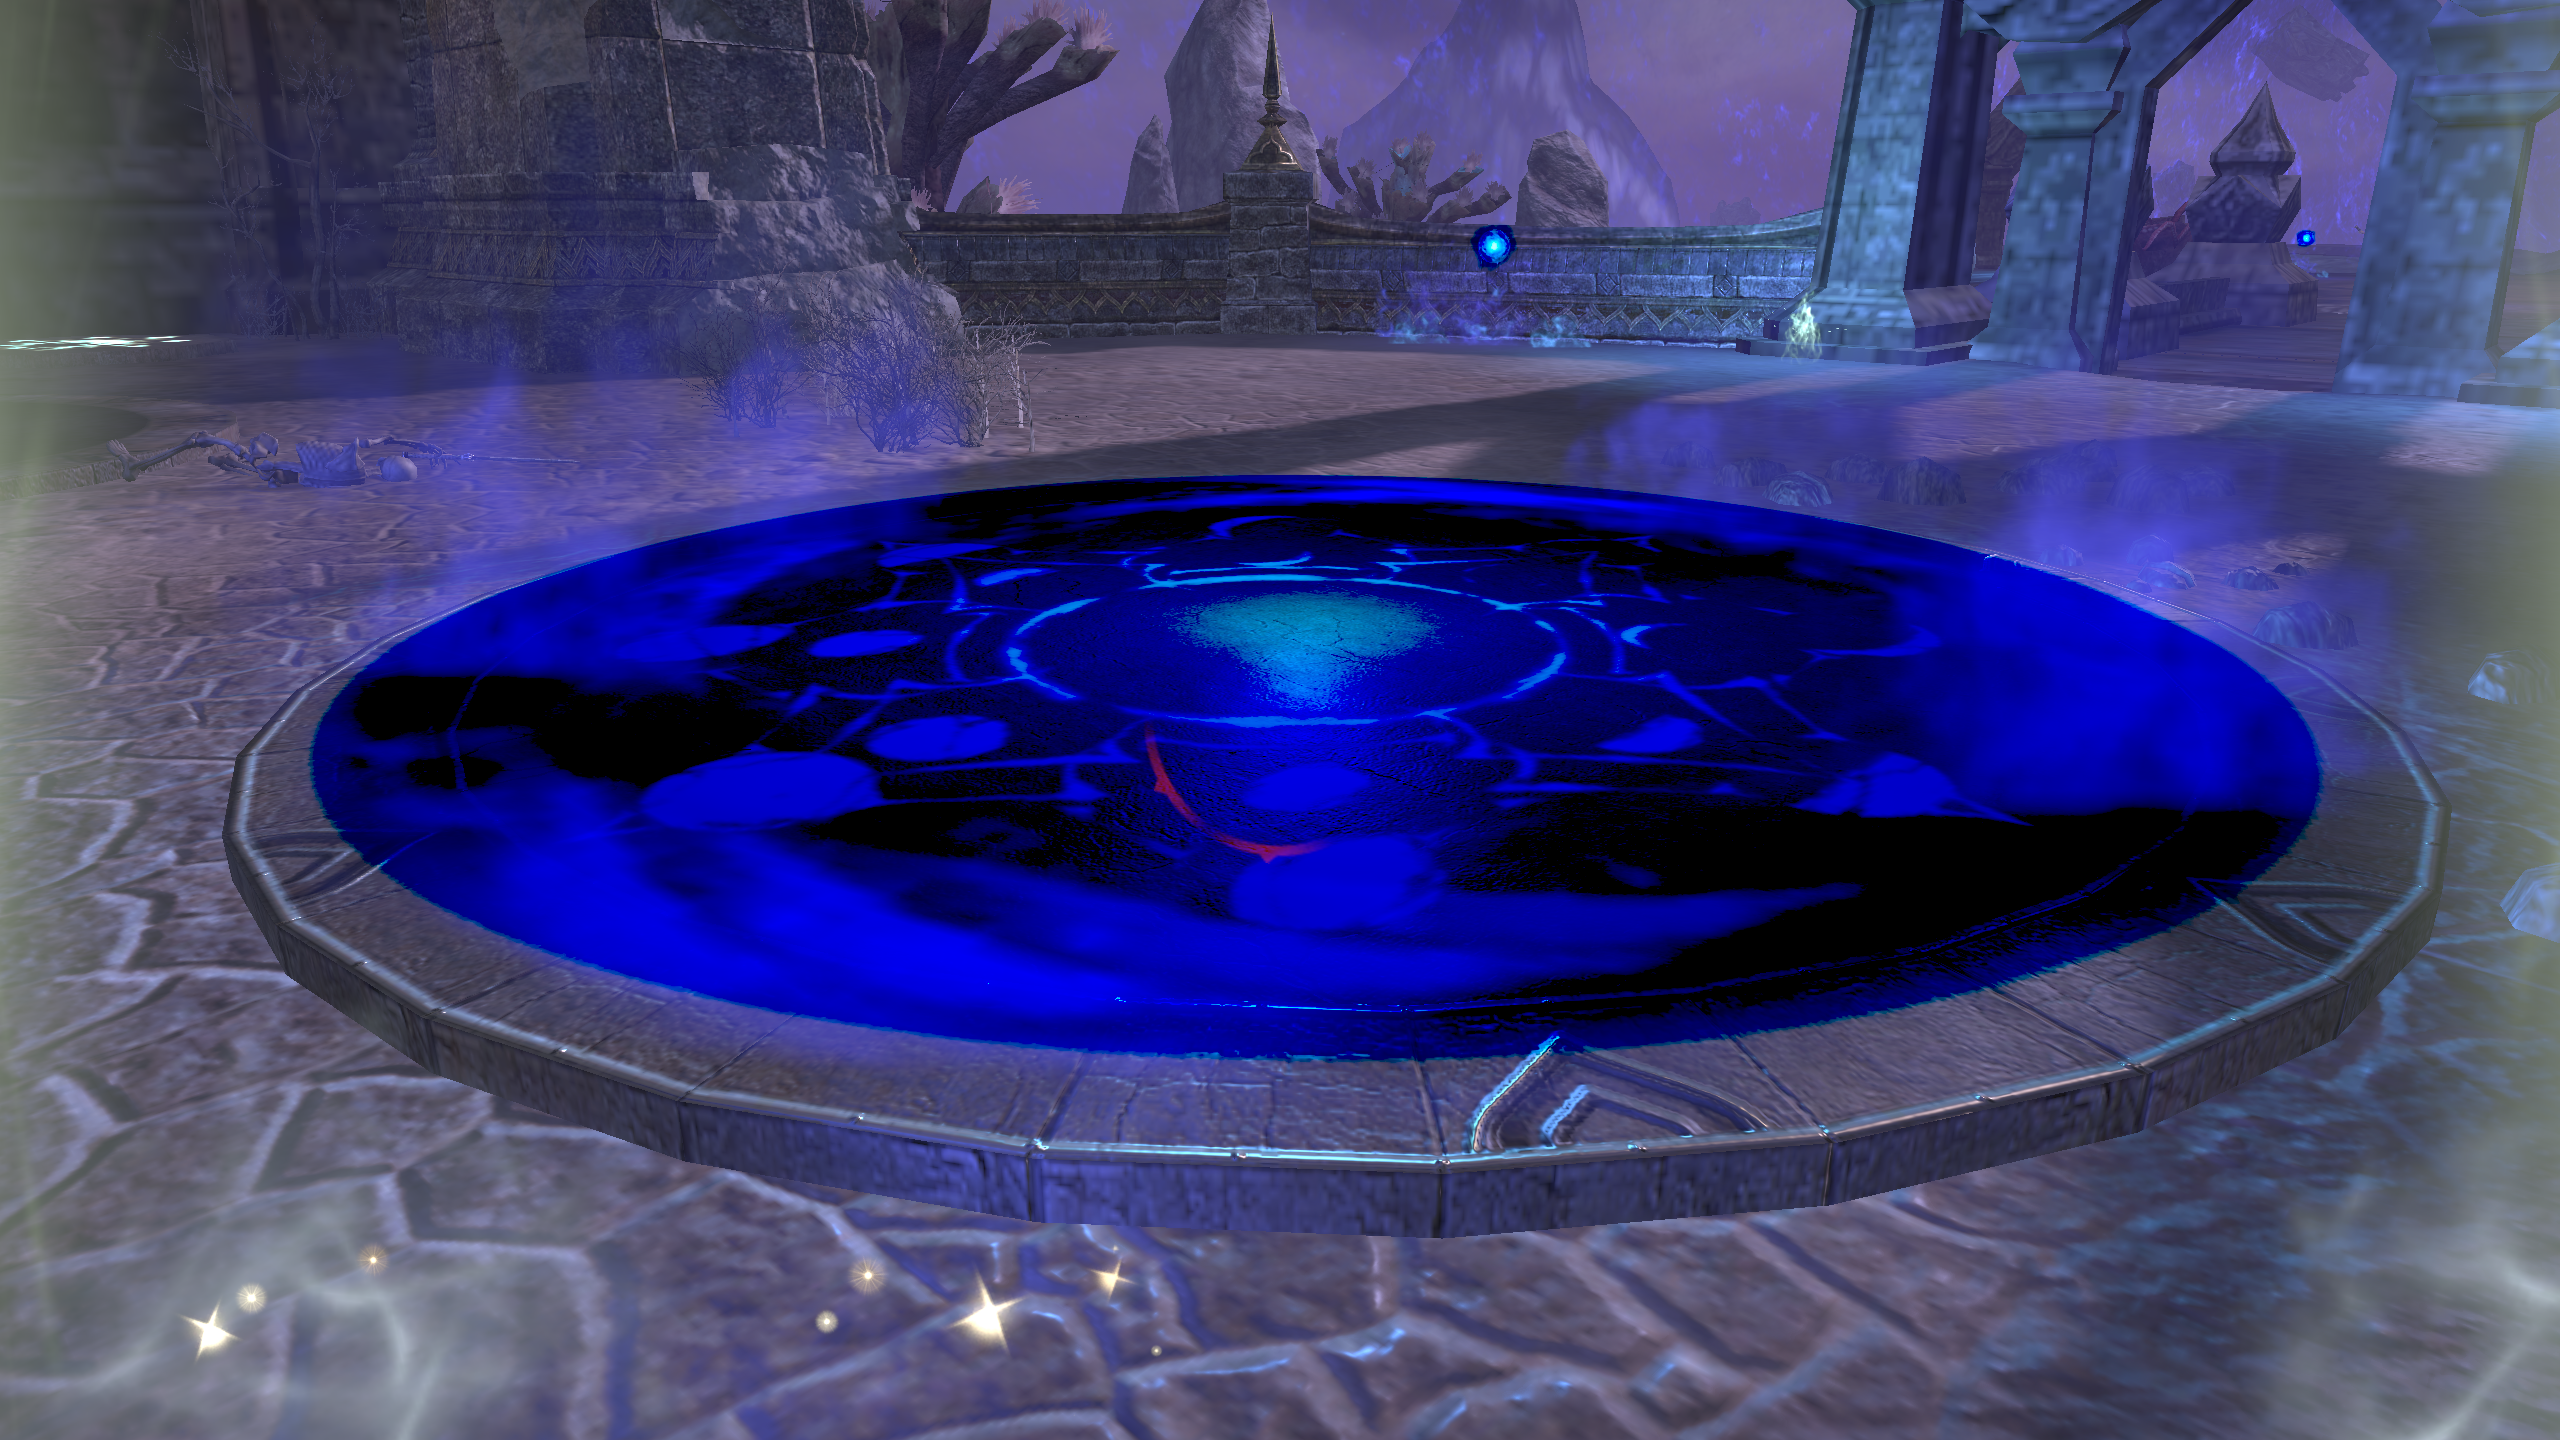
- Time bomb – During the fight a random person will be selected at random to be affected by “Unstable Void” this will place a small growing red AoE under you that will burst out orbs once it has formed to about the size of a cleanse pad. If you think about the time indicators on a analog clock that will give you some idea of what the orbs will look like, they will shoot out in all directions and if you get hit by one you will take initial damage and then “Searing Strike” DoT damage.
- Pad Buff – Around the room there is 8 small pads each of these pads will play a role in your fight throughout the fight duration as they give the tank a buff that prevents him from getting one shot or affected by certain boss mechanics. Once a pad turns gold that indicates that that is where the tank should be, if a pad is black that means that if you touch that pad you will get cursed and will likely die because of the debuff (reduced healing received) it puts on you. Another tell your tank needs to move to the next pad in the clockwise rotation is when the boss does his slow port into the air and “goomba stomps” the pad you were just on… This stomp is a one shot if you are on the pad and does significant unblockable damage (it is shieldable).
-
- Backroom – Every odd numbered pad excluding pad 1 (so 3, 5, and 7) will begin a “Backroom” phase where two DPS will have to run to the back of the boss room into. What we will call the void room and follow specific pathing using the synergy on the illuminated pots on the ground to expose “Void Callers” that you must kill (two on left paths two on middle paths and two on right paths) to prevent a wipe. You can tell a side is done (Left, Right, Middle) by whether or not the pots on that side are illuminated by a blue flame. Occasionally when you synergize on a pot a “Void Assassin” will spawn when they do you need to kill them as quickly as you can so you take as little damage as possible. They also have a knock-back that will knock you off the ledge and kill you if you are not careful. Apart from the damage from the potential assassins if you touch and orb you will take DoT damage and if you kill a “Bent Cat” you will also take DoT damage. This is largely shield-able with magicka builds and Harness Magicka but stamina build will have a much harder time if they do not do everything in their power to avoid this damage.
- Curse – In this fight like the first boss there is the potential for a lot of cursing that will handicap you so it is best to avoid it. Here the curse comes from stepping on blackened pads, and going through the gate in the back of the room to deal with another mechanic I will get to in a bit. There are knock-backs in this fight so positioning yourself so that if you get knocked back you won’t end up getting knocked into a pad and getting cursed. However if you are diligent it is block-able. If you die with curse in the first Lunar Cycle panthers will spawn from your dead body until you are resurrected. In order to get rid of curse you can take a cleanse pad in any of the 4 corners however you should not do this if it is at all avoidable because these are reserved for your backroom team.
- Searing strike – In the back room and from the time bomb there will be orbs floating around that you should avoid. Coming in contact with them will mean a DoT is put on you that can be hard to deal with depending on the circumstances and is extra stress you don’t want to put on your healers.
- Tether orbs – At the fifth pad in the eight pad cycle these orbs will spawn that will bind you to them, once you are bound to them they will start moving towards you doing increasingly more damage until you meet the focal point and get one shot. In order to deal with this you need to bring the orb out of the group as much as you can by maintaining the tether and dragging it out (while continuing to DPS). If you are a melee DPS though you will just have to be vigilant and try and drag it around melee while not bringing it towards others and still being able to DPS. Once you get to the 7th pad this mechanic is replace with another orb mechanic.
- Big orbs – Once you get the third hulk down you will move to the 7th pad and Tether Orbs will be replaced by these “Big Orbs” that are, in my opinion much easier to deal with. Basically you will start seeing red circular telegraph’s on the ground around your raid after a short period of time these will disappear and in place will be a somewhat large glowy ball. If you are under the telegraph when this orb forms you will be one shot, if you touch the orb while it is up you will be one shot. It can be a little confusing when meteors are happening to tell the difference between the telegraph’s, just play it safe and avoid everything.
- Lunar phase – Once you go through all the pads in the rotation the boss will go up into the air (much like Lord Warden in Veteran Imperial City Prison) and after a period of time start casting blackish projectiles onto anyone not on a pad. Additionally if you aren’t on a pad you will be silenced.
- During this phase (at least the way we do it) you will need two DPS and two tanks in the center. You will also need to position your healers on pads 4 and 8 (1 is starting pad increasing in number as you go clockwise around the big pad). You should put melee DPS one the pads in the N E S and W positions. The reason for this is you want to get the most DPS you can out of everyone since we will be dealing with 8 Khajiit adds that spawn (1 per small pad) in this phase. So as the boss ports into the sky everyone should go to their assigned pads and prepare for the phase. In this phase the 4 people assigned to the center (large) pad will be able to use a synergy that increase the damage done to the target you use the synergy on and does its own DPS as well.
- One tank will beam the northernmost add while the DPS on pad 1 and 2 DPS the add down 1 of the DPS will beam the east pad while the DPS on pad 3 (remember the healer is on 4) gets that add down. The off tank will beam the south pad while the DPS on pad 5 and 6 kill the add. And the second DPS will beam the west pad while the DPS on par 7 kills that add. If everything goes smoothly the adds on the N E S and W pads will be dead and you can move onto the rest…The DPS on pad 1 and 2 will focus the add on pad 2 while the tank beams him. The DPS (pad 3) and the healer (pad 4) will switch pads so that when the add on pad for gets beamed the melee DPS can kill it as quickly as possible. The off-tank will beam the leftover add on pad 6 and the DPS on pad 5 and 6 will get him down. The healer (pad 8) and DPS (pad 7) will switch places and get the add down on pad 8. When this is done properly the phase will end by everyone getting knocked down and no adds will be alive. Its also good to remember that even if your two adds are down you can help other people out by ranging the adds that are still alive (assuming you can reach them).
- Dreadstalkers – After the Lunar Phase after every “goomba stomp” the boss does an archer will spawn on the pad he stomps the way you can deal with this is by either having your off-tank or another DPS taunt the add and line of sight him onto the boss so that he dies to cleave. These dreadstalkers only do the conal AoE attack however if you die in this phase cursed or otherwise panthers will spawn from your corpse.
- Execute Orbs – Once the Boss goes to the center for execute there will start another pad mechanic. Starting on pad one a orb will appear and tether itself to the boss, giving the boss additional resistance and in turn making him harder to kill. These orbs will appear on the pads in a clockwise manner around the room and you will need to take them as they appear, otherwise the boss will stack mitigation and you will not be able to kill him or at the very least it will become increasingly hard to.
Walkthrough – Start the tank on the northernmost pad and have the tank aggro, start DPSing the boss and make sure you are not on the middle pad when he stomps it, otherwise you will die, he will then pull to the pad the tank is on. He may or may not do a gun, just deal with that if it happens. Eventually he will stomp the pad make sure you aren’t on it otherwise you’ll get one shot, and move to the next pad (clockwise rotation). Now you are at pad 2 and pad 2 just so happens to be a hulk pad, so have your off-tank grab the hulk and position him in a spot where you can cleave that boss and focus the hulk down making sure to bash the boss and hulks interruptible mechanics. Once the hulk is down (or you have left the pad with the hulk) you need to send 2 people into the back room to do back room while your raid continues to take down the boss whilst avoiding any meteors, knock-backs, and times bomb happening in this phase. Eventually you will continue to next pad, you may or may not have your back team with you depending on how fast they were. A hulk will spawn from center, just handle it in the same way you have before. Damage will be lower on this hulk if you had a slow back room so you may need to have the main tank aggro the hulk before the off-tank gets his armor shatter. By now you should have transitioned to the next pad with either a dead hulk or dying hulk. Your backroom team should leave just as or a little bit after the boss has transitioned to the next pad, making sure to have cleansed their curse before reentering the backroom. Rakkat in a group with most of their debuffs will be at 45-55% about the time your back room is finishing. Once again the boss will transition to the next pad (hulk pad), kill the hulk while cleaving the boss. If the boss is at or under 35% when he leaves this pad your raid should be able to burn the boss into execute before you get wiped by not doing backroom so hit him like you mean it! There will also be a new mechanic introduced on pad 7 we call big orbs (or just orbs for short) remember how to deal with them and continue burning boss into execute (he goes into center at 13% unless he is casting a mechanic). Once boss is in center you will need to drop mitigation on him and continue to burn him until death! There will be little orbs (on the small pads) you need to collect that give him resistances so you should assign one DPS each for pads 1-4 have one of your tanks take pad 5 and assign 2 more DPS to pad 6 and 7… once you get take an orb you will be cursed so it is important to have some sort of ability to sustain your hp, be it a shield, heal, or defensive ability. A little tip too for execute… you can take the orb before it even shows up you just need to learn to time it properly this way the boss gets virtually no up time on his additional resistance and will die faster.
Looking For More About ESO?
Thank you for reading ESO Veteran Maw of Lorkhaj Guide. We provide the latest news and create guides for ESO. Also, watch me play games on Twitch or visit my YouTube channel!
Comments are closed.