 Facebook
 Reddit
 Email
Email
Are you ready to take on the hardest job in Elder Scrolls Online (ESO)? Well than welcome to our ESO Tanking Guide where we show you everything you need to know regarding tanking. This is a broad guide and for specific tank guides, make sure you check out our class guide section. Let’s get started!
Table of Contents
What’s a Tank’s Job?
The most important job for a tank is taking on the most deadly single enemy in a group. Other games have you taking on ALL the enemies, not ESO. To be a great tank in ESO, you’ll have to pick and choose your targets carefully. Generally, I’ll take on the target that can one-shot or insta kill someone. It’s usually pretty obvious who this is based on size, amount of HP, or just appearance.
- Damage Mitigation – Simply put, you’re suppose to soak up damage so other players don’t have to. Your damage dealers and healers are optimize fully towards their roles. Essentially, they’re going to be very squishy or easy to kill. That’s okay, because as tanks, we embrace the hard to kill attitude and shine when the odds are against us. What this means is, you’ll need to find a way between using your skills, gear, and play-style to mitigate damage. Most do this by avoiding hits, having heavy armor rating to lessen the damage, or shielding themselves with spells. Either way, you’re suppose to take damage so others don’t.
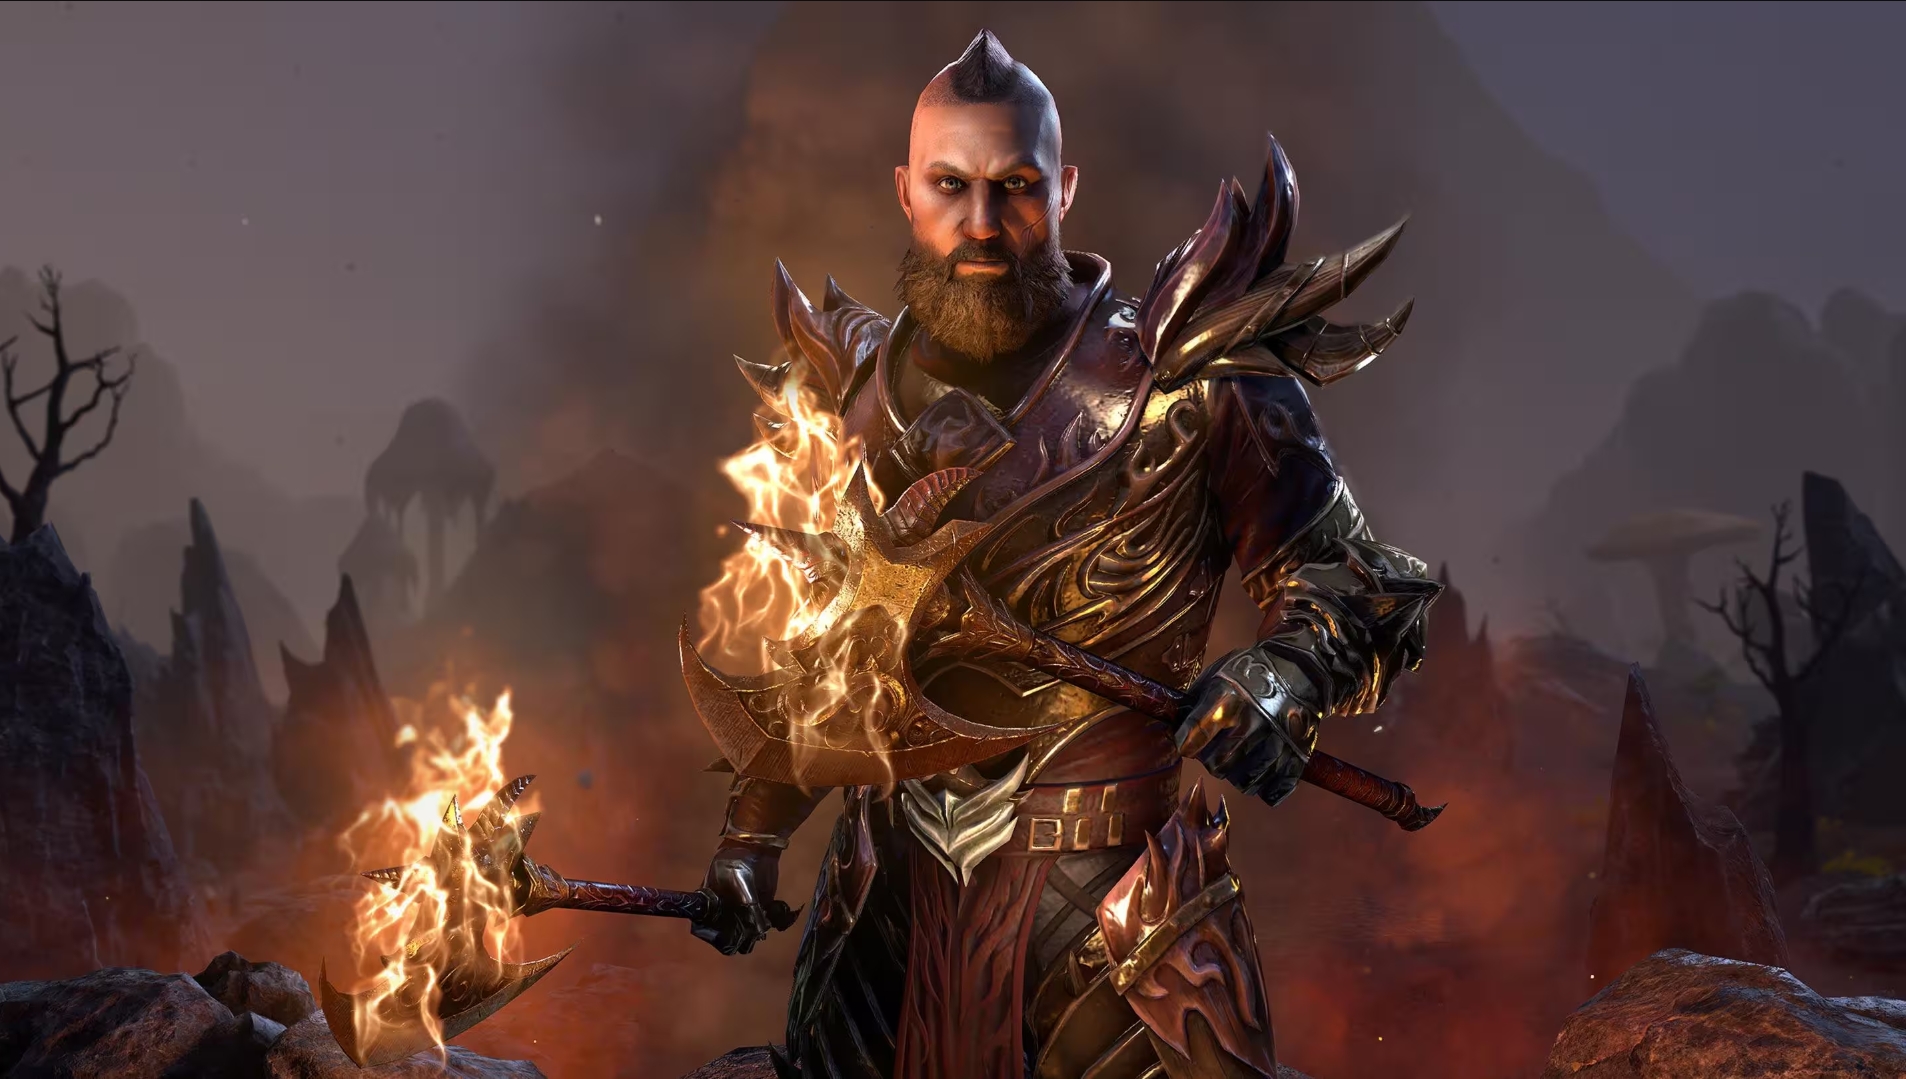
 Priority Targeting – “Deltia, how do I mitigate or lessen damage?” You do this by targeting that one enemy who’d ruin your day if let lose. Take this picture for example. You’ll see about eight mobs or enemies all looking to kill you. However, the Frost Giant is not only larger, but look at it’s health bar. You’ll see a little square indicating it’s a higher threat mob (elite or boss). This is your visual indicator that this needs to be your main priority out of the group.
- Positioning – Our endless mission for mitigation doesn’t stop there. Now that we’ve got the attention of the boss, it’s time to position our team correctly. Most enemies have a cleave mechanic (or area AoE damage). This is usually in the shape of a cone BIG RED and yes get out of it. After we get aggro meaning the enemies attention, turn that mob away from the group. That way when it does a big area or cleave attack, you’re allies are safe. Turning the mobs is a huge part of tanking that I see people missing all the time. With that being said, the group also needs to understand to not be in your way either.


- Resource Management – “Deltia, why is tanking so hard?” Not only is there so much going on and you’re responsible for, throw in the fact that you’re going to be using ALL resource pools and this gets very hard. Most roles either using magicka or stamina to do their jobs, not tanks. We have to use stamina to block, dodge roll, sprint, and taunt. We need magicka for shields, buffs, and healing. And if we run out of health, well everyone dies. I can’t give any better advice than this, when build your character here’s what you need to focus on stamina regeneration > everything else. Blocking is our primary source of damage mitigation and a constant drain on our stamina. If you can’t block you die, if you die, everyone dies. The point is, stamina recover, regeneration, or reduction is the priority over all else.
- Damage – Yes we as tanks still need to do damage. You don’t want be the main focal point of DPS, but your ultimates and some class abilities can really help add some needed DPS. Each class has their own strengths and weakness, and you should be relying on these advantages to take down enemies. Templar’s can drop a Nova on a crowd while Nightblades and drop a Veil of Blades on a boss. Dragonknights can throw down a needed Standard of Might while Sorcerers can lock everything down with a Negate. The faster things die, the easier your job will be.
How to Tank
Pre-Fight – Make sure everyone’s ready to go. Weapons are charged, people have ate food to get more stats, and we’re buffed up and focused. Get your mind right too, think positive and embrace your inner tank. You’ll need to react quickly to changing group dynamics. Our group constantly ask each other these questions. Also be prepared with consumable potions. These can make or break fights and have many benefits. In essences, get prepared.
 Taunting – Using taunts or gaining aggro as some call it is nothing more than getting the bosses attention. Currently, there are two specific abilities for taunting, Inner Fire a ranged taunt using magicka from the Undaunted tree, and the bread and butter taunt Puncture using stamina from the One Hand and Shield tree. Ideally, you’ll want to use Puncture over Inner Fire because the debuff Puncture provides is powerful. Additionally, Inner Fire has a chance of procing a terrible synergy which will lower DPS. However, I highly recommend having both taunts on your bars somewhere. You’re not always going to be in range for a Puncture and will need a range taunt at some point.
Blocking – Now that we’ve got a mob or two’s attention, the hard work starts. Blocking provides massive damage mitigation at the cost of stamina. The more targets beating on you, the more stamina it will drain. That’s why it’s important that you don’t “over taunt.” Take on what your stamina can handle. While blocking you can, cast spells, continue to taunt, move slowly, and bash. Don’t be the tank that just stands and blocks, you’ll need to be active even while blocking and at least looking around watching for enemy actions.
Interrupts – Since I brought up bash, let’s talk about interrupts. Generally mobs cast or channel their big attacks. This registers a warning sign above their head saying “if you don’t interrupt me, you’ll die.” Thus, your job is to keep them at bay by bashing over and over. Just remember, this takes stamina too and at some point, a DPS or a Healer will need to help you interrupt. Additionally, your bash is only near targets so range members of your party are responsible for those interrupts. You can do a lot as the tank, but not all.
 Weaving Attacks -One of the finer points on tanking is weaving in between blocks. The most advantages weapon glyph I’ve found for tanking is the “Hardening Enhancement.” This grants a small damage bubble on you and can be proc’d often. So yes, don’t just stand there and block keep on procing this bubble. Once you’ve become experience, you’ll understand the timely of each boss. Some take more time to charge up heavy attacks thus giving you the time to charge your own heavy. Others rapidly strike so you’ll need to get in a light attack here and there. Remember this, the less damage you take, the less healing you’ll need. The less healing you’ll need the more the healer can do damage. The more damage the group has, the faster stuff dies. The faster mobs die, the easier your job. On the surface this doesn’t seem very important, but truly it separates the good from the average.
Resources – So what separates the good from the great? Resource management. Every class, armor, and build has it’s own strengths and weaknesses. For instance, Dragonknights Green Dragon’s Blood offers tons of stamina regeneration but it takes constant magicka to cast it. Templar’s have a passive ability Repentance that increases stamina regeneration without casting. The One Handed Sword and Shield skill line offers Absorb Magic which lessens the burden of blocking and increases mitigation. So, make sure you take abilities that tune up your resources otherwise you can’t block, cast, interrupt, and will be an ineffective tank.
Tanking by Classes
If you haven’t been following my guides, I’ve played every class to at least Veteran Rank (VR) 10. I’ve tanked, healed, and DPS’d every single one of them. So each class has it’s own unique set of strengths and weakness and also easier to tank with. This list is my opinion, not the definitive answer. And I rank each class tanking with the best to worst.
Dragonknight
The King of tanking. The Dragonknight (DK) can reflect projectiles, self-heal on command, and pull enemies at range. Their Iron Skin passive of an additional 10% blocking damage makes them the number one choice.
+ Made for blocking and crowd control (CC)
+ Massive group utility and self-sustaining resources
– Limited range
– Very slow with class specific abilities
Templar
A VERY close second is the Templar. I can’t tell you how powerful these two classes are and Templar is an absolute riot. Their the only class that can burst heal without a Restoration Staff, they can harvest corpses for endless stamina, and have the best damage shield in the game with Blazing Shield. Another amazing choice for tanking.
+ Healing and stamina regeneration King
+ Class ultimate and leap made for tanking
– Little DPS
– High magicka cost for spells
Sorcerer
While I did beat Dragonstar Arena with my VR 8 Sorc tank, it was a challenge. The Sorc has some great bubbles but lacks healing unless stacking critical stat in conjunction with Critical Surge. This isn’t a usual tank stat and doesn’t seem that effective though the speed is amazing.
+ Speed to zoom around
+ Massive damage even when tanking
– Class abilities lack tanking needs
– High magicka cost group CC
Nightblade
I’ve seen and tried many Nightblade tanking builds, but still find them a bit lack luster. They have some good speed and utility the problem is they lack a burst self-heal. Moreover, they have limited group CC or slow besides Lotus Fan and I just didn’t find them effective as tanks. Though the beauty of this game is someone will show me a build after publishing this that proves me wrong 🙂
+ Great speed
+ Passive healing with siphoning
– Dependent on healers in crunch time
– Lacks group CC
Setting Up Your Bar
 Above is a sample tanking build without any class specific abilities. Yes, you’ll need to swap in some class stuff but I wanted to give you a picture of a setup and why I take specific things. Let’s talk about each slot and the concept behind it.
Bar One | Melee
- Group Crowd Control – You’ll need some way of slowing down enemies or neutralizing them completely. Volcanic Rune in this spot is something everyone can get and a good CC.
- Melee Taunt – The debuff provided by Pierce Armor is a powerful one and I recommend it as the go-to taunt in ESO. Be careful with stamina usage however, because it does take stamina needed for blocking.
- Self-Heal or Shield – Every class has some type of defensive ability, and Harness Magicka is a good one everyone can get. I like Green Dragon’s Blood for the DK or Breath of Life for the Templar. Something here that is your “oh crap” button.
- Defensive or Passive – I just love Absorb Magic here and use it on nearly every character. Some ability that gives a passive boost to tanking. Another example would be Repentance for the Templar.
- Ranged DPS – You’ll need some range whether a class ability, or a leap to close the distance. I like Structured Entropy because its a small heal and it boost our health by a large margin.
- Defensive Ultimate – What’s a good tank without a defensive ultimate? Barrier is the beast mode ultimate though each class has something similar. Take it here for when things get tough.
Bar Two | Range
- Ranged Taunt – Every tank needs something with range in my opinion. Too often are fights covered with massive red circles of death. Not only does this ability get us some range taunt, but if we’re out of stamina, we can use this as a substitute while building up resources.
- Group Heal or AoE DPS – This slot I use for group utility, damage or healing. You can swap in another Sword and Shield, a Destruction Staff, or even a Two-Hander. I just like Restoration since I’m a more defensive minded tank.
- Stamina Buff – Since we have tons of stamina, we’ll need a group buff in case we’re overflowing with it. This ability adds a lot to your tanking bar and can pump up that mitigation to a whole another level. Just make sure you have stamina in reserve for blocking.
- Emergency Heal – Since your the tanking, using bar two can be risky. If you’re not using two Sword and Shields, you’ll take massive damage on a weapon swap if not timed correctly. Therefore, I suggest having a “oh crap” button on this bar as well. Preferably one that can benefit the group as well.
- Stamina Buff – Similar to our previous stamina ability though this one is for speed and breaking roots. This is a must have in Dragonstar Arena (DSA).
- DPS Ultimate – Everyone needs to do damage, and this ultimate is reserved for that. Drop it like it’s hot and nuke down an enemy.
Summary
Well our wall of text is over and now you’re a tanking expert! Okay maybe not, but at least we got the basics down. Now comes the hard part, working at it. Don’t be afraid to give it a try, go in and embrace the tanking experiences. It’s not easy that’s why people don’t do it. Though if done right, you’ll be the Captain of every Raid/DSA team out there.
I hope you enjoyed this guide, and I want some feedback on your tanking. What do you do differently?

Comments are closed.