Facebook
 Reddit
 Email
Email
This is a comprehensive guide on how to get through the mission “A New Journey Begins” in Chapter 2 of Final Fantasy 7 Rebirth.

In Final Fantasy 7 Rebirth, “A New Journey Begins” encompasses the entirety of Chapter 2. In this chapter, the party escapes Kalm and ventures into the Grasslands and then through the swamps, ending with the Midgardsormr boss fight. This chapter also serves as an introduction to the open-world aspect of this title and teaches the players about most of the core game mechanics by providing numerous tutorials. This chapter starts with Cloud waking up at the inn in Kalm after completing Chapter 1.
Chapter 2: A New Journey Begins
After waking up at the inn, Cloud heads out of the room, where he finds a leather pouch on the handle of the door of his room. This is a starter deck given by the Innkeeper for Queens Blood, a card-based mini-game.
You are given a choice between learning how to play Queens Blood or not; we suggest doing this tutorial if you are a new player. After choosing to complete the tutorial or not, go to another accessible room on the 1st Floor of the inn to find a chest containing a bottle of Ether and take it. After that, make your way down the stairs and meet Broden, the Innkeeper.
Broden tells you that your companions have all left the inn. Barret leaves a message for you, saying you have the day off and should get your equipment checked at the arms dealer. Broden also suggests you visit Maghnata Books to customize your Folios. After talking to Broden, leave the inn, where you will be greeted by Rex XIII waiting just outside. After a small talk, he will thank you and join your party permanently. This also serves as an introduction to the party-level system of the game.
The Town of Kalm
After talking to Rex XIII, you can choose to explore the town of Kalm or directly complete the main objectives to continue with the main story. The main things you can do at Kalm are:
- Talk to your companions to increase relationships.
- Play Queens Blood with the locals.
- Continue with the main objective.
We highly suggest first going around the town and exploring it to enjoy what the game offers. This is also where the game introduces the mechanic of increasing relationships with your party members. These are the locations where you can find them:
- Barret- Drinking at the bar of Rusty Arrow Tavern.
- Red XIII- Guarding the Southern entrance of Kalm.
- Tifa- At the water tower near the center of Kalm.
- Aerith- In front of Maghnata Bookstore.
The game gives you a limited time to choose between dialogue options, which either increase your relationship with them or leave it unchanged. If you want to increase your relationship with them, choose the following options for each respective party member:
- Barret- “First one’s on me”
- Red XIII- ”I knew I could count on you”
- Tifa- ”The place I made that promise to you.”
- Aerith- “Sure. Let’s”
A chest containing 2 antidotes is present going up the stairs at the bar where you meet Barret. There are multiple NPCs around the town with whom you can play Queens Blood; these mini-games are optional.
Main Objectives in Kalm
After completing all the side activities, head to the northern part of Kalm where you find Selvacarsa Weapons. Here, you will undergo a tutorial on upgrading your weapons. Once again, this tutorial is optional, which we suggest completing if you are a new player. After completing the tutorial, you now gain access to the weapons shop. Each region of the game contains special purple chests in which you find new weapons. Don’t worry if you miss them; you can buy the weapons later at the weapons shop in the next region.
After upgrading your weapons, head to Maghnata Books on the southeast side of Kalm. After upgrading your weapons, head to Maghnata Books on the southeast side of Kalm. Once there, you’ll find Aerith outside the store, where you’ll be presented with a dialogue option. After agreeing to meet at the clock tower, head into the bookstore.
At Maghnata Books, you choose to go through a tutorial on customizing your Folio. Completing this tutorial is highly recommended for new players. After exiting, you can now head to the clock tower to start a date with Aerith. Note that this is your final chance to do anything in Kalm before getting locked out of it for the time being.
Date With Aerith

Once you have completed all the things you want to do in Kalm, head to the clock tower where Aerith will be waiting for you. After Aerith drags you in, climb the staircase with her to the very top of the tower. Here you have a small talk with her about appreciating the view of Midgar.
In the middle of the conversation, Shinra helicopters swarm the skies above Kalm, and Troopers descend onto the town to find your party. Chaos soon ensues as people become frightened, and the streets fill with Troopers searching for you.
After the cutscene, use the pole behind you to reach the bottom of the tower, here Broden the Innkeeper approaches you urging you to go back to the inn where your party members are and requesting not to choose violence. Follow Broden as you evade the Troopers until you reach a point where Broden stops you and says he will distract them for you to move on. Use the metal pillar to the left and climb up, where you will slowly walk on the wooden path as Broden distracts the Troopers on the streets. Continue walking till the end, where you can slide down the pole to meet up with Broden. Follow him back to the inn and head inside.
Leaving Kalm
Once in the inn, Aerith will ask where the rest of the party, is to which Broden replies they are below the inn and opens a secret door. He also informs you about a tunnel in the basement that will help you escape Kalm and head east. After this, he gives you the following items:
- Item Transmutor.
- 10 sprigs of sage.
- 3 manifestations of the planet’s blessing.
After a small chat with Broden, you’re given the option to complete the tutorial for transmuting, which is highly recommended. Transmuting can turn regular materials into various useful consumables such as potions, ethers, and antidotes. This is the last tutorial in Kalm, with which you are now introduced to most of the core game mechanics.
After completing the tutorial, head down the ladder to a room where your party is. After a small discussion, keep going through the tunnel where Barret makes an opening in the wall. Right in front of it is a chest containing 3 sprigs of laurel; loot it. Make it to the end of the tunnel where you can exit through a metal door. After exiting the tunnel, you’re introduced to the Grasslands Region, where you’ll spend the rest of Chapter 2 in Final Fantasy 7 Rebirth.
Grasslands Region
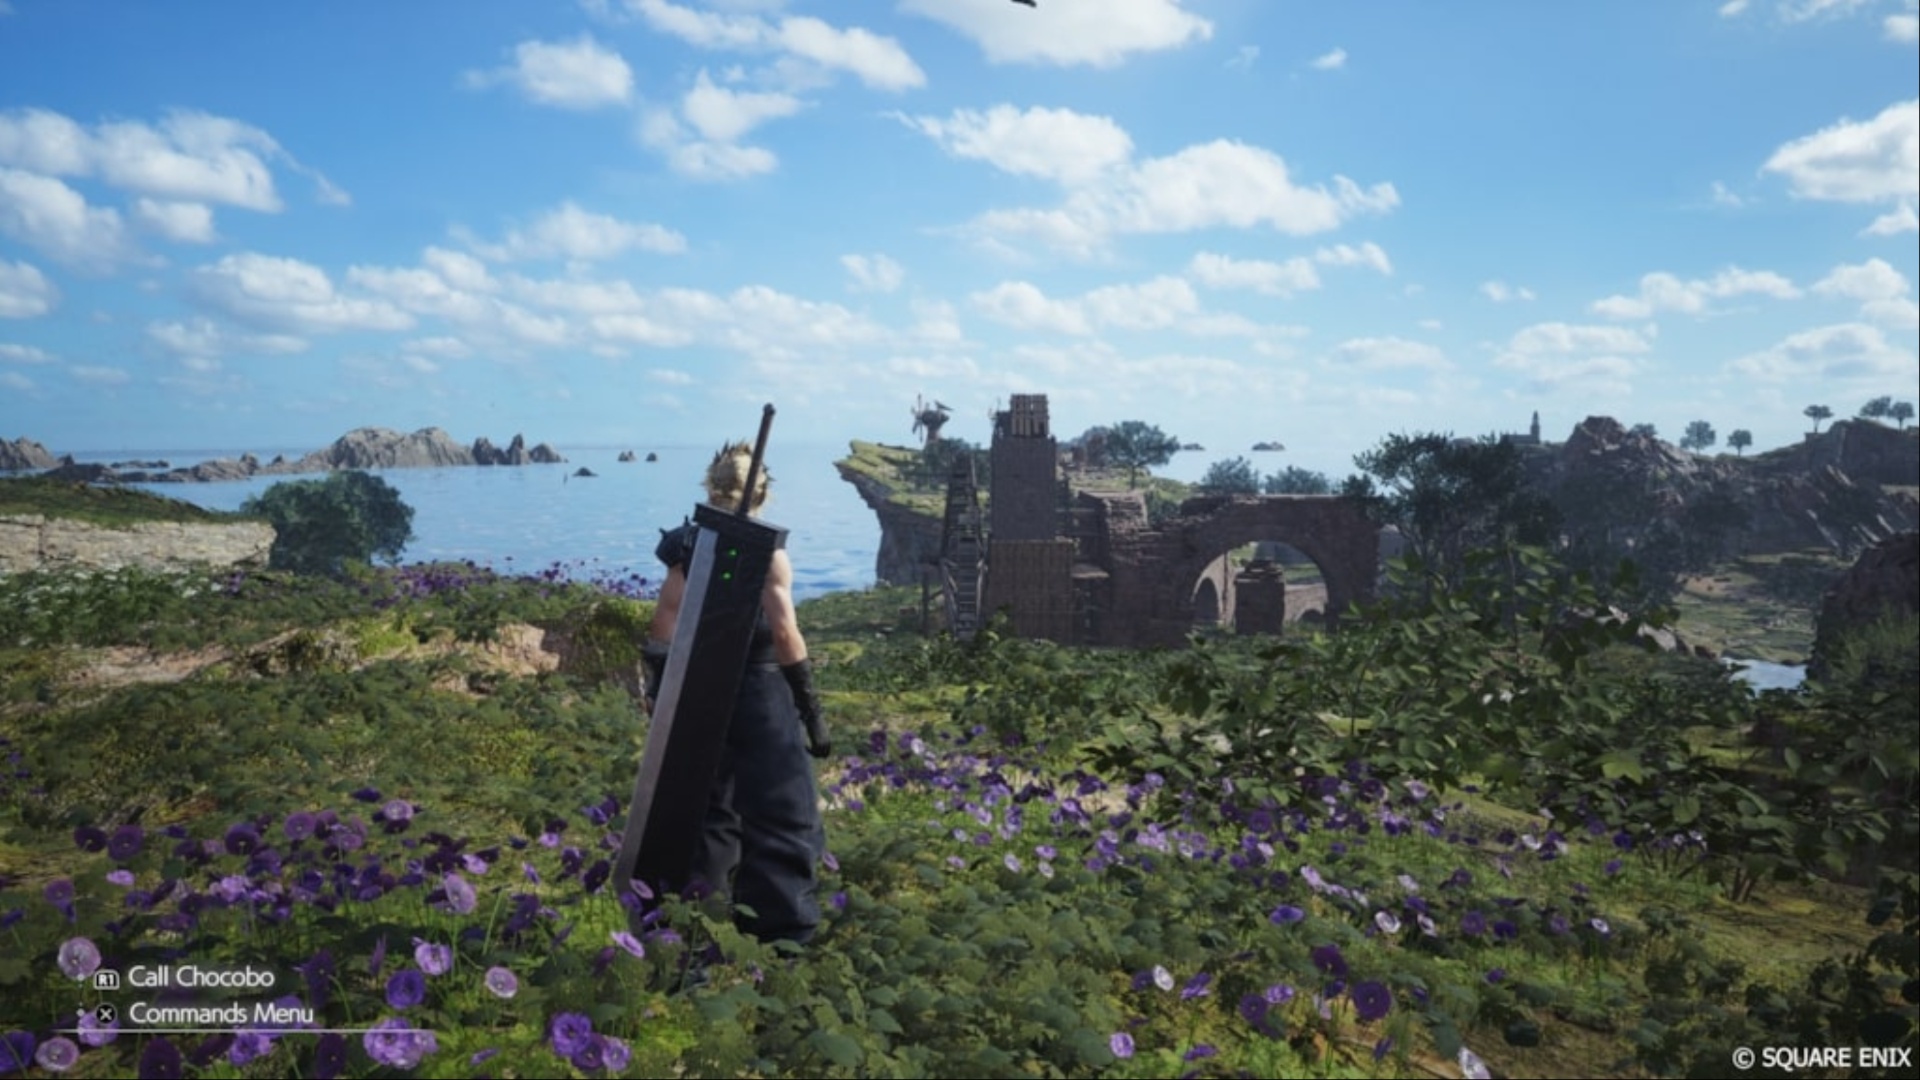
A cutscene plays introducing Grasslands along with some small party banter. After this, the world truly opens up as you can go anywhere you want in the Grasslands for the rest of Chapter 2. The party customization feature can now be used to select up to three active members to fight during battles. You can now also open the map to set markers to where you want to go during your travel. From here, you should go toward the orange star-shaped marker on the map.
There are various encounters with monsters along the way, mainly with:
- Orcs
- Mandragora
- Mandrakes
- Grasslands Wolf
- Elphadunk
- Mu
These are very easy fights and are recommended to take on for easy party experience and various materials. You can also pick up various plants from the ground, which can be used for transmuting.
Go towards the marker till you reach Oliver’s Farm. Here you can talk to the Farmer in front of a house, and he will tell you about the docks near the swamp. Just behind him is a Maghnata Automat, which you can use to customise your Folios, and a Vending Machine to buy motions. Along the way, you meet up with Bill, who also tells you to go visit the abandoned dock building. Go right from Bill’s truck, and soon you will reach the docks.
Once at the docks, you will get a cutscene between the group discussing how to cross the swamps to Junon and finally deciding on renting Chocobos to travel. From here, go east till you reach Bill’s Chocobo Ranch while defeating monsters and collecting materials. Do not forget to loot the purple chest at the dock to obtain the Sleek Saber weapon.
Bill’s Chocobo Ranch in Grasslands

At the Chocobo Ranch, Bill will be standing outside. Approaching him starts a cutscene with him mentioning how he got his truck fixed and about Chocobos. After that, he tells you to go to the stable and talk to his grandson Billy. At the stables, talk to Billy, who will offer you to rent priority Chocobos for 10 grand each, which is too expensive for the party currently. Instead, he suggests you catch a runaway Chocobo named Piko. If you bring back Piko, he will let you ride on it for free.
Billy also suggests you speak with his sister, Chloe. Talking to Chloe provides you with a tuft of gysahl greens, Piko’s favorite treat. You can now also buy Chocobo gear from her, which can be traded for golden plumes. Loot two of the chests present in the stables. One is to the right of Chloe, and the other one is found if you climb the ladder to the left of Chloe. These earn you a Timeless Rod and a Moogle Medal.
Once collected, head to the entrance of Bill’s Ranch and follow the trail of bird feathers and chocobo footprints till you reach a wider area. Here, you have to go through a small stealth mini-game to capture Piko. Here’s a detailed guide on how to complete the mini-game without getting caught. After a cutscene, Piko returns to the ranch, which is also your destination. Billy informs the party he is thankful to them and that the Chocobos will be ready once they have eaten.
Meeting With Chadley

A familiar voice calls for Cloud from the outside; it turns out to be Chadley. He is a recurring character from the previous title and is a materia researcher and an intern for Shinra’s Research and Development Division. He asks for more battle intel; he suggests Cloud and his party reactivate some remnawave towers scattered around the region. The Republic of Junon originally constructed these towers, but Shinra claimed them after the war and left them idle for a very long time.
By activating the towers around the world, Chadley increases his processing power, which helps in surveying the land. He tells the party to activate a tower at the ranch, which is really close. Follow him up to the tower and use the CHAD module that he gives to Cloud. Activating the tower unlocks various side missions in the Grasslands around Bill’s Ranch, which you can now participate in. Return back to the stables where Billy is and talk to him.
Billy lets you know that Piko is now ready to use. Follow him to the front of the ranch, where he gives you the Chocowhistle to call Piko anytime you want. While riding Piko, talk to Billy to participate in the Hustle de Chocobo race. It is a simple loop around Bill’s Ranch whilst riding Piko; this tutorial is made for players to get used to Chocobo Riding. From here on out you can either complete all the side missions or continue with the main story mission. Head to the abandoned docks once again, and make sure you are on Piko, which lets you swim across the swamp now.
Crossing the Swamp
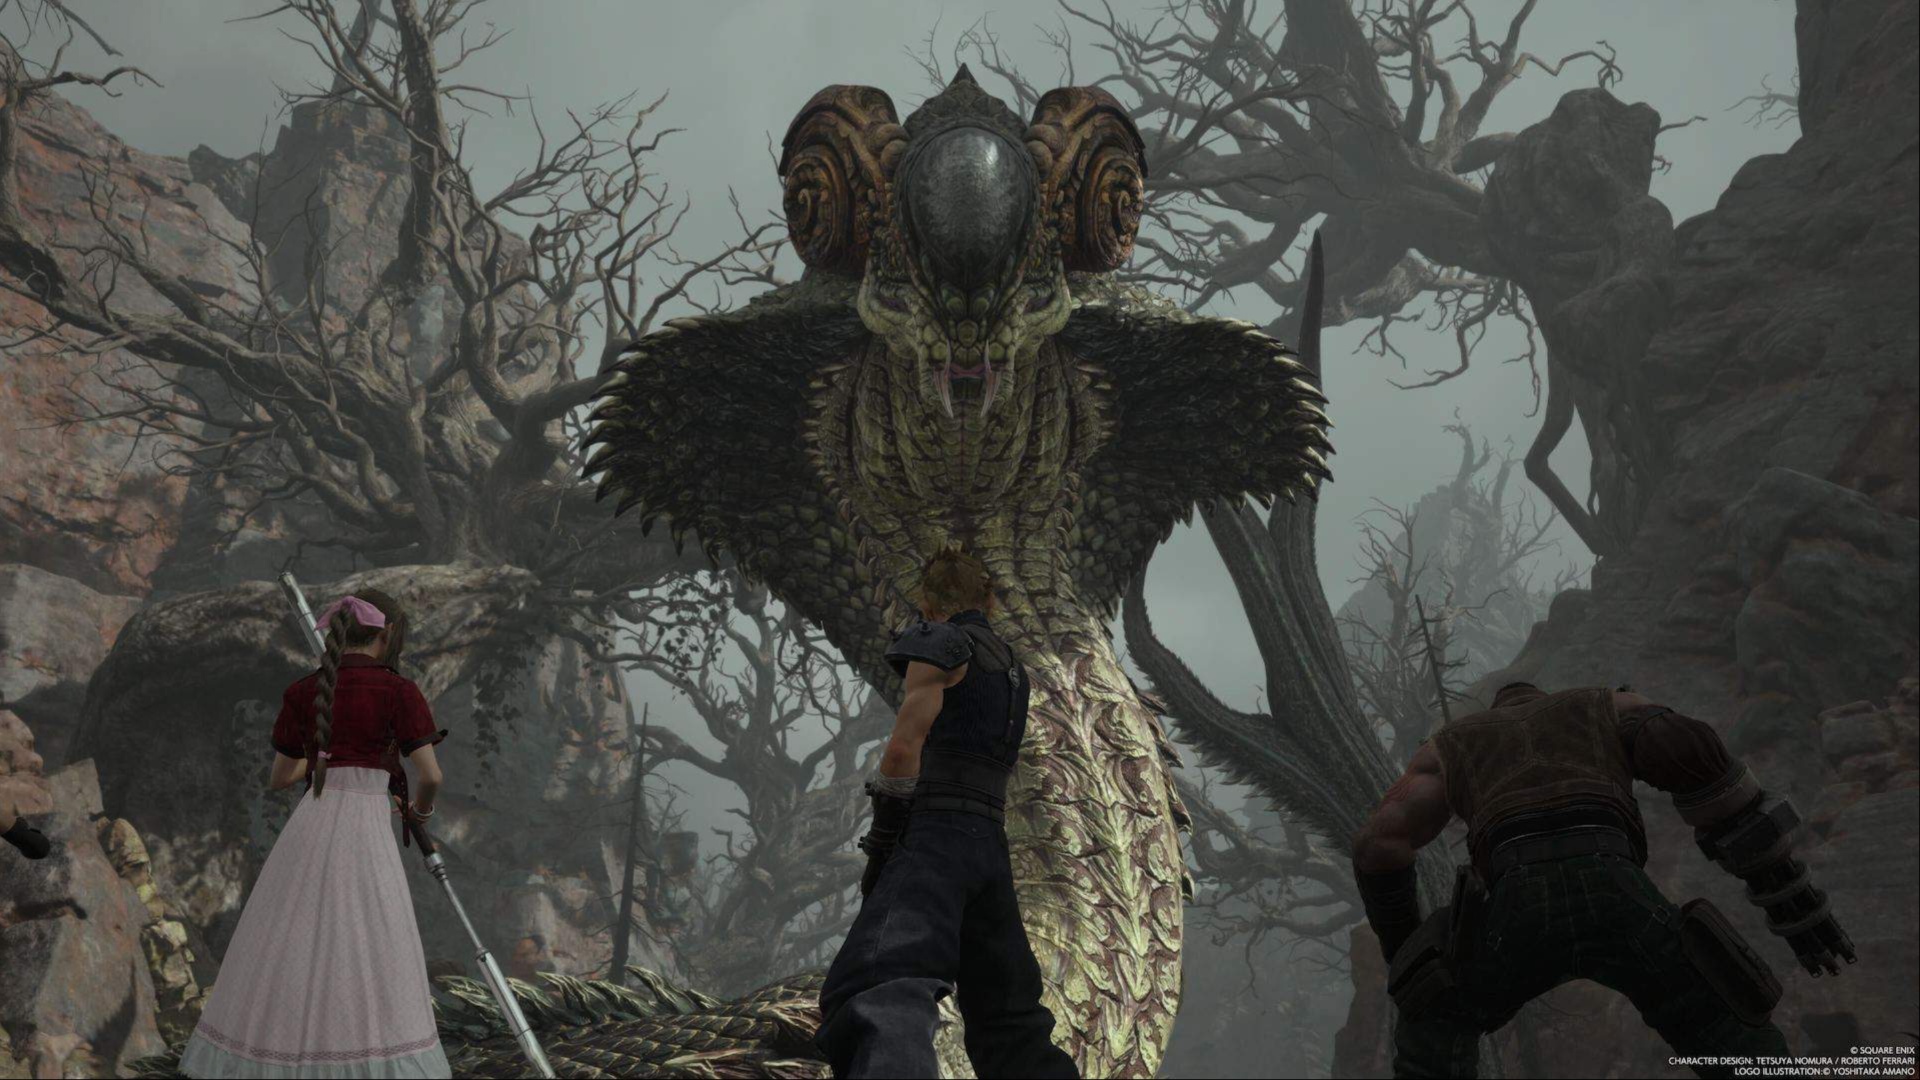
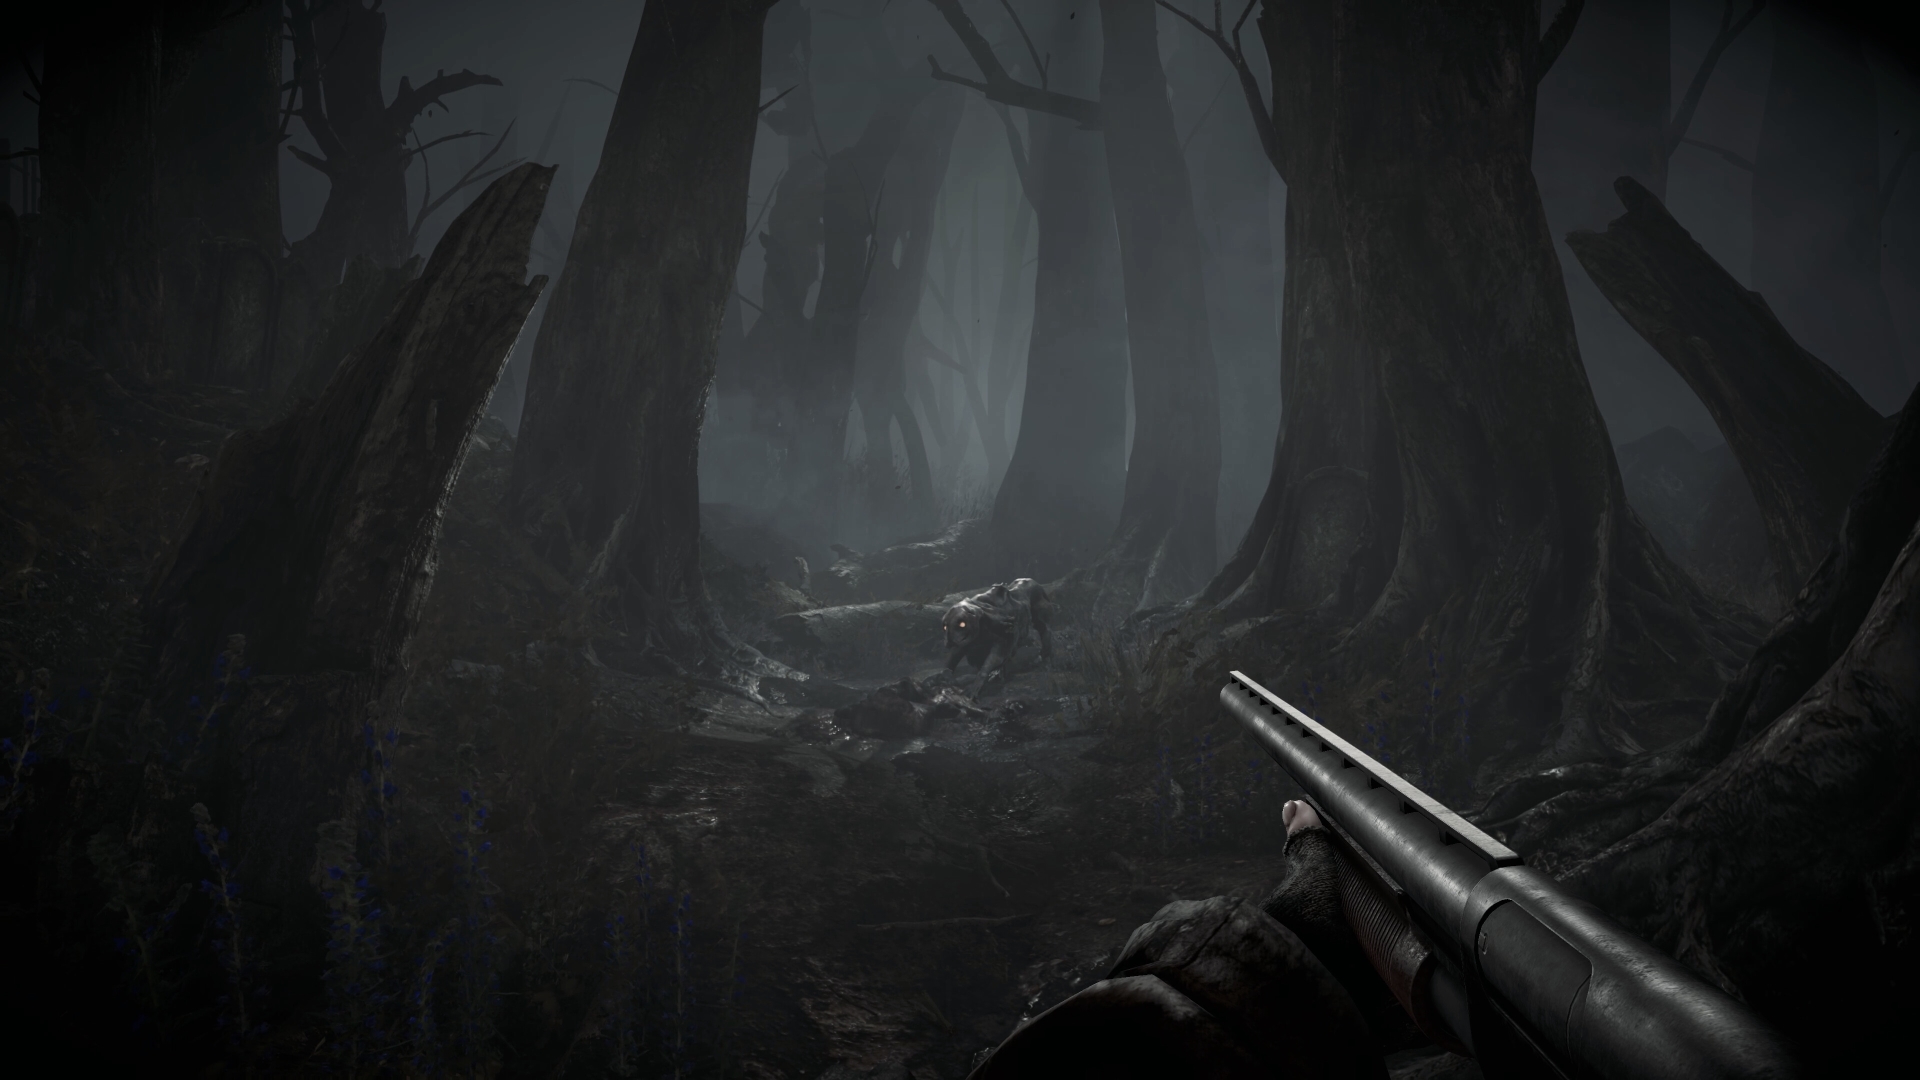
Once you are in the water, follow the main mission marker using the compass on your HUD. Follow the marker till a cutscene starts where Cloud spots Sephiroth on the shore. Soon another cutscene starts in which all your Chocobos run away in fear, leaving Cloud and his party isolated in the Swamp. Soon the Midgardsormr appears from underneath the water, which triggers a boss fight.
It is a giant serpent that is feared in the Swamps. This is the final major fight in Chapter 2 and the first one you fight on your own. Midgardsormr can be a difficult boss if you do not understand his moves. Below are the stats of the Midgardsormr along with his affinities.
| Easy | Normal | Hard |
| 9430 | 13472 | 109262 |
Midgardsormr has a greater resistance to fire attacks while being weak to ice attacks and is immune to all status effects except Stop. It is neutral to the rest of the affinities. It is highly recommended to avoid and block most of his attacks, which creates an opening for Cloud and his party to dish out damage. Midgardsormr has three phases that you have to go through before defeating him, each phase more dangerous than the prior. Here’s a detailed guide on defeating the Midgardsormr.
After Defeating Midgardsormr
Once the Midgardsormr reaches 0 HP, a cutscene triggers where Cloud is dragged underneath the water by the huge serpent. Cloud gets very close to drowning, being unable to swim up to the surface. Sephiroth suddenly appears in front of Cloud, slices his sword, and sends the Midgardsormr flying upwards and out of the water, skewering it on a tree. Sephiroth disappears as Cloud appears to drown deep in water.
Cloud wakes up as Aerith calls out to him, and a cutscene triggers showing various hooded figures walking away from them. The party decides to trail them to a dark underground tunnel. Everyone decides to follow them and enter the dark tunnel, which ends Chapter 2.
Here’s another guide to help you in Final Fantasy 7 Rebirth.
Looking For More?
Thank you for reading the article. We provide the latest news and create guides for Baldur’s Gate 3, Starfield, ARK Survival Ascended, and more. Also, watch Deltia play games on Twitch or visit his YouTube channel!