Facebook
 Reddit
 Email
Email
Here’s a complete guide on the Thalia and Melpomene Orthant Puzzle in Genshin Impact.
In the series of four Orthant puzzles, the Thalia and Melpomene is the final one. It is a crucial mission linked with the search in the Algae Sea Quest. This is part of the Wake of Narcissus quest series.
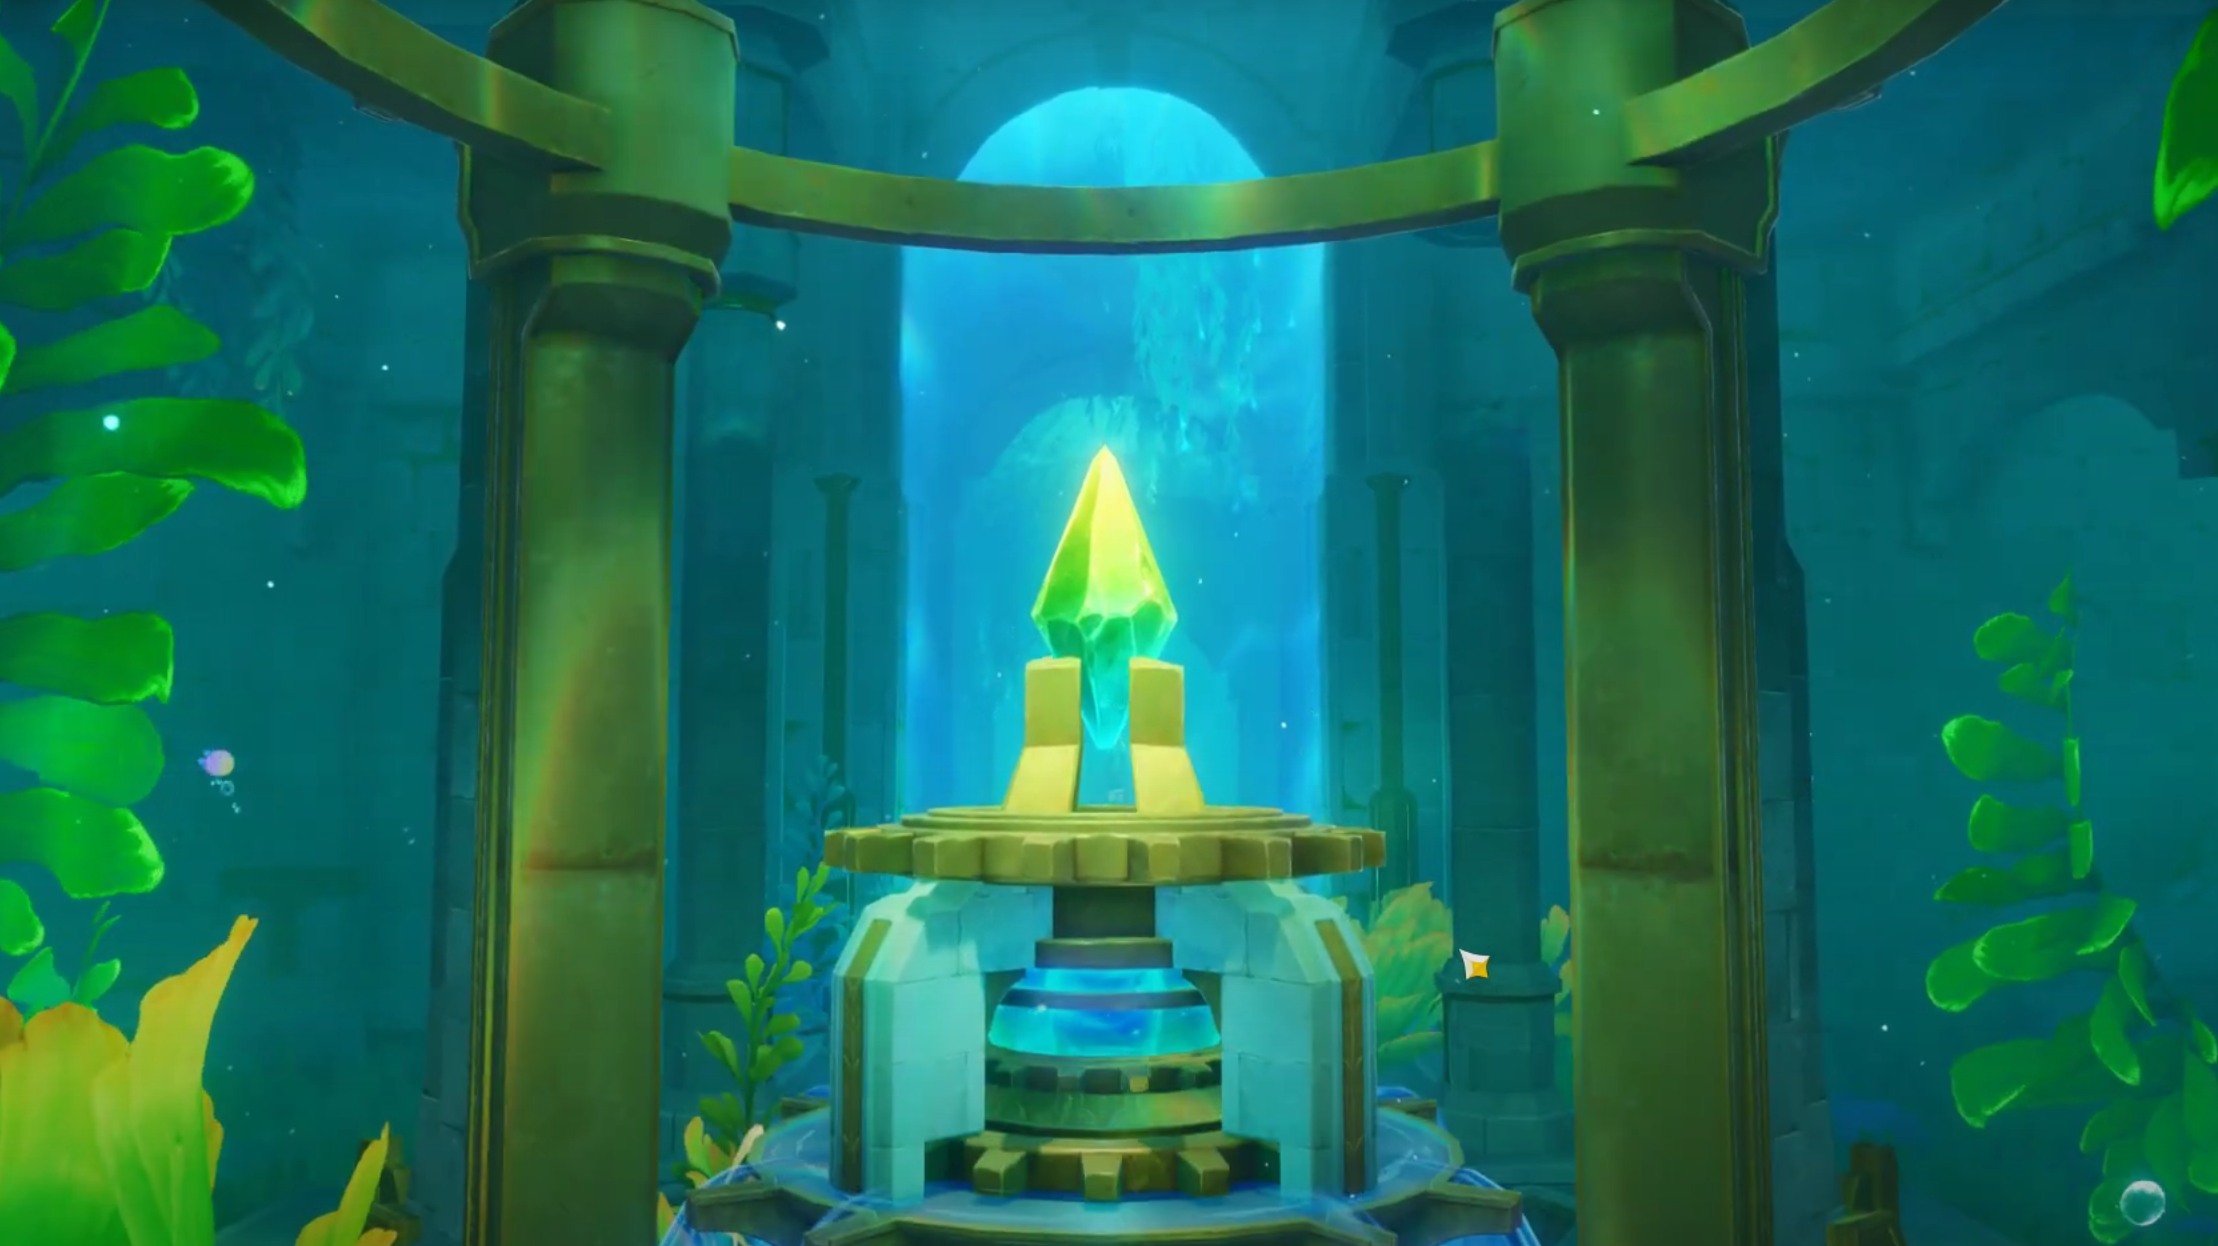
This puzzle is located inside an underwater ruin. Upon completion, you are granted some good rewards, including Primogems and a luxury chest. Let’s dive straight in and solve the Orthant Puzzle.
Step 1
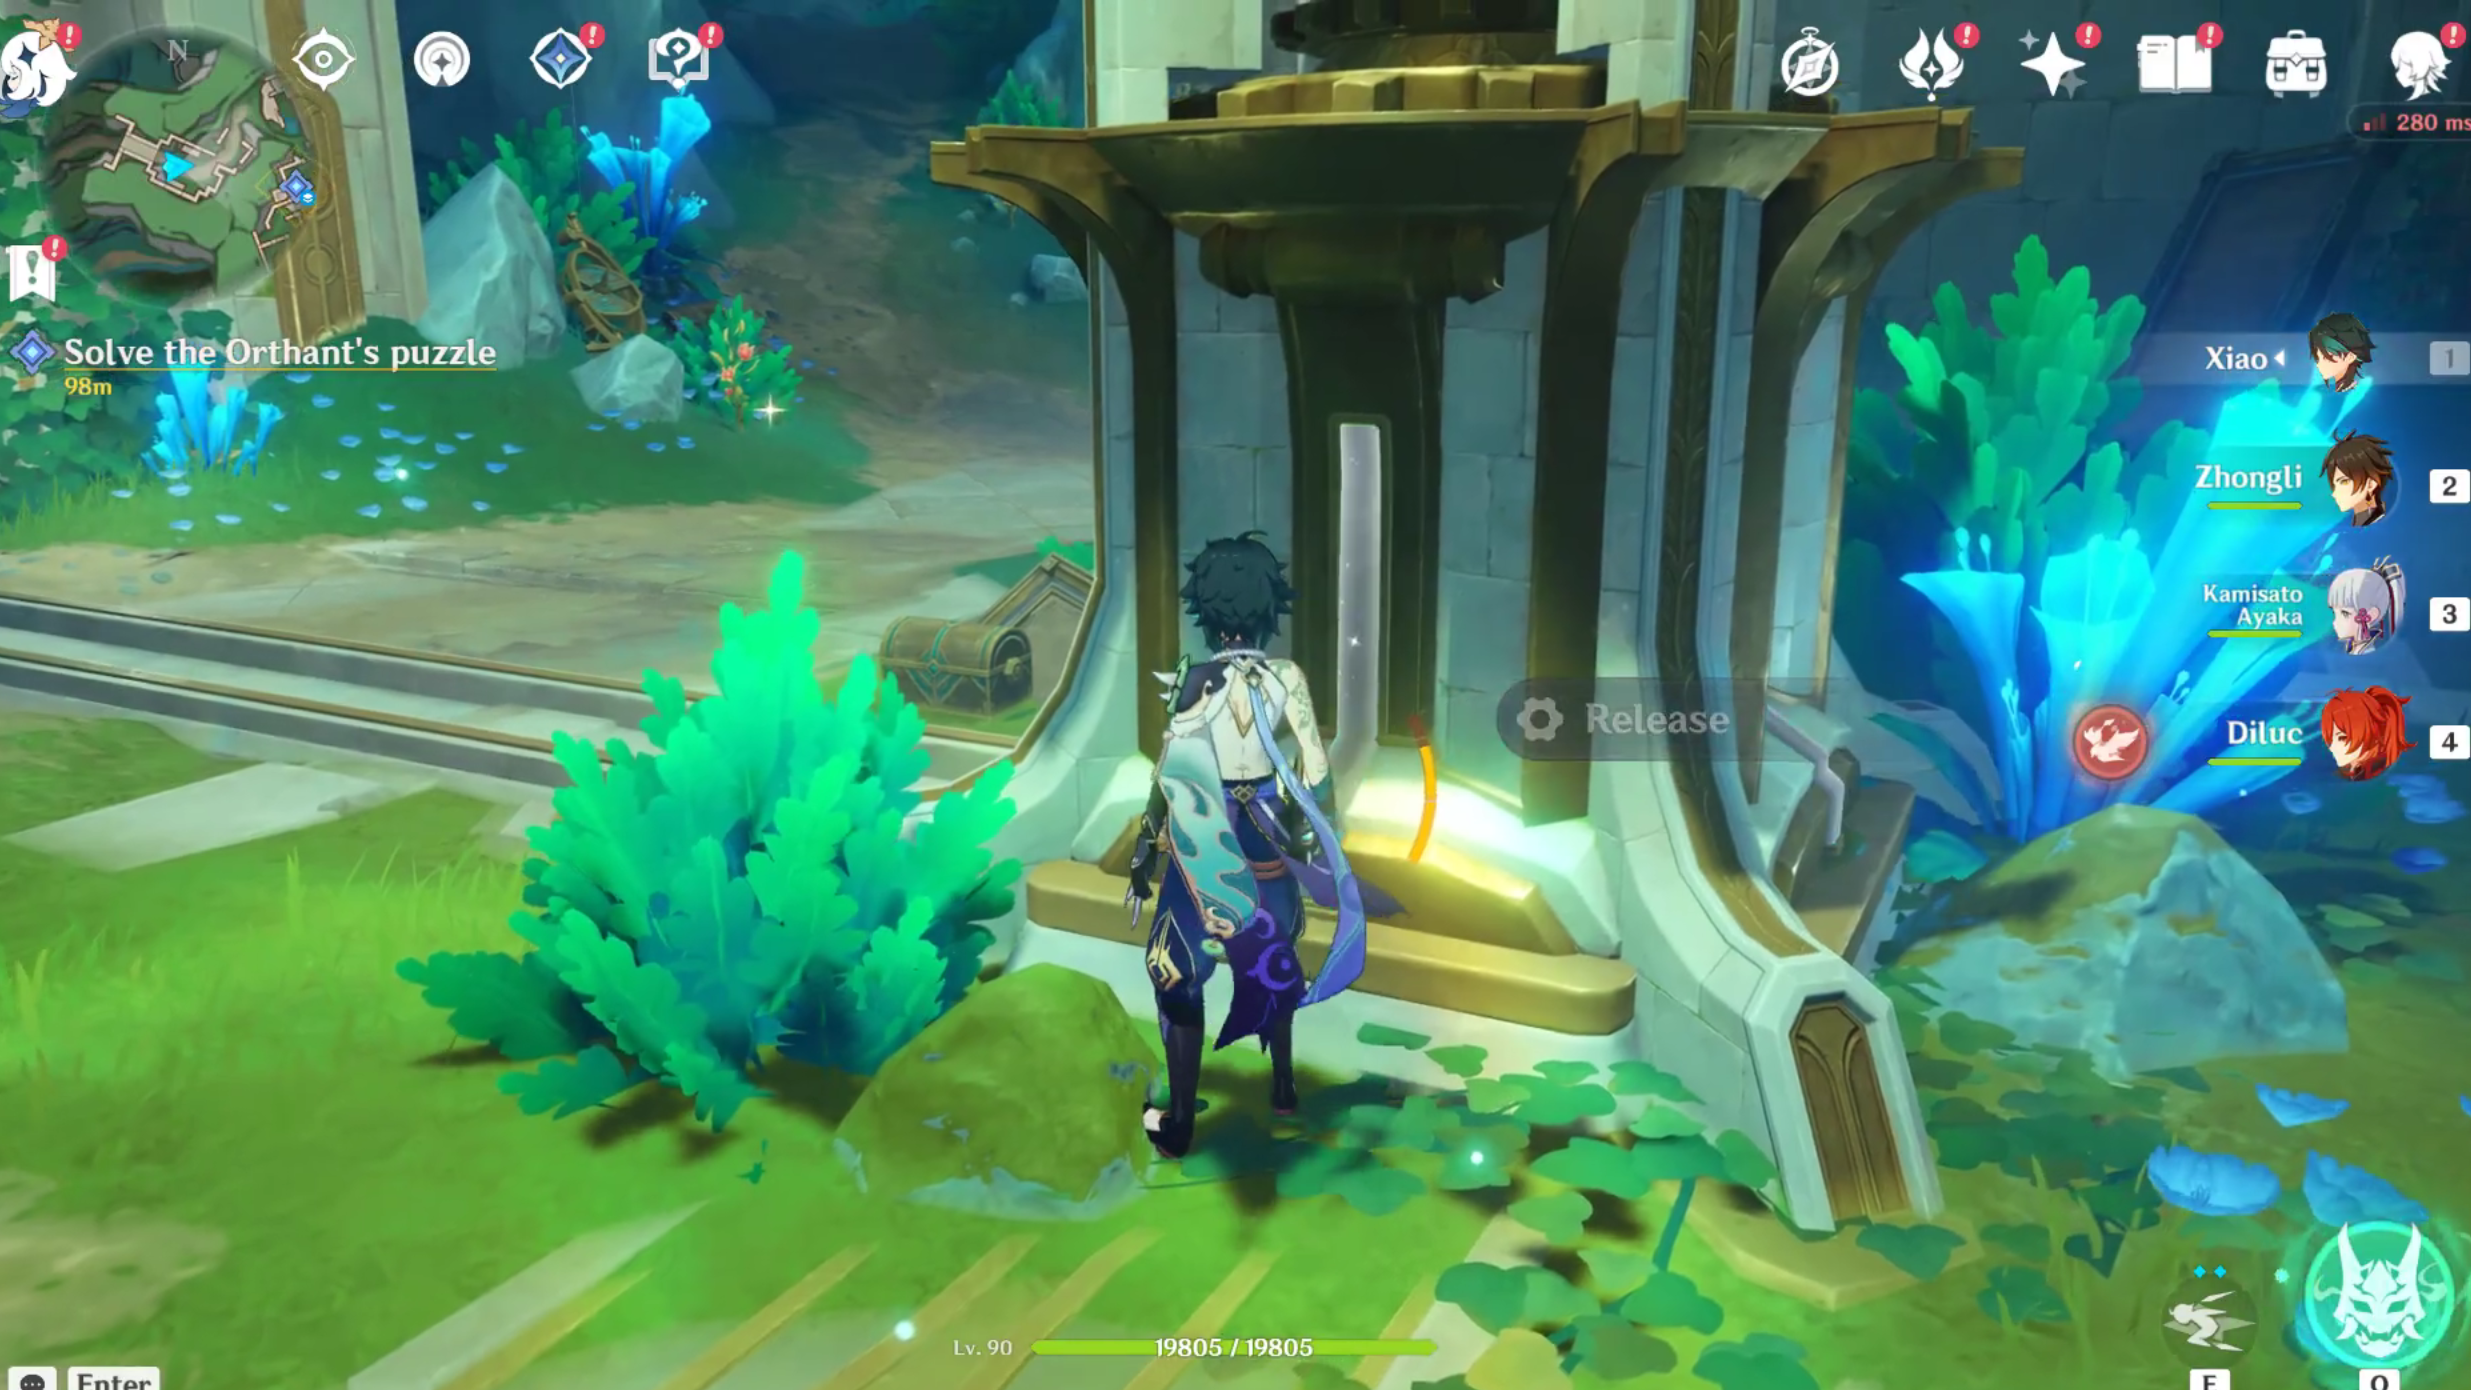
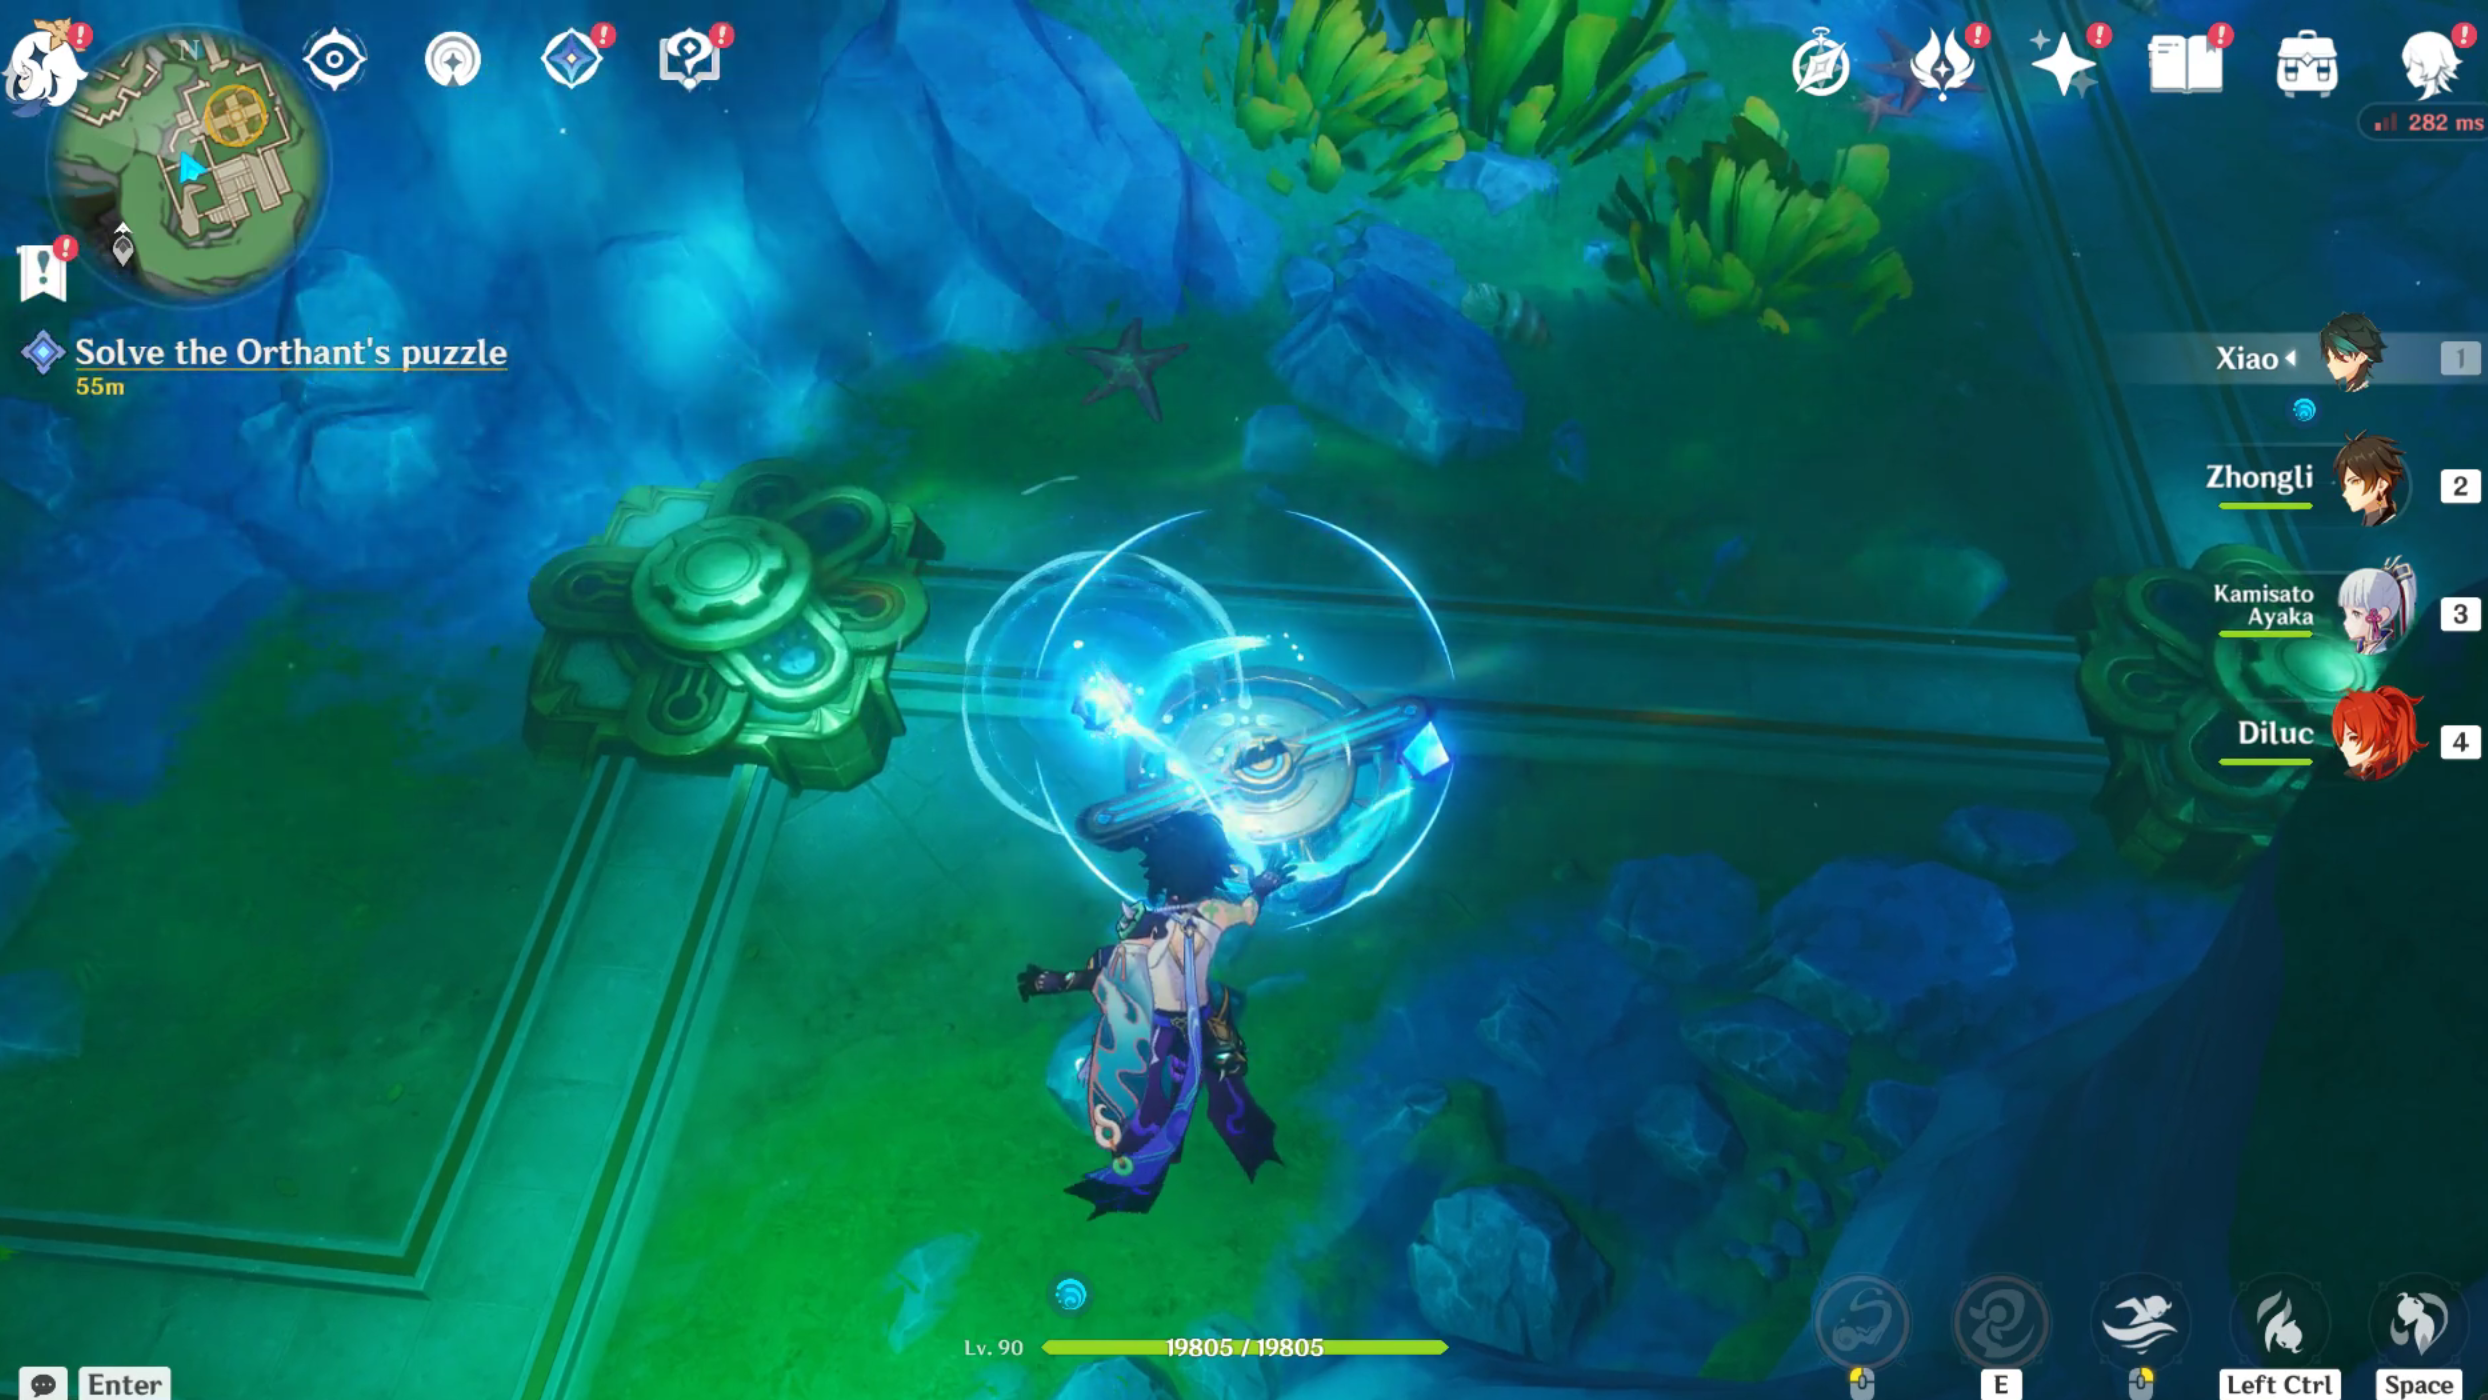
Proceed to reach the entrance of the Sealed Ruined Tower. Once you enter the ruins, make your way towards the first Machine. It will be located right in front of the entrance.
Once you get close enough, you are prompted to release the blue energy. The energy flows through the line and enters under a grill. Now make your way up the slope to your left. Pass by the stream and keep going up till you reach the edge.
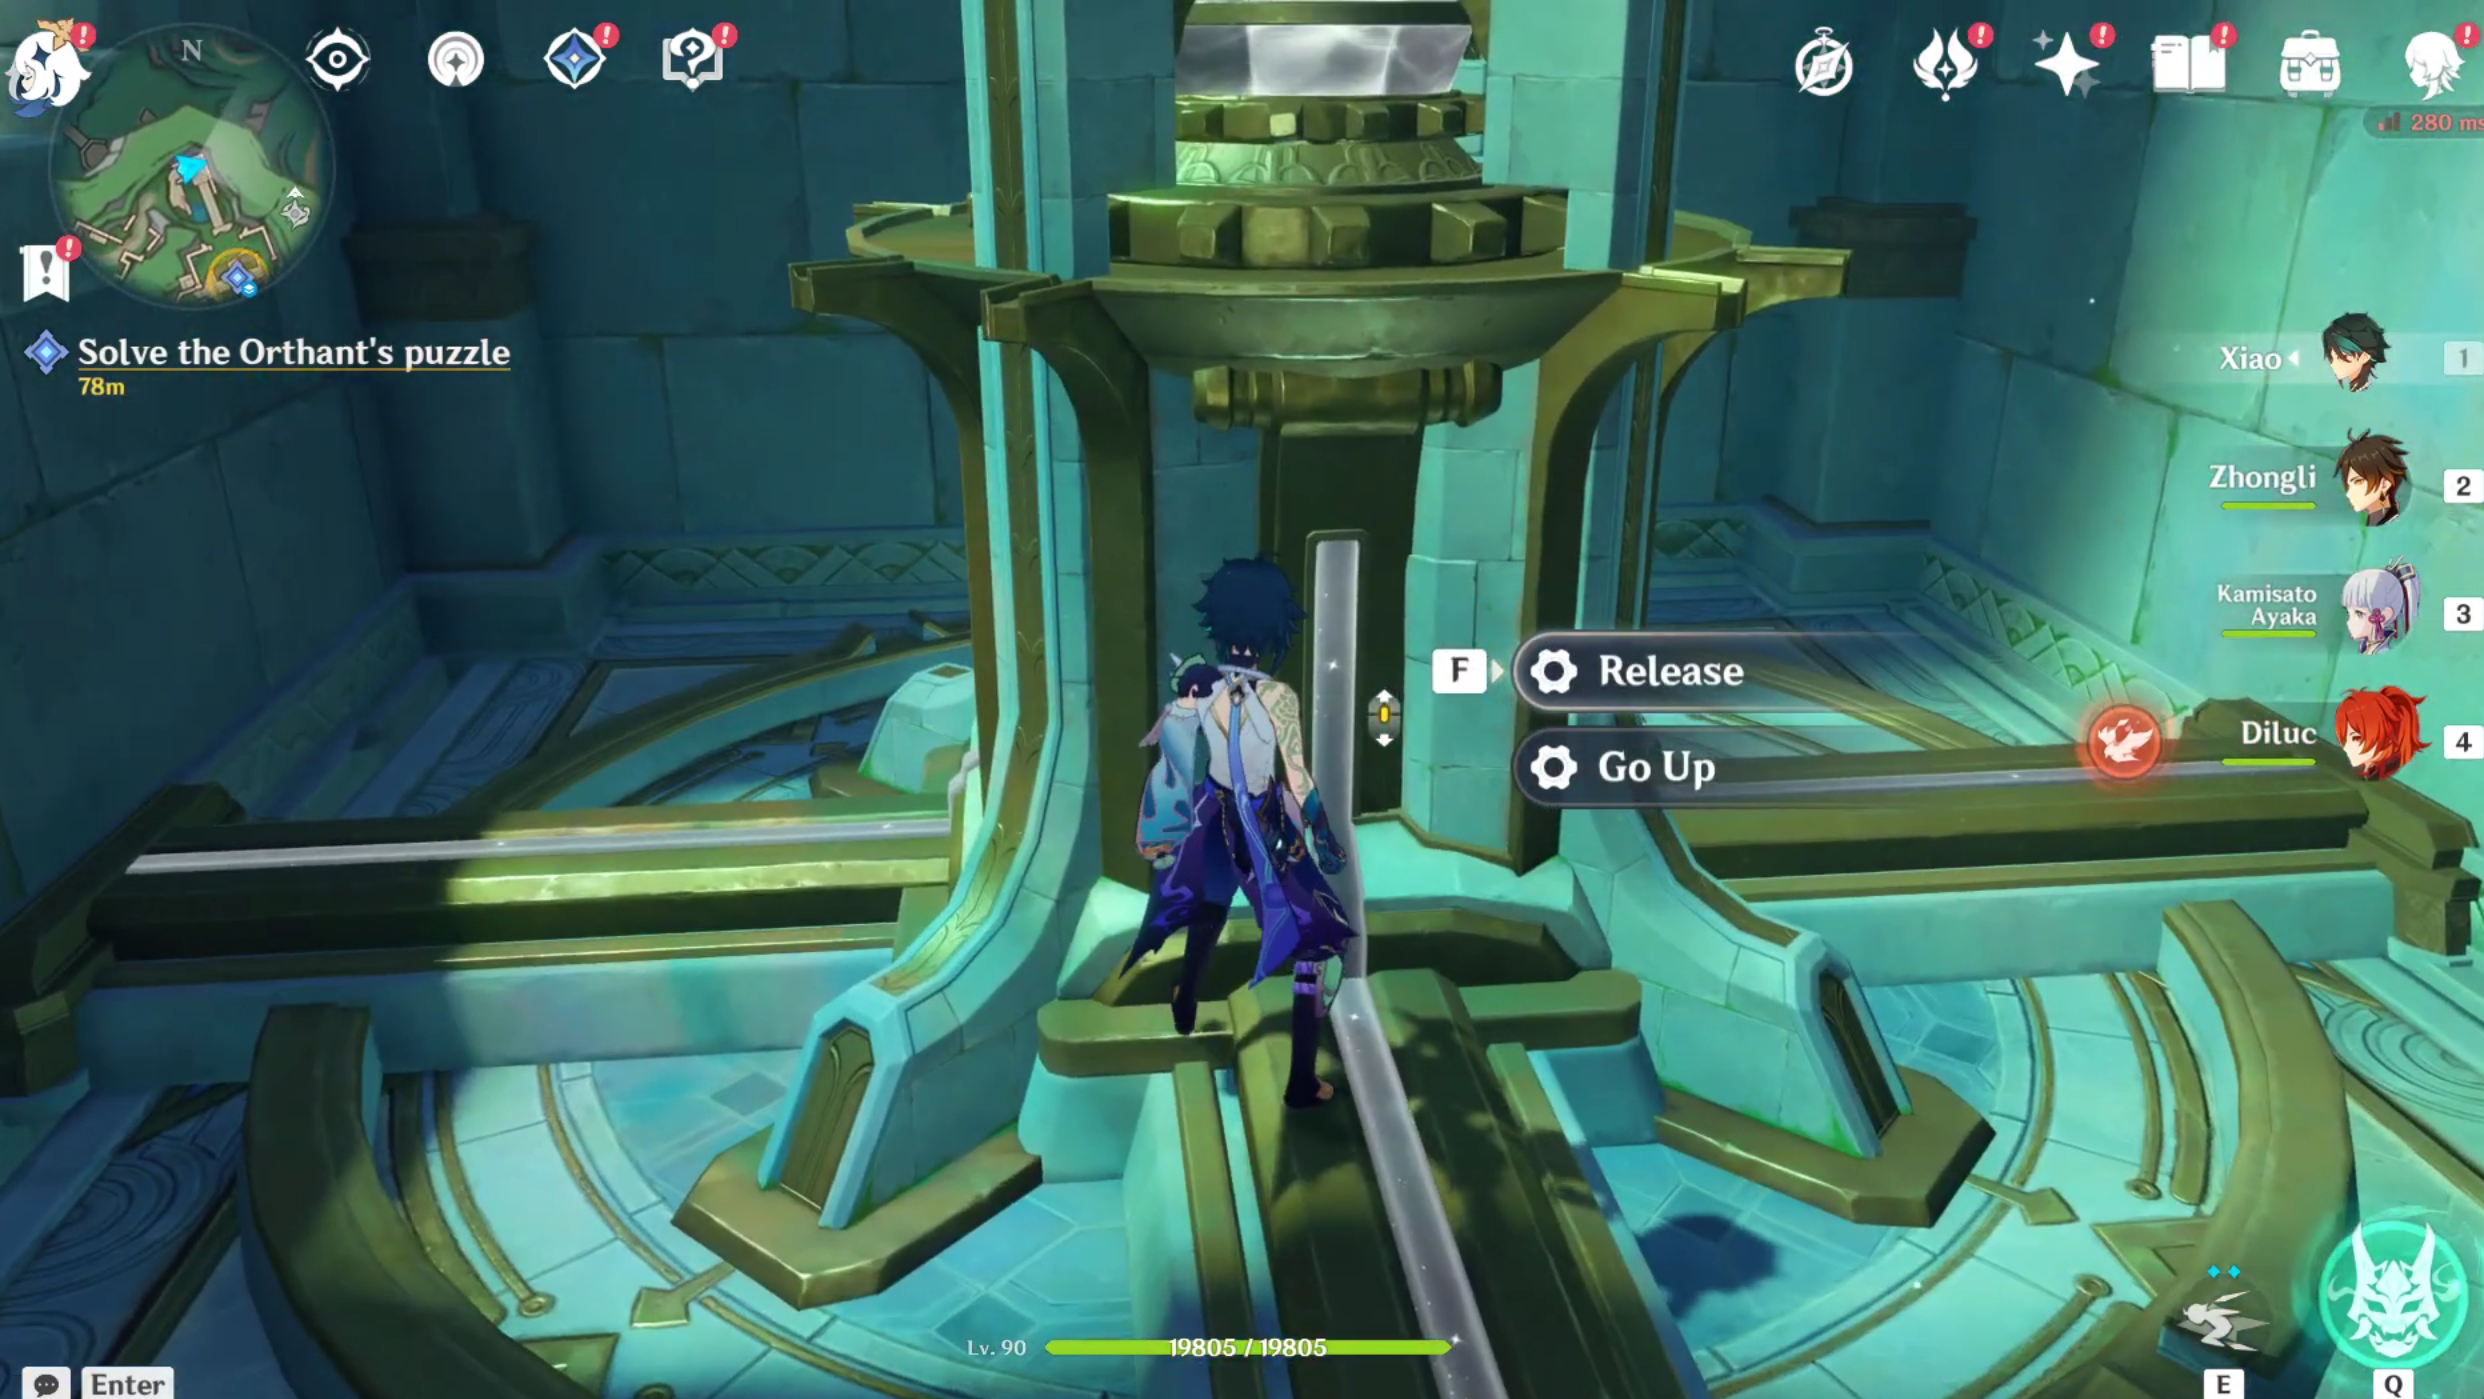
Jump down slowly without capturing any unwanted attention, and sneak your way to the second Machine. Once you release the energy, it will proceed to flow along the stream to the next Machine, nested on a life.
This time when prompted, click on the go up button. Wait for the lift to reach the top and then click release. Follow the stream as it crosses a bridge and now enters a bubble of water.
Step 2
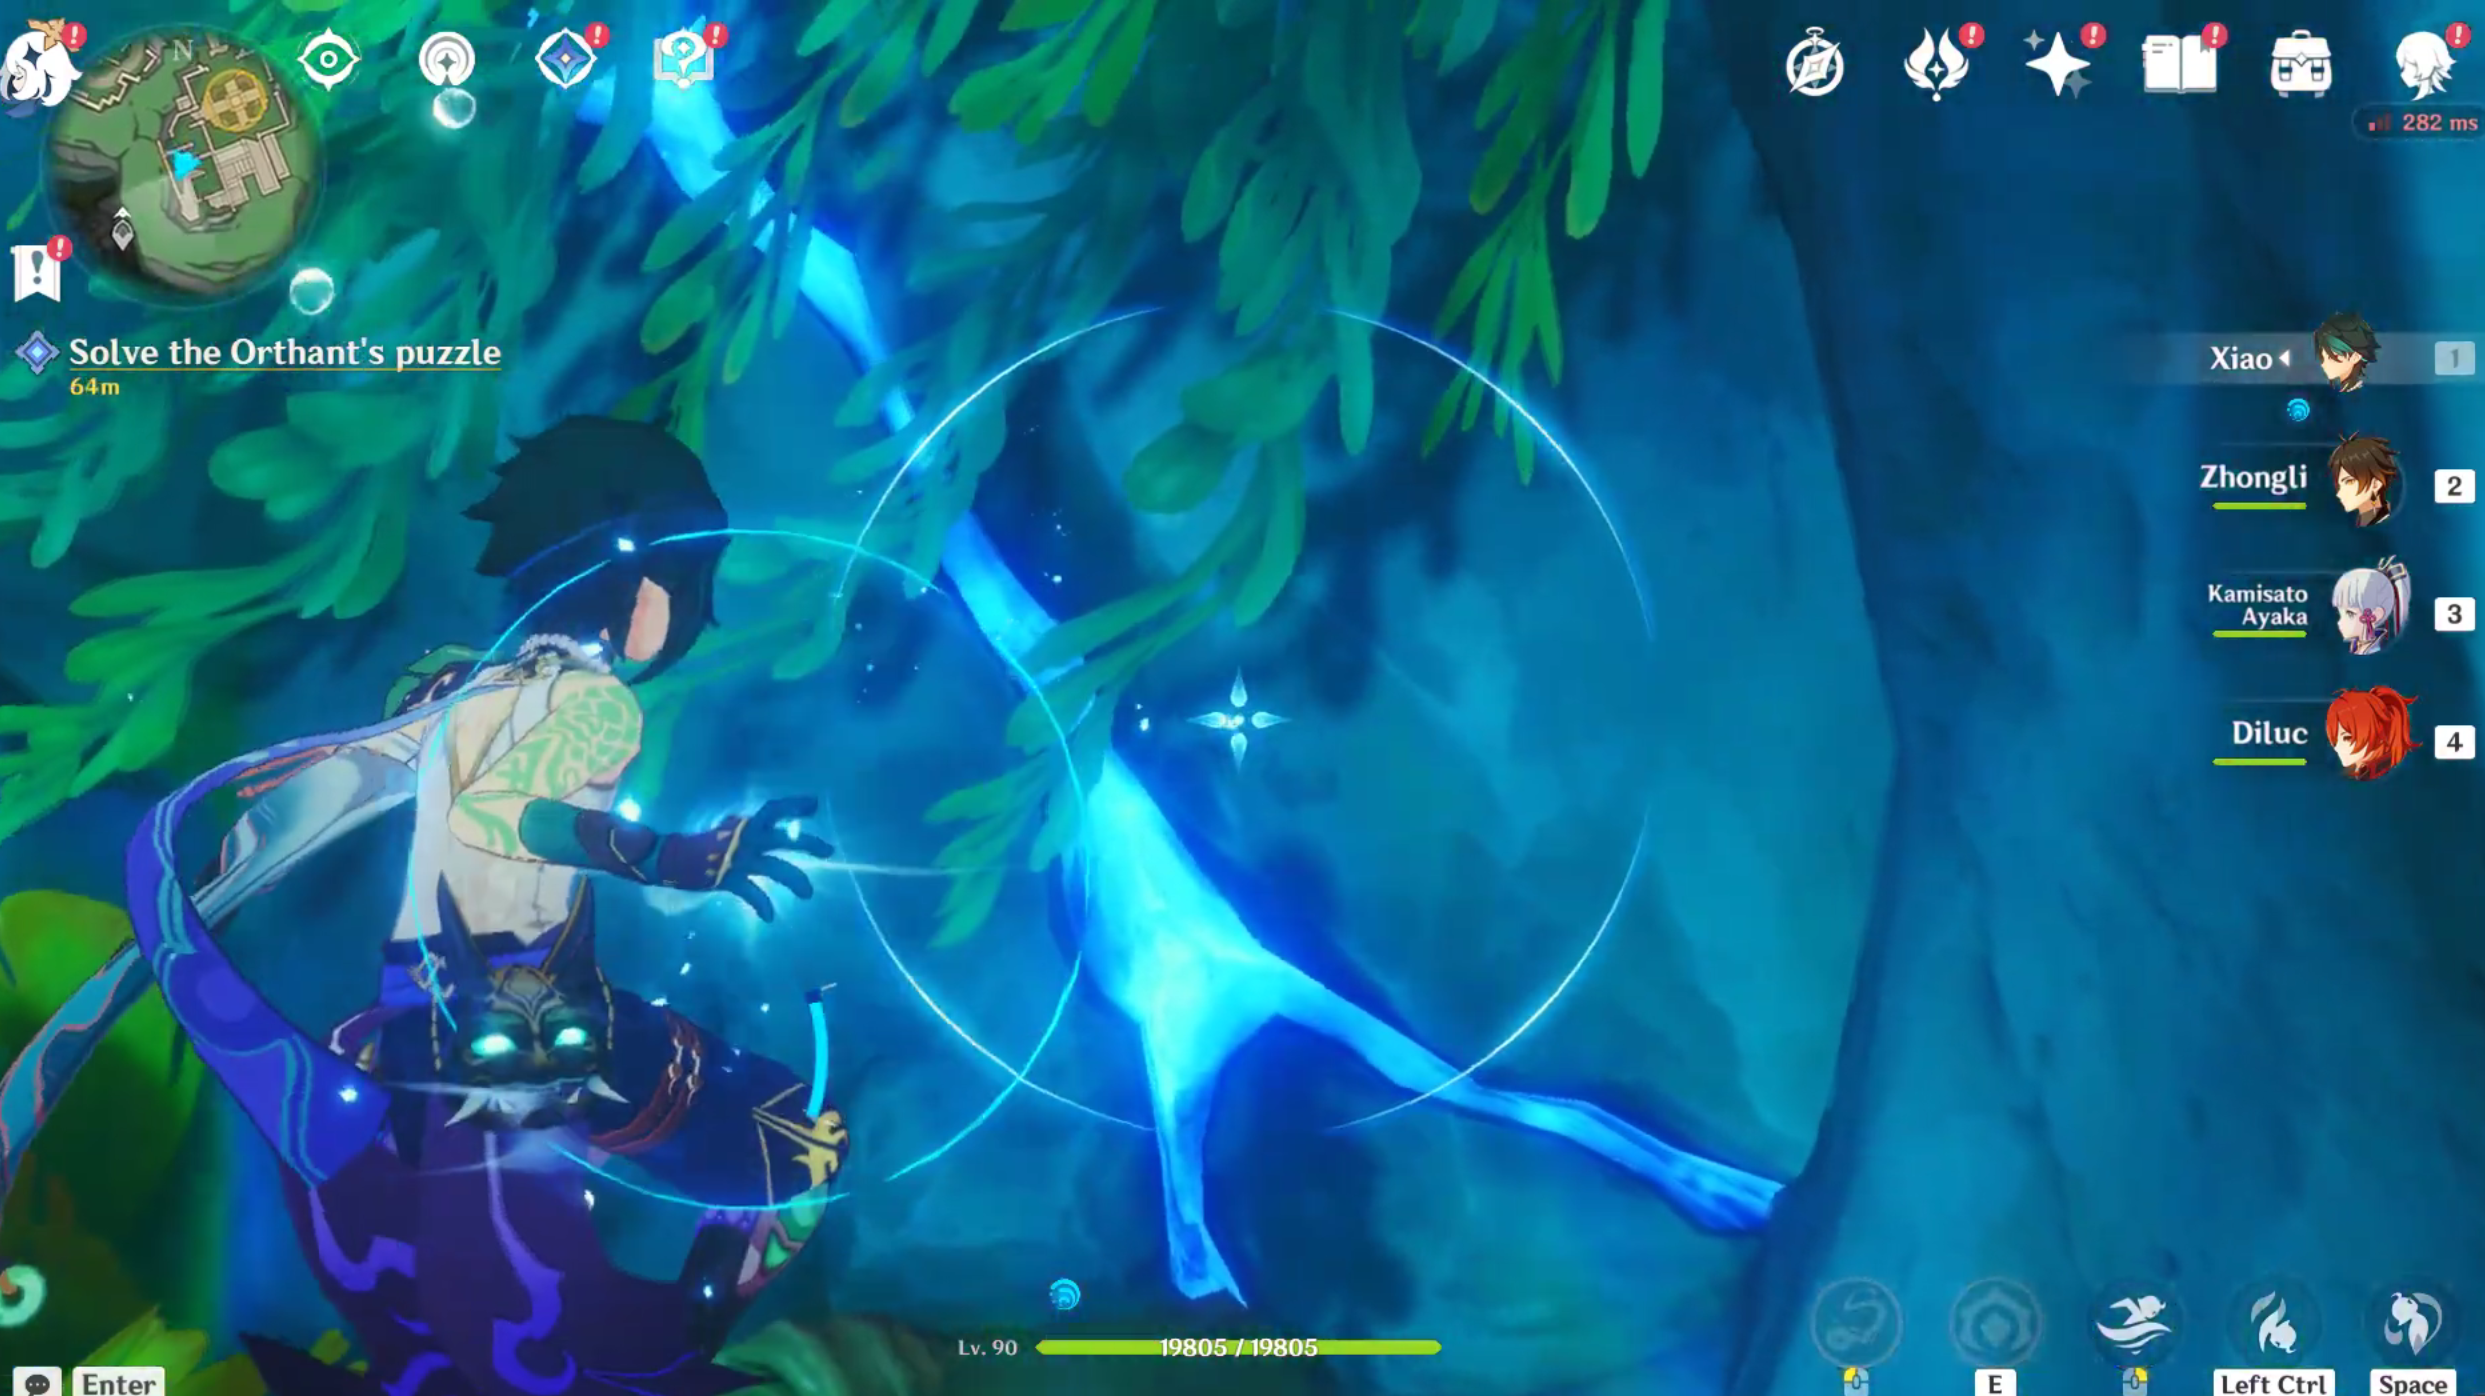
Swim forward and under the big machine in the center; you will see a small entrance down below. Enter it and take a right. In this area, three rocks would be obstructing the path of the valve. You can use the Xenochromatic Crab Ability to destroy the rocks.
Destroying one of the rocks will spawn two enemies as well as two receiver nodes. Collect these nodes and attach them to the valve above. Using this Machine and your octopus ability, reposition the direction of the valve to help create the flow of the stream. Behind another rock would be a Machine, which you will need to release energy from.
Wait for the energy to pass through the tunnel below and reach the Machine on top. Now release the energy from the Machine on top and open the gate to follow it. Take a left from the big central Machine and enter the entrance you had previously visited again.
Step 3

An enemy will be present, who you are now supposed to kill. Engaging with the enemy will trigger a wave of enemies. Once you defeat the enemy, the gate in the back opens up, and you can now interact with the Machine.
Before you approach the Machine, to the right near the bookshelf, you will be able to acquire a special key.
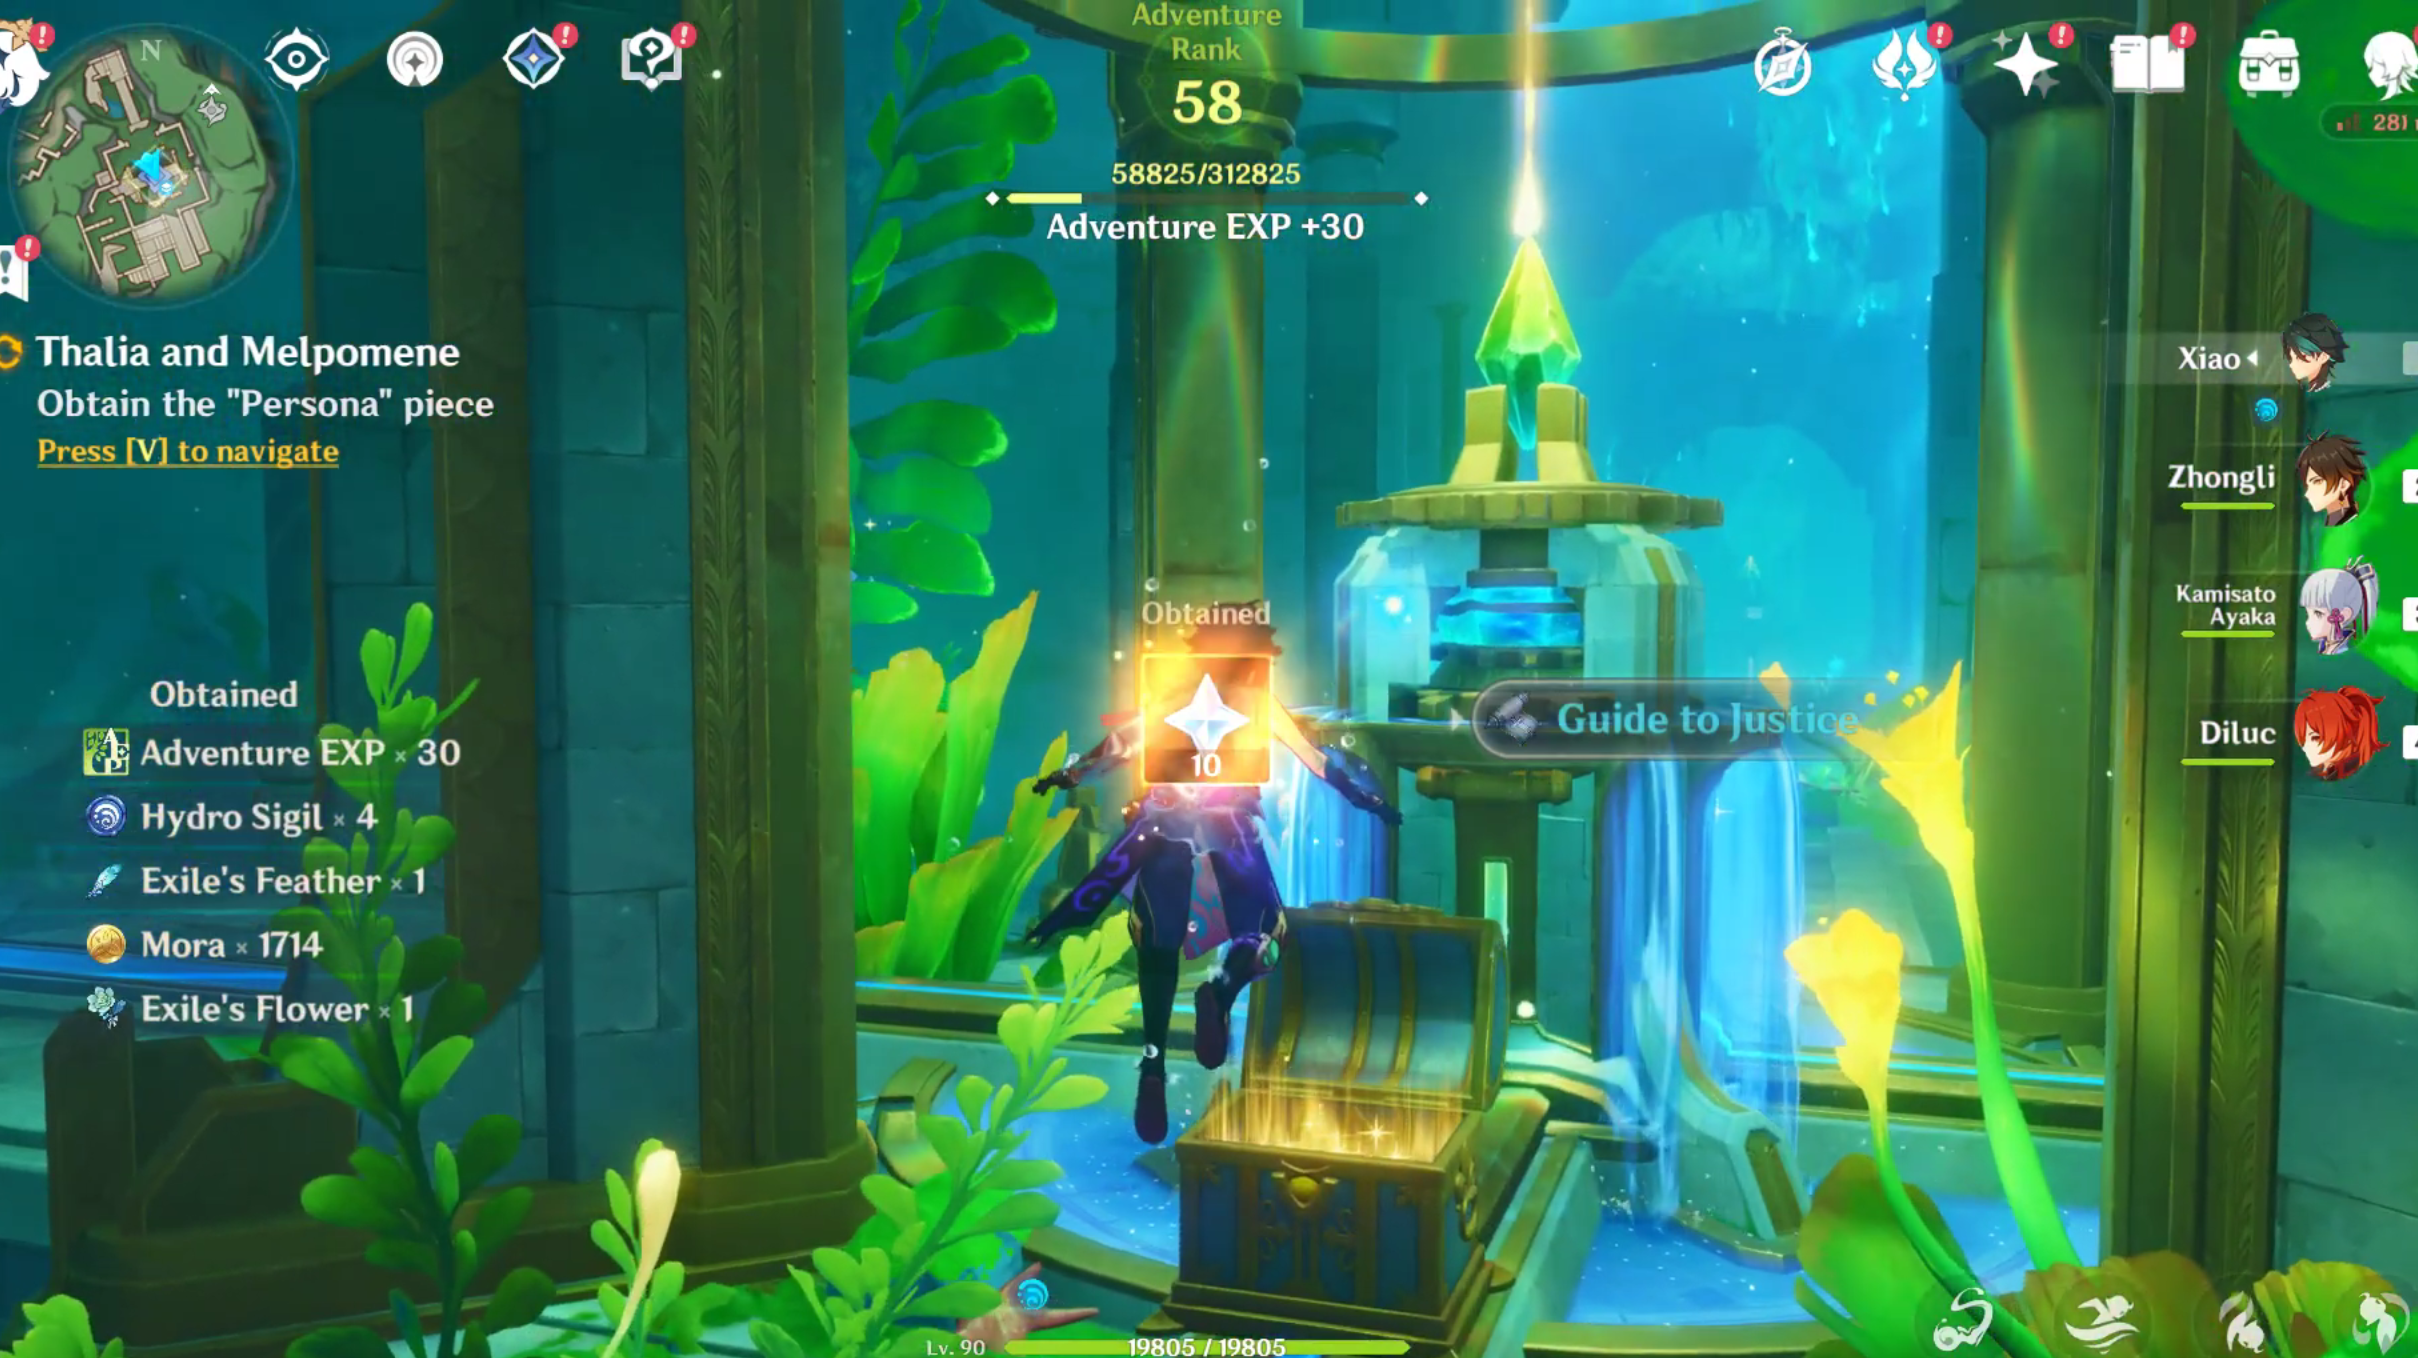
Approach the Machine now and use the lift button to go up. Once you reach up, release the blue energy and follow it towards the last Machine. A cutscene will play, after which a Luxurious Chest along with 10 Primogems will spawn.
Looking For More?
Thank you for reading the article. We provide the latest news and create guides for Baldur’s Gate 3, Starfield, ARK Survival Ascended, and more. Also, watch Deltia play games on Twitch or visit his YouTube channel!