Collecting The Treasure of Sharksmouth Mountain in Dragon Age: The Veilguard can be a brain-scratcher. Let us tell you the solution to the puzzle.
The Treasure of Sharksmouth Mountain is a side quest that can only be completed once you have unlocked the Caves of Sharksmouth in Dragon Age: The Veilguard. This secret area won’t be accessible to you until very late in the game when you pick up one of Taash’s storyline quests called Lair of the Dragon King.
You can’t stumble upon this location while exploring so don’t try. However, we highly recommend unlocking this area to earn an unexpected Trophy/Achievement. It will also allow you to seek the treasure of Sharksmouth Mountain. This quest will also overlap with The Fury of Sharksmouth. So, be ready for a boss fight which will complete Warden Grey’s Final Repose.
Once you are free from the fight, you can peacefully focus on the statue puzzle at hand.
Claiming the Treasure of Sharksmouth Mountain
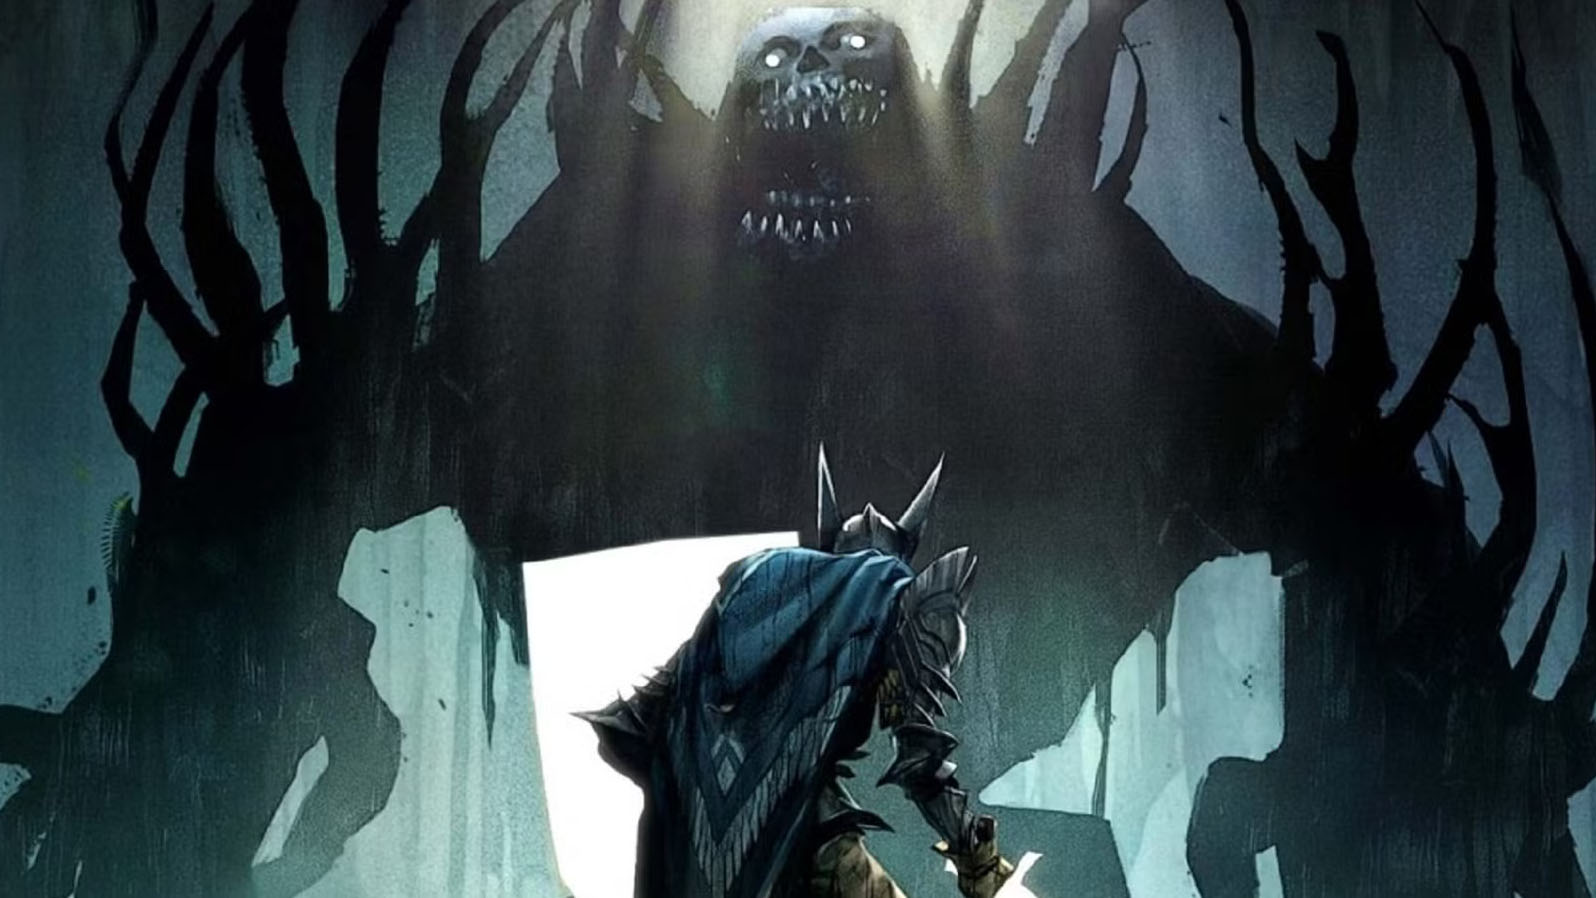
Once you reach the marked location on your HUD in a room full of soldier statues, the real quest begins. Before this, you have two objectives. One main objective is to solve this puzzle, but there is also an optional objective that asks you to retrieve clues. It is not compulsory to complete the puzzle if you are reading this guide and it will go away once you solve it.
Now, head to the room. Scan the statues from left to right. There are four of them. Starting with the leftmost statue, let it face forward. There are two statues in the back. The left one should be focusing on the wall behind the first statue. The right one should face in the right direction. The rightmost statue should look left (at the first statue).
All the statues will now lock in place, the interaction prompt will go away, and the main objective will change. All of these changes indicate that you have finally done it! Go to the marked location on your HUD (from where you picked up the mission) and loot all three chests and the item(s) on the floor. The chests can contain:
- Meredith’s Legacy
- 2x Royal Elfroot
- 2x Vhendahl’s Tears
- 435 Gold
- Snapped Chain
- 14 Pure Ore
- A Guilded Urn
Some of the items may differ in your playthrough. Additionally, note that there could be a chest out of the three that will be rigged with poison. Interact with it, and as it starts leaking poison, dodge away to a safer distance, and you shall reap the fruit of your labor just the same.
Looking For More?
Thank you for reading the article. We provide the latest news and create guides for Baldur’s Gate 3, Starfield, ARK Survival Ascended, and more. Also, watch Deltia play games on Twitch or visit his YouTube channel!
 Reddit
 Email
Email
