Facebook
 Reddit
 Email
Email
Everything you need to know about the final boss, Ozma, in The First Berserker Khazan, including his weaknesses and how to defeat him.
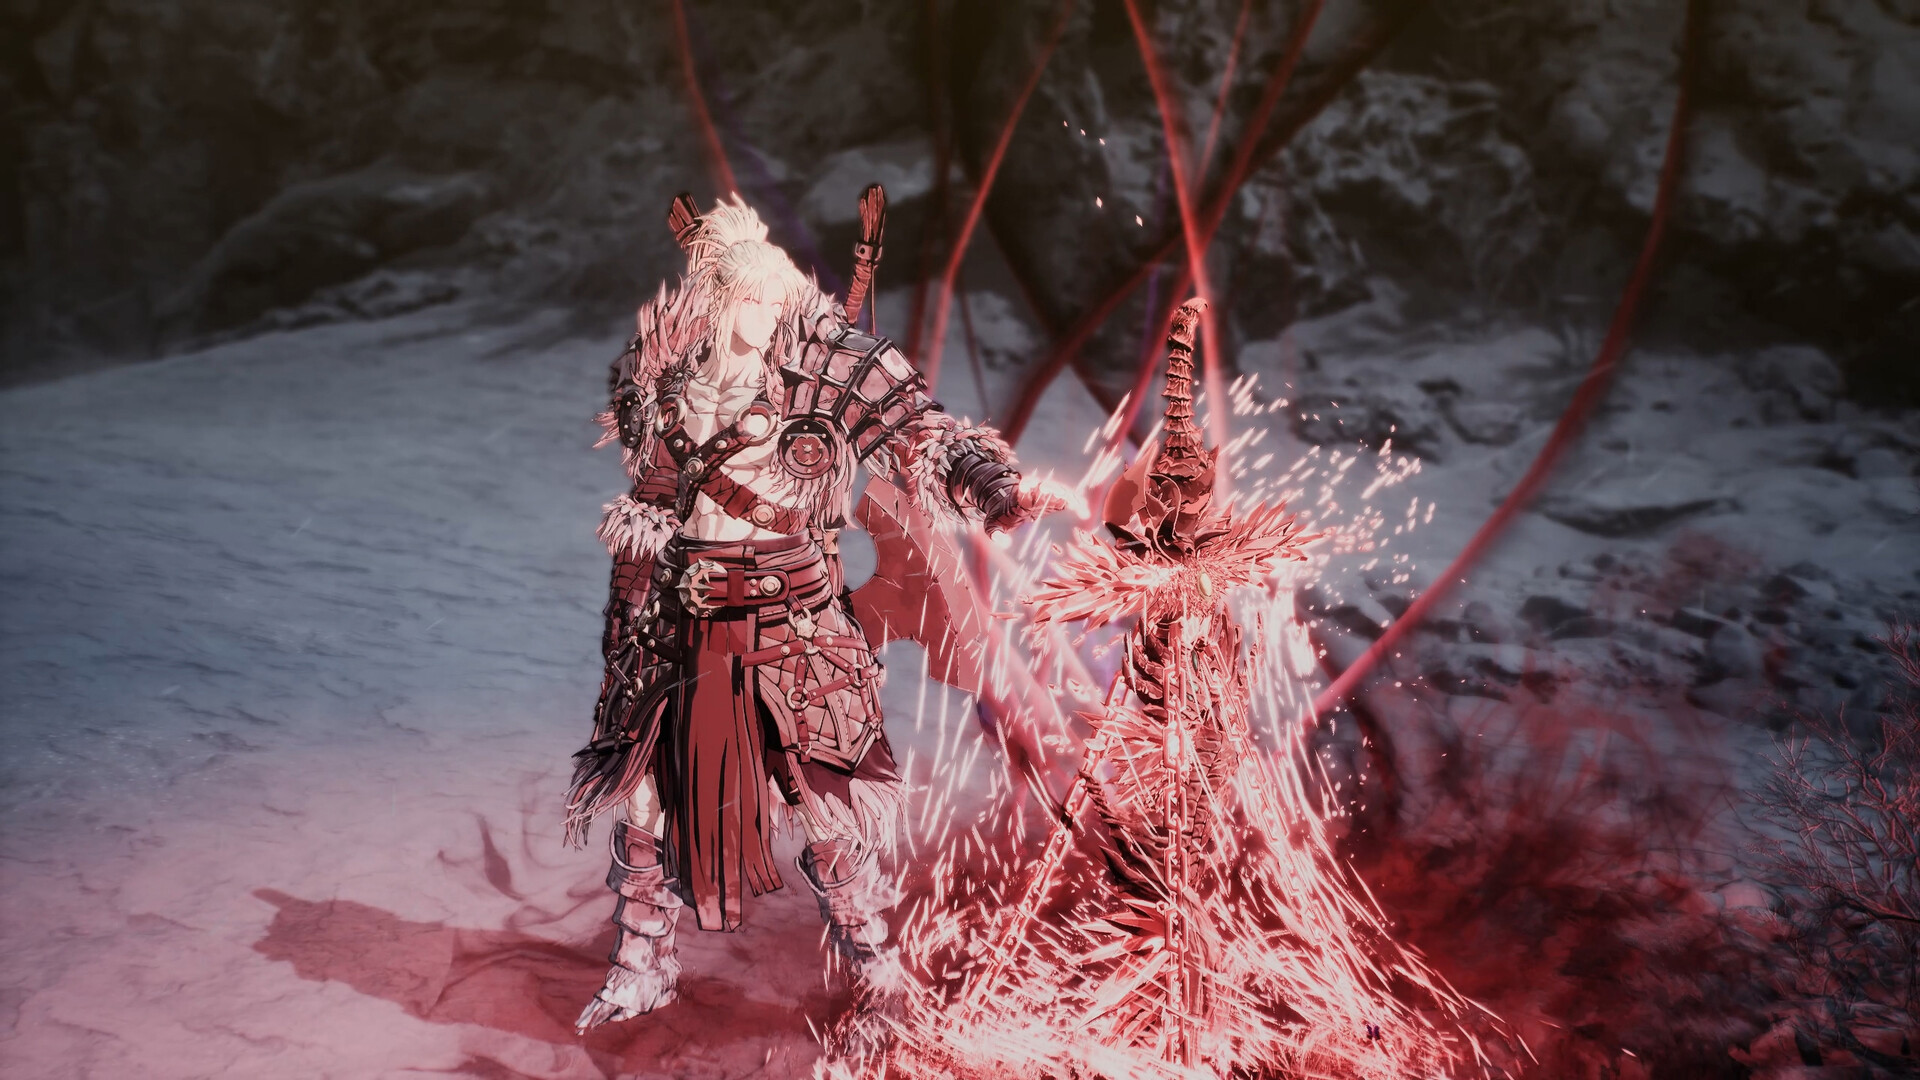
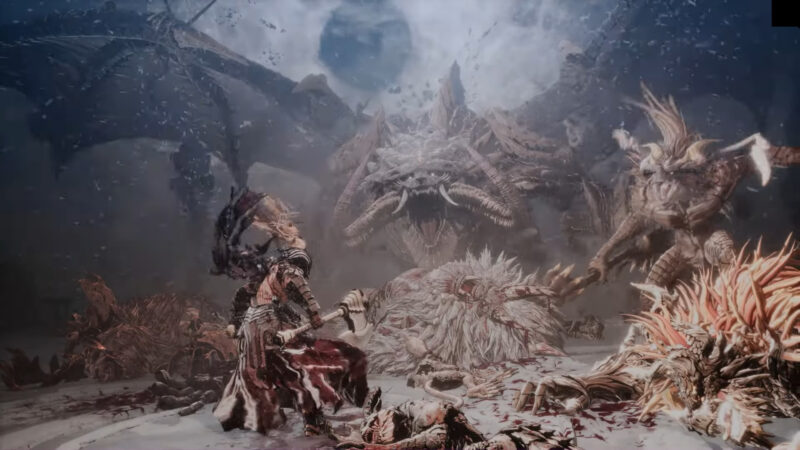
Ozma is undoubtedly the most challenging boss fight in The First Berserker Khazan, especially if you’re going for the Chains or The First Berserker endings. Not only does the boss have multiple phases, but he is also resistant to most elemental statuses. This makes it incredibly difficult to whittle down Ozma’s HP without counterattacks or Brutal Attacks. Furthermore, being a mage, Ozma has access to a plethora of spells that can easily “one-shot” you, regardless of your Defense. Before being consumed by Chaos, Ozma fought alongside Khazan to fend off and ultimately defeat the Berserk Dragon, Hismar. However, to do so, the mage had to rely on Chaos Magic, which ended up consuming his soul.
Admittedly, Ozma is an incredibly intimidating boss due to his multiple phases as well as AOE spells. However, there are ways to trivialize the boss fight, granted you choose the right set of weapons, skills, and armor sets. Here’s a comprehensive guide on how to easily defeat Ozma in The First Berserker Khazan.
How To Unlock Ozma in The First Berserker Khazan?
Ozma is the true final boss of The First Berserker Khazan. You essentially get to fight him at the end of the Master of Chaos mission. Much like the other endgame bosses in The First Berserker, Ozma also has multiple phases. However, depending on the ending you’re going for, the boss can have either 2 or 3 phases. For the normal ending, Ozma only has 2 phases. However, if you complete all the Bonus Missions and go for the Chains or The First Berserker (true) endings, you will have to take on 3 phases of the boss fight. Furthermore, once you reach the end of the Master of Chaos mission, your choice for the ending is locked for the entire playthrough.
Repeat attempts at defeating Ozma will not allow you to get a different ending. At least not until you start New Game+ or a fresh playthrough. That said, while a “3-phase boss fight” might sound intimidating, it’s not actually that difficult to manage. The third and final phase of the boss fight is, in fact, quite easy, granted you can time your parries and counterattacks properly. Ozma, much like Reese, is a very “counter-heavy” boss fight. By the time you reach the end of the game, you will have a good grasp on the parry as well as the counter mechanics.
Additionally, during our testing, we found that the Greatsword and the Spear were most effective against Ozma. Dual Wield also works great, especially with the Bestslayer Set. However, the other two weapon types (especially the Spear) are more efficient. If you want an easier time with this boss fight, we recommend using the Spear in conjunction with the Golden Set.
Tips To Easily Defeat Ozma
Unlike other bosses in The First Berserker Khazan, Ozma’s first phase is more difficult to manage compared to its later phases. Don’t get us wrong, the second and third phases are tough, but they’re way more manageable compared to the first phase. The biggest issue with the first phase is Ozma’s tendency to back away before you can get your whole combo out. Furthermore, in the first phase, Ozma tends to rely on AOE (area-of-effect) attacks. Some of these attacks have an incredibly long wind-up animation, and during that, Ozma is completely invincible against most of Khazan’s attacks. You get very small windows to land your attacks on the boss.
And when you get to attack, Ozma can easily counter most of your combos. However, there are ways to make the first phase a cakewalk. You essentially need the Golden Set, the Stunned Jar, and Trance to make this boss fight as easy as Volbaino or Bellerian. Here’s an endgame Spear build that we recommend for Ozma. Once you have the build, it’s just about knowing when to attack and counterattack. With this build, you can essentially defeat Ozma in less than 5 minutes, without having to use too many healing items either.
The Spear build essentially eats away at Ozma’s stamina while also dealing a ton of damage. Here are some tips that should help you easily defeat Ozma using the Spear build:
Phase 1
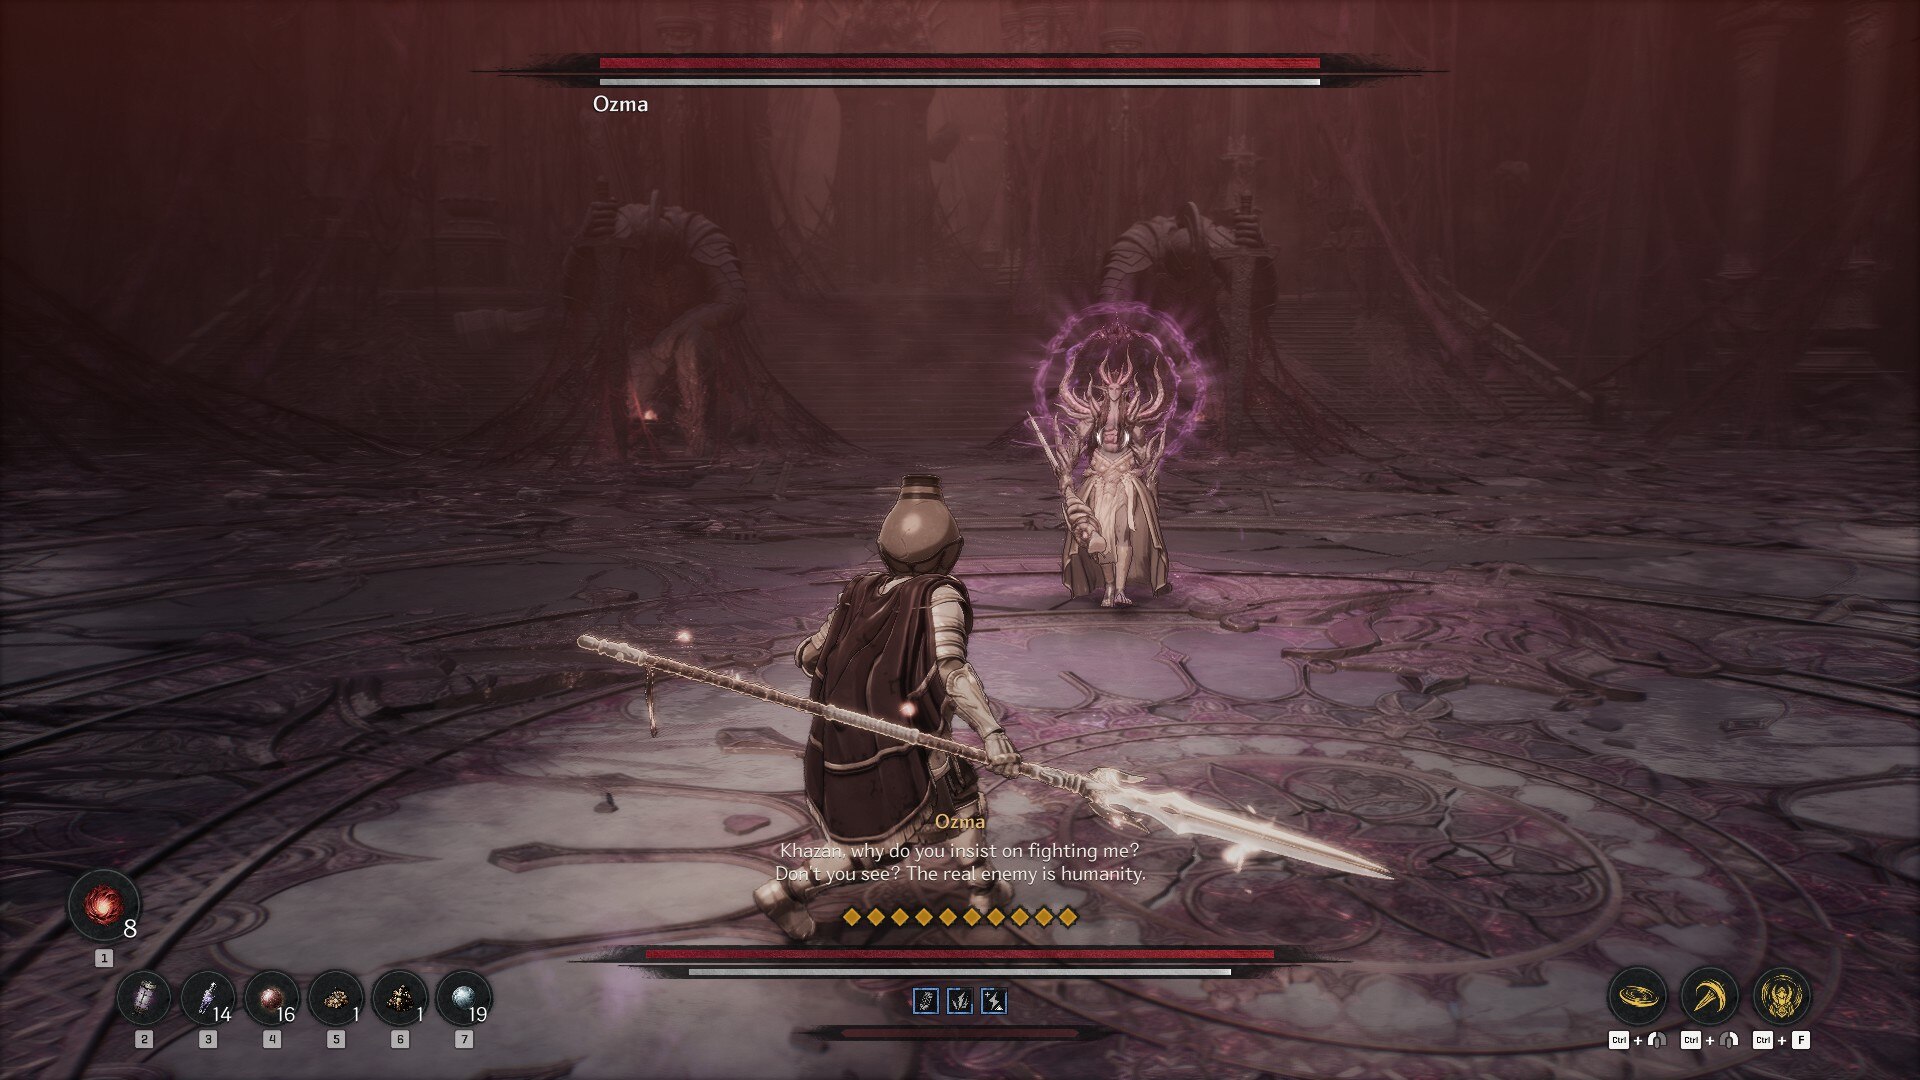
- In the first phase, Ozma always starts with a 3-hit slash attack followed by a charged Frost AOE slam. As such, it’s highly recommended you do not rush into the battle; instead, rely mostly on dodging and parrying in the opening few seconds. Furthermore, make sure you’re carrying Spirit Orbs to top up your Spirit gauge.
- Once Ozma performs the Frost AOE, he will either fly away and do a Chaos AOE or perform a gap-closer and follow that up with a multi-slash attack using his staff and wings. Occasionally, Ozma will also perform a counter-slash, which you can easily avoid with a counterattack.
- Once Ozma performs his AOEs, get close to him and start spamming Trance until either he runs away or his stamina depletes. Once Ozma’s stance is broken, don’t perform the Brutal Attack immediately. Instead, perform at least two more Trance attacks, followed by the Brutal finisher.
- Using Trance should help you go through the first phase relatively easily. The only attacks you need to look out for are the Chaos AOE and the multi-slash combo. The Chaos AOE can be parried or even blocked, as long as you have ample stamina to power through it.
- It’s also highly recommended to max out the Counterattack tree to make counters much easier to perform. Most of your damage against Ozma is going to come from counterattacks.
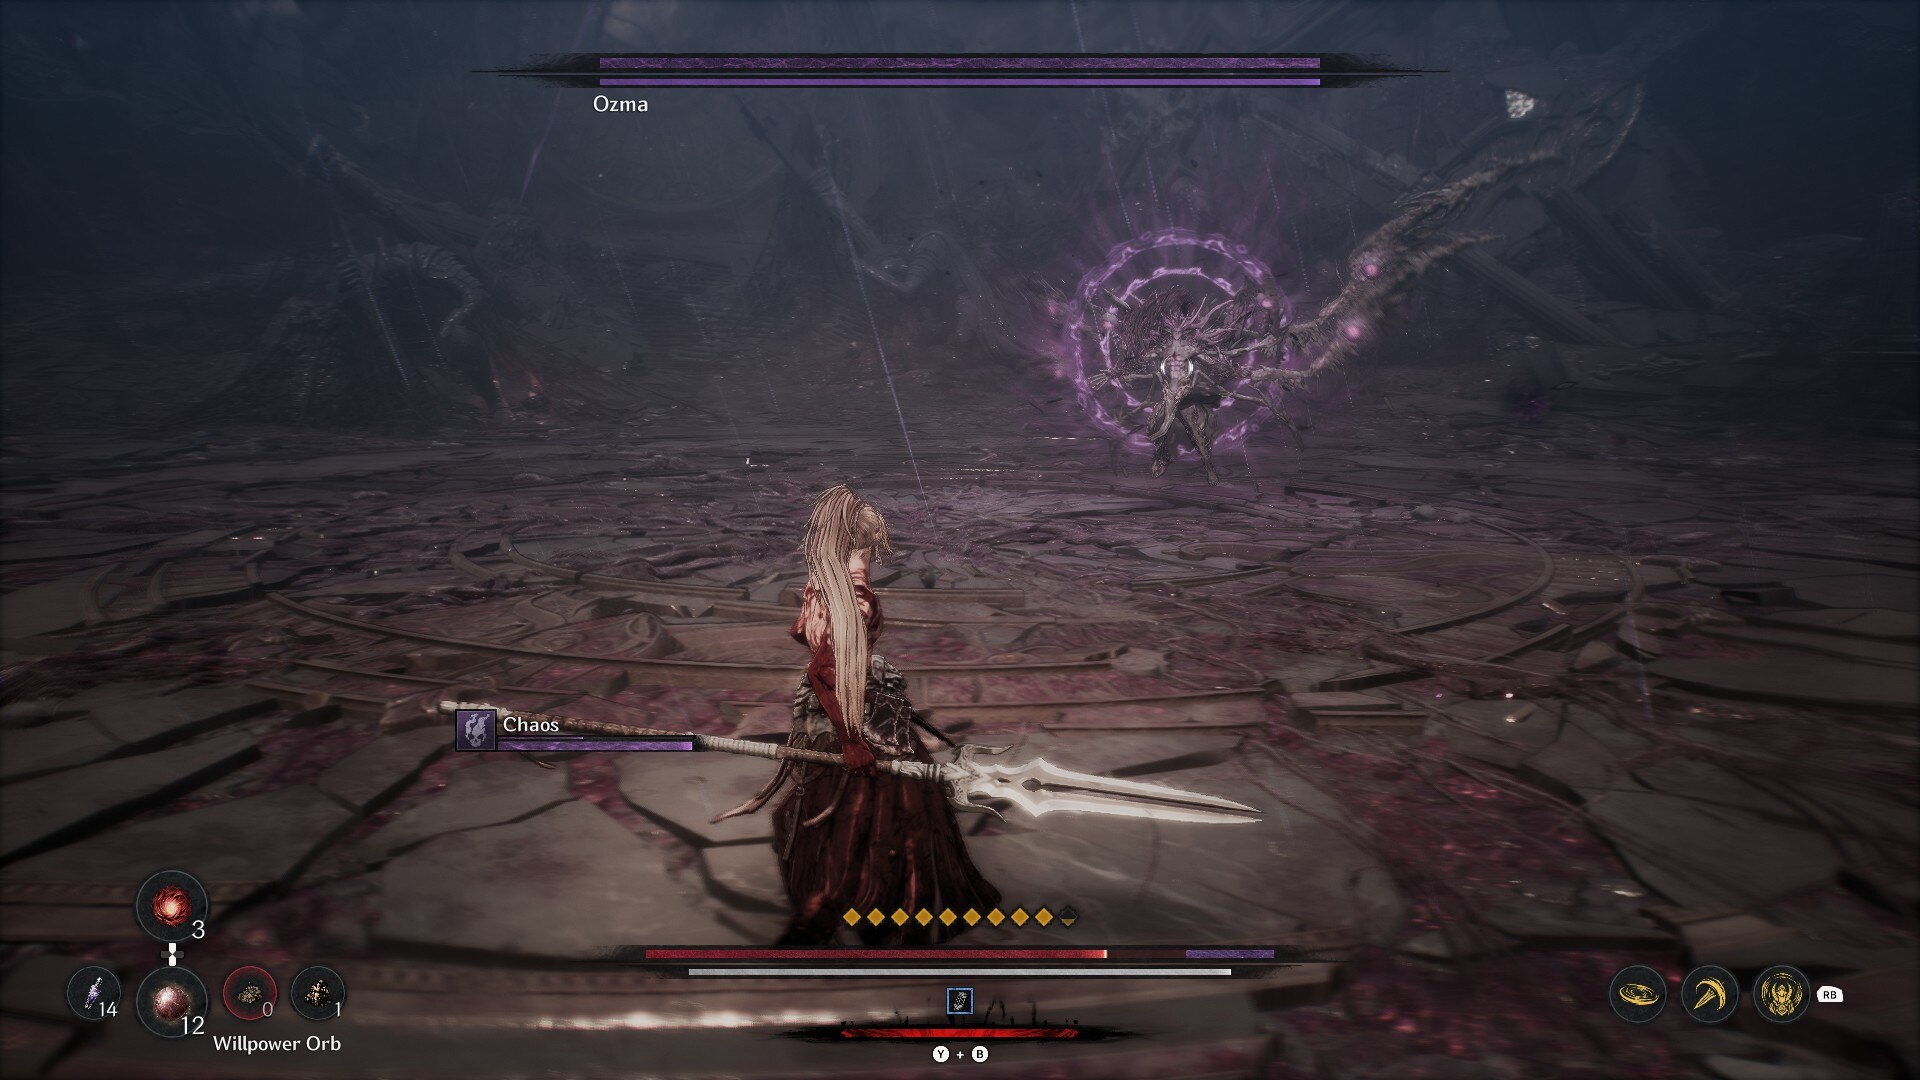
Phase 2
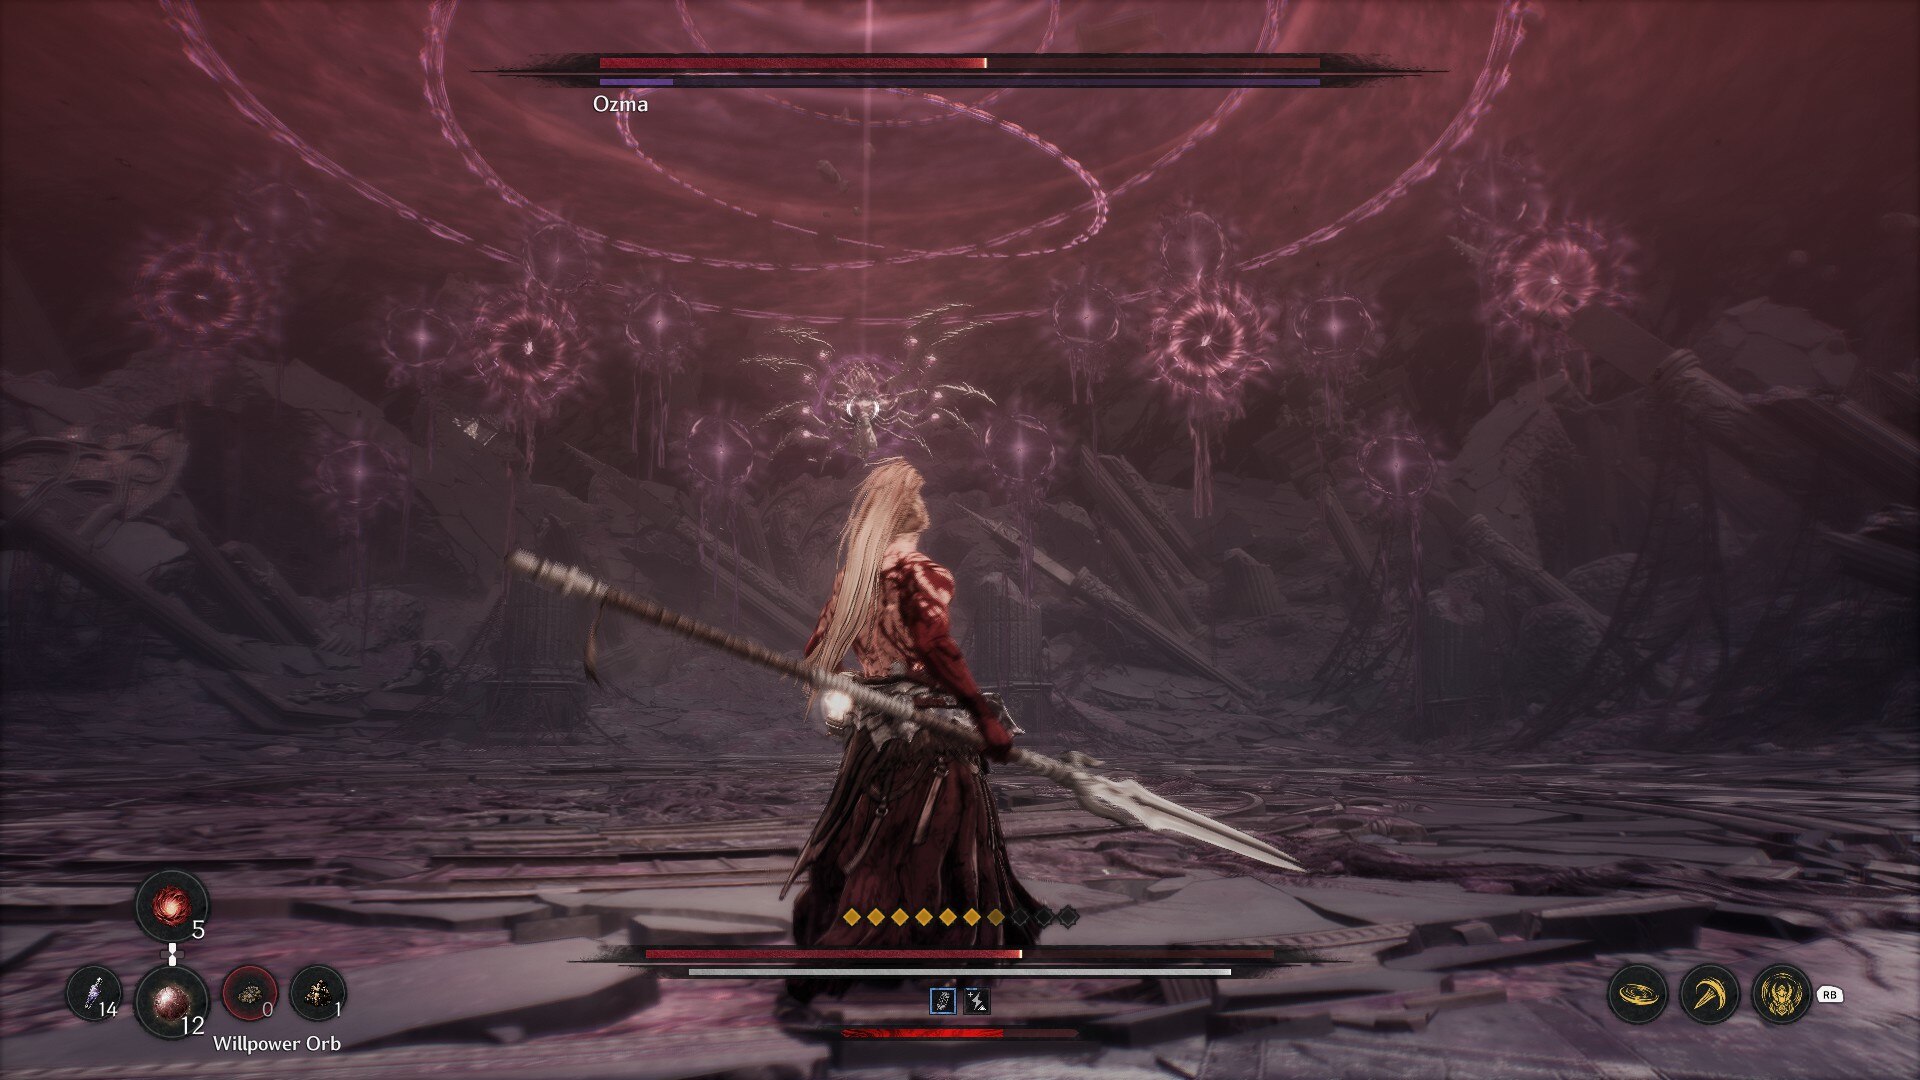
- The second phase follows the same principle as the first, albeit with the boss having significantly lower HP but higher attack power. Additionally, most of Ozma’s attacks in this phase inflict Chaos. However, with Trance backing you up, it shouldn’t be much of a hassle to get through this phase.
- The 5-hit slash combo might look quite intimidating, but it is quite easy to parry. When you see Ozma winding up for the attack, hold block and simply tap it 6 times to parry this combo. After parrying all the attacks, keep holding block since Ozma always follows this attack up with a counter-slash. As long as you have your Counterattack tree maxed out, countering Ozma’s combos won’t be too difficult.
- For the Chaos AOE, we recommend dodging it the same way you dodged Trokka’s stone projectiles. While you can parry the smaller projectiles, it’s not worth it since without 500+ Chaos Resistance, you will get inflicted by the status regardless of whether you parry them or not.
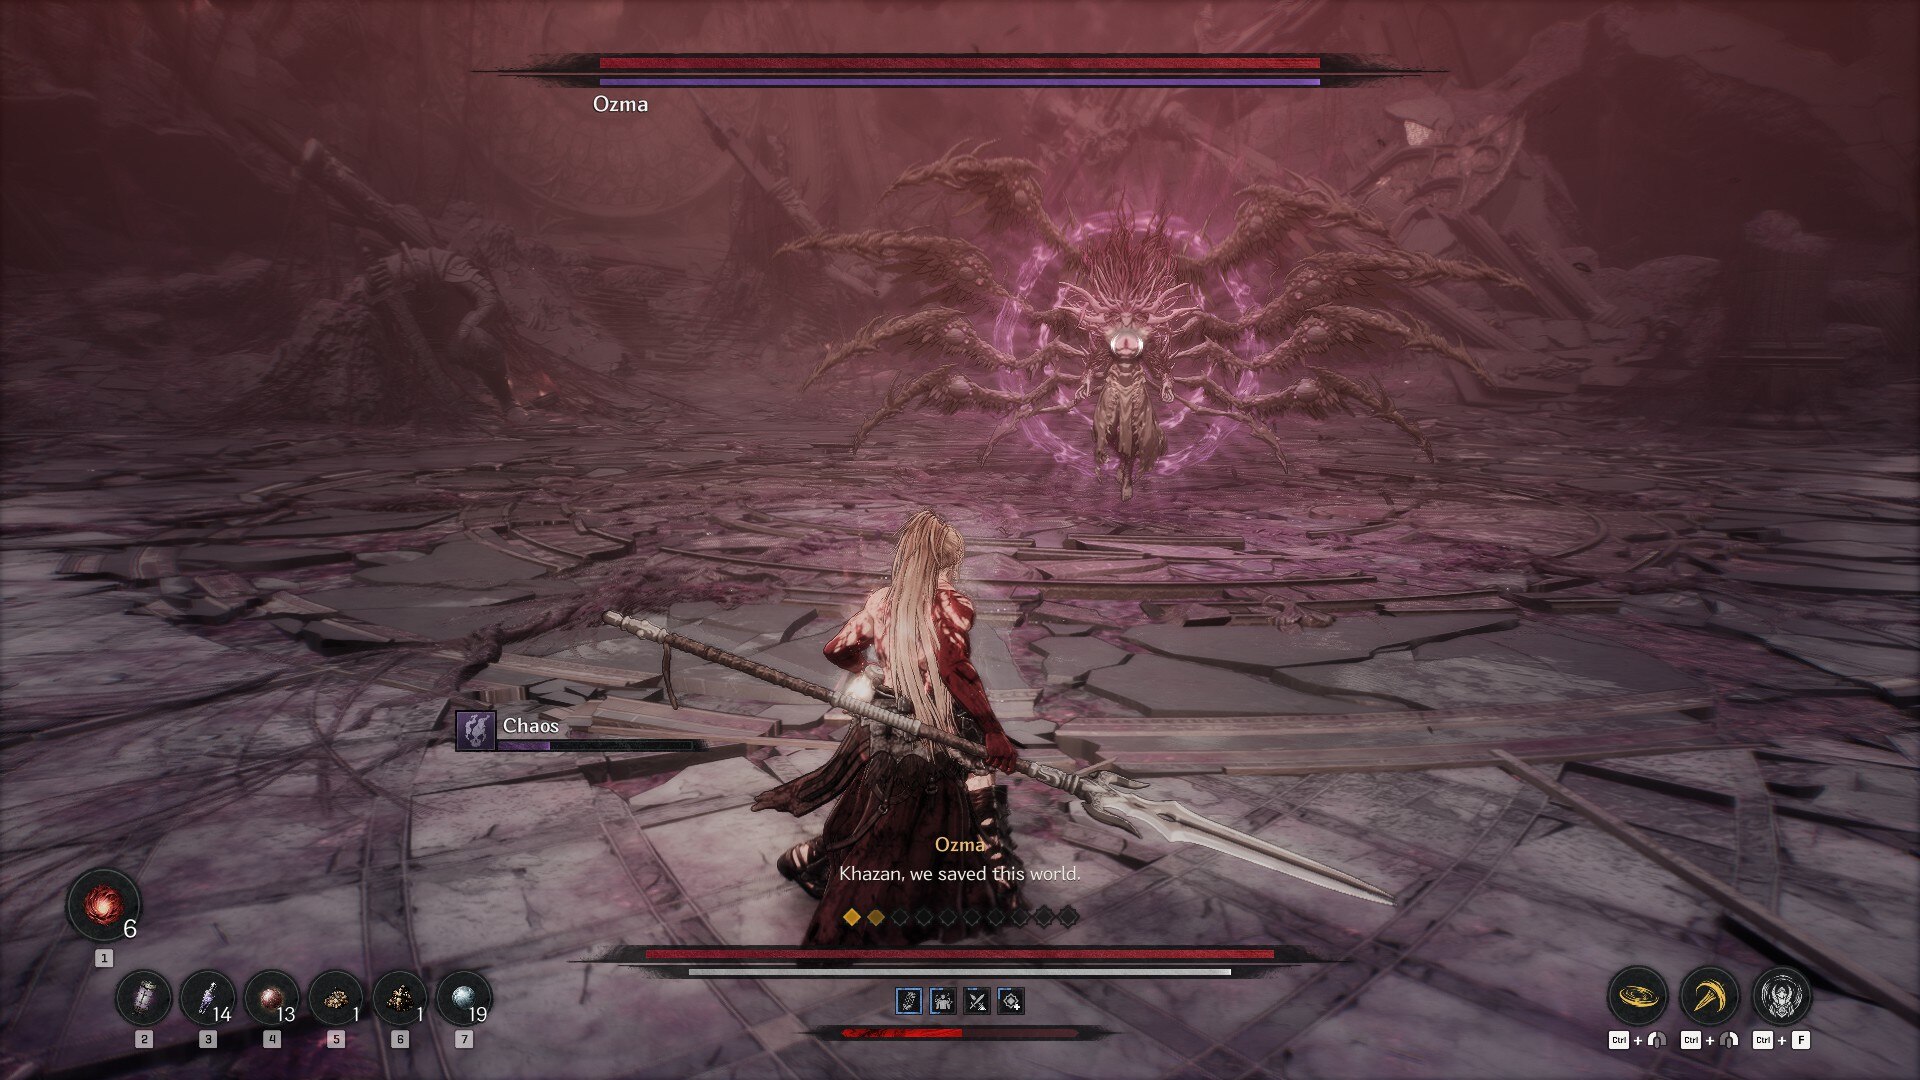
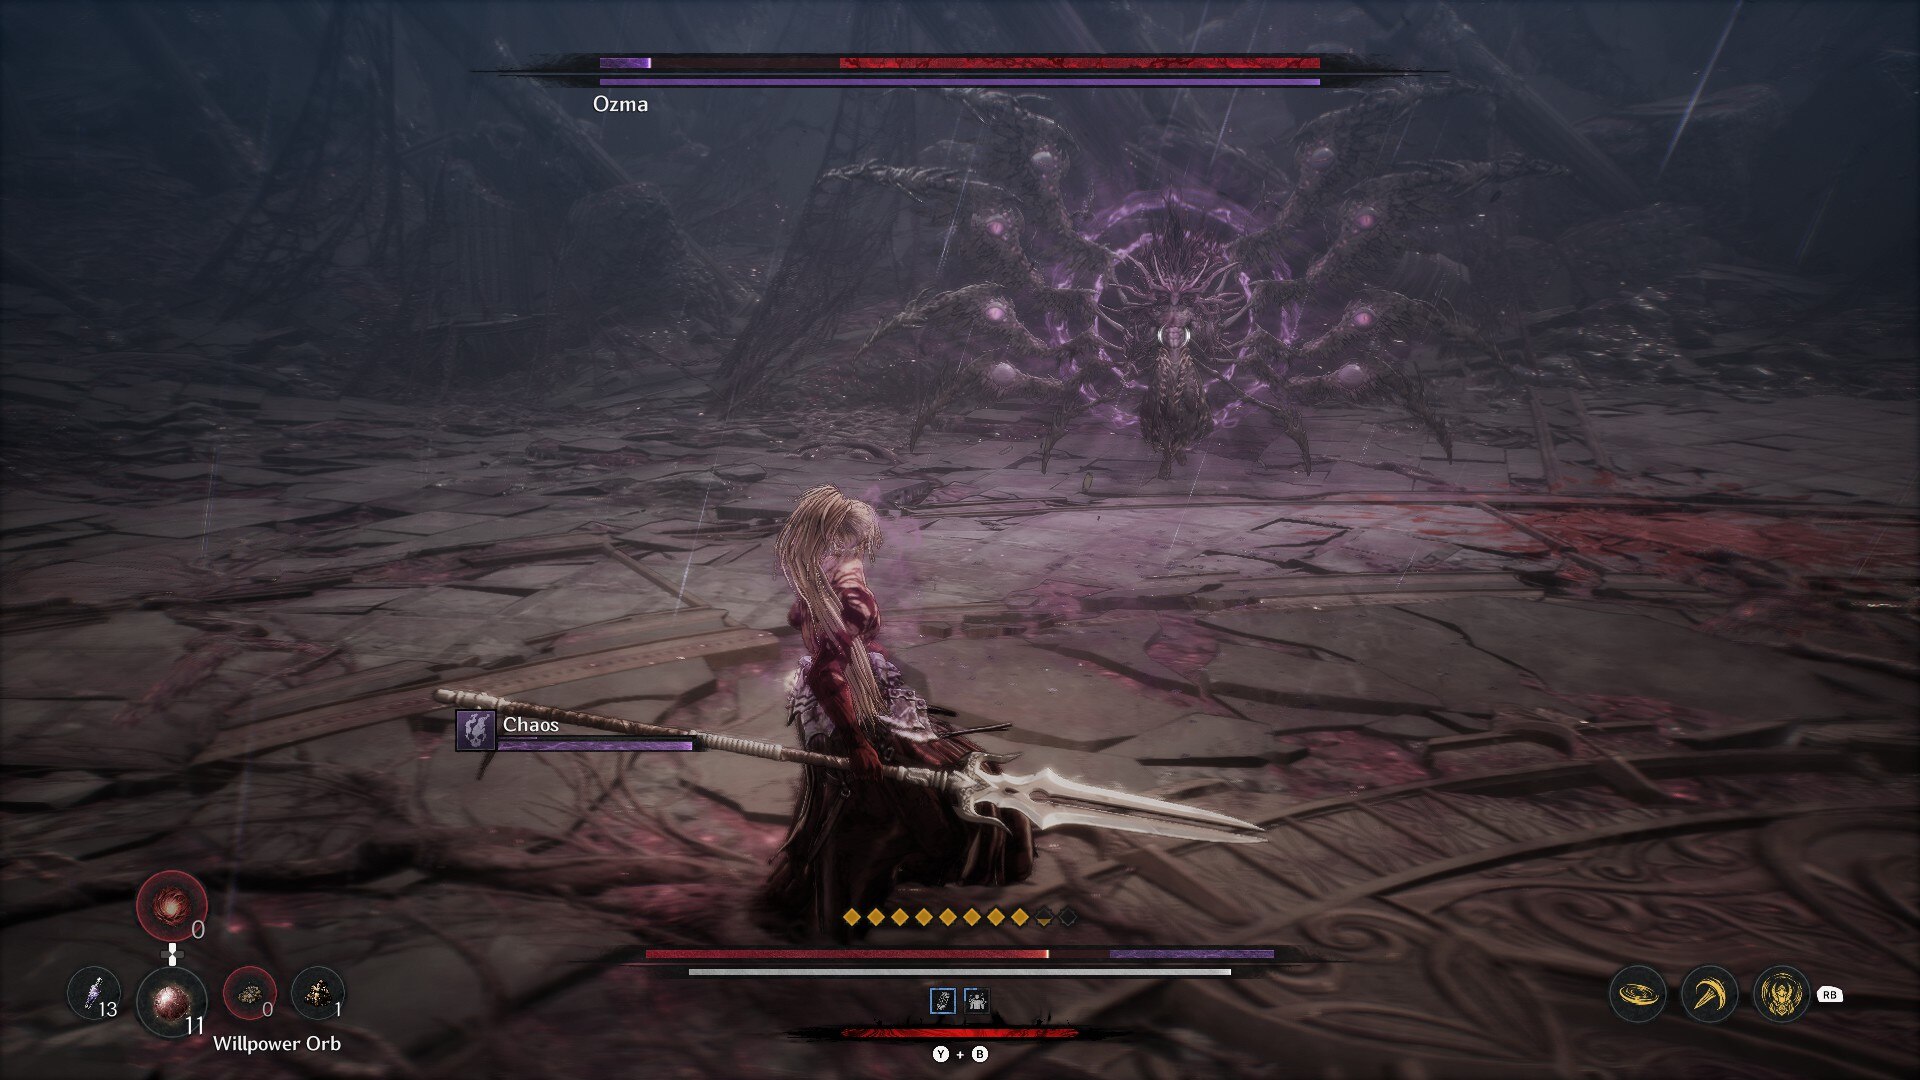
- Lastly, for the summon attack, there’s a very specific way to counter. Ozma performs this attack at the tail-end of this phase, or if you don’t deal enough damage to him. The boss essentially summons a Chaos Stone, which he charges to perform a massive AOE. Failing to interrupt this attack will result in an AOE that instantly inflicts Chaos and deals a ton of damage, often lethal.
- To counter this attack, simply lock onto the Stone and hit it with either charged or Spirit attacks. You can use either Trance or Spiral Thrust to break the Stone. Once the Chaos Stone is broken, it will stun Ozma for a very short moment, allowing you to perform a couple more Trance combos.
Final Phase (Chains and The First Berserker Endings)
- The third phase is essentially a skill-check of sorts. This phase grants you the ability to deal massive amounts of damage with Brutal Attacks. However, to do so, you first need to deplete Ozma’s Fortitude Gauge.
- Thankfully, this phase is essentially identical to the second phase in terms of movesets. Think of it like just the first half of the second phase of the boss fight. Furthermore, in the third phase, Ozma performs the counterattack as a follow-up to all his combos.
- To get through this phase, simply counter Ozma’s attacks, deal damage to him using Trance, and follow it up with a Brutal Attack.
- Ideally, it only takes 3 Brutal Attacks to defeat Ozma. However, if you don’t deal enough damage to the boss, it can take a couple more.
- Lastly, do note that failing a counterattack in this phase will end up healing the boss. As such, it’s paramount to have your Counterattack tree maxed out so that you have a better chance at timing your counters right.
- Make sure to carry Willpower Orbs to help you heal through this phase. However, with the right use of Trance, you won’t need to use additional heals as you can easily heal most of the damage through a frontal Brutal Attack.
Looking For More?
Thank you for reading the article. We provide the latest news and create guides for Baldur’s Gate 3, Starfield, ARK Survival Ascended, and more. Also, watch Deltia play games on Twitch or visit his YouTube channel!