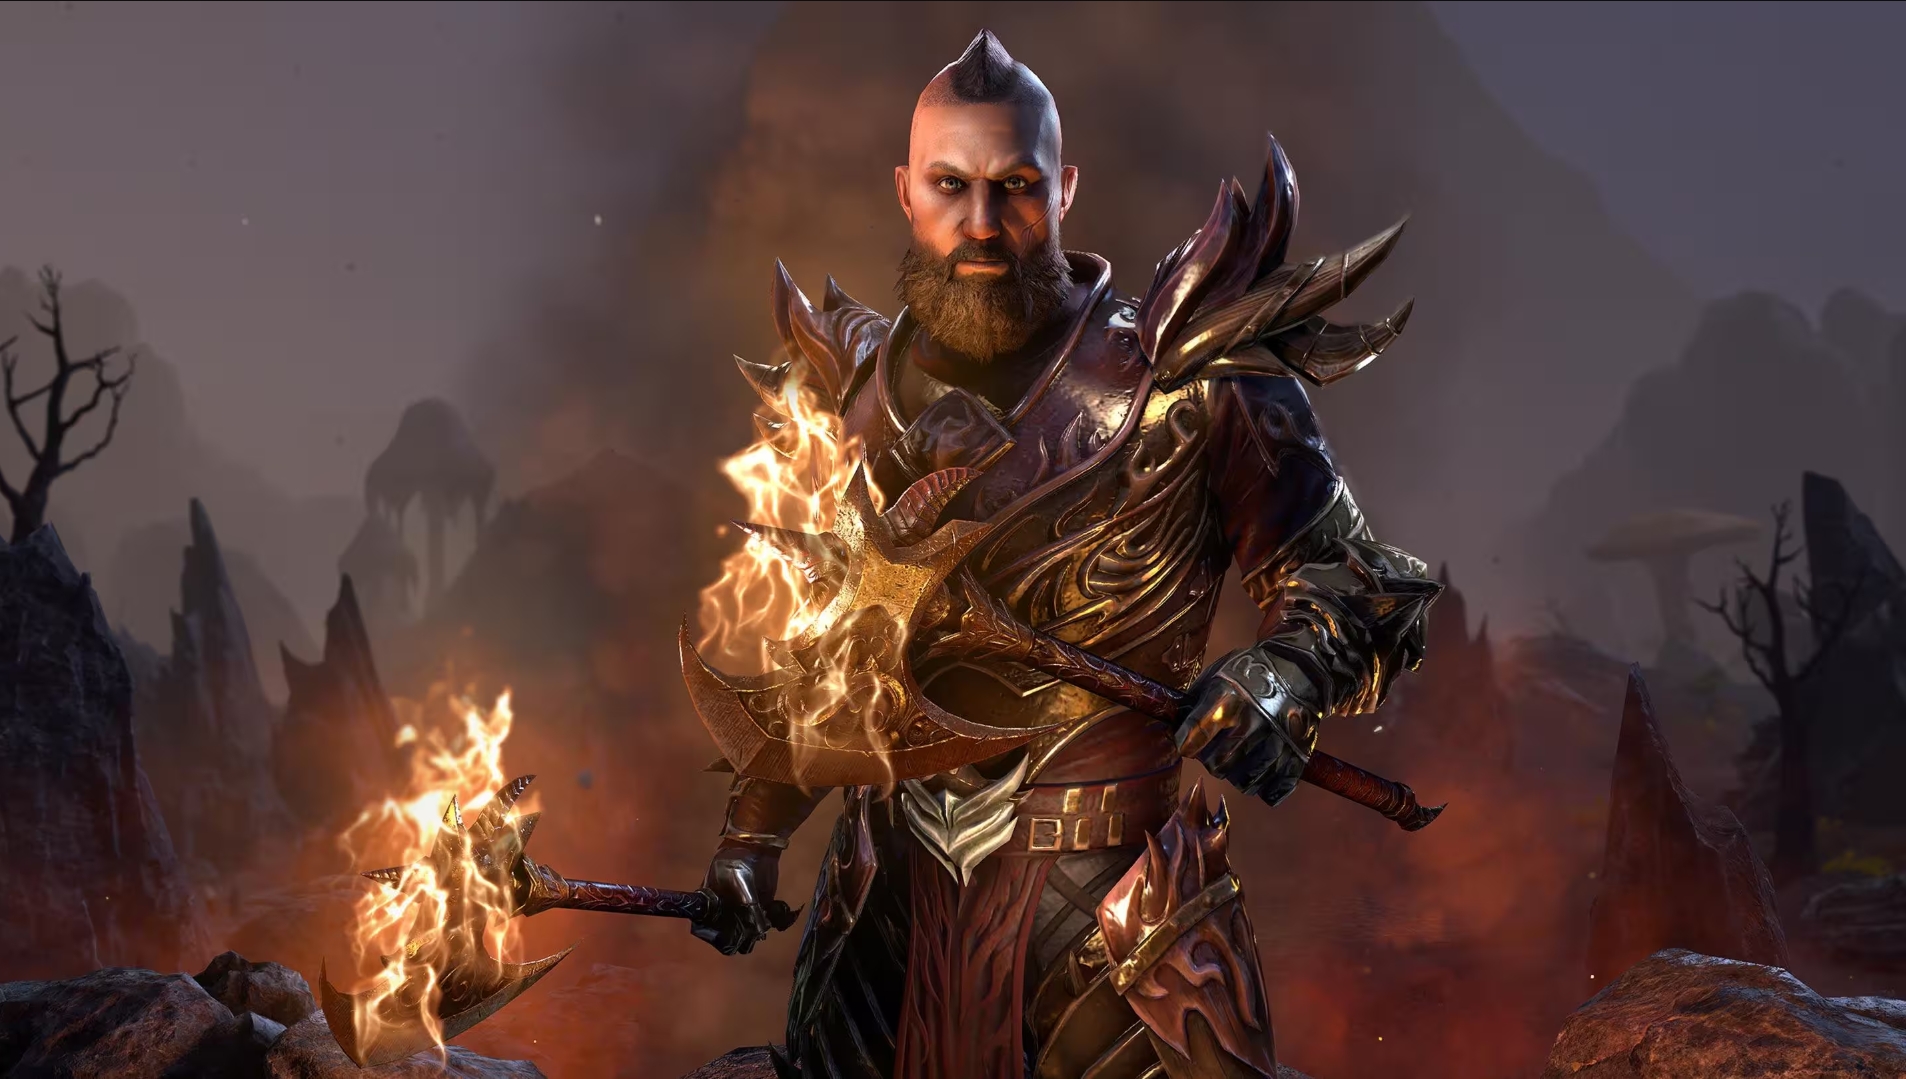
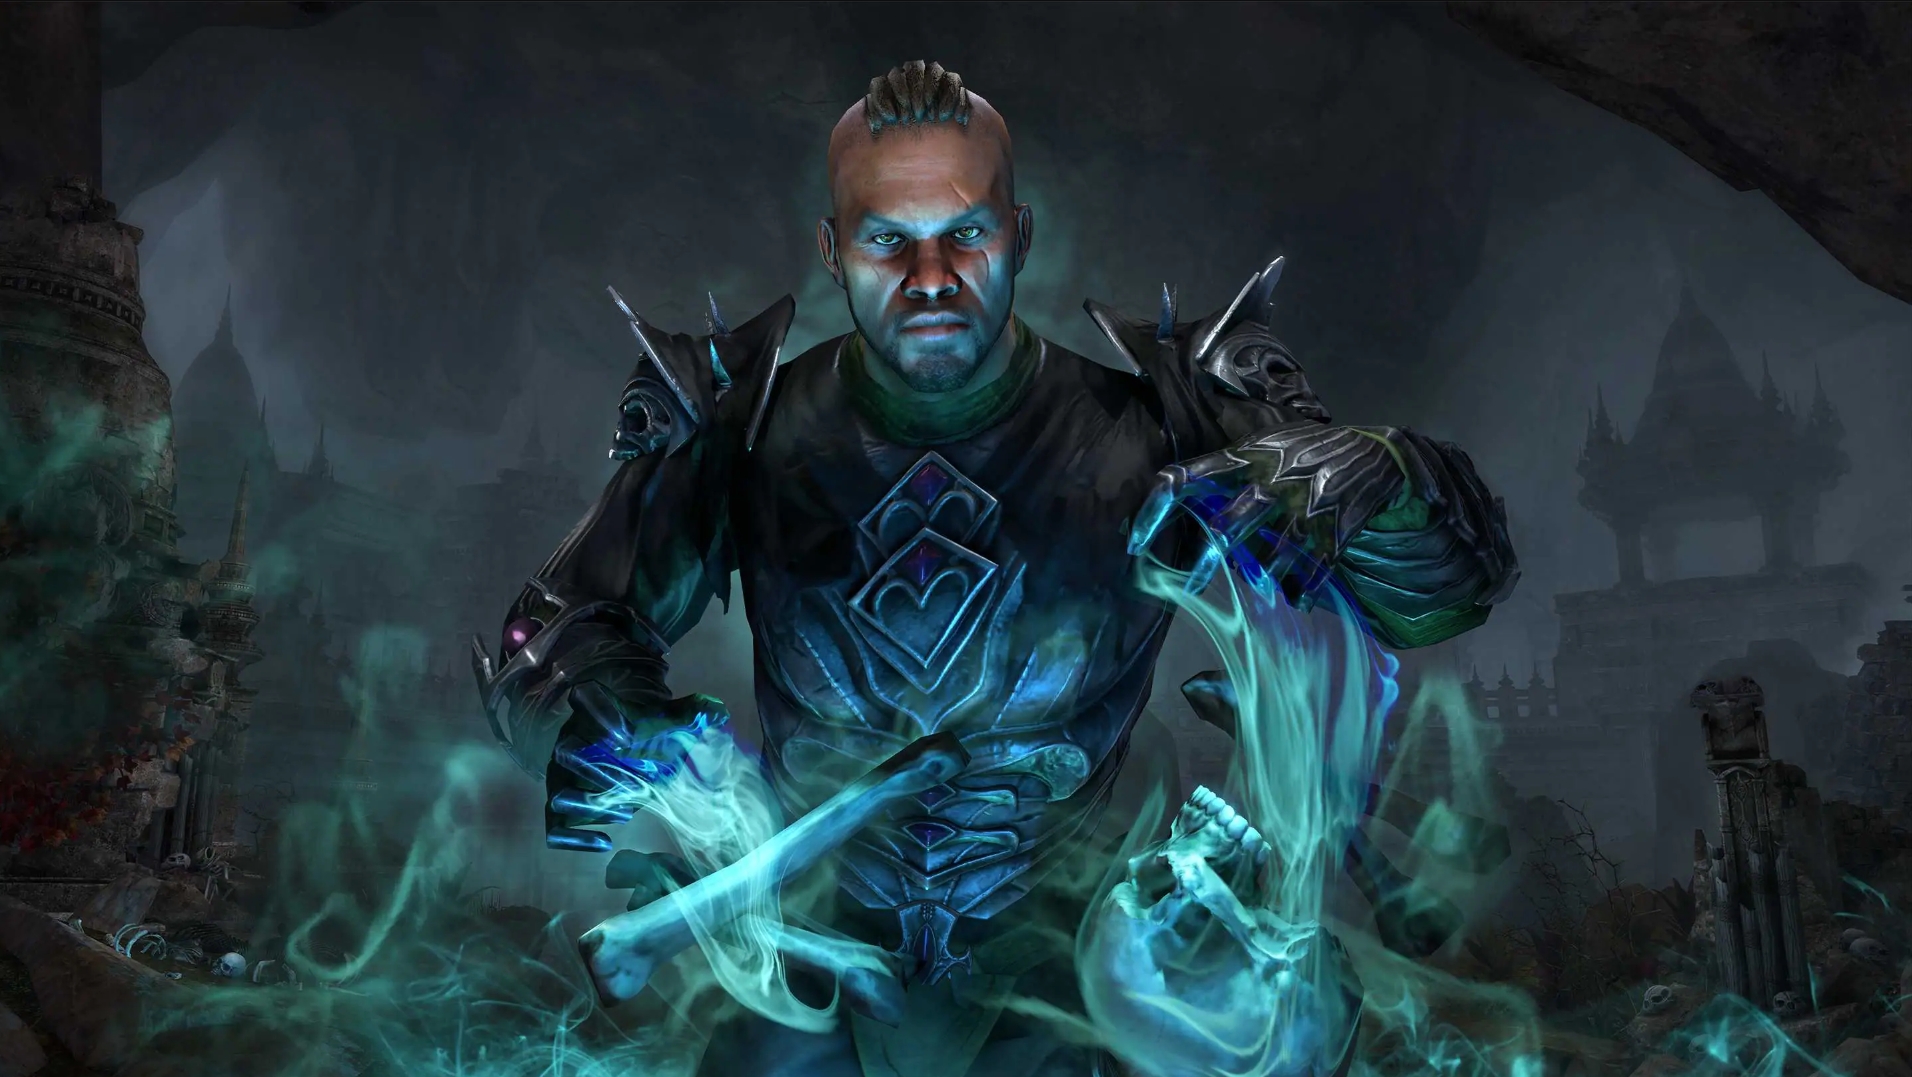
The Harvester is back and has manifested into a damage dealing group-oriented machine. I’ve proven myself wrong again by creating a sustainable damage dealing Templar using a stamina build. So without further ado, The Radiant Harvester – ESO Templar DPS Build.
UPDATED BUILD
CLICK HERE
Original build here
Table of Contents
Version
Original Release 11/24/2014
Objective
Just like the original build, The Radiant Harvester is an area damage (AoE) beast wielding a two-handed great-sword and the bow after the powerful updates in 1.5, making it one of the strong single target weapons in the game. Stamina has seen some love with past updates, and it’s beginning to shows now bringing both AoE and sustained single target damage to the DPS underdog, the Templar.
I’m still rocking Big-Jake, an Imperial race Templar on the Aldmeri Dominion faction. Imperial race is a solid choice for more max stamina but this build can work with almost any race choice especially those focused on stamina like Bosmer, Khajiit, Redguard, and Dark Elf to name a few. True min maxers might want to go with Redguard for sustained damage or Khajiit for burst. Additionally, I decided to roll Werewolf with this build since passively you get a 15% stamina generation for merely having the skill line unlocked. Moreover, you only suffer poison damage while in Werewolf form which I can’t even do since I’m not using the ultimate Werewolf transformation, so only positives with Werewolf at the moment. Your choice on Werewolf and or race choice, but that’s what I’m working with.
Some of the old Harvester limitations are gone as well like sustained damage and the need for enemy corpses. However, this build does sacrifice a lot of solo sustainability for group oriented game-play. The purpose of this build is making a solid damage dealing Templar capable of succeeding in Trials, Dragonstar Arena, and or Dungeons. Ideally, you’ll be playing with friends who are specifically dedicated to healing or tanking so you can focus on your job; massive damage. Here’s the breakdown of this build’s strengths and weaknesses:
+ Sustained damage
+ AoE monster
+ An added execute ability which Templar’s lack
– Not solo friendly
– Minimal self-healing
Skills
“Dash and smash.” Bar one is our heavy AoE damage setup. The majority of your time using bar one will be spent killing multiple mobs or finishing a boss below 25% health.
- Critical Rush (morph of Critical Charge | Two Handed skill line) – A great gap closer which automatically critical hits. This can hit for around 700 making it a strong opener. If you’re playing a more magicka based race, you could swap this out for one of the Focused Charge morphs in the Aedric Spear skill line. I don’t lack stamina regeneration so Critical Rush is a good choice for me.
- Breath of Life (morph of Rushed Ceremony | Restoring Light skill line) – It’s hard not bring this ability to any Templar build. Even though I can only cast this about three times, it has saved me from countless wipes. Breath of Life is the Templar’s emergency heal when paired with Blazing Shield can save you from near certain death. If you’re wanting more AoE damage and don’t mind playing risky, try swapping in Solar Barrage (morph of Solar Flare | Dawn’s Wrath skill line). Leap into combat, pop Solar Barrage and then a Carve for huge area damage.
- Carve (morph of Cleave | Two Handed skill line) – What would a meat cleaving Two Hander build be without Carve? My favorite ultimate generating skill, this is our bread in butter for the Two Hander. Not only does it automatically generate ultimate, but applies a DoT which is important to our gear setup. With full medium armor, don’t be afraid to spam this ability and use Nova when available.
- Blazing Shield (morph of Sun Shield | Aedric Spear skill line) – Even though this build is medium armor focused, the protection provided by Blazing Shield is our primary defensive. It won’t hit that hard with medium armor, but can bubble us for 900+ points of health. Playing melee requires you to take more risk and possibly more damage than a range character, so I consider this a must skill.
- Reverse Slice (morph of Reverse Slash | Two Handed skill line) – I love this morph now in patch 1.5 adding splash damage to a finisher. This goes along with our bar one premise, do massive area damage to multiple mobs. Now if you need to finish off a solo spider, their friends will be taking damage too.
- [Ultimate] Solar Prison (morph of Nova | Dawn’s Wrath skill line) – While I hate the Solar Prison ultimate cost (300) its too powerful not to use. Remember that this ability makes enemies deal less damage so plan on using this offensively and defensively. In City of Ash Veteran mode, the fourth boss is a problem when spawning adds. Our group will rotate defensive (Veil of Blades, Solar Prison, Dragonknight Standard, Barrier, etc) ultimates to prevent the tank from being killed. This is an example of a 30% damage debuff that can save your team from wiping.
Combat
- Rambo in via Critical Rush > Cast Blazing Shield > Carve
- Keep Blazing Shield up if magicka dictates (keep around 400 for an emergency Breath of Life)
- Carve until stamina is low (stamina potion if available)
- Look for the lowest health enemy and finish via Reverse Slice
- Drop Solar Prison when you’re in trouble or during a large pull
- Breath of Life with a health potion if your in trouble
This bar is relatively easy to get the hang of. If you have a pocket healer consider swapping in Solar Barrage, and use it prior to Carve. You’ll lose some survivability while leveling or soloing, but you can add a lot of damage and ultimate generation. I like to have at least one heal on all my characters. Risk reward, your choice 🙂
Bar Two | Bow
This is our primary bar which can pump out single target damage or AoE. We don’t have a finisher nor do we want to be up close. This bar is really meant to synergies with our gear, the new City of Ash two piece set that drops meteors. We want to constantly do damage over time (DoT) with poison to proc meteors. When I get my timing down and I’m on top of my game, I can easily pull 900+ single target DPS without potions and or ultimates.
- Focused Aim (morph of Snipe | Bow skill line) – I’ve tried both the Lethal Arrow and Focused Aim morph and Focused Aim seems superior. It enhances our over bow damage and hits like a truck. Though if I were PvP’ing, I’d go with Lethal Arrow / Dark Flare combo for healing reduction. Plus who doesn’t love hearing the howitzer sound of Focused Aim? Consider this your opener damage skill.
- Venom Arrow (morph of Poison Arrow | Bow skill line) – Our primary ranged interrupt which is the stamina equivalent to the Destruction Staff ability Crushing Shock. This ability can be weaved with light attacks for decent sustained damage and keep casters in check. I like this morph over Poison Injection because in PvE interrupts are important and I can execute with a swap to bar one.
- Scorched Earth (morph of Volley | Bow skill line) – I did not realize how powerful this ability was until a couple of guildies explained the skill in detail (Erlexx and Zazhu). This is essentially a 11 second DoT that is placed on the ground. The tricky part about using this is positioning. Since you have to recast every time the enemy moves, only use on a stationary group of mobs or when a boss has positioned themselves in a holding pattern. Consider this your single target priority after Focused Aim (oh yeah awesome area damage as well).
- Acid Spray (morph of Arrow Spray | Bow skill line) – Most bow builds shy away from this ability but I love it. I compare this to the Destruction Staff Impulse. It hits for around 400 or 500 on a successful critical hit, has a DoT and can be spammed on large groups of massive damage. The downside is it’s a conal effect (only in front of you) so you’ll need to watch your angle, but with our gear and the poison damage constantly ticking, meteors will be raining from the sky.
- Consider this your flex spot. Alternative abilities are Evil Hunter (morph of Expert Hunter | Fighters Guild skill line) for Undead enemies, I’ve even had some success with Reflect Light (morph of Sun Flare | Dawn’s Wrath skill line) for ultimate gain and Shadow Silk (morph of Trapping Webs | Undaunted skill line) for more poison damage. For more stuns and control, Blazing Spear (morph of Spear Shard | Aedric Spear skill line) or Volcanic Rune (morph of Fire Rune | Mages Guild skill line).
- Radiant Aura (morph of Restoring Aura | Restoring Light skill line) – Now you know why the build is now called the “Radiant” Harvester, I went with the other morph of Repentance. Don’t get me wrong, I love Repentance, but a constant 80% stamina regeneration putting me at 150+ is just too powerful to pass up. Not to mention it passively increases our stamina and regeneration for having it slotted AND that 80% bonus applies to the group with a 12 meter radius. It’s nice having two Templar’s with different morphs so one can get stamina via corpses while the other constantly buff everyone.
- [Ultimate] Flawless Dawnbreaker (morph of Dawnbreaker | Fighters Guild skill line) – Passively increasing our weapon power by 13%, this ability is a no brainer. NOW, I have switched out my ultimates in certain situations. In Trials, if we need constant Templar Nova’s, I put Werewolf Transformation on bar one with Solar Prison on bar two. This way I generate six ultimate taking damage every three seconds with the Blood Rage passive. Overall, the Flawless Dawnbreaker setup is more advantages.
Combat
The bar two bow rotation is a bit more complex than the Two Hander.
- Start combat with a Focused Aim for increased bow power
- Weave a light attack into a Venom Arrow to get the poison damage rolling
- Once the target gets positioned, CONSTANTLY keep up Scorched Earth
- Now rotate between buffs, maintaining the Focused Aim buff, Venom Arrow Poison and Scorched Earth when applicable
- If you have excessive stamina (over 80%) use a Acid Spray for even more DoTs
- If you low on stamina (below 40%) pop Radiant Aura for increased regeneration
Part of the gear strategy with this build is reducing the potion cool down to 15 seconds instead of 30. Additionally having the Medicinal Use Alchemy passive for extended time on potions to 13 seconds. Making it almost possible to have a potion off cool down or the effects on your characters. It’s an expensive way to DPS, but with 70% critical and 250 Weapon Power constantly applied, I’m a monster damage dealer.
Gear
GOAL = Health 2,800 > weapon power 225 > stamina 2,500+

 The gearing concept is massive weapon power and benefiting from poison damage. The more DoTs the more chance to proc meteors and increasing our damage. These pieces of gear are VERY hard to get so I will give some alternatives.
Armor Weight – You’ll want all medium if possible because the medium armor passive Dexterity awards higher critical per piece of armor (21% for all medium armor). I’m currently using five medium, one light and one heavy not by choice (drops in City of Ash). However, the Undaunted level seven passive now gives percentage increase to all stats for different weights of armor. So wearing three types of armor 6% to all my stats (pending two points into that passive). I haven’t had enough time to test it out and confirm if this is a better choice, so if possible stick with seven medium.
Set Bonuses (two Valkyn Skoria set, five Hunding’s Rage, three Poisonous Serpent set and a Master weapon)
- Valkyn Skoria – The helm is a rare drop in City of Ash new Veteran Rank 14 dungeon. I’ve ran this probably 10 times only to get one drop which is heavy armor. So yeah, I need to run it many more times to get medium infused head. The shoulders are a random turn in via the Undaunted Pledge system. Having four VR 14 characters allows me to farm these dailies so don’t get frustrated if you can’t find these drops right away.
- NOTE: The Lich set from Crypt of Hearts might be higher DPS. I’m working on getting two medium pieces of each before changing
- Hunding’s Rage – A craft-able set and a powerful at that. Adding tons of weapon damage and 8% weapon critical, this is the stamina builds go to for crafted gear.
- Poisonous Serpent – Another rare set only dropping in Trials. I have yet to obtain a three piece set but my end goal is to get three pieces for huge poison damage.
- Master weapon – The rarest of the rare, a drop from the final wave in Dragonstar Arena another incredibly powerful weapon that I have yet to get.
Alternatives – Since most of this gear is super high level, an easy replacement is a four piece Hunding’s and a four piece Night Mother’s Gaze (weapons and all armor pieces) all of which can be crafted. For Jewelry, I’m currently wearing Shadow Walker, a PvP set. You could also go with Hawk Eye or another Trials set. Anything that gives you weapon power, critical or stamina would be good.
Traits – The standard Divines on small pieces (Shoulders, Gloves, Boots, and Belt) and Infused on large (Head, Chest, and Legs). If you can, go with Precise on weapons though Sharpened is a good choice as well.
Attributes – As an Imperial race, it takes very little for me to reach 2,800 health with food. I think currently, I’m sitting at 14 points in health and 40 something in stamina. The numbers aren’t that important, reaching 2,800 health then dumping the rest into stamina is.
Food – Enriched Honey Brittle (adding health and stamina) is the best DPS choice. Though using some purple food adding all three stats has some benefit for solo players.
Mundus Stone – If you can reach 50% weapon critical without using the Thief Mundus Stone (without using potions), take the Shadow. If you’re under 50% weapon critical, use the Thief.
While Leveling
I haven’t forgot about the low level players! The best thing to do while leveling is change some morphs. Instead of Radiant Aura, go with Repentance as you’re bound to have some bodies laying around. I’d also go with the Brawler morph instead of Carve for the Two Hander. It takes a long time to get Blazing Shield, and this will give you good damage bubbles and protection.
You’ll also need a strong crowd control or stun ability like Volcanic Rune (morph of Fire Rune | Mages Guild skill line). Self healing is important and we already have Breath of Life but even consider Remembrance as an alternative ultimate if you’re struggling to stay alive. Even consider wearing five medium and two light to have some more magicka and free up a cast or two for Breath of Life.
Another morph to consider changing Acid Spray to Bombard. This locks enemies in place making it hard for them to reach you. Until you have Bombard, Magnum Shot (morph of Scatter Shot | Bow skill line) is a good low level choice punting enemies away and keeping distance. When in doubt keep enemies away from you. If they get too close, swap to bar one and spam Brawler for added protection.
 Reddit
 Email
Email


Comments are closed.