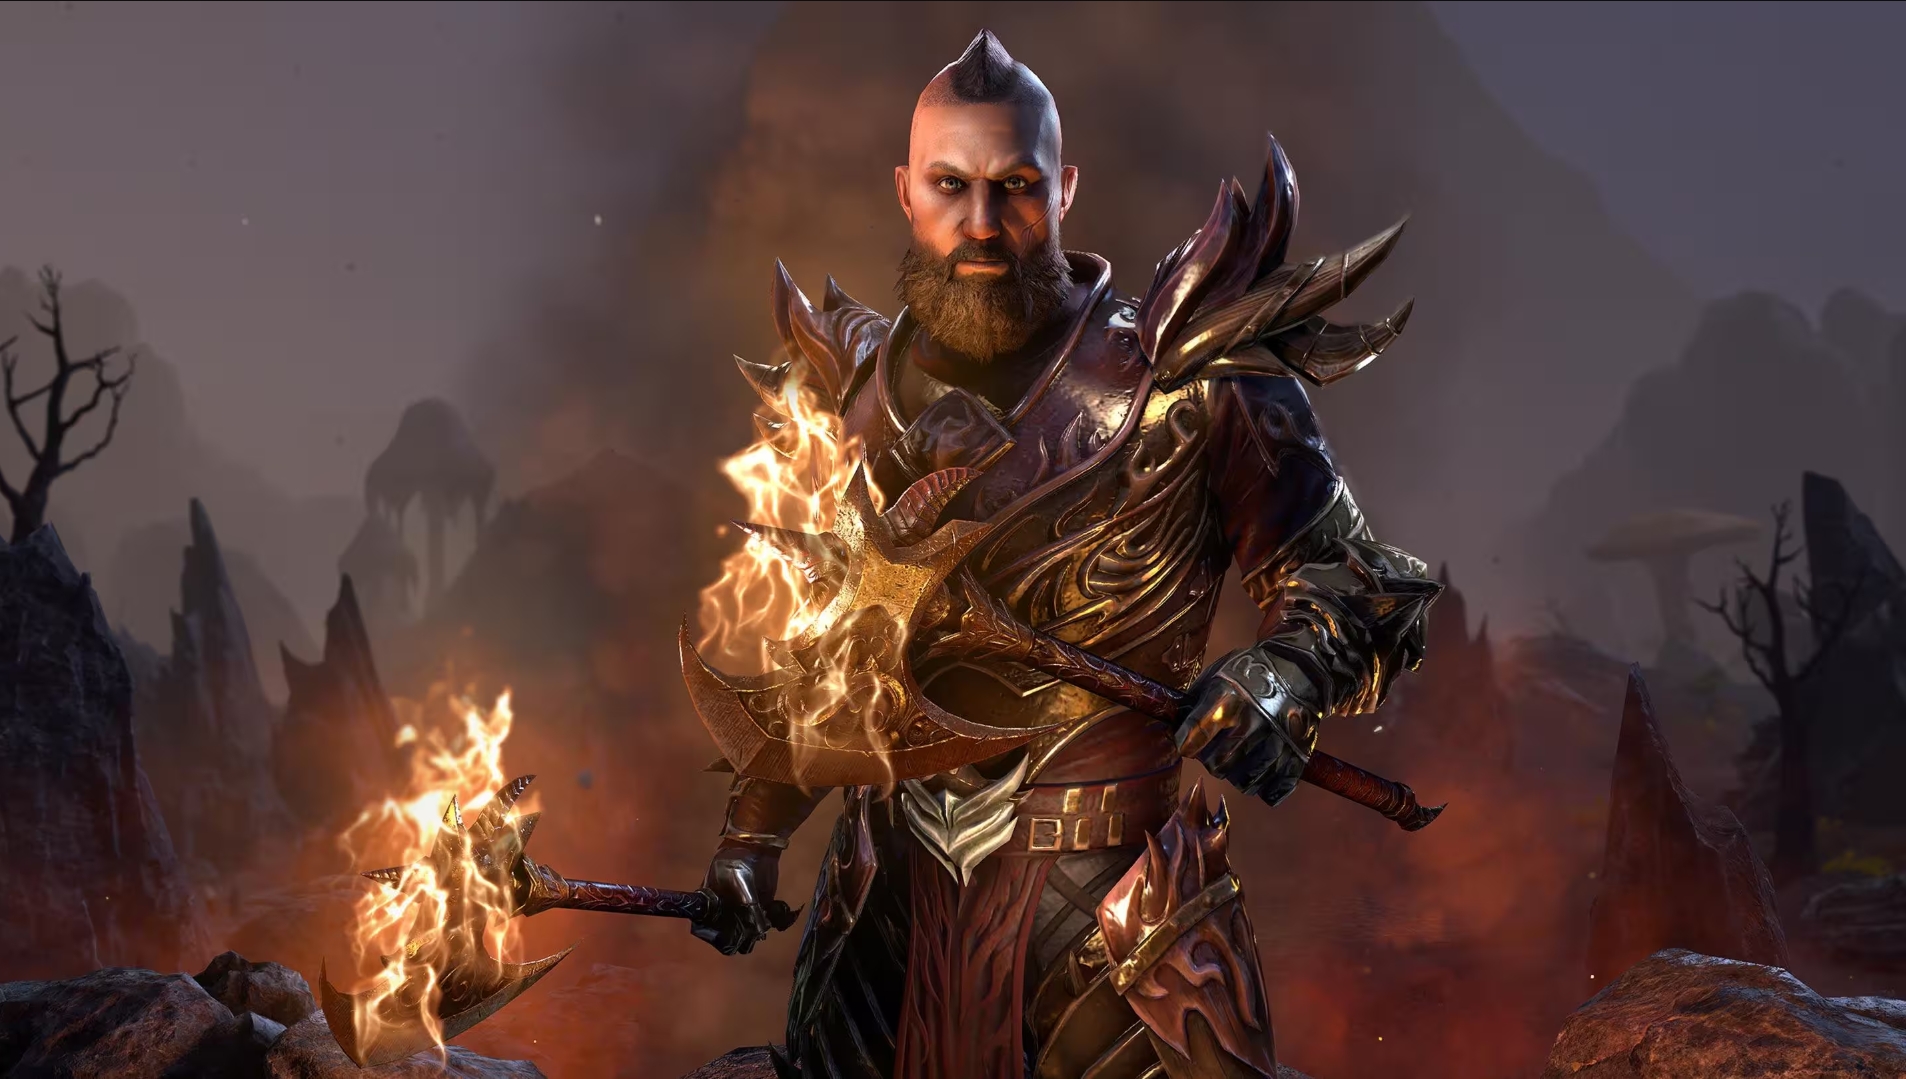
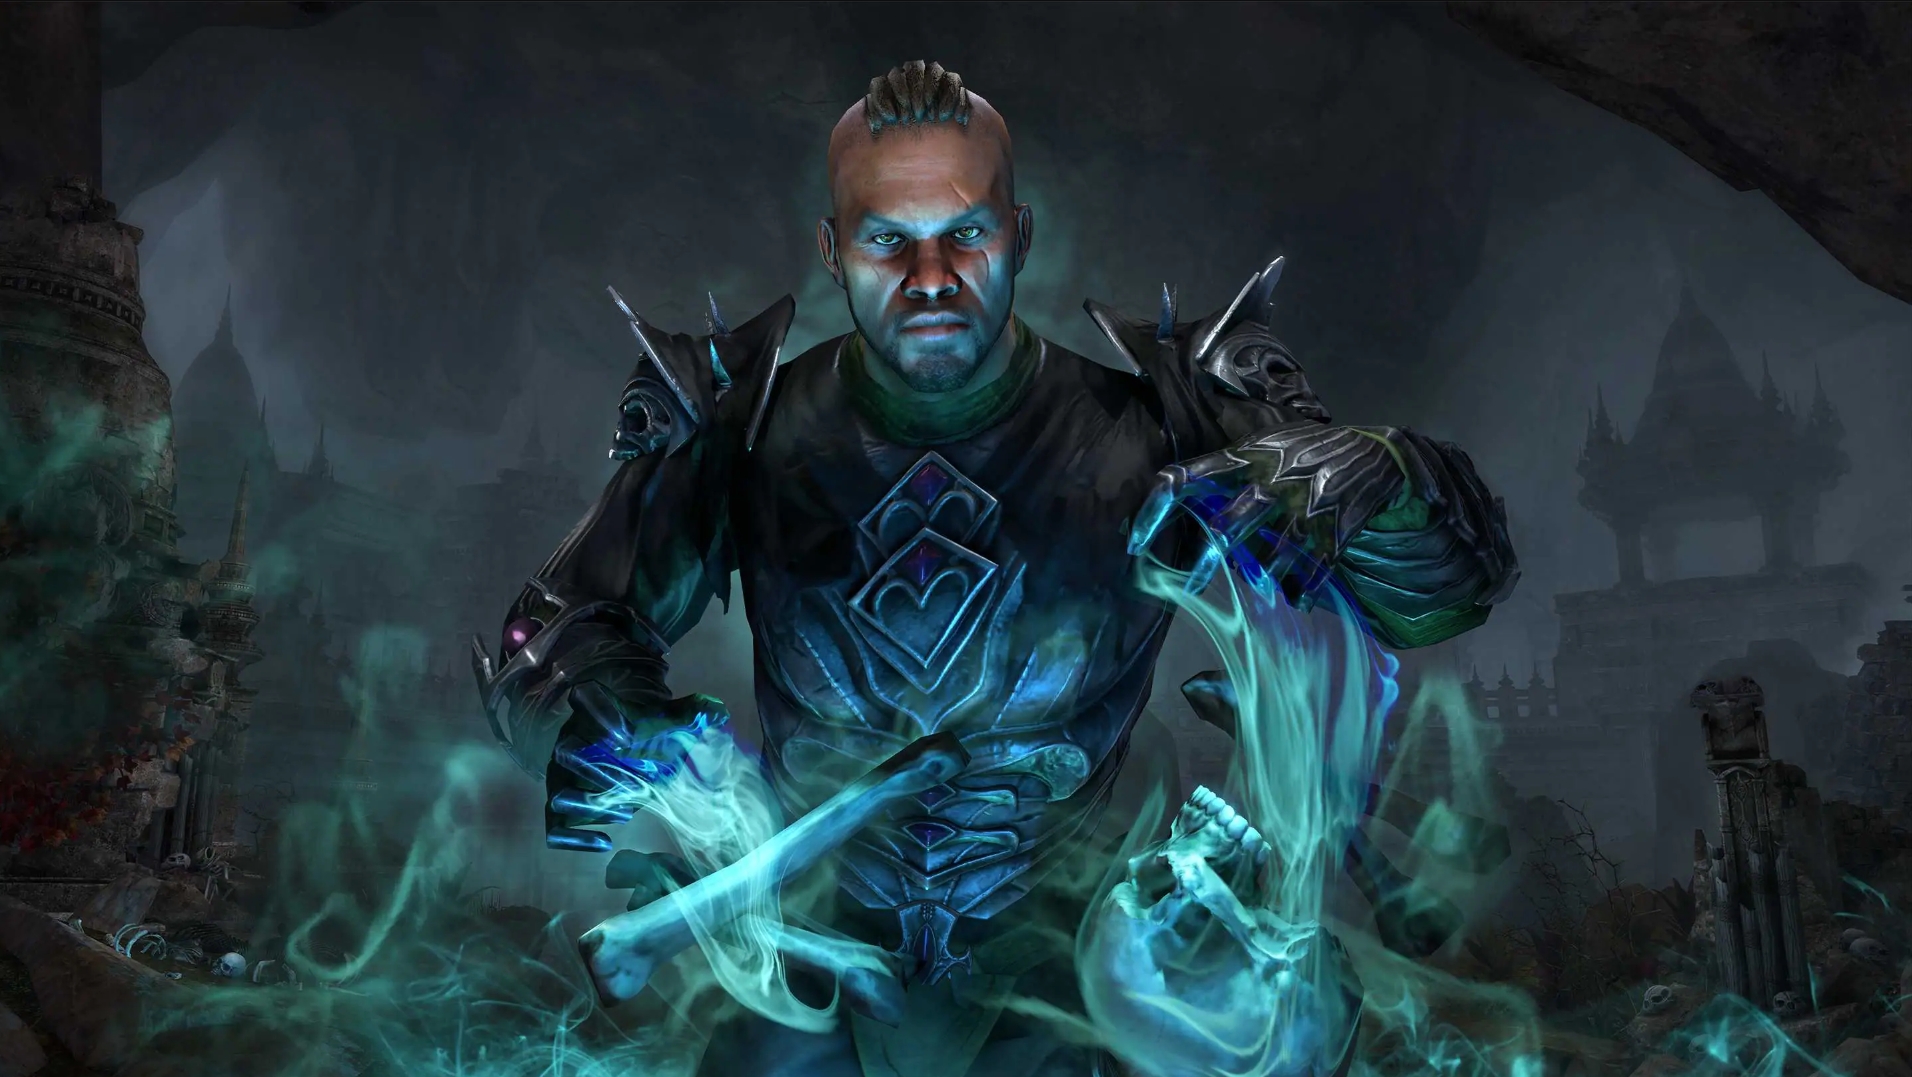
If you like fiery destruction, then you’ll love my new build The Shooting Star. This is a Dragonknight specific damage dealing machine focused on fire damage over time (DoT) effects that summons meteors that rain down from the sky. Sounds fun right? We’ll let’s get started with The Shooting Star – ESO Dragonknight DPS Build.
Updated 2.0.2 Video
http://youtu.be/m9WJhQ7lnuo
Table of Contents
Version
-Original Release 11/30/2014
Objective
 With the most impressive proc in my MMO experience, the whole objective behind this DPS build is making meteors rain from the sky with the two piece set from the new City of Ash dungeon. The gear, skills and feel of the build synergizes together to make a single target and area damage juggernaut. Not to mention it’s pretty tanky and easy to rotate through the skills. You’ll have both range and close target damage abilities, making you deadly up close or from afar. And when mobs clump up, the meteor shower will begin.
This is not a solo build, this is meant for the hardest content in the game Veteran Dragonstar Arena, Serpent Trial and anything else ZOS can through at us. During my video, I discuss possible ideas for leveling a Dragonknight prior to running this build. And The Shooting Star might not be for everyone, as it’s magicka damage specifically. After playing it, however, I won’t play another magicka based damage dealer anytime soon.
With that pep talk, what could be wrong with this build? Well you sacrifice a lot of solo-ability with the premise that someone will be healing you. You’ll be reliant on healers to keep you alive and you will need to be up close for maximum damage. The pros outweigh the cons and I’ve never produced so much devastation.
+ Monster single target or area damage
+ Ultimates generate resources with passive (magicka baby!)
+ Group utility
– Not solo friendly
– Lacks finisher
Skills
 Get your sticks and skirts out, we are going all light armor and wielding a staff. Yes I love wearing heavy armor and a giant meat cleaving two hander, but raining down fiery meteors from the sky every five seconds is more impressive.
Bar One | Destruction Staff – this is your single target damage bar.
- Inner Light (morph of Mage Light | Mages Guild skill line) – 20% spell critical and added Mages’ Guild passives, a must have for a magicka based build. Turn on and off to proc a free 20% spell damage boost via the Mages Guild passive Might of the Guild.
- Crushing Shock (morph of Force Shock | Destruction Staff skill line) – Our single target DPS tool, ranged interrupt, and our bread and butter while those DoTs are ticking. Practice using light attack (like heart beat) throw in a Crushing Shock. If you time the animations right, you’ll boost DPS by over 200+. This takes a lot of timing so don’t get discouraged trying weaving. When in doubt, range down the target via Crushing Shock.
- Engulfing Flames (morph of Searing Flame | Ardent Flame skill line) – Our primary DoT we want to apply once in 10 meter range. This increases ALL fire damage by 10%. So nearly everything we do will hit 10% harder. Yeah it’s that important. It only has an eight second duration so be prepared to cast frequently. Additionally, the ability only applies to enemies frontal cone. So watch your angle and make sure the enemy is physically burning before moving on to the next skill.
- Unstable Flame (morph of Fiery Breath | Ardent Flame skill line) – The hardest hit DoT that we have with a very low magicka cost. The trick to using this ability is two fold: one make sure Engulfing Flame has applied and two don’t recast before 10 seconds. The damage on this ability gets increasingly more powerful so recasting it will lose damage. Plus you need to be in 5 meter range so watch those red circles.
- Spell Symmetry (morph of Equilibrium | Mages Guild skill line) – Our life tap making this build dependent on a healer for endless resources. Use this frequently (yes a lot) not only does it give around 400 magicka, but procs a massive spell damage boost. After my initial DPS phase, I’ll tap or Spell Symmetry to proc 20% spell power boost for Engulfing Flame then tap again and Unstable Flame. Now those two DoTs hit 20% harder their entire duration. 🙂
- [ULTIMATE] Flawless Dawnbreaker (morph of Dawnbreaker | Fighters Guild skill line) – 13% passive weapon damage boost which effects our Crushing Shock and light attacks. This adds up over time to massive damage boost. Don’t believe me? Try doing a Crushing Shock with and without this slotted on your bar. Believe me, it’s worth slotting.
Combat
- Close the distance to your enemy with a fully charged heavy attack then Crushing Shock
- Once you near 10 meters, throw out a Engulfing Flames for increased fire damage
- Now swipe them with Unstable Flame and peel back
- Go back to about 15 meters, then weave light attacks with Crushing Shocks (about 2 to 3 times)
- Now come back in close for another Engulfing Flames and Unstable Flame rotation
Priorities
- Constantly maintain Igneous Weapons buff
- Keep the Engulfing Flames DoT effect up for 10% extra fire damage
- Unstable Flame DoT and make sure not to cast it until 10 seconds have elapsed
- Weave Crushing Shock with light attacks
- Use potions and Spell Symmetry as needed to keep magicka up (I rarely heavy attack for resources)
Bar Two | Destruction Staff – this bar is our massive area damage and buff bar.
- Inner Light (morph of Mage Light | Mages Guild skill line) – You want this on bar so it doesn’t turn on and off, so leave it here.
- Igneous Weapons (morph of Molten Weapons | Earthen Heart skill line) – Our over a minute weapon power buff that boosts the teams damage too. Oh, did I mention it builds ultimate out of combat? Yep, so make sure to fire this sucker up in between battles if you’re looking to charge up ultimate.
- {Flex Spot} Cinder Storm (morph of Ash Cloud| Earthen Heart skill line) – This is my flex in and out slot which Cinder Storm usually goes here. I also like Green Dragon Blood, Evil Hunter, and Deep Breath. Just consider this something you can augment the group with.
- Elemental Ring (morph of Impulse | Destruction Staff skill line) – It may be the derpiest (don’t look up that word) in the book, but it’s also one of the most effective. Now with a shotgun sound, Impulse spamming has never been better. Did I mention that this places DoT on each enemy? Watch the sky start raining meteors.
- Extended Chain (morph of Fiery Grip | Ardent Flame skill line) – Another utility ability that I just love. Rarely do I take this off because almost every fight has some mob that can be chained. Clump up mobs for your group and you’ll be the parties hero. Maybe an Impulse spam or two?
- [ULTIMATE] Standard of Might (morph of Dragonknight Standard | Ardent Flame skill line) – What would a Dragonknight be with his Standard? Just another Sorcerer, so yeah not a DK. This ability just plan rocks, AoE damage, healing debuff, and a damage reduction tool for you only. Not to mention we get a shoot of resources via the Mountain’s Blessing passive in Battle Roar tree (take your passives).
Combat
- Buff up with Igneous Weapons
- Swap to bar one while closing distance for Engulfing Flames (it’s an AoE baby!)
- Swap back to bar two and drop a Cinder Storm in the middle of the action
- Start pulling in all enemies
- Drop Standard and start the endless derpy Elemental Ring spam
This can produce 5000 DPS….really.
Priorities
- Keep up the Igneous Weapons buff as it effects Elemental Ring’s damage
- Start combat with an Engulfing Flame to proc a 10% flame damage increase
- Drop Cinder Storm for miss chance and area DoT
- Elemental Ring until your out of magicka than potion or swap to bar one for Spell Symmetry (AND BLOCK)
Now let’s discuss the gear setup to make this build shine!
Gear
- 2800 health (for Vet DSA and Serpent Trial)
- Soft cap weapon damage with Igneous Weapons running at 203
- Soft cap on spell damage 135
- At least 50% spell critical
Armor Weight – All light armor seven pieces (skirts and sticks setup). It may not look better than heavy armor, but does it preform better. You could use a unique setup like five light one medium and one heavy for the new Undaunted passive though I think straight seven light is better.
Set Bonuses – I use some cool sets though don’t worry there’s alternatives if you can’t obtain these.
- Valkyn Skoria’s (Undaunted Pledge and City of Ash drop) – I’m using the two piece set found in City of Ash (CoA). It’s the premise behind our build raining down meteors with DoT damage. Though you can sub this out for two more Torug’s Pact and still be effective. I have ran CoA 30+ only to find one helm, so be patient. It’s going to take time to get this. You can obtain the shoulder via Undaunted Pledge turn ins.
- Torug’s Pact (Crafted) – This is a powerful two piece bonus which boost our spell damage (Engulfing Flame and Unstable Flame). If you can’t find or want to find Valkyn’s set, just craft two more pieces to boost your weapon damage as well. Another alternative is the Aether set though that can only be obtained through Trials.
- Twilight’s Embrace (Crafted) – A strong crafted four piece that gives us a little health, some spell critical and spell damage. For those fashion nuts like myself, you’ve got to try the new Dwemer light chest. It’s awesome (thanks Java for crafting).
- Soulshine Jewelry (VR 10 world drop, can be bought) – Sadly the Best in Slot (BiS) jewelry is this derpy level 10 green Soulshine. I don’t think anything else provides spell critical as a three piece bonus (jewelry specifically). Though anything that adds magicka, weapon power, or spell power could work here.
Traits- The standard Divines on small pieces (Shoulders, Gloves, Boots, and Belt) and Infused on large (Head, Chest, and Legs). If you can, go with Precise on weapons though Sharpened is a good choice as well.
Mundus- If you can reach 50% spell critical without using the Thief Mundus Stone (and without using potions), take the Shadow. If you’re under 50% spell critical, use the Thief.
Attributes- 35 magicka and 27 health though the numbers could change depending on your racial choice. Worry more about your overall numbers and less with attributes.
Racial choice – I’m playing a Nord Dragonknight which might just be the worst choice for damage. I don’t care, I love him! And that should be your attitude if you’ve already played 100+ hours on your character. Though, if I had to start all over, a Dumner (Dark Elf) or High Elf would be the obvious choices. Elemental damage or fire damage would boost your DPS significantly. Don’t tell this ol’ Nord that, he’s still pumping out damage.
Food – I actually use consummate sweet-roll or the tri-stat food. The absolute best choice is the blue version which boosts your magicka and health only. However, with 368 extra stamina, I can block, dodge roll, and sprint where others can’t. Sometimes that simple action saves an entire group from wiping.
While leveling – I know those of you may not love that this is a leveling build. I do however go in detail on what you can do while leveling in the video.
 Reddit
 Email
Email


Comments are closed.