Facebook
 Reddit
 Email
Email
Having trouble with laser puzzles? Here’s a detailed guide on how to get through the Test Chamber mission in Chapter 4 of Split Fiction.
Split Fiction is comprised of many chapters, with each having different themed stories you have to play through. The fourth chapter, Final Dawn, takes you through one of Mio’s sci-fi stories. This chapter is mostly comprised of Zoe and Mio going through a facility producing dangerous toxins. Additionally, you have to use blasters to solve color-coded puzzles while moving forward in the story.
One certain section of this chapter starts with the heroines being put in a large room that serves as a boss arena. This guide will serve as a walkthrough for this entire section we call the Test Chamber mission in the Final Dawn chapter of Split Fiction.
Test Chamber Mission Explained in Split Fiction
Throughout the entirety of the Test Chamber mission, both players have to use their blasters and shield busters to solve color-coded puzzles. You can also find the Moon Market side mission in this section of the chapter. This mission can mainly be divided into three distinct sections. Those being:
- Factory Warden Fight
- Wall Navigation
- Sliding Down
We will now go through each of these and provide details on how to complete each.
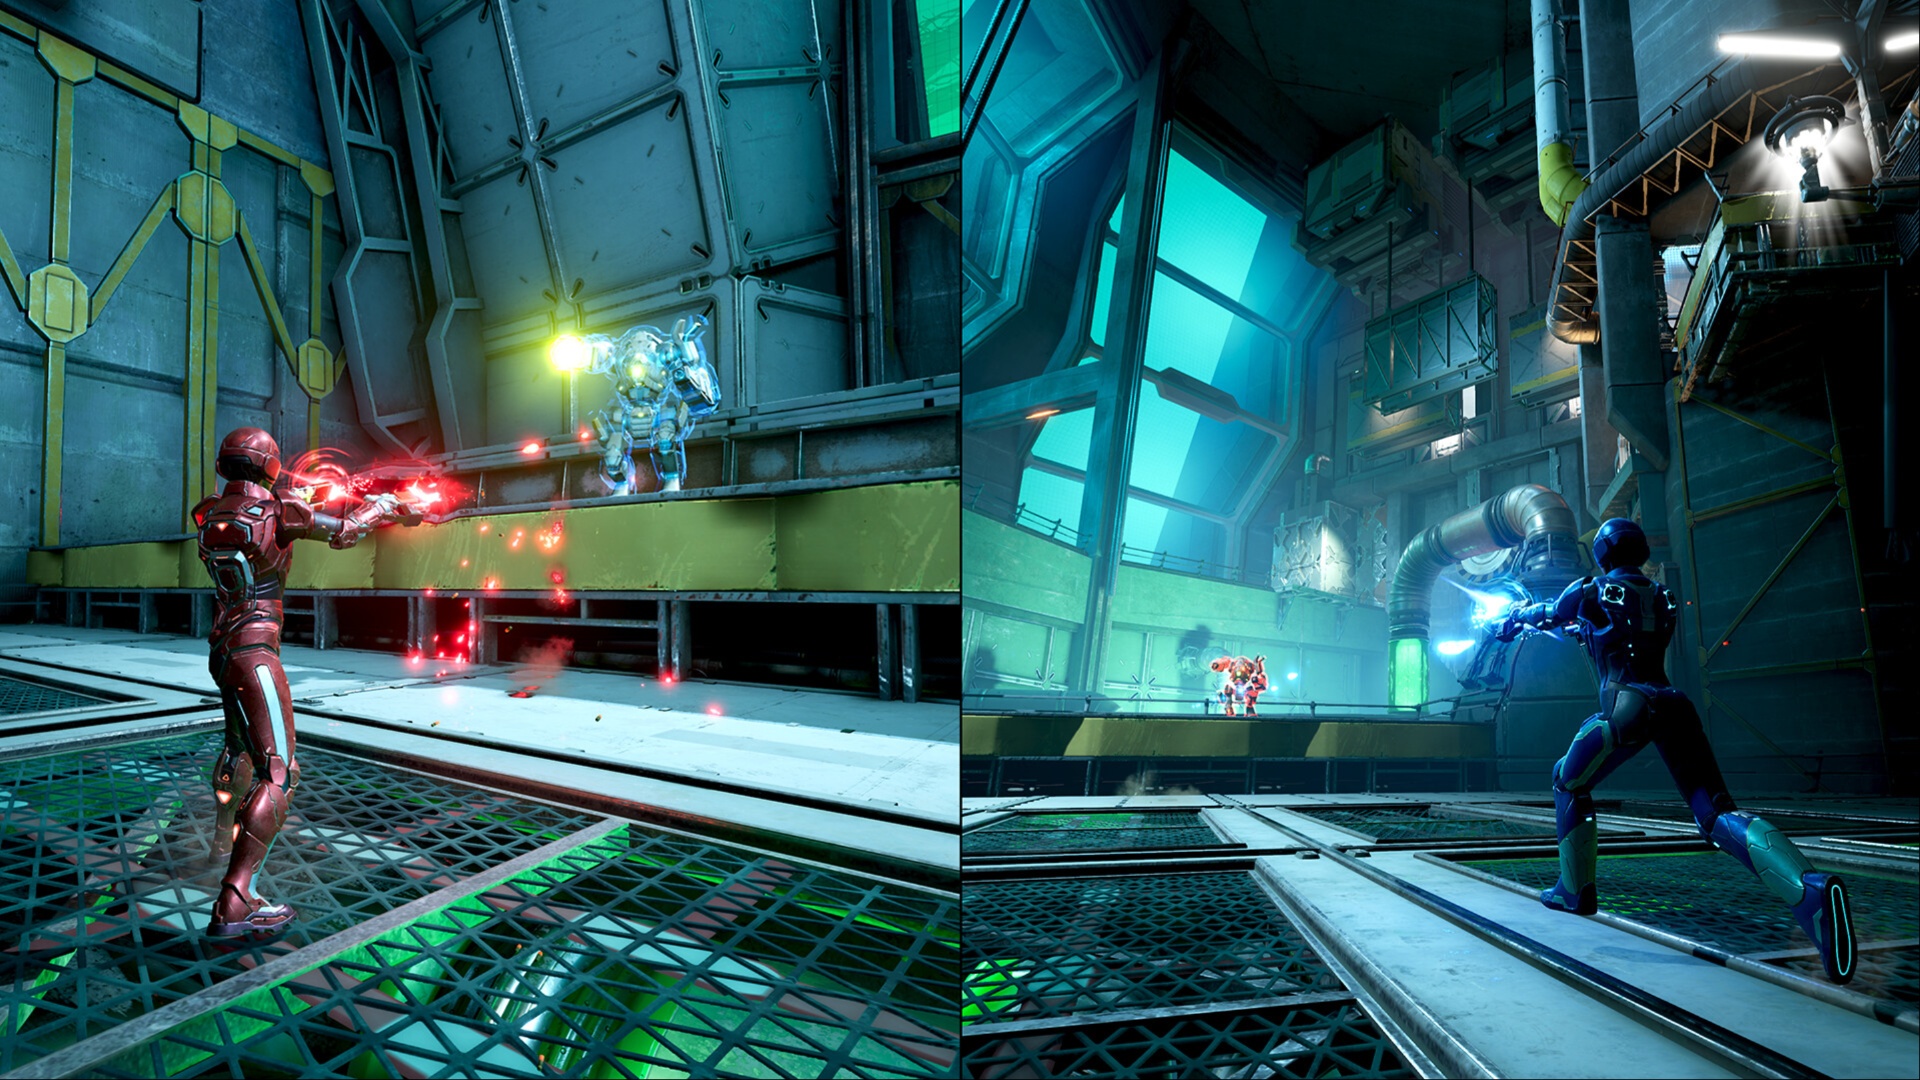
Factory Warden Fight in Split Fiction

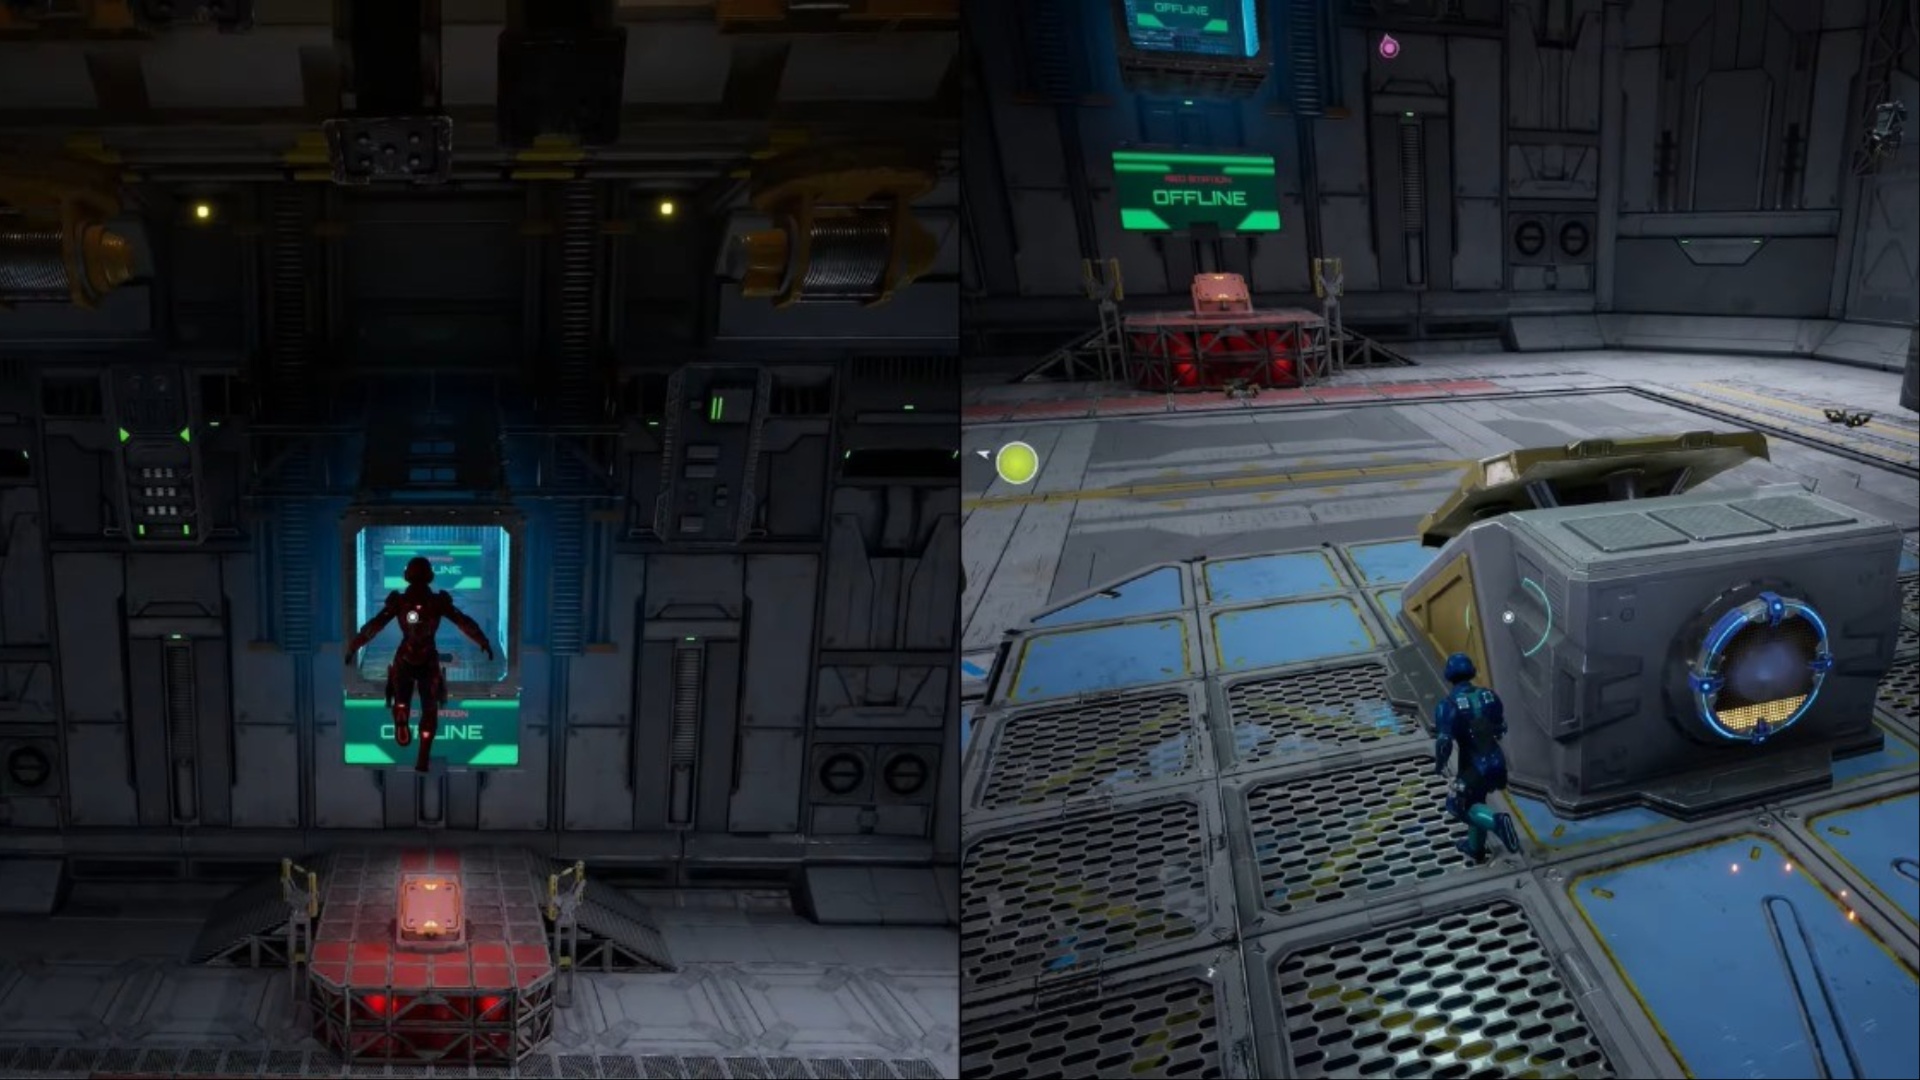
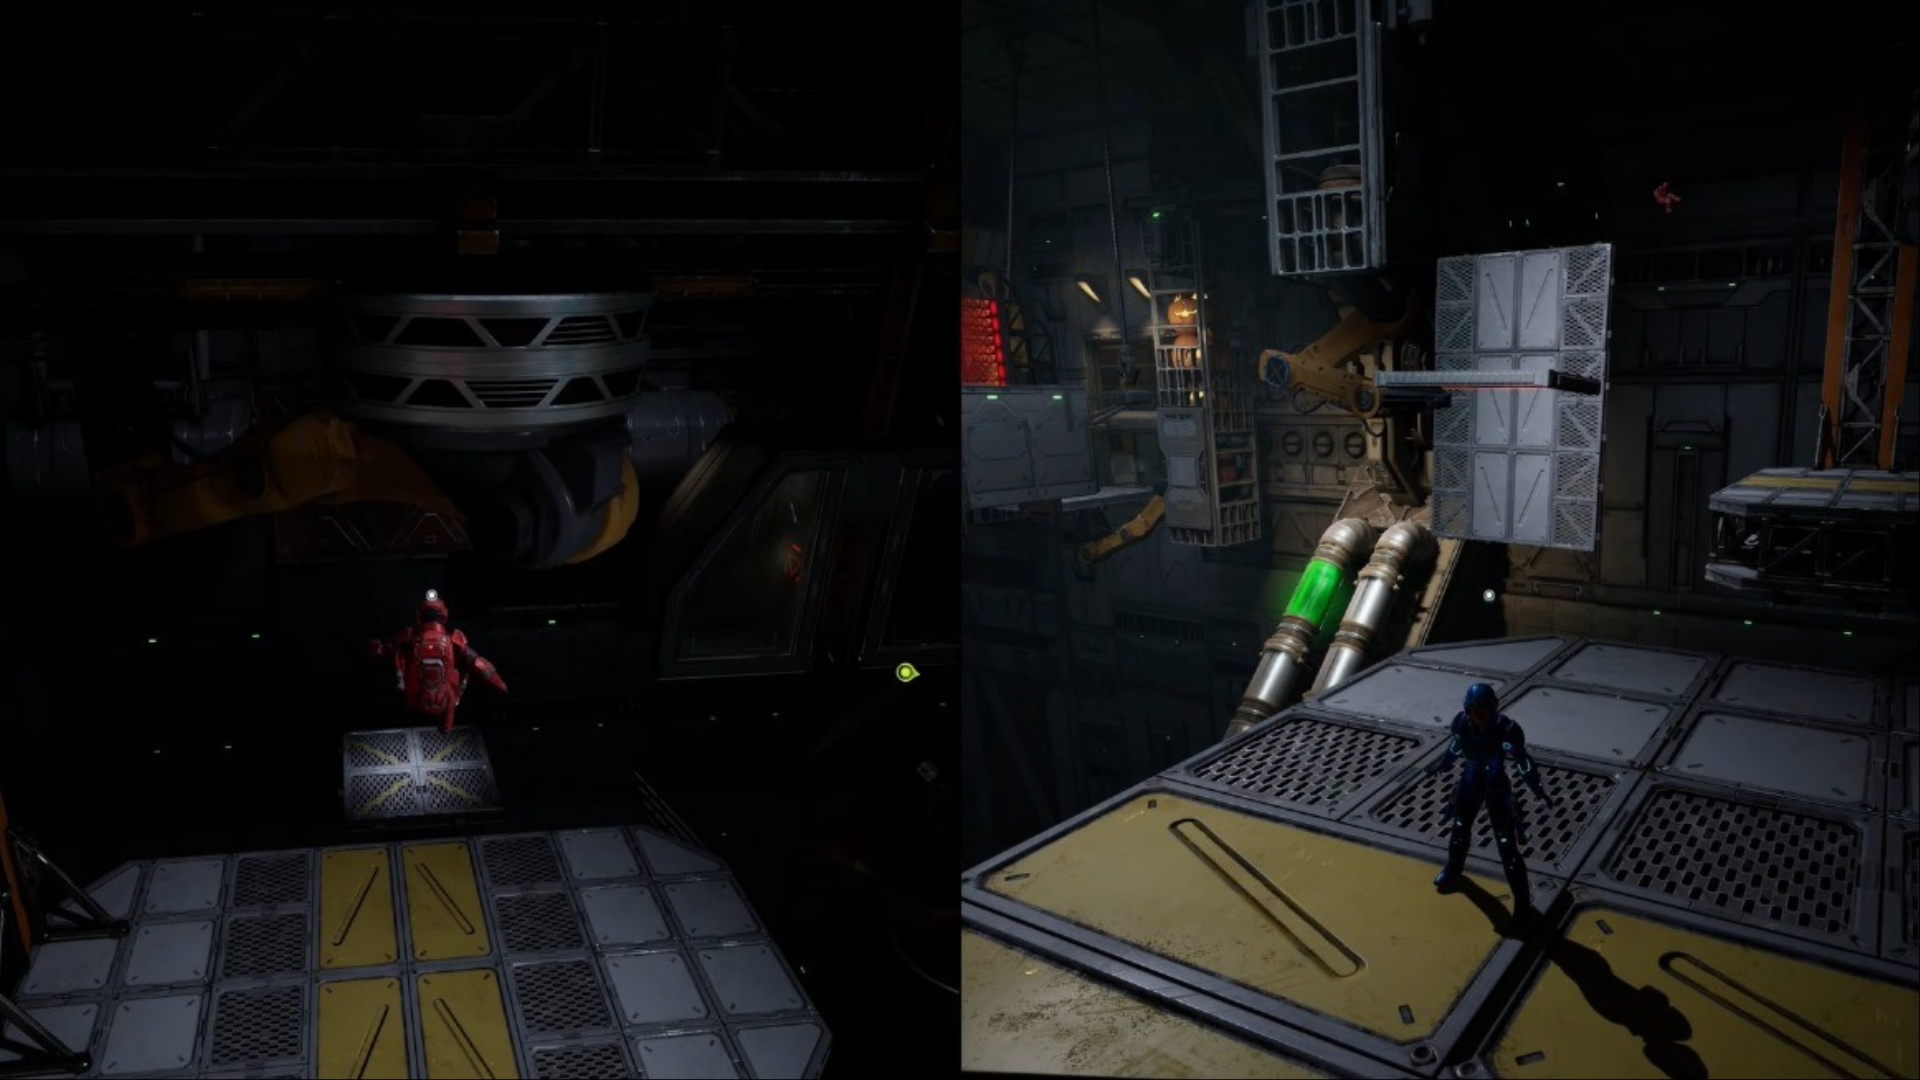
You know when this section starts as a robotic announcer calls out the heroines in the Test Chamber. To start the boss fight, you first have to solve a puzzle. There are two boxed platforms opposite each other, a bit higher in the room. One player has to propel the other towards the boxed place using the mechanism present on a platform in the room. Use the shield buster to enter and activate the switch. Repeat this for the other player.
This results in a large mech known as the Factory Warden falling in the middle of the room, which triggers the boss fight. This is a multi-phased boss that you need to use blasters and shield busters to defeat. Once you have finished the fight, go behind the boss’s remains and climb up a ladder. Once up, destroy boxes to the left and enter the duct hidden behind it.
Also Read: Split Fiction: Chapter 6 (Isolation) Down the Rabbit Hole Mission Guide
Platform Navigation
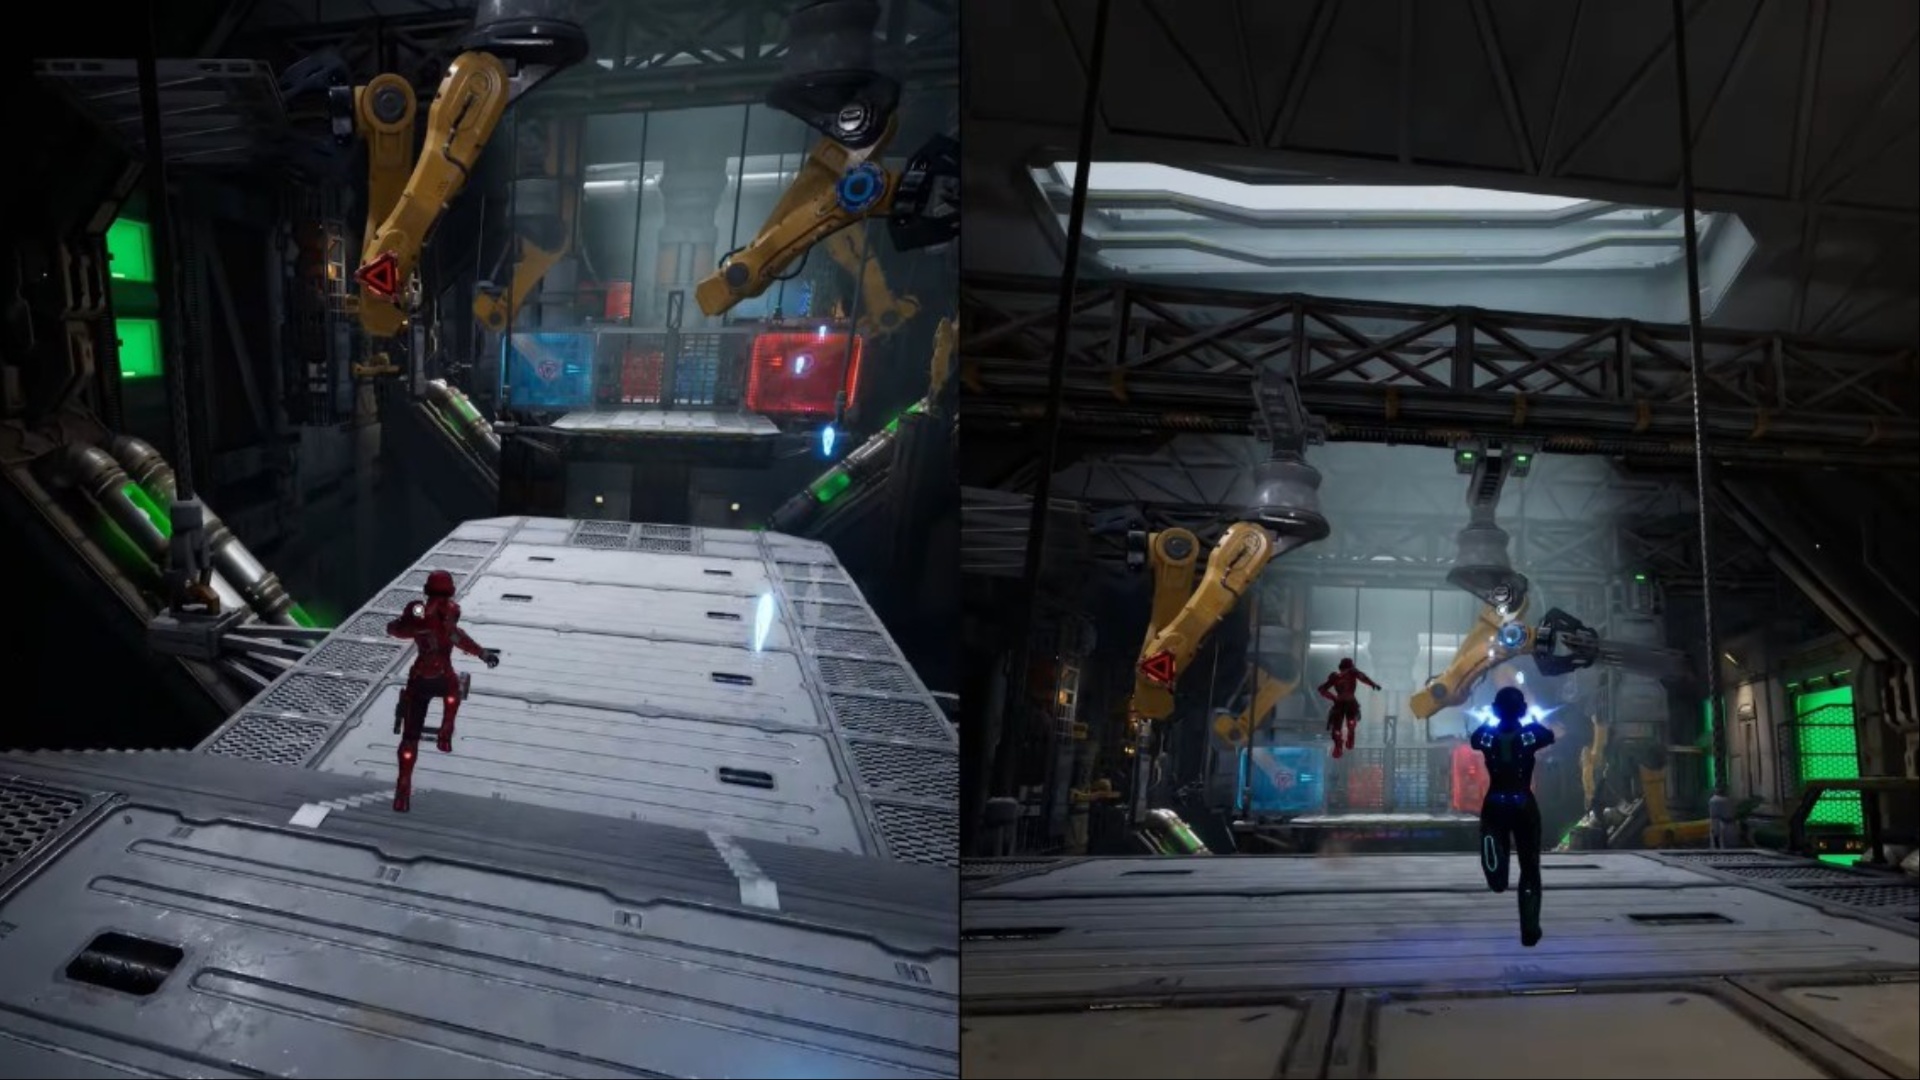
Go through the duct and fall into a room; this starts the platform navigation section. Timing and coordination are essential to pass this part of the Test Chamber mission. Both players have to use their blasters to hit the corresponding targets to open the door. This introduces the factory room. Once inside, shoot the targets on the yellow mechanical arms to activate them. Shooting both the arms moves the platforms, which allows you to wall-run off them to the next part.
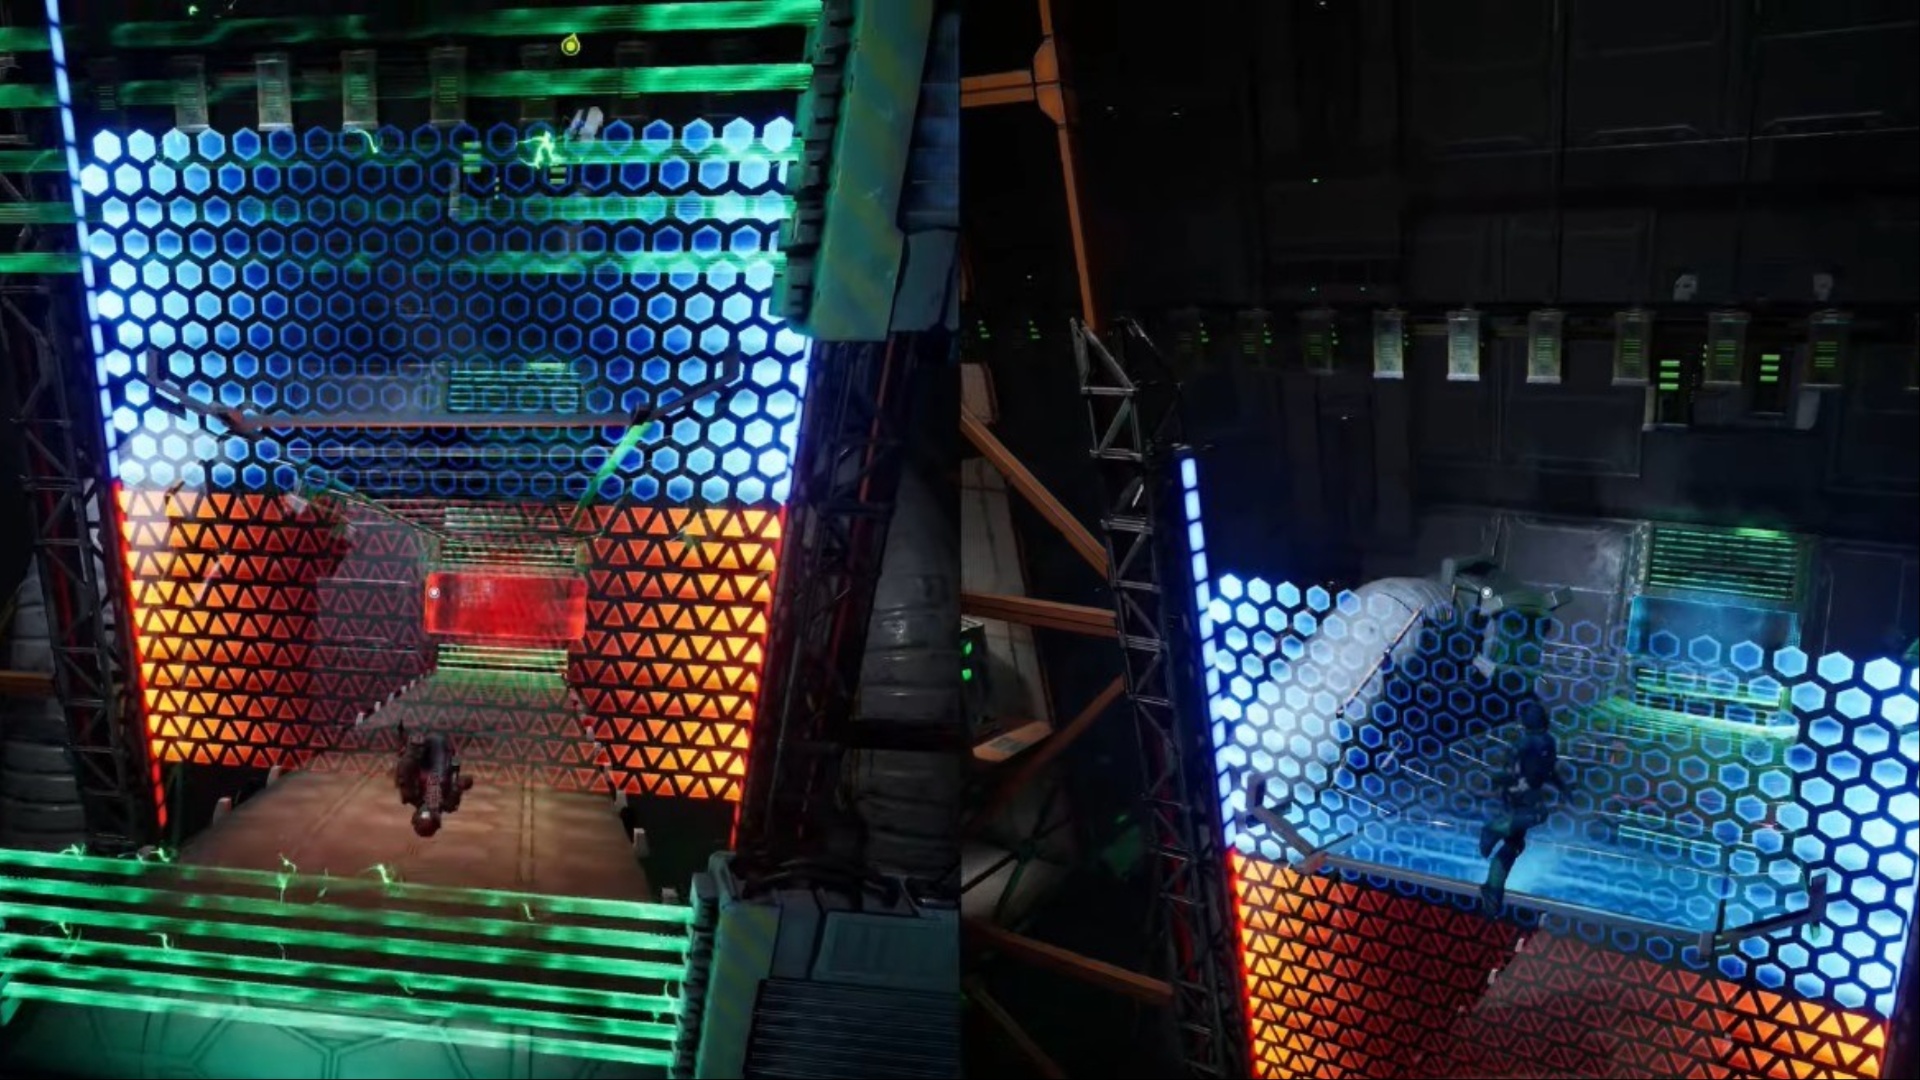
Laser Screens
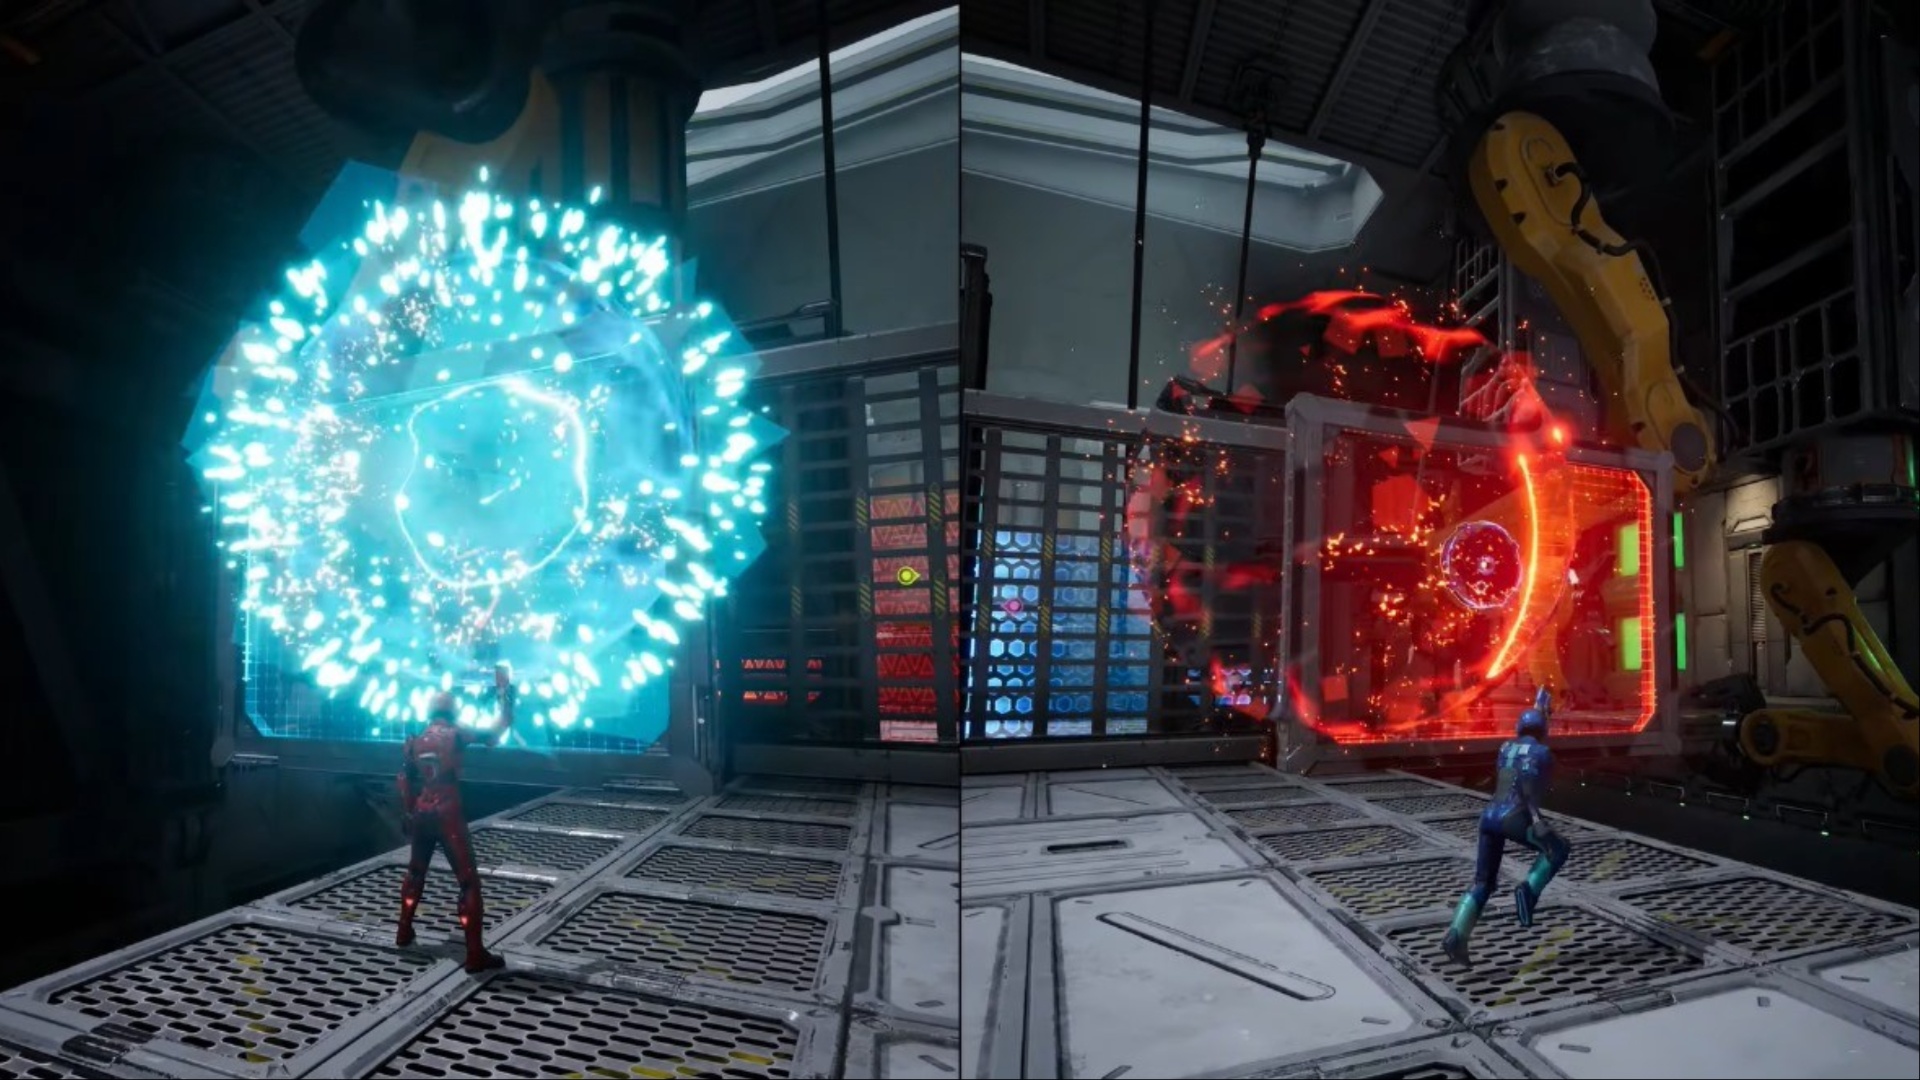
For this next part, players have to use the shield busters on the correct laser screens to deactivate them temporarily. This gives enough time for the other player to shoot the target and activate them. Both players have to time this perfectly to pass through the laser screens.
Here, you can make two choices: either keep moving forward in the mission or head left to the side mission. Use blasters on the walls to unlock the side mission section. Additionally, the heroine’s comment about the presence of the Moon Market side story makes it hard to miss.
Helping Each Other
If you choose to move forward off the rotating platform, both players have to go to their lanes on the left and right sides. Do remember that the players can only pass through the screens colored after them. Here, the red goes to the left, and blue takes the right side.
This section is entirely comprised of helping each other and platforming. As you move forward in your lane, you have to shoot the blasters on the opposite side to move the platforms and help your friend. Both players have to time this perfectly. Moving faster or slower than your partner can result in both of you falling, so match your pace.
Near the end, you reach a dark platform where you have to shoot at the wall in the middle. This traps both the players in a moving cage. You have to shoot at the targets on the wall through the metal cage. There will be two targets for each player, with one being locked till the other one is shot completely. Once done, both players fall into the last section of the Test Chamber mission.
Also Read: Split Fiction Chapter 2: Mountain Hike Side Mission Guide
Sliding Down
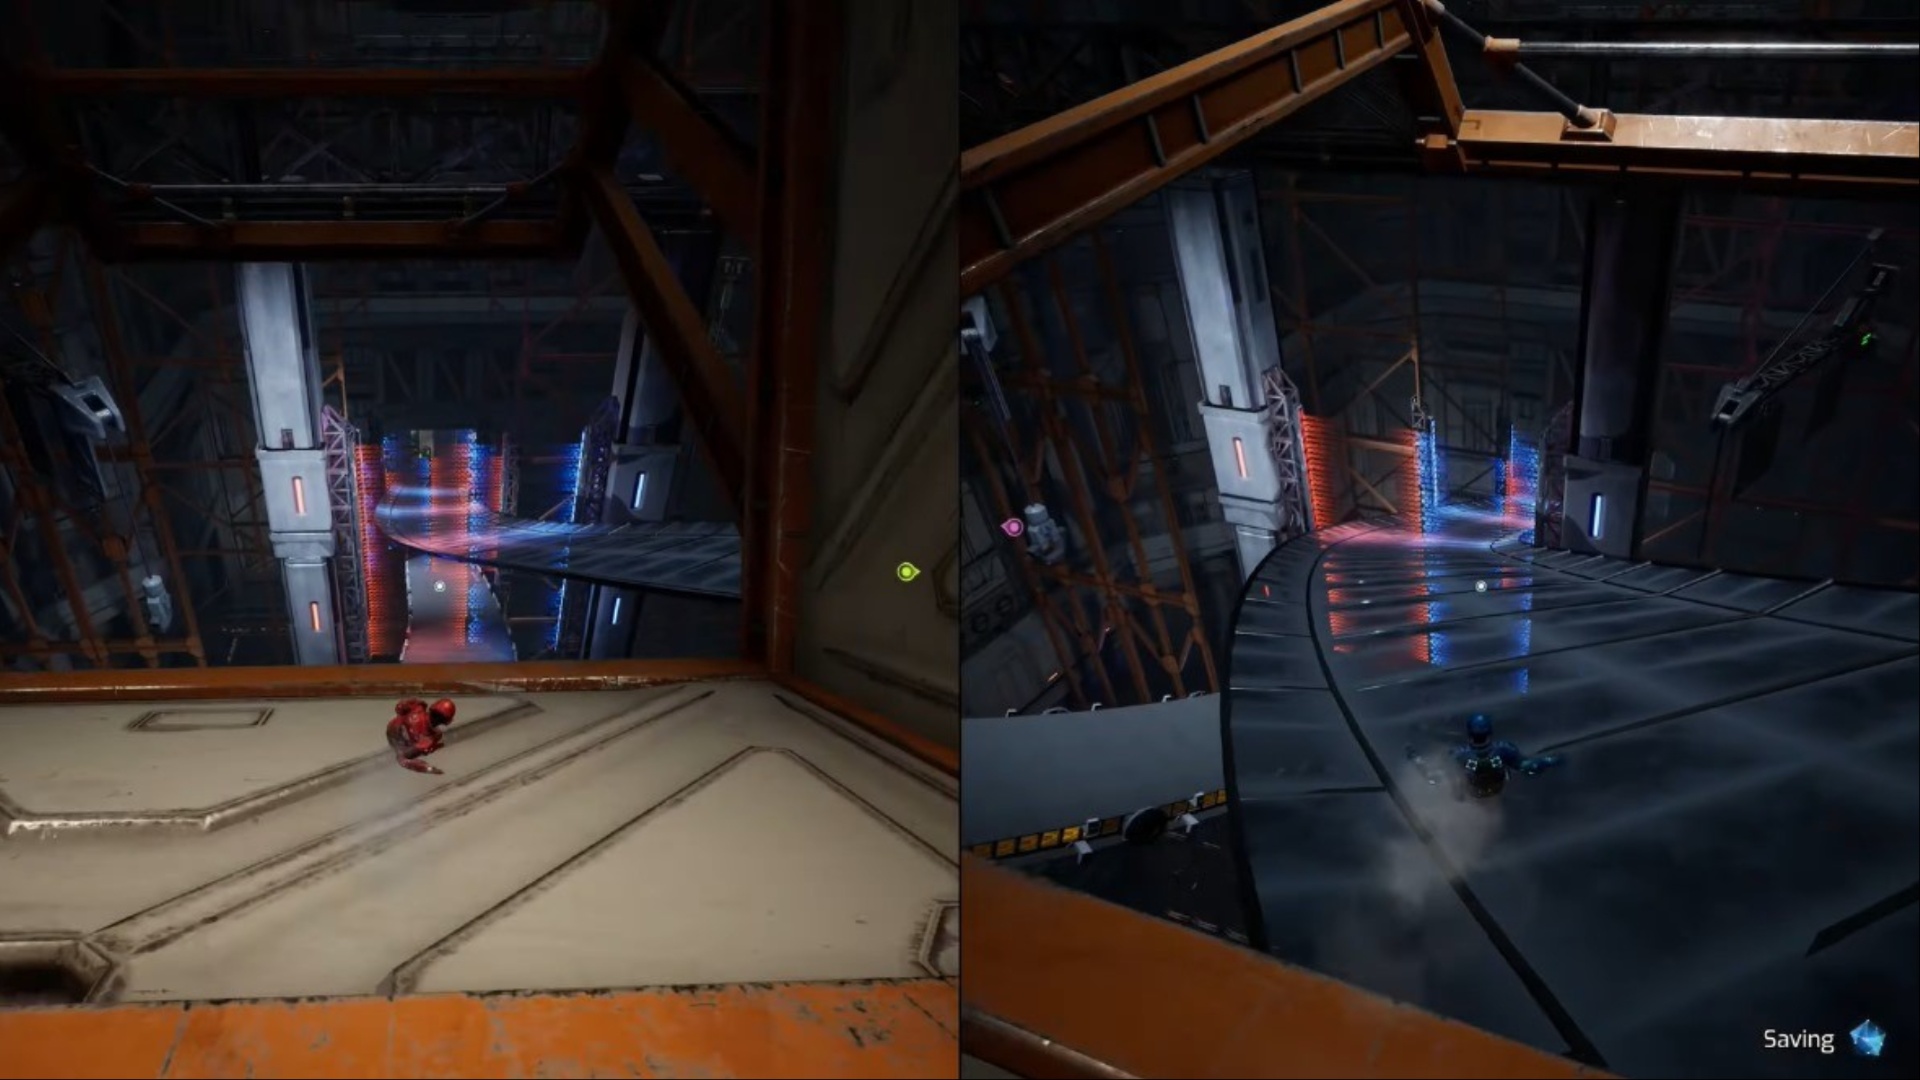
This is the final section of the Test Chamber mission and quite an intense one. This section entirely comprises of both players sliding down while passing through laser screens and dodging grinders and hydraulic presses.
This section can be divided into two parts: one where you both slide down separately and the rest where you have to complete it together.
Slide down Separately
While sliding down, make sure to go through your colored laser screens. Slide down normally or jump to pass through the proper colored one. Do not worry if you make mistakes; you don’t have to start from the beginning in that case. Once both players are a bit far, a laser will come where the red player has to use the shield buster to reunite with the blue player.
Slide Down Together
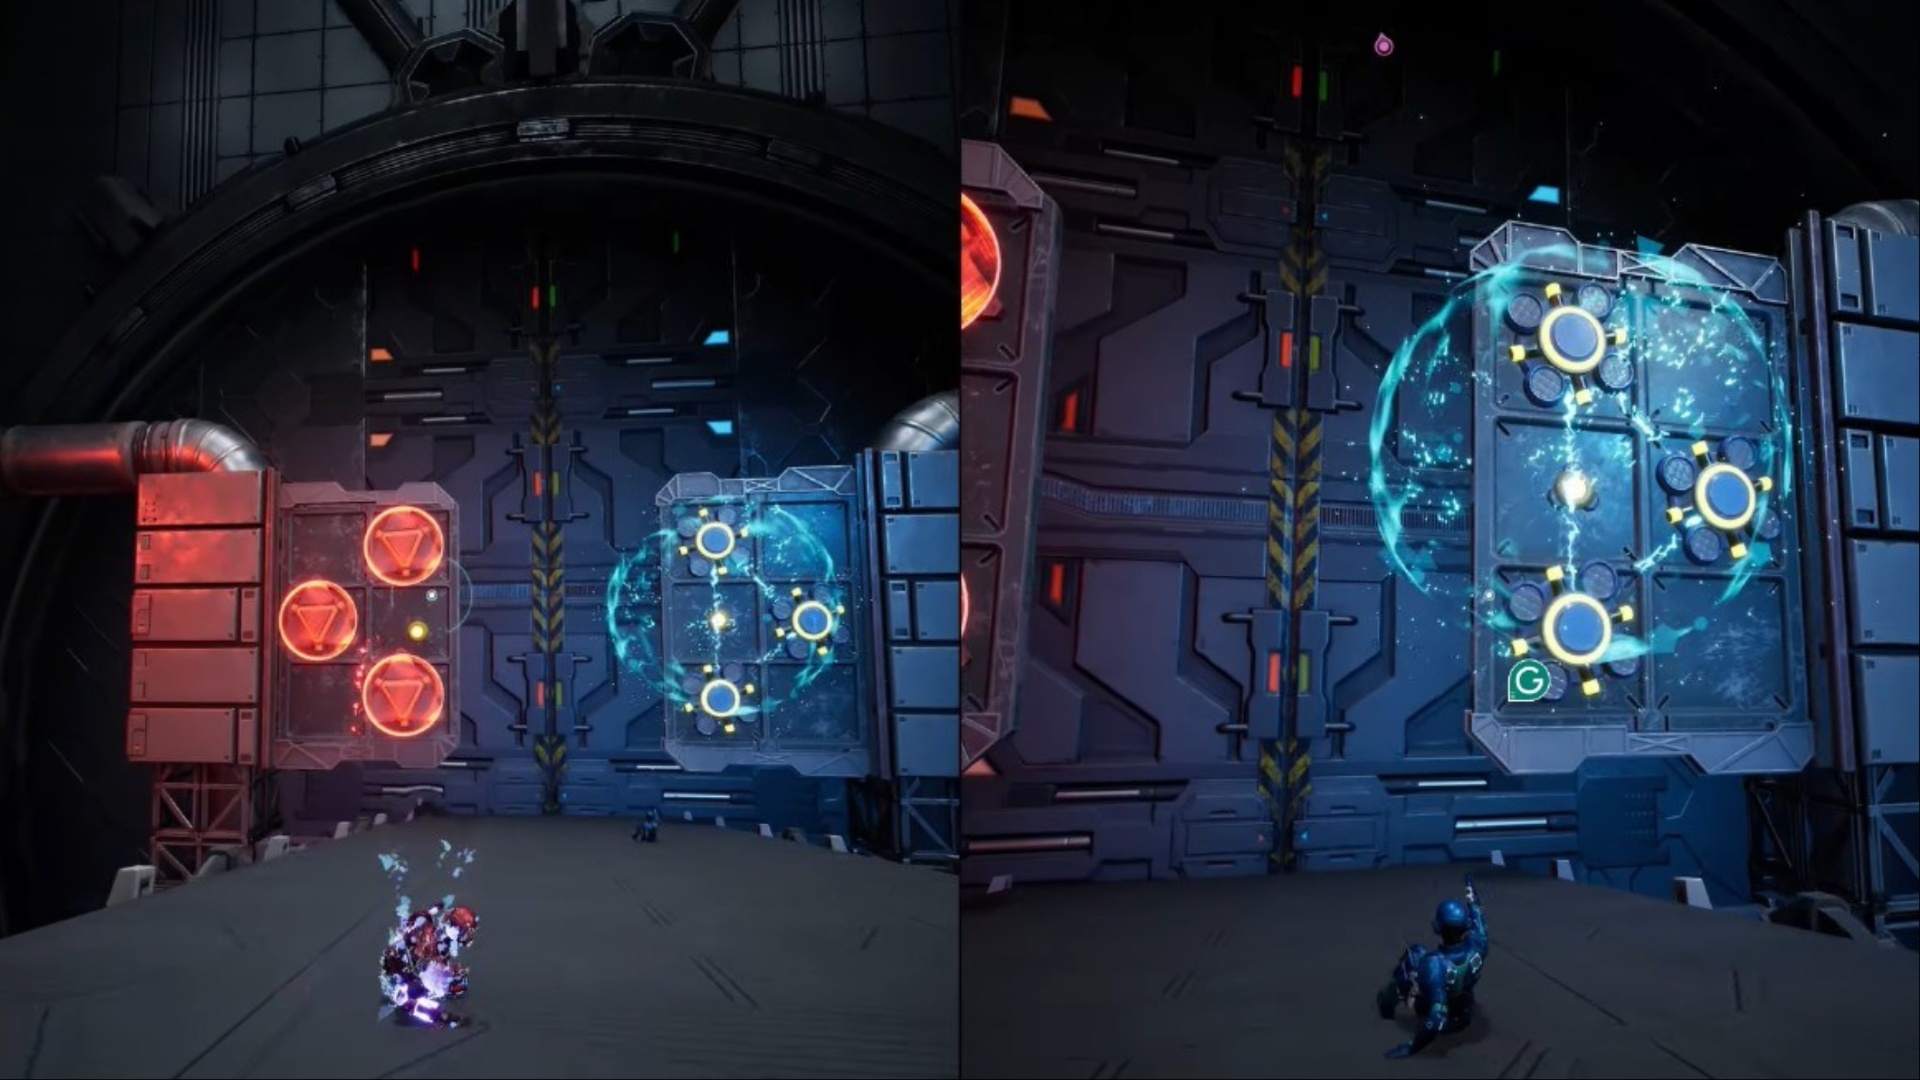
The final section has many parts where both players have to shoot the correct targets with their blasters while avoiding wrong laser screens. Both players also have to dodge multiple grinders and hydraulic presses, which result in death on contact. Finally, at the end, there is a large wall with three targets. Use shield busters on the targets to open the wall and fall into a dark void, which starts the next mission.
This concludes our walkthrough of the Test Chamber mission of Chapter 4: Final Dawn in Split Fiction.
Looking For More?
Thank you for reading the article. We provide the latest news and create guides for Baldur’s Gate 3, Starfield, ARK Survival Ascended, and more. Also, watch Deltia play games on Twitch or visit his YouTube channel!