Facebook
 Reddit
 Email
Email
The Factory Warden boss in Split Fiction presents a challenging multi-phase battle. Learn about the most effective stratagems to beat it.
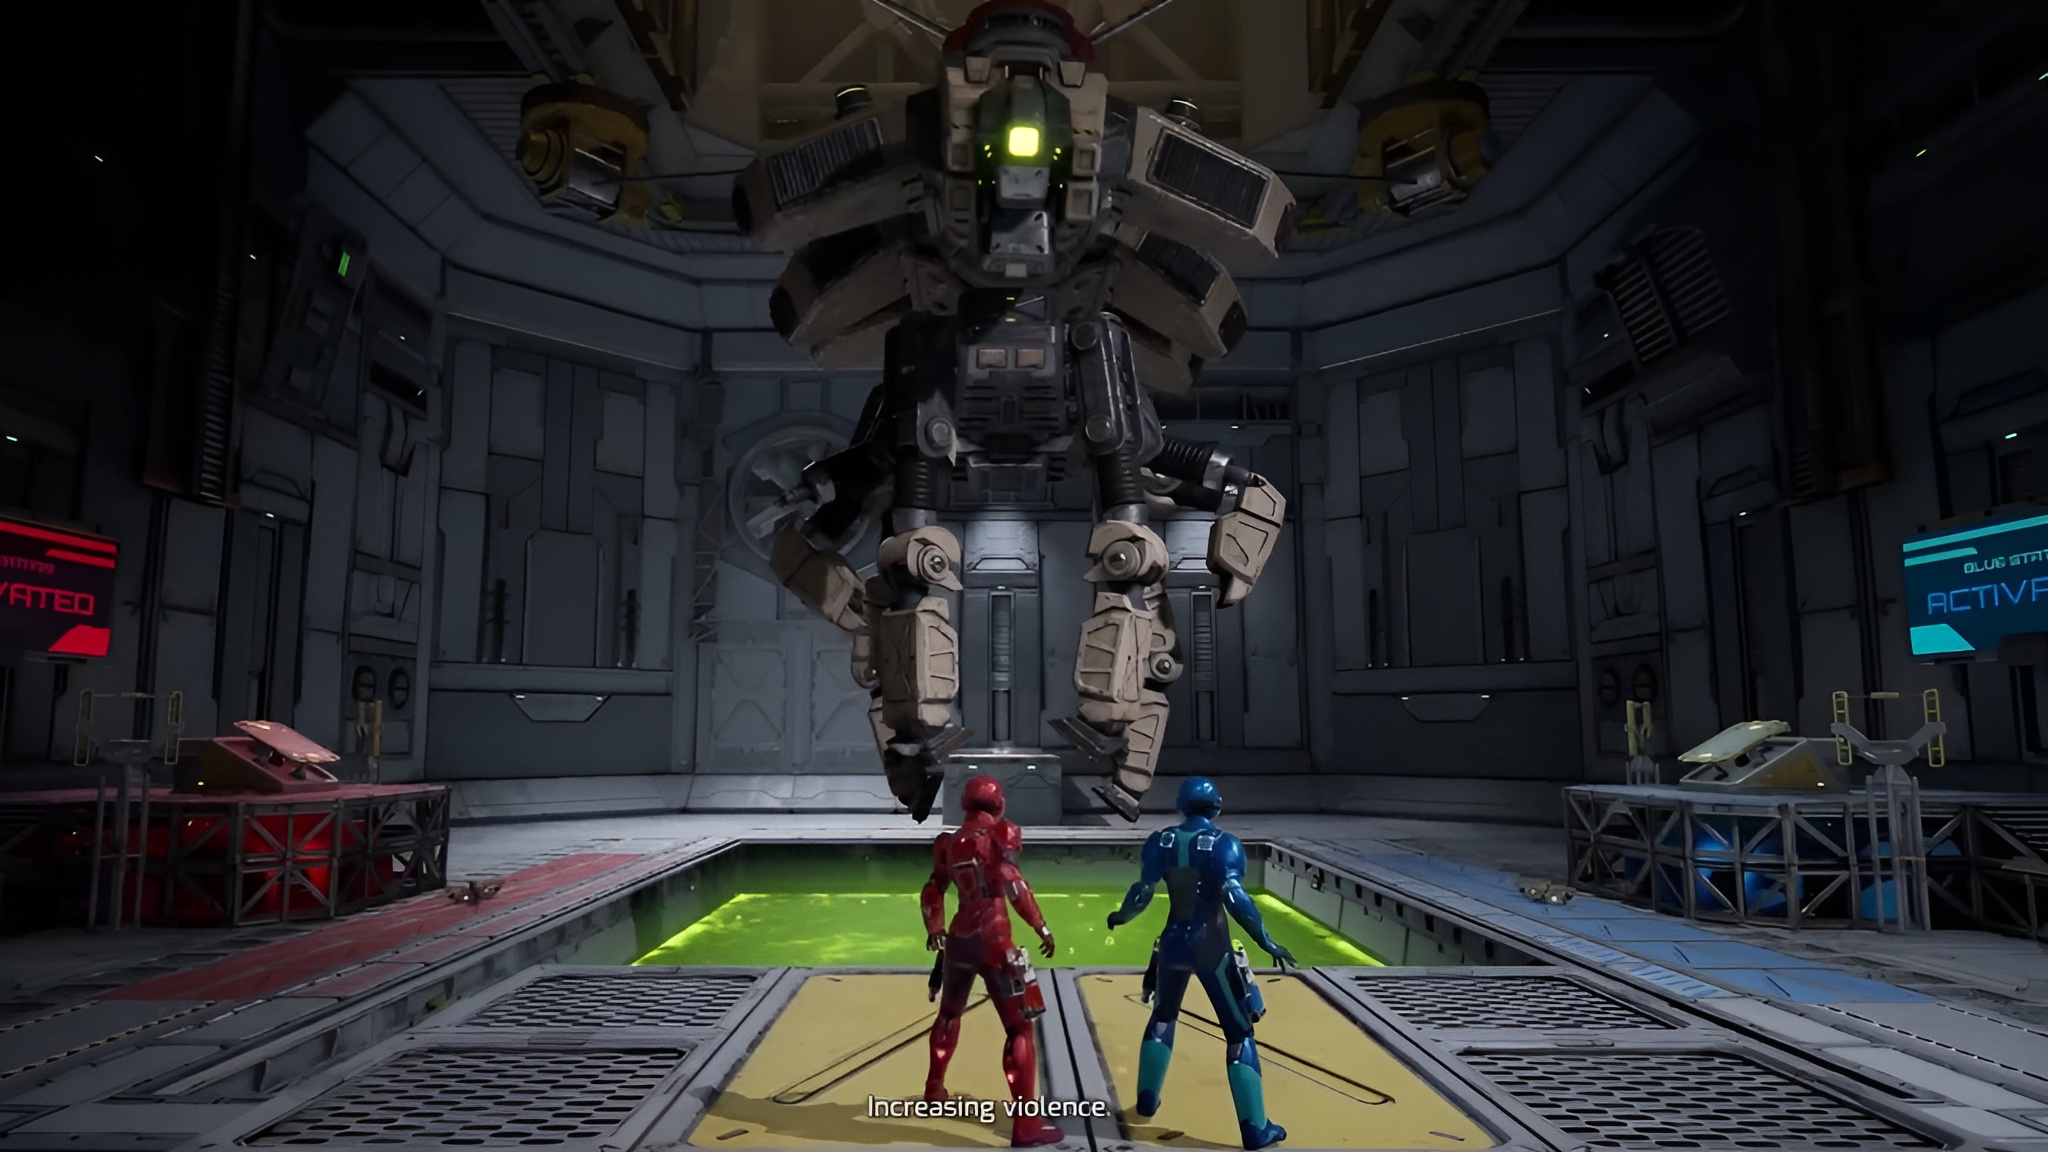
In Split Fiction Chapter 4 (Final Dawn), you will encounter one of the game’s most relentless bosses: the Factory Warden. The boss appears in the Test Chamber mission and has three phases, each with a unique move set and weaknesses. You will need to use all the tools at your disposal, along with a healthy dose of teamwork, to beat the massive machine.
How To Activate the Factory Warden Boss Battle
When you enter the arena with two launchpads and a pair of shielded box rooms on top, familiarize yourself with the environment. There will be two slings on either side of the launchpads and four grappling points between them. You will need to use them during the boss fight to maneuver.
To activate the Factory Warden, you must shoot the switches in both the shielded boxes above. Launch Zoe’s Shield Buster at the blue box, and have Mio stand on its opposite launchpad as Zoe shoots its activating switch. Detonate the Shield Buster just as Mio is launched, clearing the way for her to land in the box and shoot the switch. Repeat the process on the opposite platform with the roles reversed.
Factory Warden Phase 1

As the battle begins, both players should grapple to the same side of the platform. The Warden will have one leg on either side exposed to damage at a time, indicated by a red or blue switch. Follow these simple steps to make short work of them:
- Shoot the blue/red switch with Zoe/Mio to open the panel (Zoe shoots blue, Mio shoots red).
- Launch and detonate Mio/Zoe’s Shield Buster grenade on the red/blue shield beneath.
- Fire at the red and blue switches with the respective characters to destroy the leg component.
If you take too long, the leg’s protection will reset, and you will have to start it over.
Every time you destroy a leg component, the Factory Warden will curl its limbs in and launch laser-shooting drone balloons. Shoot them down with lasers, preferably grappling to a platform on either side for a better vantage point. The Factory Warden has a few moves during this phase that you need to watch out for:
| Attack | Description | Telegraph | Counter |
|---|---|---|---|
| Fire Breathing | Will breathe a jet of fire in a cone targeting you | An orange ball of flame will collect around its mouth as it rears its head. | Dash or grapple out of the way right before the attack |
| Bullet Spin | Will shoot bullets while spinning around and dropping explosive casings | Braces itself, with all legs clamping the ground | Back away, it does not have much range |
| Jump Slam | Jumps high and slams into the ground, creating a wave of flame | Will stand still and lower itself slightly before launching into the air | Do not jump when it jumps. Wait for it to hit the ground and then double jump over the flames |
| Foot Stomp | Walks towards either side to crush you underneath | A slow movement | Don’t stay too close to it |
Once you have destroyed all its legs, prepare for phase 2.
Factory Warden Phase 2
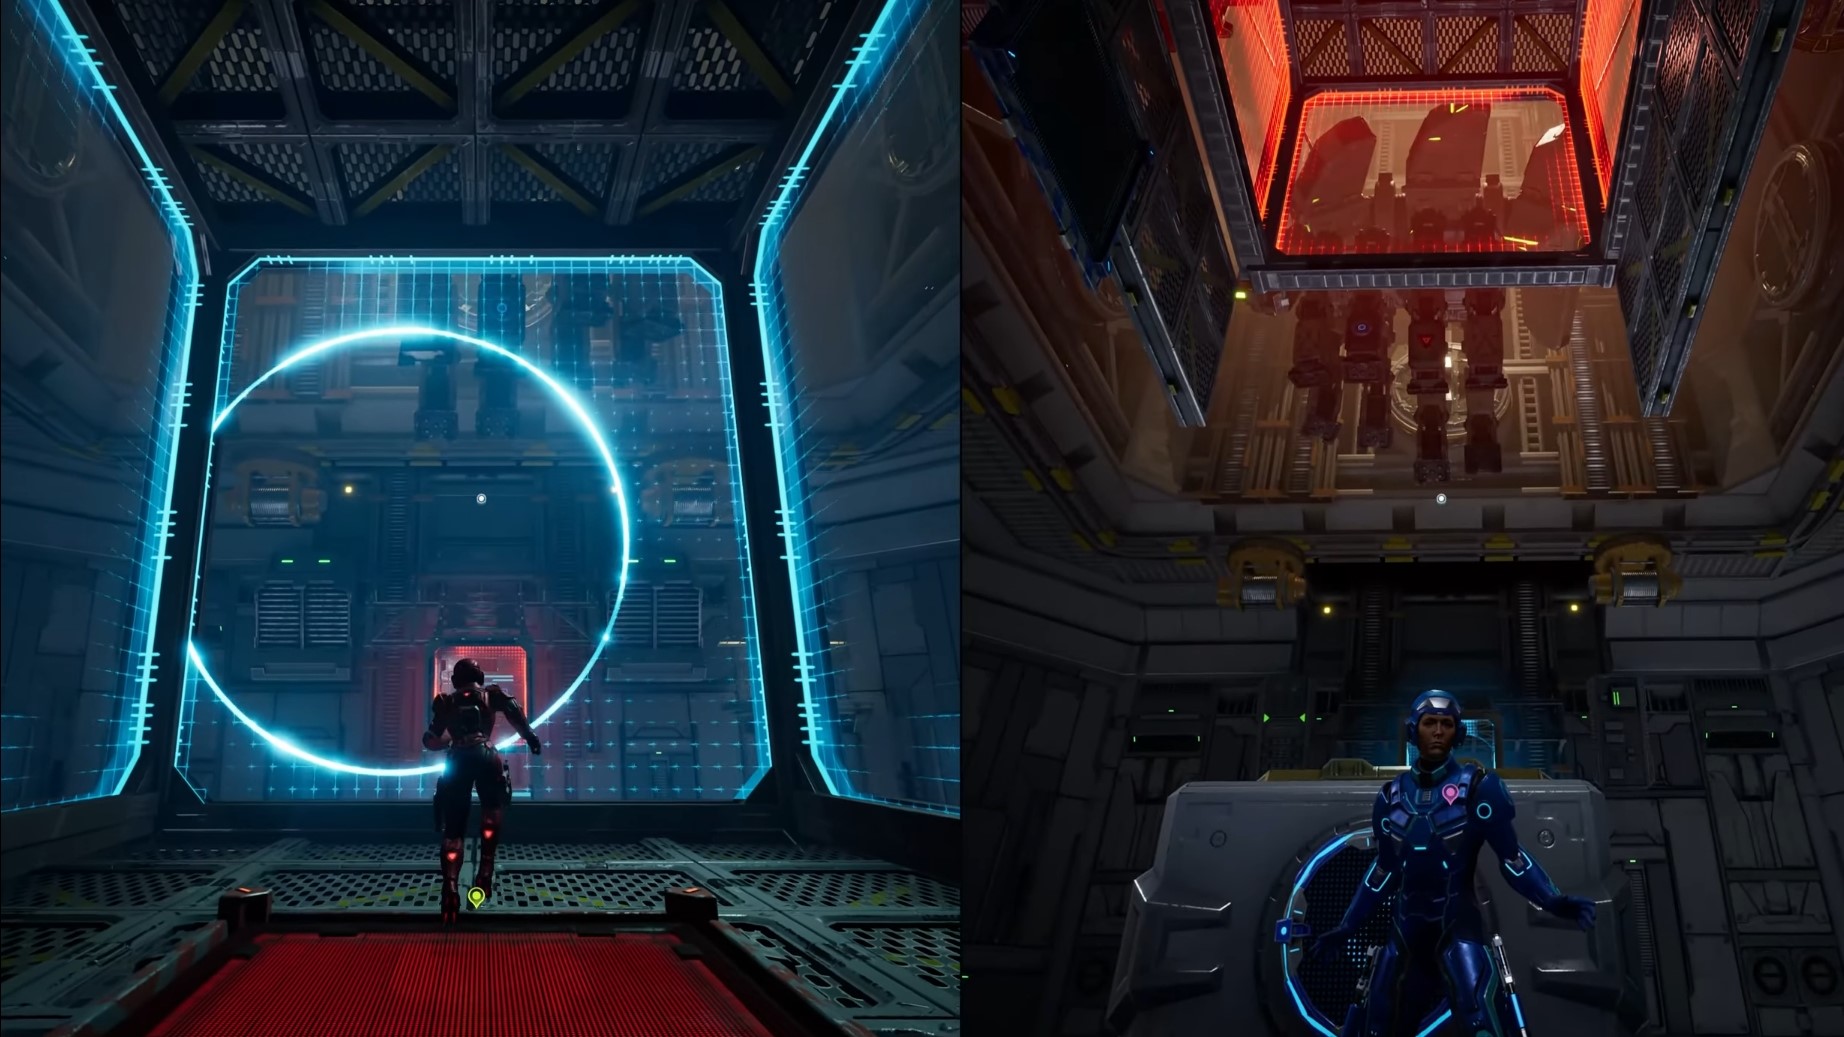
Following a brief cutscene, the giant robot will be suspended over a vat of acid. This time, its weak points are on its back, and you will have to use the launchpads to target them. Head to the platform on either side, with one of you climbing the pad while the other shoots the switch of their respective color to launch them.
When you are airborne, you will enter slow motion. Grenade and shoot the switch corresponding to your character’s color. While one player is airborne, the other can use the slings and grapple points to make their way to the opposite platform. Once there, launch the opposite player and repeat the process until the boss is dropped into the acid.
During this phase, the Factory Warden will spew acid at you, forcing you to dodge or grapple out of the way. It will also release mines that you can shoot to clear your path.
Factory Warden Phase 3
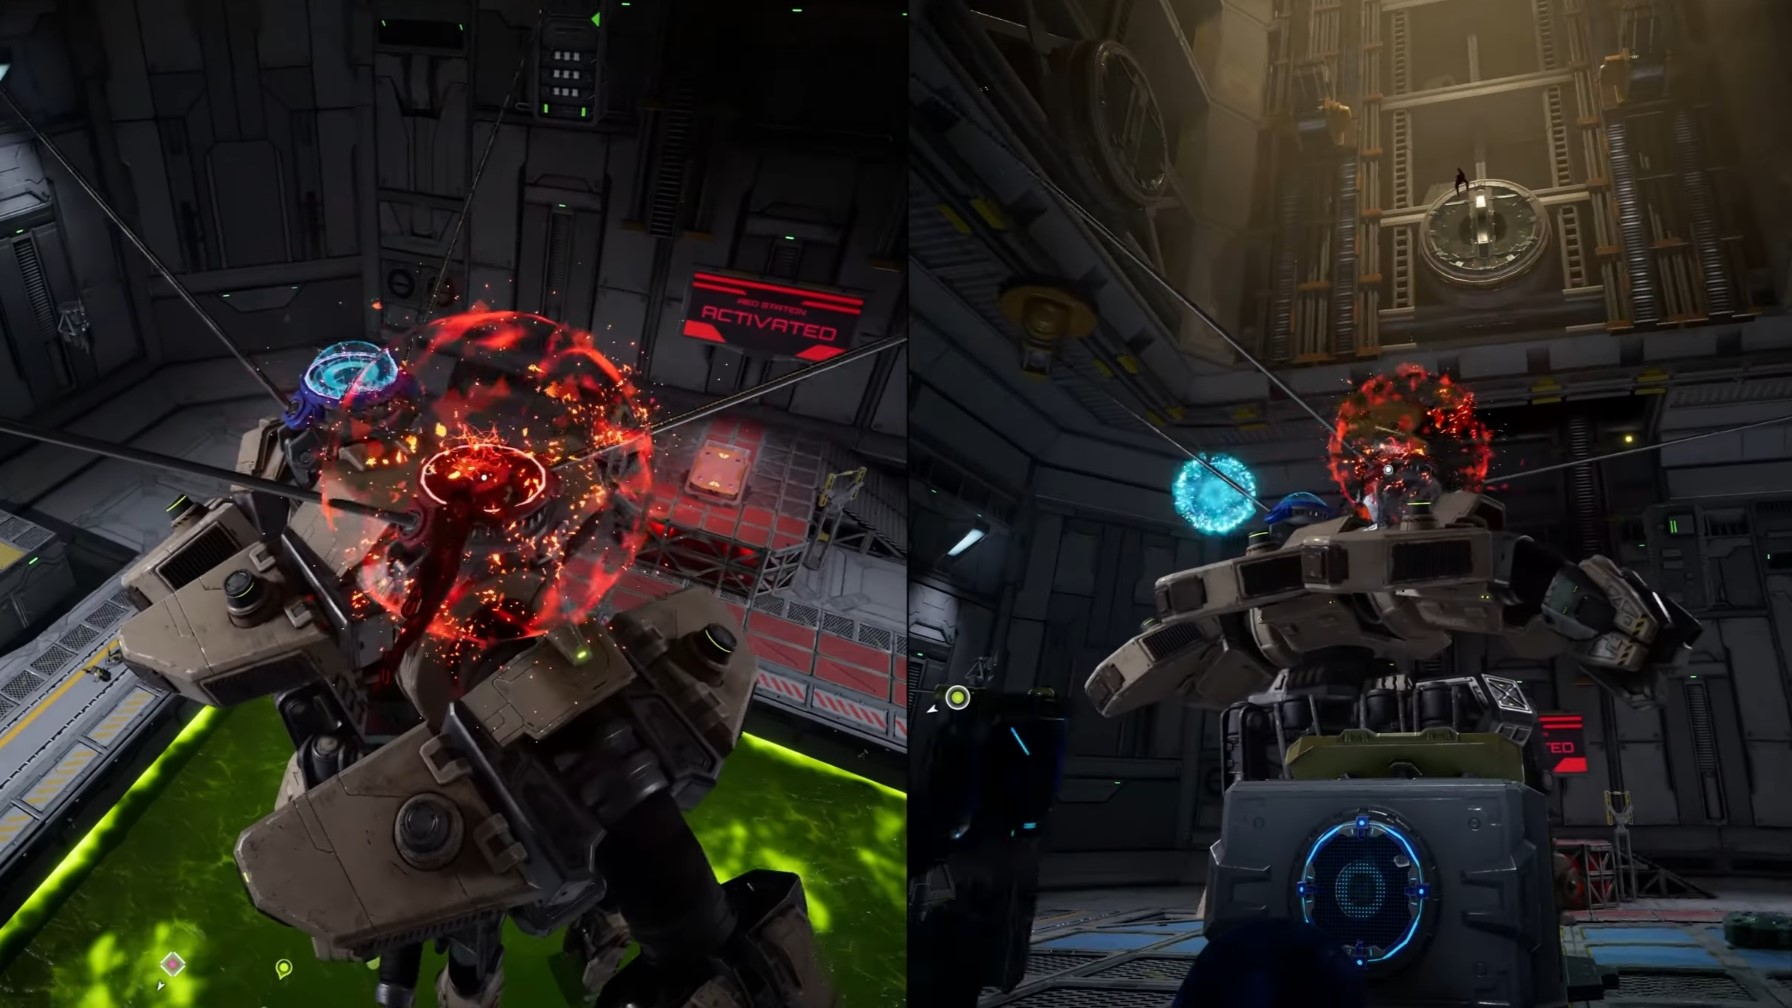
Emerging from the acid, the Factory Warden’s head will continue to attack you. In this phase, you can shoot directly at the head and still do damage. The head will shoot acid during this phase, so you’ll have to keep running and dashing to avoid it. It will occasionally create a red/blue shield around it that you have to disperse with Mio/Zoe’s Shield Buster grenade. After it is sufficiently damaged, the head will crash to the ground. Grapple on top of it, open the hatch, and continue shooting at its exposed “brain.”
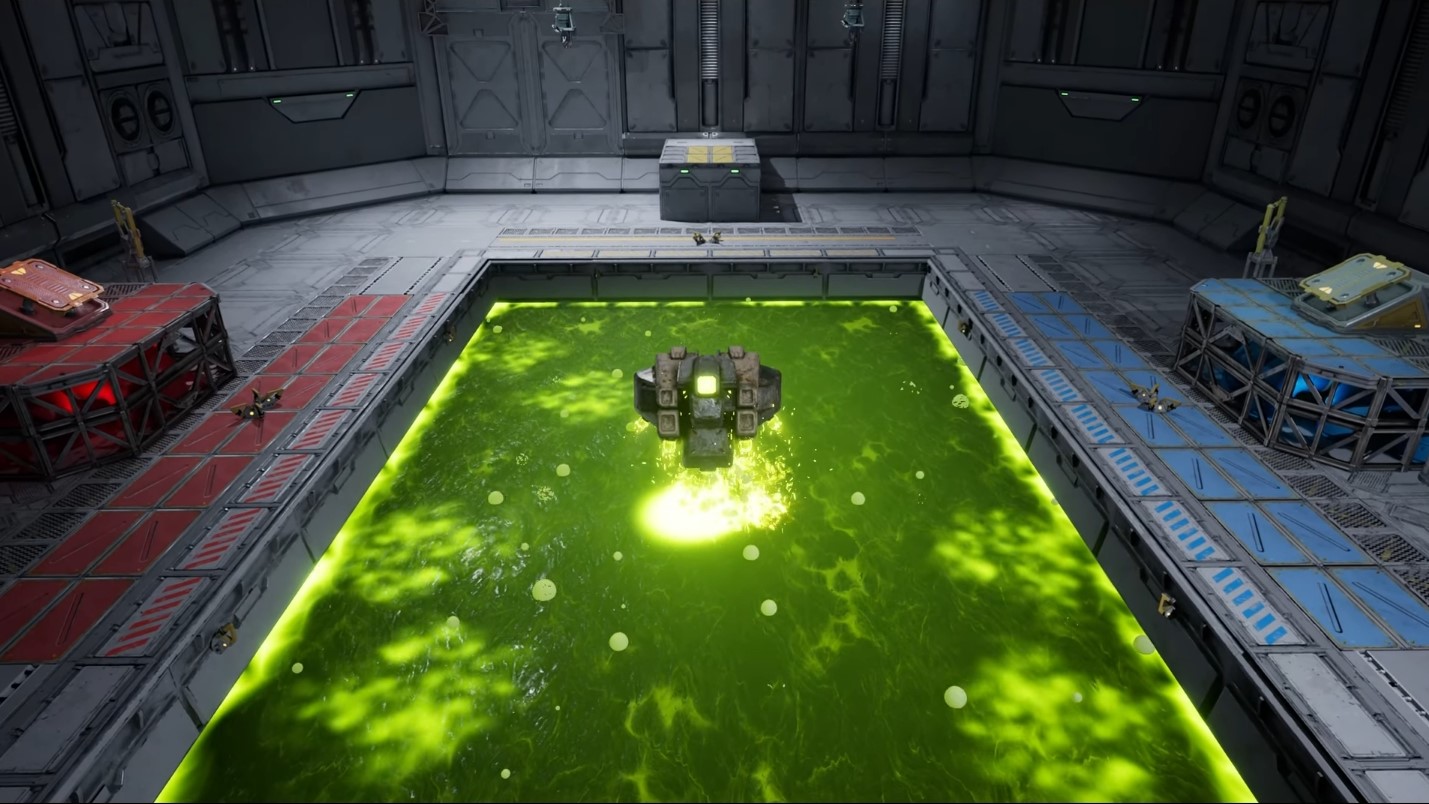
Flooded Chamber
Soon, the entire chamber will be flooded with acid. Stand on the concrete platforms as you search the acid for the shielded head, sharking around under the surface. Only use the floating platforms to jump across, as they sink if you stand on them for too long. When you spot the head’s fin, it will have either a red or blue shield. Hit it with the appropriate grenade to force it out of the liquid and shoot it.
When the head is about to spew acid, its target area will be highlighted green, and you need to jump across the platforms to avoid it. After bringing its health down, the head will crash again. Repeat the same process as before.
Pulverize the Head
Upon reaching critical health, the head will bust through a ventilation shaft and onto a conveyor belt. Time your movement to avoid the piston ahead and head to the platform on the right before the flames. Wall-run across to the platform ahead and shoot the switches to crush the head and end the Factory Warden boss fight.
Looking For More?
Thank you for reading the article. We provide the latest news and create guides for Baldur’s Gate 3, Starfield, ARK Survival Ascended, and more. Also, watch Deltia play games on Twitch or visit his YouTube channel!