Facebook
 Reddit
 Email
Email
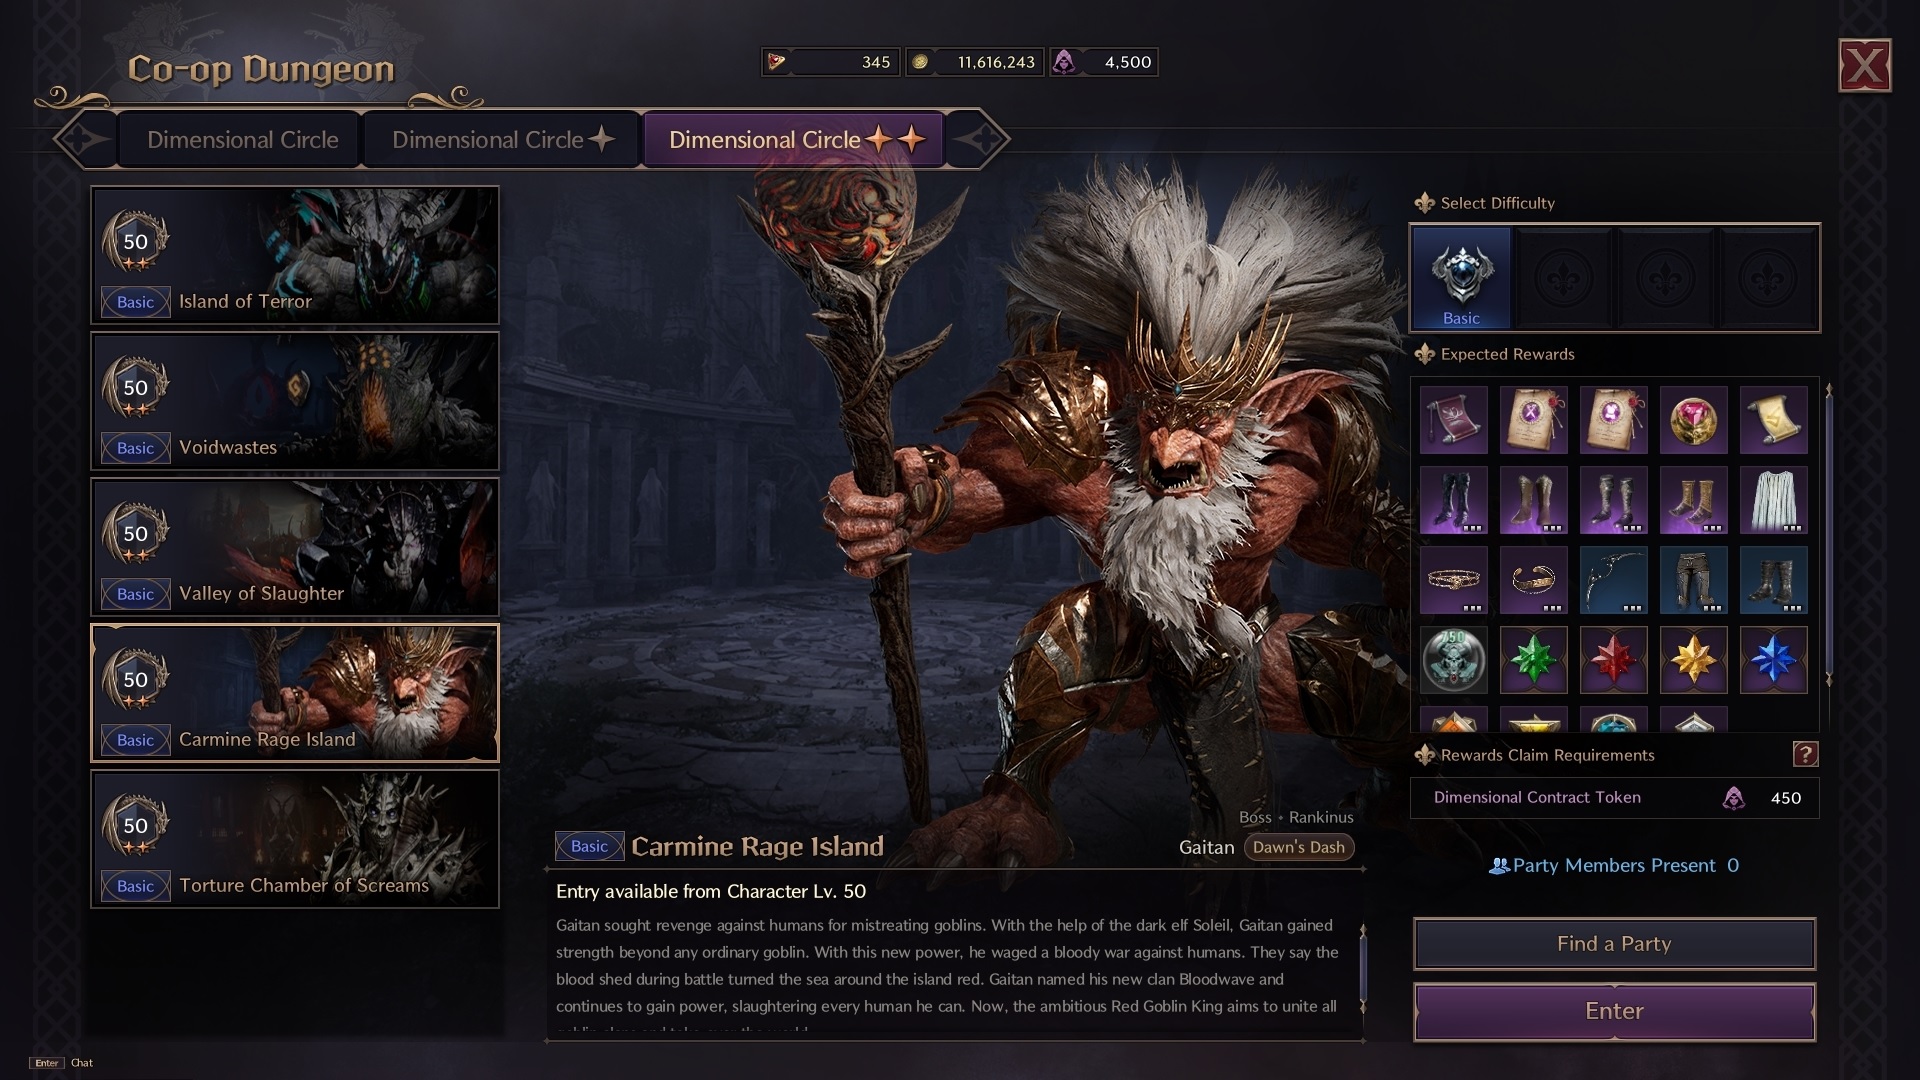
Carmine Rage Island is a dungeon in Throne and Liberty that holds several mobs, two mini-bosses, and an intimidating final boss.
Throne and Liberty has several dungeons for you to raid, with each of these harboring unique enemies with unpredictable movesets. The Carmine Rage Island is one of the most popular dungeons in the game with memorable bosses and mobs that can overwhelm unsuspecting players.
In this guide, we shall go over Carmine Rage Island, the mobs it holds, the three bosses that stand in your way, as well as the potential drops and rewards that await at the end. We shall also take a look at the enemies and their movesets and devise playstyles to counter them.
How to Beat Carmine Rage Island Mobs
The Carmine Rage Island Dungeon has several mob enemies that can get the drop on you if you’re not careful. They also hide a variety of tricks up their sleeves for the same purpose. The mobs include the Red Goblin variations, such as Stone Thrower, Butcher, Strongarm, and more. You must deal with the Stone Throwers and Butchers first, as they deal the highest amount of damage among the Red Goblin bunch. Once these are dealt with, the rest should be easy.
As you progress through the dungeon, you will find some enemies with a Red Eye gleaming over their heads. Only one player in the party can see the Red Eye, so they must immediately inform the others of the Red Eye Goblin. Prioritize the Red Eye Goblin immediately and kill him before focusing on any other minion. Should you kill any other Goblin first, the Red Eye Goblin will explode, killing your whole party in one go. The Red Eye switches across the mob, so do keep track of which enemy it moves to and divert attacks accordingly.
How to Beat the Red Goblin Shaman Boss
The Red Goblin Shaman is the first boss of the Carmine Rage Island dungeon. As you enter the boss arena, you will notice pillars around the perimeter. Each of these pillars corresponds to a color. When you activate the boss, the pillar colors flash briefly, so memorize them quickly. Next, a color will flash over your head. Interact with the pillar corresponding to this color to get a magical shield. This will protect you from the Red Goblin Shaman’s spawn attack.
As the fight begins, watch out for red circles on the floor. These circles deal damage, so make it a priority to avoid them. The boss also heals himself, hence it is important to use high DPS weapons to counter the self-heal.
As the boss’s health drops down to 50 percent, he will vanish and you will have to interact with the color pillars again as you did in the beginning. The boss will now return. Chip away at his HP while avoiding the red circles to win the fight.
How to Beat the Red Goblin Bomber
You will find the Red Goblin Bomber just a few rooms after the Shaman. The boss will be standing on a floating platform, with two other platforms adjacent to him. Fly toward him to kickstart the fight. The boss uses an AOE attack that brings six red circles onto the field for each member of the party. These detonate in three seconds. Time your block (1-2-3-Block) or move out of the red circle to avoid taking damage.
The Bomber will also summon bombs to the arena. Throw these bombs off the platform before they explode to avoid taking large chunks of damage. It is easy to lose track of the bomb jars in the heat of battle, so be vigilant.
After losing one-third of his HP, the Bomber will move to the next platform. Grapple and follow him. Avoid the explosive jars and block or dodge the red circles to survive the fight. Chip away another third of his HP to drive him off the platform. Grapple and follow him onto the final platform. Rinse and repeat on the final platform to kill the boss.
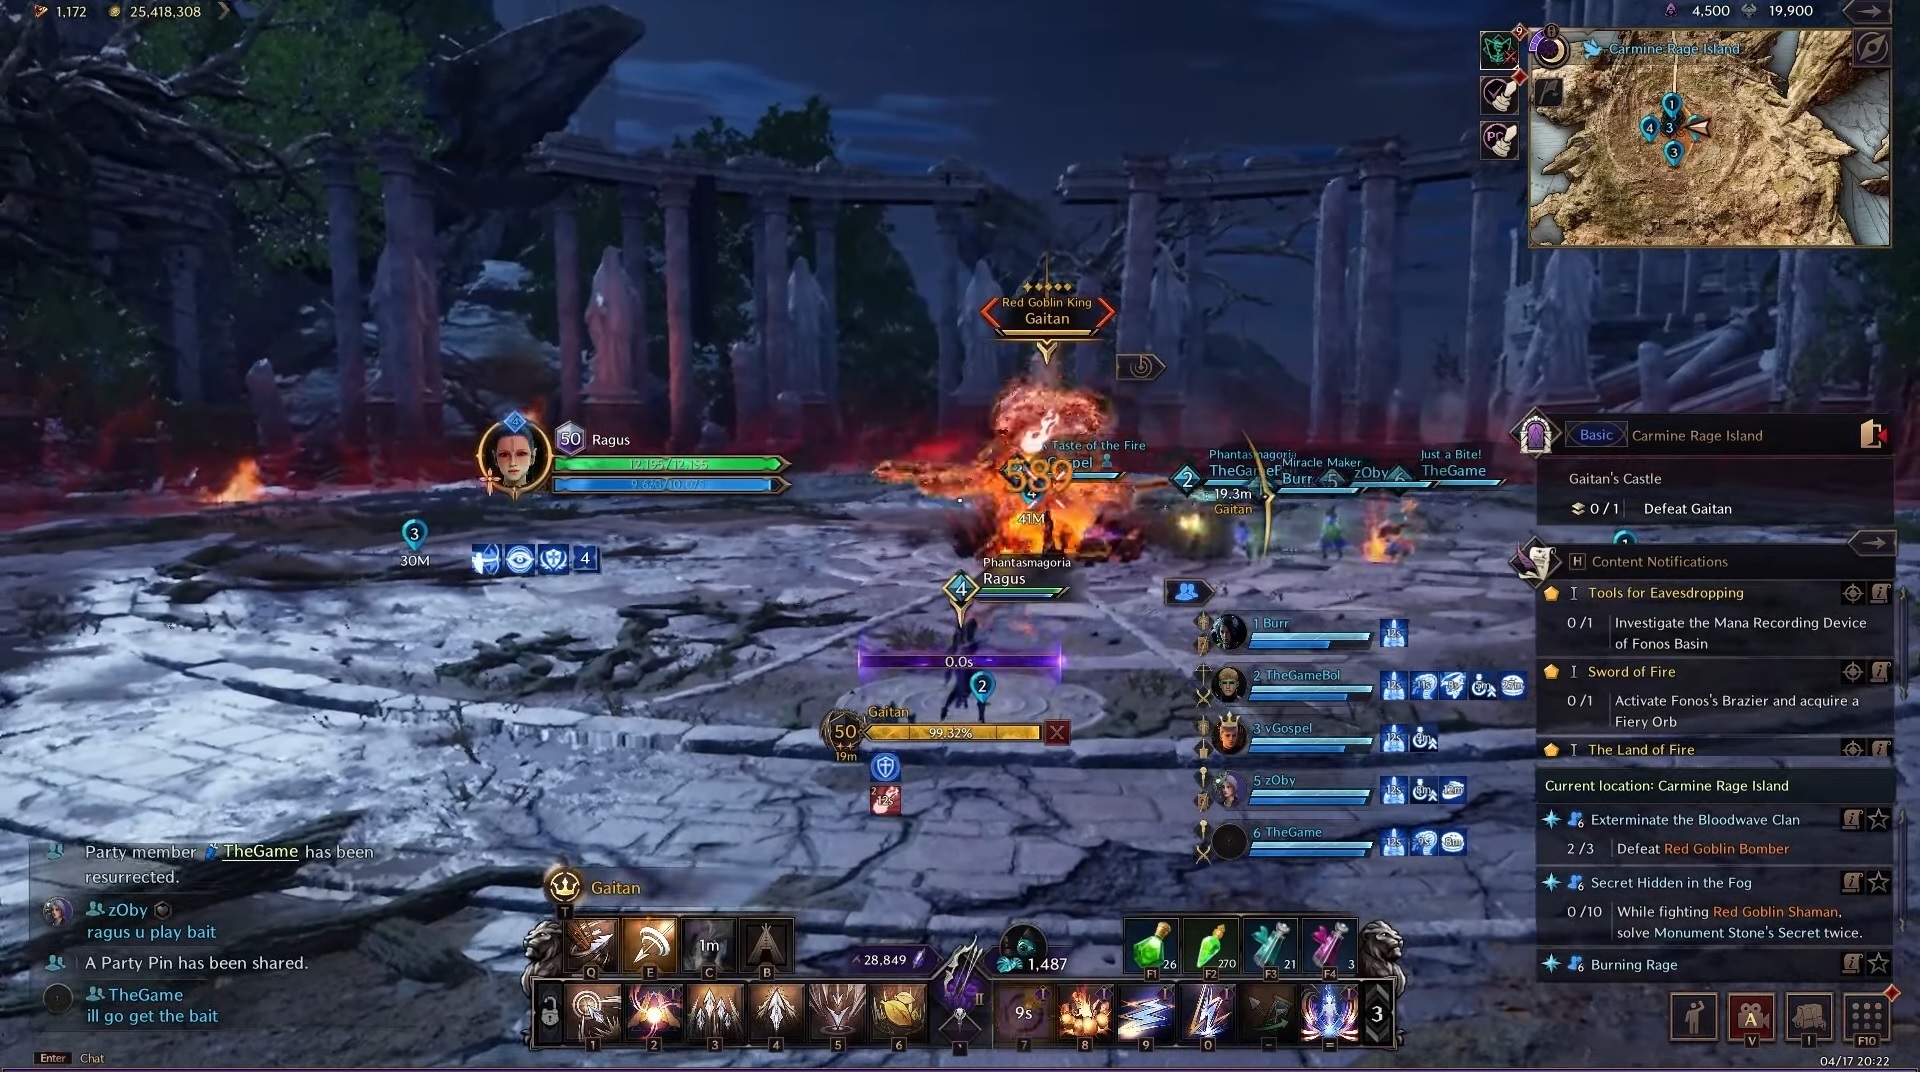
How to Beat the Red Goblin King Gaitan
The Red Goblin King Gaitan is a mammoth unit and will tower over you and your party. Gaitan has a variety of hard-hitting attacks that cover large areas. In the first half of the fight, watch out for his spinning whirlwind attack. The tank should be closest to Gaitan to absorb the damage and stay in the fight. Gaitan also shoots out cones of fire. These cones are usually aimed at the player farthest away. He will then rush this player, so staying on the move is essential.
Red Goblin King Gaitan Second Phase
Gaitan deploys a chain mechanic in the second phase of the fight. He enters this phase with his second whirlwind attack. In this mechanic, four players are chained and tethered to pillars in the arena.
The first two closest to the boss do not get chained, while the other four are tethered. The tank has to ideally be fifth distant from the boss, as he will be marked with a dot that deals constant damage. If this player dies, they drop an AOE that deals damage to the rest. This is why you should pick the tank for this role. Before the fight begins, line up facing the boss in the correct order, with your tank being the fifth one.
As the players are tethered to the pillars, run around the arena and avoid the boss attacks. The tank has to survive the onslaught, so they should ideally stick to the edges away from the attacks. A healer can provide extra support and help the tank survive. The boss’ attacks will then break the pillars and you can resume your onslaught on it. The tethering will repeat later in the fight. Follow the same method to beat the final boss of the dungeon.
Looking For More About Throne and Liberty?
Thank you for reading this Throne and Liberty Guide. We provide the latest news and create guides for Throne and Liberty, Enshrouded, ESO, Baldur’s Gate 3, and more. You can also watch Deltia play games on Twitch or visit his YouTube channel.