Facebook
 Reddit
 Email
Email
The Nirma guild boss in Throne and Liberty can be a formidable foe. Learn about its attacks and general patterns to win the raid successfully.
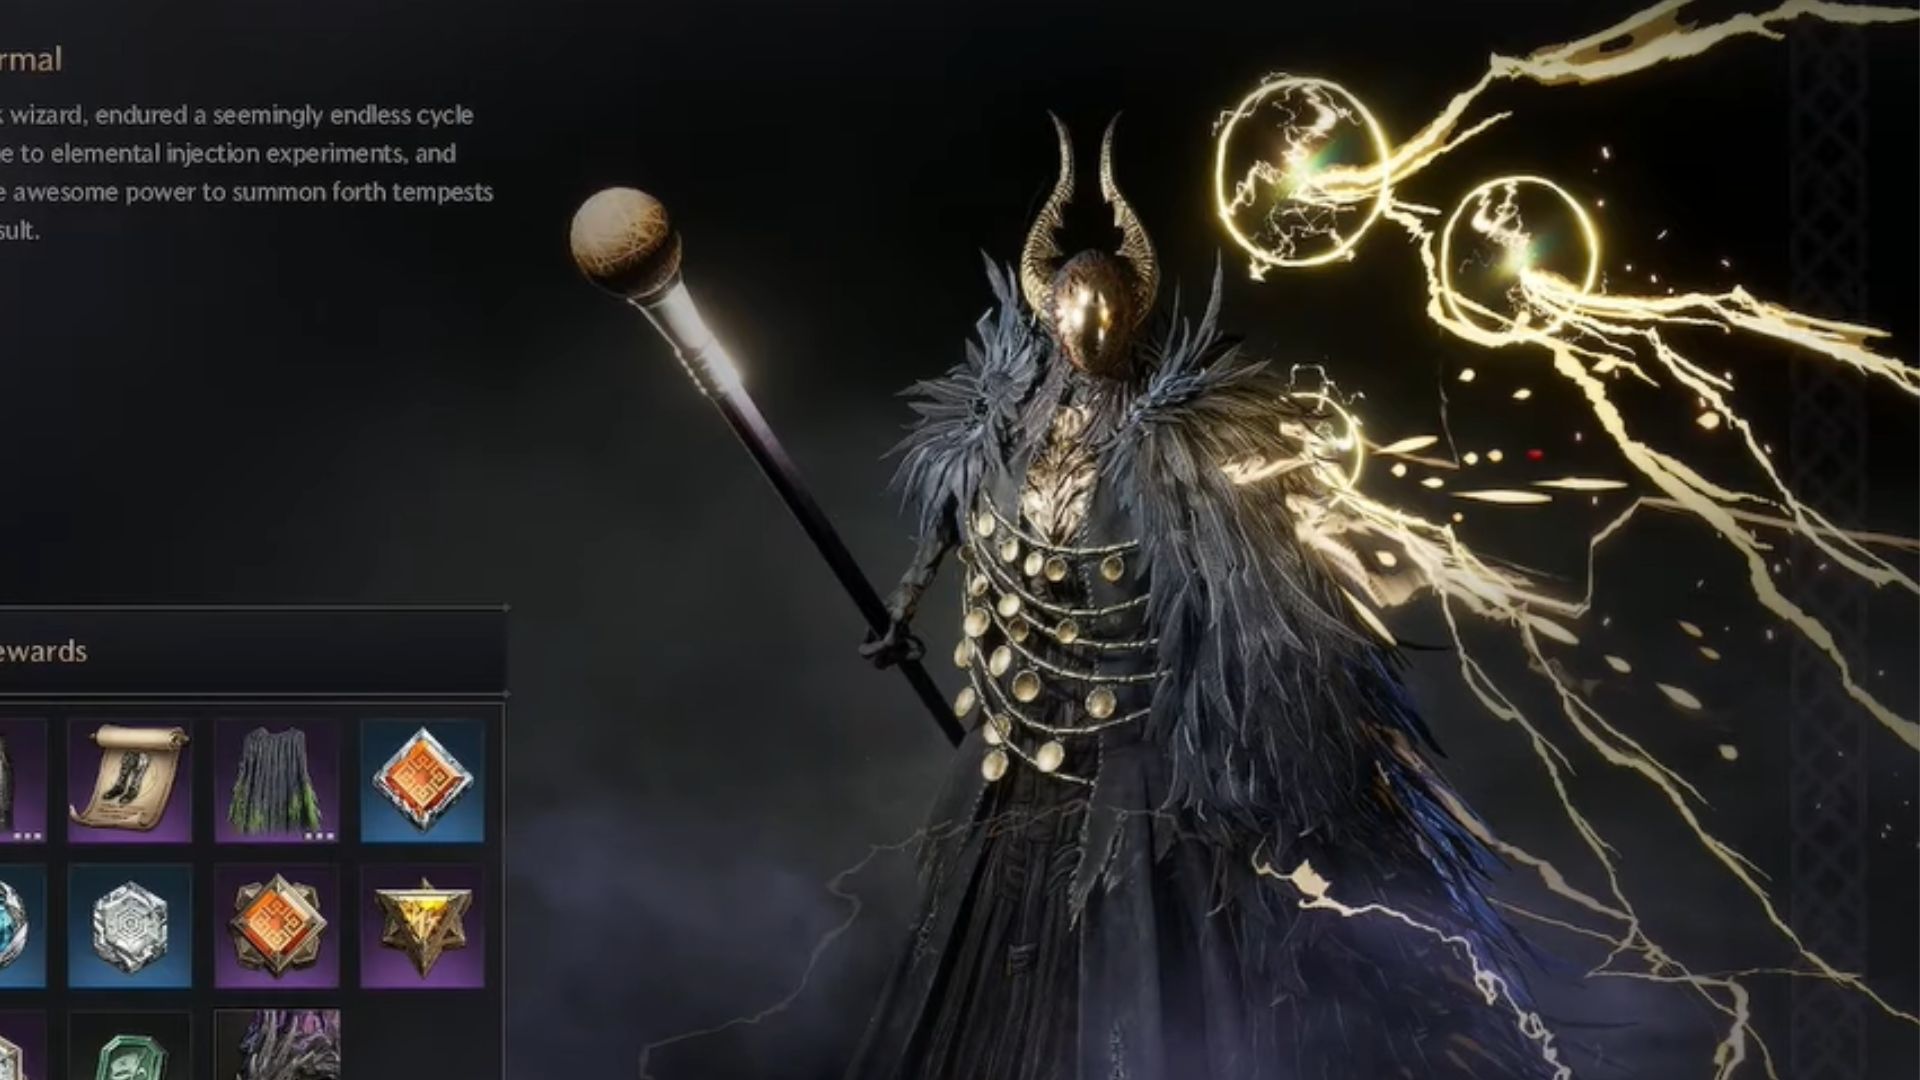
One of Throne and Liberty’s most complicated enemies is the Nirma guild boss. This Level 50 giant does not go easy on your teammates and can be a bit difficult to defeat. Some of its mechanics are a little different compared to most of the other guild bosses.
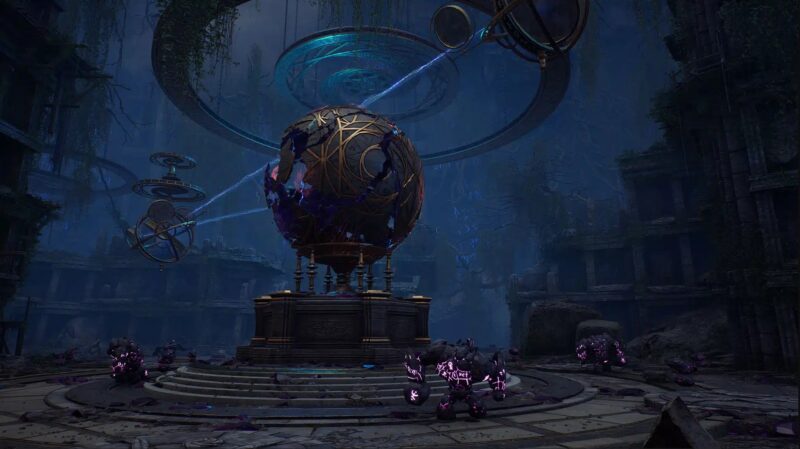
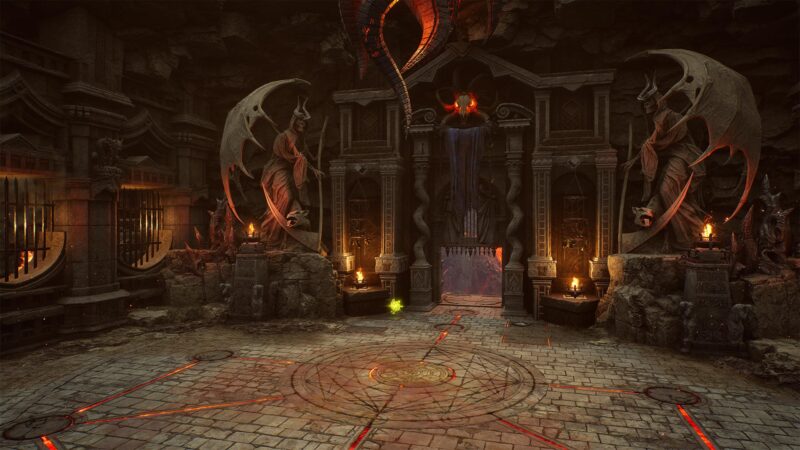
You can run into the Lightning Elder on the fifth floor of Syleus’s Abyss in the southwest portion of the map. Unfortunately, the dungeon is closed after sun-down, so you will not be able to raid the boss during the night while exploring the open world. You will have to return in the morning. However, if you have a Guild Summon Stone, you can teleport everyone inside even at night and take on the fight. You can also access the raid from your Guild Hall if your guild has reached Level 15.
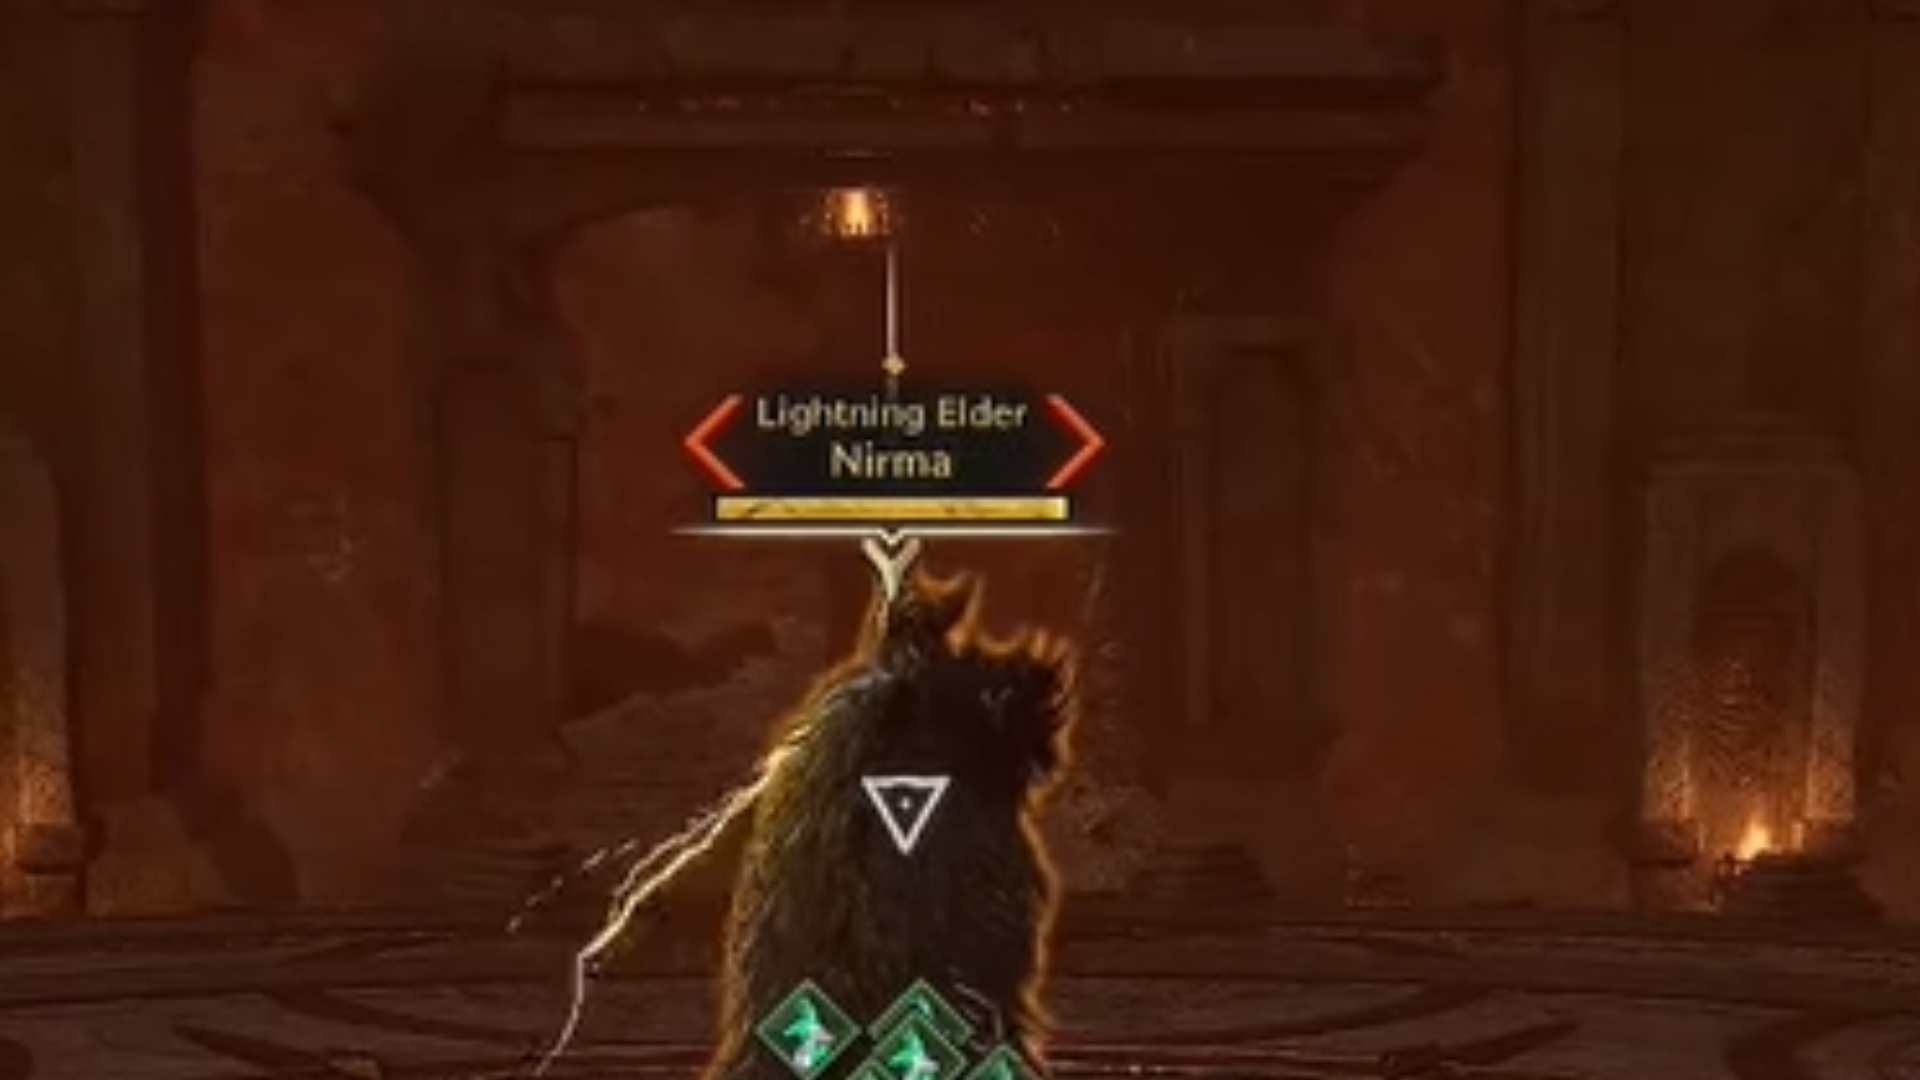
Nirma doesn’t move much during the battle. It can rotate in its place but sticks to the center of the arena. Use this to your advantage, otherwise the boss will be too fierce to face.
Observe Nirma Guild Boss During the Battle in Throne and Liberty
All Attacks and How to Counter Them
Nirma marks its target for a better focus. When you gang up on a giant boss, they are bound to feel cornered. The furthest ally from the Lightning Elder will be marked with a glowing ring above their head. Nirma usually focuses on just one player at first. The targeted player should get ready for an array of ranged attacks, while the other guild members can stand behind the boss and keep depleting its health.
The Lightning Elder will also create a large triangular section of the arena to hit the target. The one being hunted should kite the area around in a pre-determined direction so the other members can stay safe from the ever-shifting lightning triangle. This usually happens once it says, “Cry in desperation!”
Nirma lifts its staff and casts several lightning cones on the target itself. In the location where these cones hit, the element lingers for a while before disappearing. Avoid heading into the affected zone while the lightning lingers. The target must run away from the guild, and the other members should keep covering the area that their ally just left right after the lingering ends.
Another major attack that you need to look out for is when Nirma guild boss spins and lifts the staff again to cast magic on the platform itself, electrocuting everything on the ground. The entire guild must jump right when the boss is about to cast the spell. If you fail to do so, expect to lose up to half of your HP.
Reaping the Rewards of Your Labor
Look out for the visual and audio cues that we just provided you with. If all goes well, this Level 50 Throne and Liberty boss shall be reduced to dust in its due time. Once your guild has completed the raid, all of you will be rewarded with the following items at random:
- Nirma’s Corrupt Sword
- Transcendental Salvation Pants
- Heavenly Arbiter Shoes
- Destroyer’s Choker
- Holy Ghost Fighter’s Blessed Boots
- Violent Ambush Dagger
- Foresight Wand
- Boulder Destroyer Two-Handed Sword
- Golem Patroller Crossbow
- Noble Sage’s Cloth Gloves
- Mysterious Sage’s Linen Pants
- Geode Dracoryft Turtle
Looking For More?
Thank you for reading the article. We provide the latest news and create guides for Baldur’s Gate 3, Starfield, ARK Survival Ascended, and more. Also, watch Deltia play games on Twitch or visit his YouTube channel!