 Facebook
 Reddit
 Email
Email
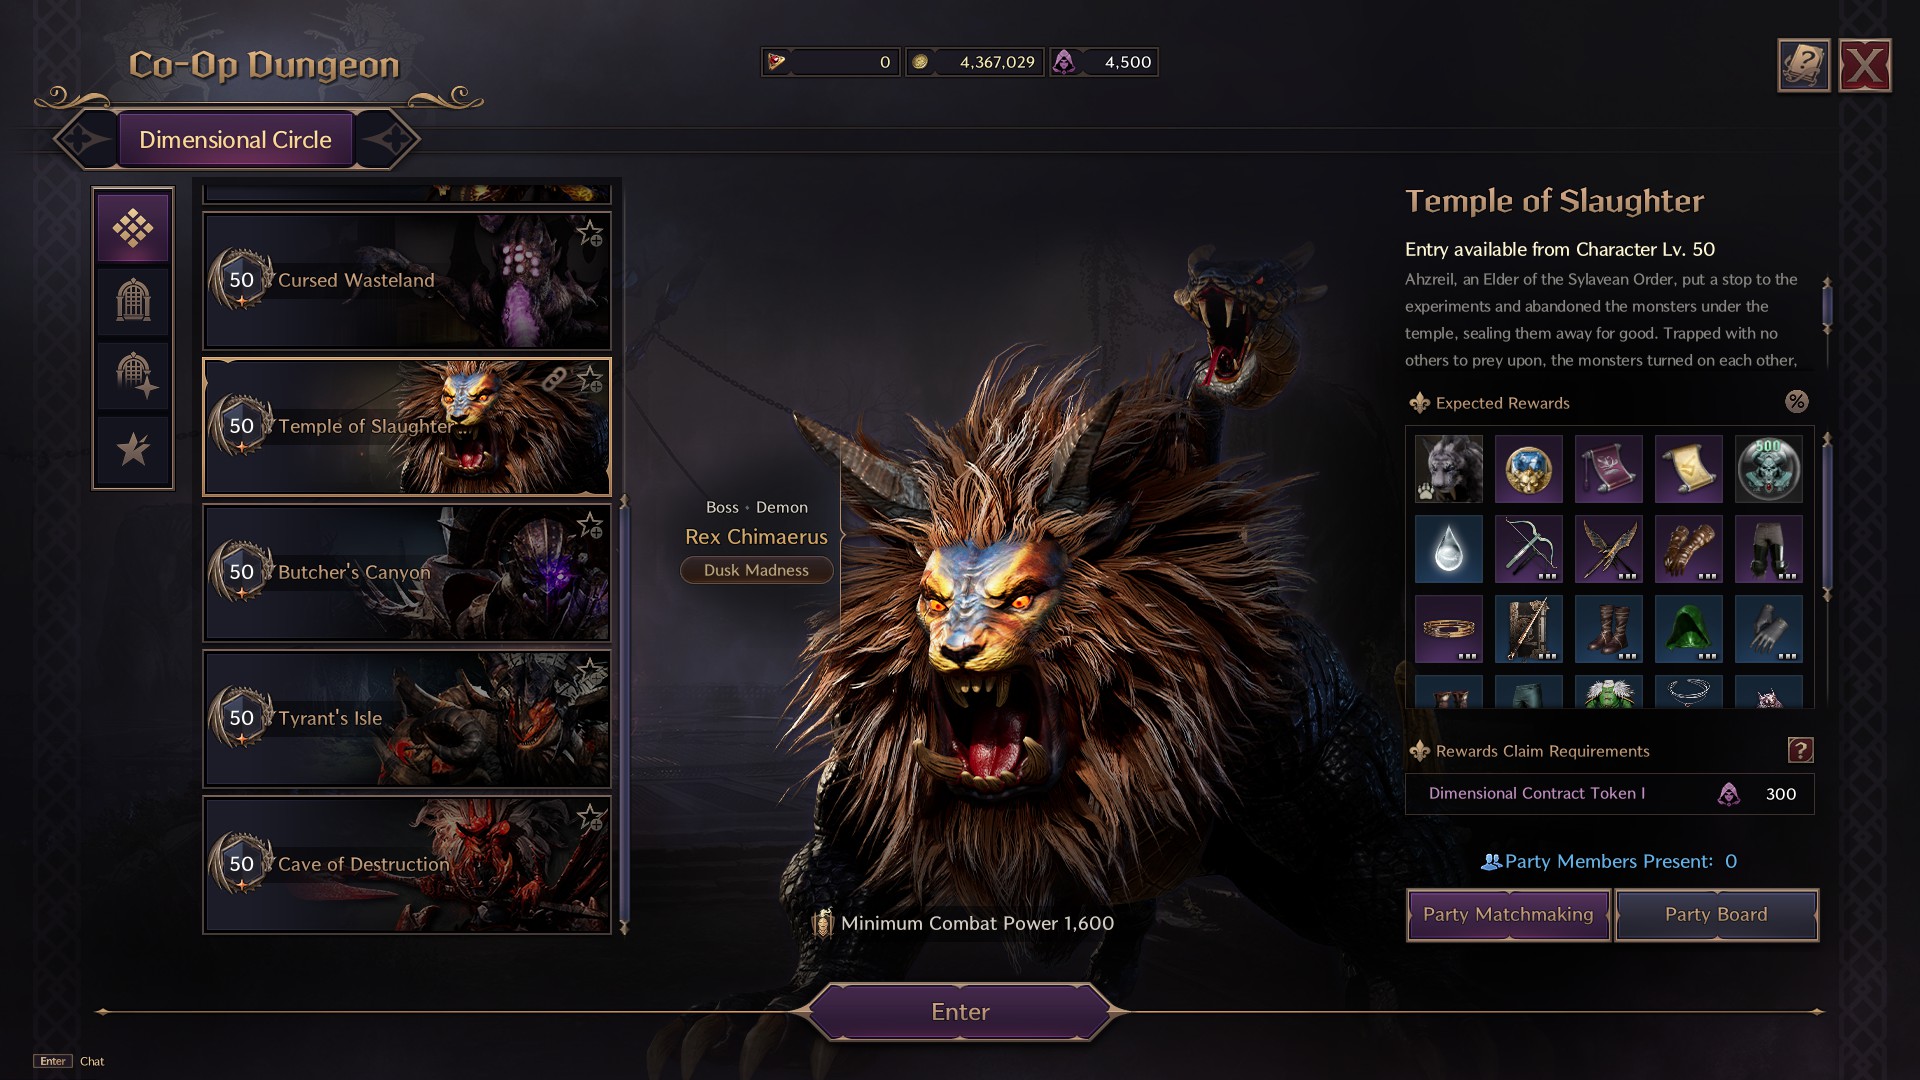
Temple of Slaughter is a level 50 Dungeon in Throne and Liberty, that requires the minimum combat power of 1600. Follow this guide to get the complete walkthrough of the dungeon.
Throne and Liberty, the trending MMO has many challenges for the players, and completing the Dungeons is considered the most difficult among those. Though Dungeons are the source of the best high-quality rewards, they require experience and certain tactics to complete them. Temple of Slaughter Dungeon is a level 50 Dungeon and is considered one of the most dangerous. It is the harder version of Roaring Temple Dungeon, where both follow almost the same mechanics and tactics. The minimum combat power for the Temple of Slaughter Dungeon is set at 1600.
To face the final boss, Rex Chimaerus, you must first defeat two mini-bosses – the Ancient Berserk Dark Enforcer and the Ancient Berserk Shade Wizard. Completing the Temple of Slaughter requires good teamwork and planning, and here is the complete guide on how to do it.
Temple of Slaughter Dungeon Guide in Throne and Liberty
The Temple of Slaughter dungeon is similar to the Roaring Temple Dungeon you previously encountered. If you have already encountered that dungeon, then you can easily break this one without much effort, as you already know how the enemies and mechanisms work.
Similar to Roaring Temple Dungeon, you need to get past several barriers to enter the Rex Chimaerus arena. You can break the first barrier near the entrance, by defeating the enemies in the area. Glide through your way to the next area. Break the second barrier by defeating the enemies and operate the Mana Fluid Regulator to fill the area with water. After that, use the Swim Morph to cross the area.
By following the same previous steps, you can break the third barrier and operate the Mana Fluid Regulator to access the next room.
First Boss: Ancient Berserk Dark Enforcer
In the next area, you’ll face the first mini-boss Ancient Berserk Dark Enforcer, who guards the fourth barrier. This mini-boss attacks in almost the same fashion as the Roaring Temple version.
He isn’t too tricky and uses base attacks. He will cast a large flame AoE attack on the ground. Jump into the water to avoid the burning effect, and use your healer to reduce damage. Once the burning subsides, finish the boss with your teammates.
After this, you’ll encounter a large area filled with fire. Transform into Glide Morph and cross the area by gliding. Be careful not to get burned by the flame of the fire pillars.
Second Boss: Ancient Berserk Shade Wizard
The final barrier is protected by the second mini-boss Ancient Berserk Shade Wizard. Be cautious of his Fury Attack, and don’t forget to block it. He will also do AoE by creating puddles on the ground, which you should avoid. He will summon more Ancient Zombie Mutts than the earlier version. Watch out for their Fury attacks as they will explode and cause huge damage. Focus on attacking the Shade Wizard instead of the dogs, as they keep spawning. Once you defeat him, you can now enter the final boss arena.
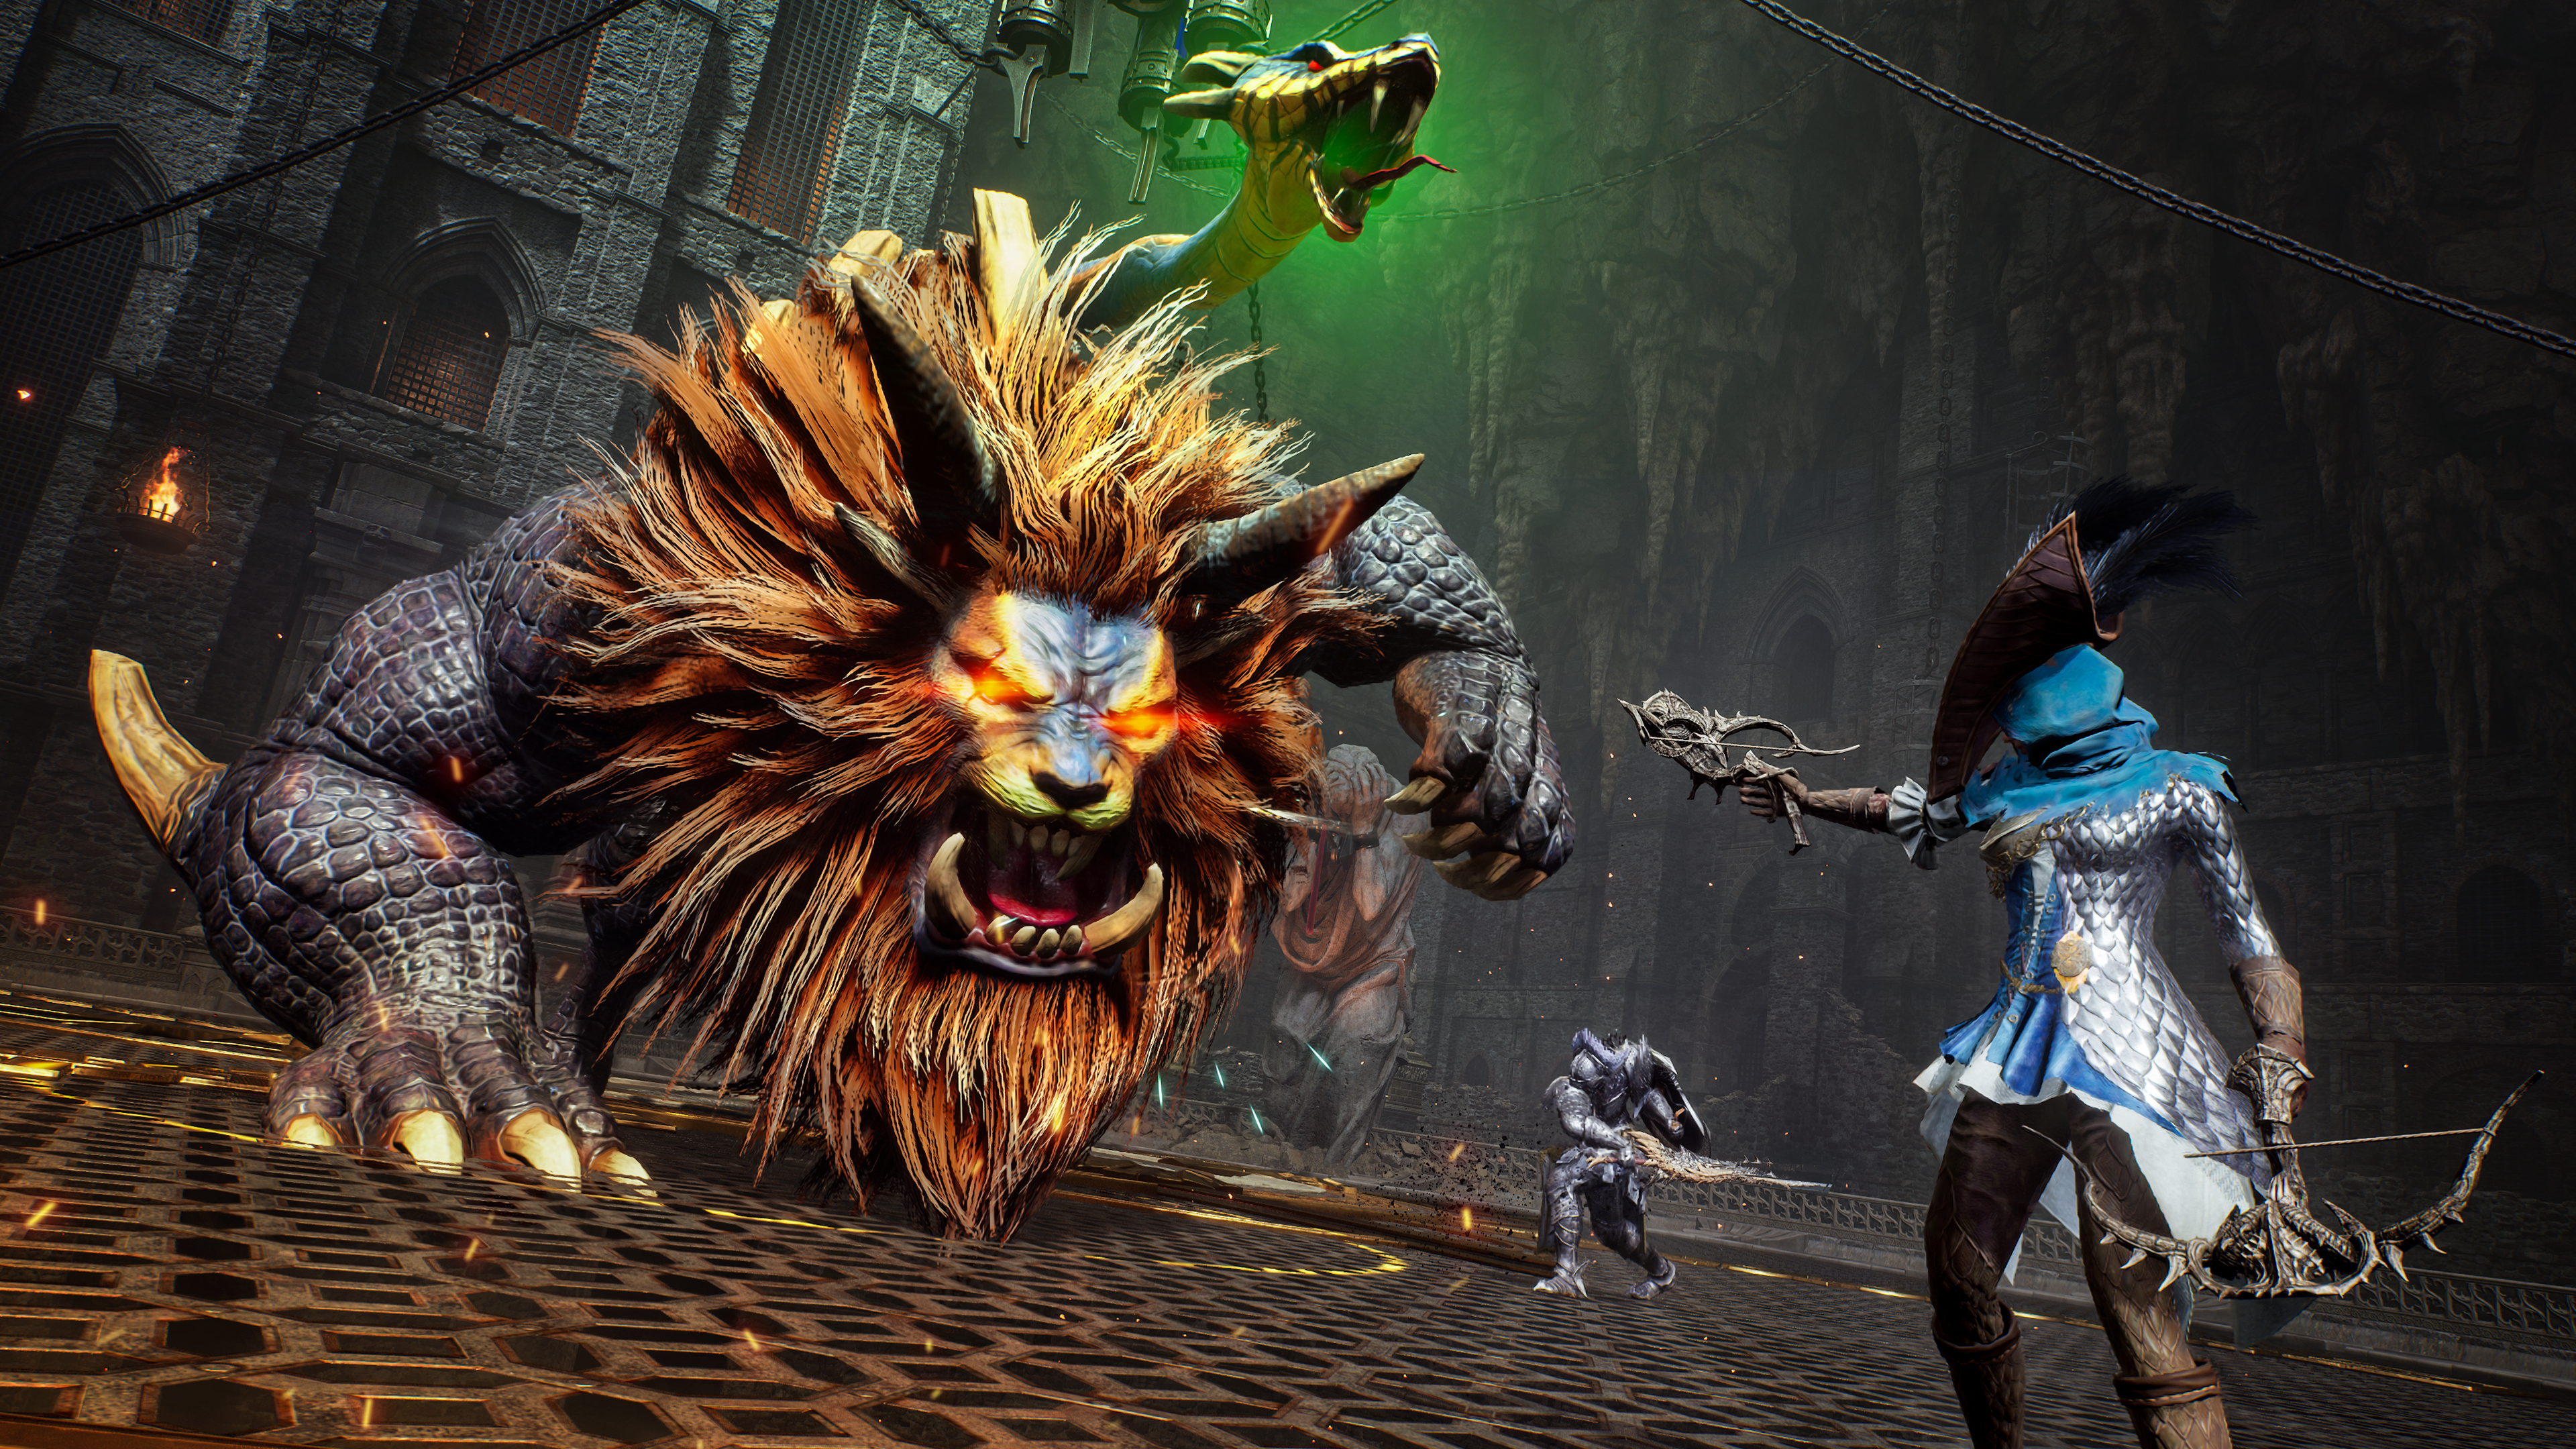
How to Defeat Rex Chimaerus
Rex Chimaerus behaves almost identically to King Chimaerus. Defeating Rex Chimaerus is not easy, as it requires the players to follow the attack patterns and mechanisms. Moreover, it takes well-executed teamwork and planning.
Rex Chimaerus Attack Patterns
- Rex Chimaerus has similar attack patterns to King Chimaerus such as Jumping and pouncing towards a player, Spitting poison drops to create an AoE effect, and Swiping with its tail at nearby players. These are basic attacks that can be avoided easily.
- The Rex Chimaerus launches fireballs towards a player after stuns them with poison. It targets a player (targetted with a green light) and stuns them for a few seconds. The boss launches three powerful fireballs towards the stunned player, it causes massive damage to the player and may even kill them. Other players should stand in front of the Boss to block the fireball and absorb the damage to protect their teammate. The fireball deals less damage to other players compared to the targeted player.
- After the above-mentioned attack, the Rex Chimaerus prepares to unleash a wave of fire and poison to eliminate all players by jumping in to the center of the arena. When the boss does this, players should have to grapple toward the floating pitons and use them to reach the platform above the center of the arena. Interact with it to pour fluid on the boss, stunning it, then make unstoppable blows. This sequence and mechanism were slightly altered from the early version of Roaring Temple Battle.
If you maintain consistent teamwork and use these mechanics to your advantage, you will eventually defeat the boss and complete the Temple of Slaughter Dungeon.
Looking For More About Throne and Liberty?
Thank you for reading the guide. We provide the latest news and create guides for Throne and Liberty, Enshrouded, ESO, Baldur’s Gate 3, and More. Also, watch Deltia play games on Twitch or visit his YouTube channel!

![Getting male dinosaurs in Jurassic World Evolution 3 [Source: Frontier]](https://static.deltiasgaming.com/2025/10/MixCollage-27-Oct-2025-11-43-AM-2999.jpg)