Facebook
 Reddit
 Email
Email
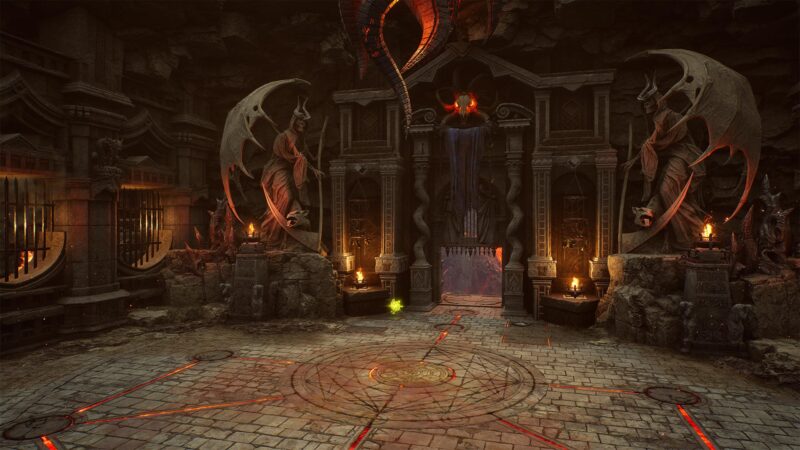
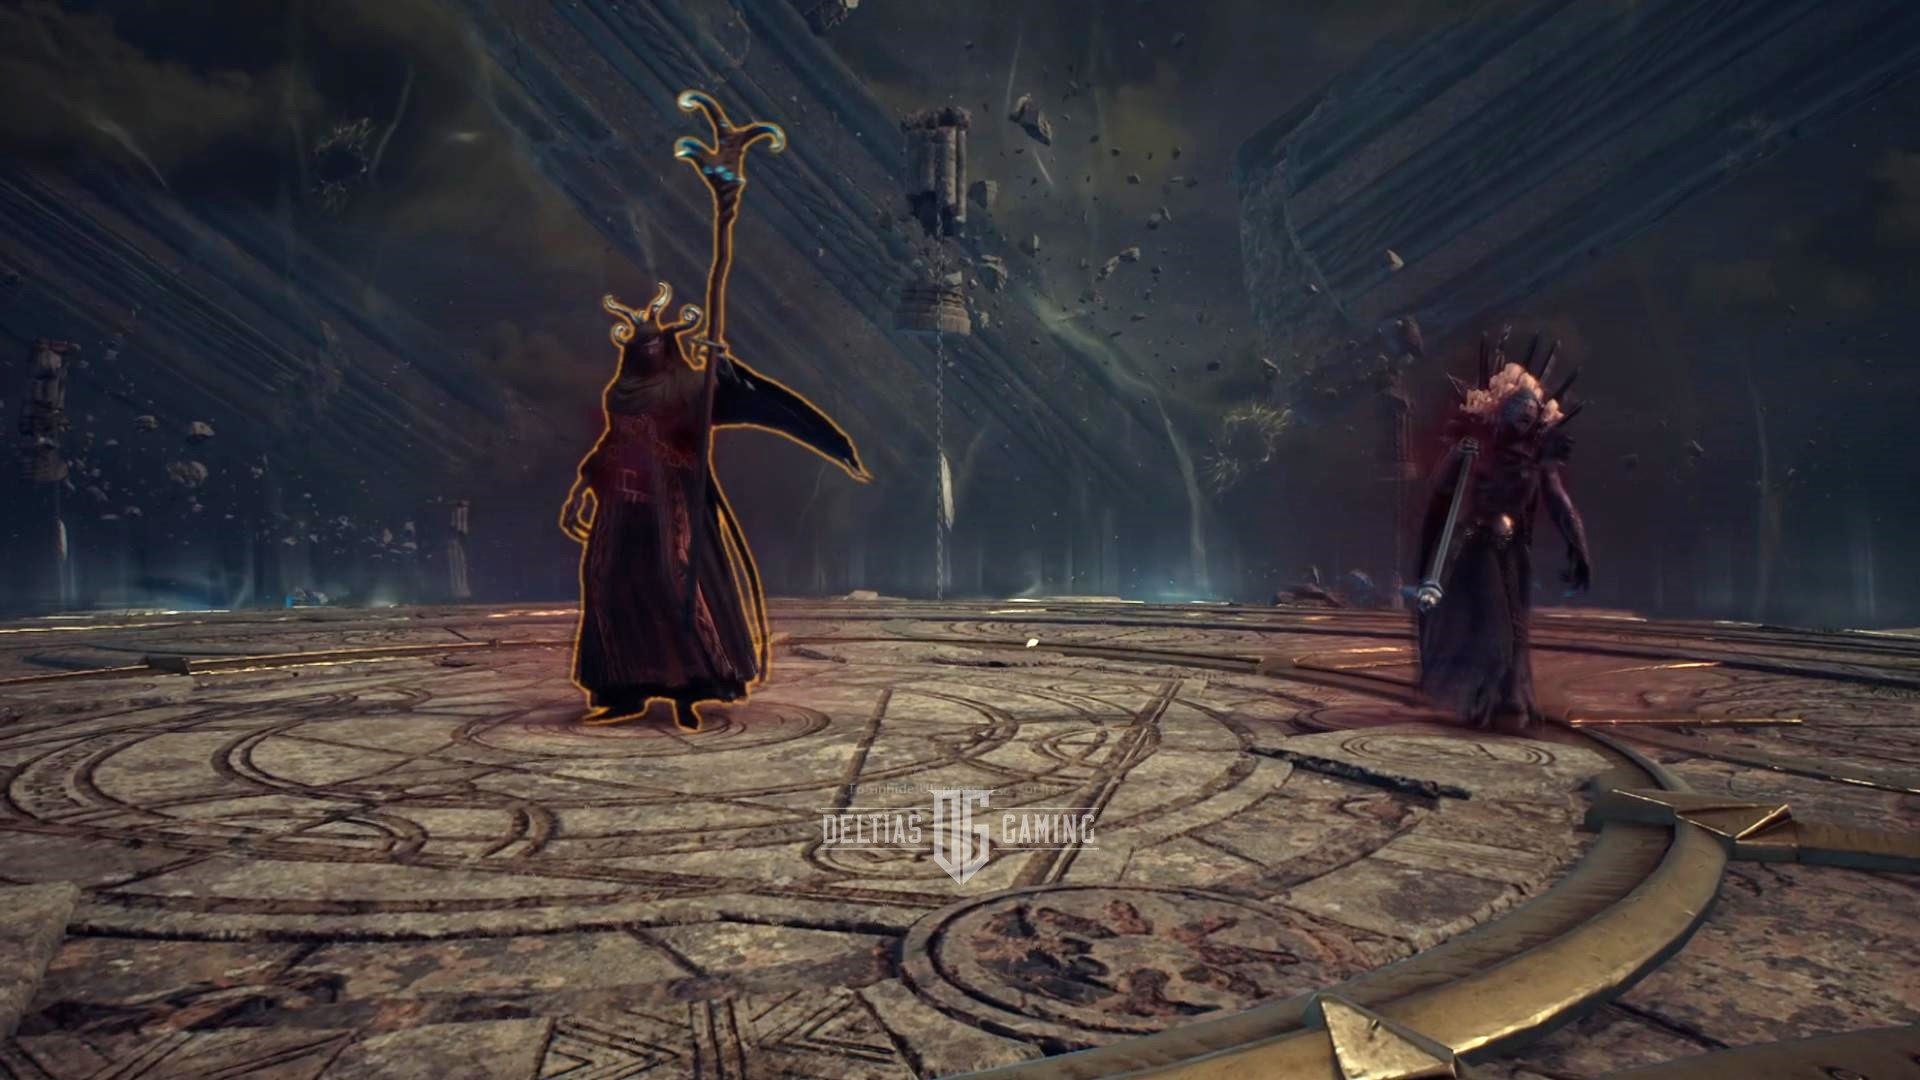
The Bound Shadowmancer and the Despair Dark Enforcer are bosses in Floor 7 of Taedal’s Tower in Throne and Liberty.
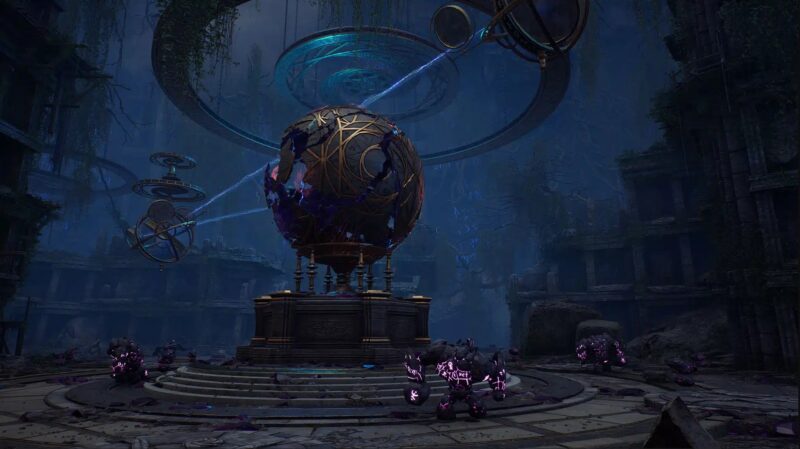
Taedal’s Tower in Throne and Liberty is a 20-floor boss rush with increasing difficulty as you progress. While the idea may seem daunting, the Tower holds attractive rewards. The Tower’s first big difficulty spike is found on Floor 7 with the Bound Shadowmancer and the Despair Dark enforcer. This is the first duo boss fight in the dungeon and can very well leave you feeling overwhelmed.
In this guide, we shall show you how you can defeat the daunting duo, what level you need to be at, what weapons and skills you should use, and what reward awaits at the end.
What Is the Level Required for Bound Shadowmancer and Despair Dark Enforcer?
The duo are the bosses for Floor 7 in Taedal’s Tower. The level requirement rises the further up the tower you go. The required level for taking on them on is Level 26.
How to Defeat Floor 7 Bound Shadowmancer and Despair Dark Enforcer in Throne and Liberty
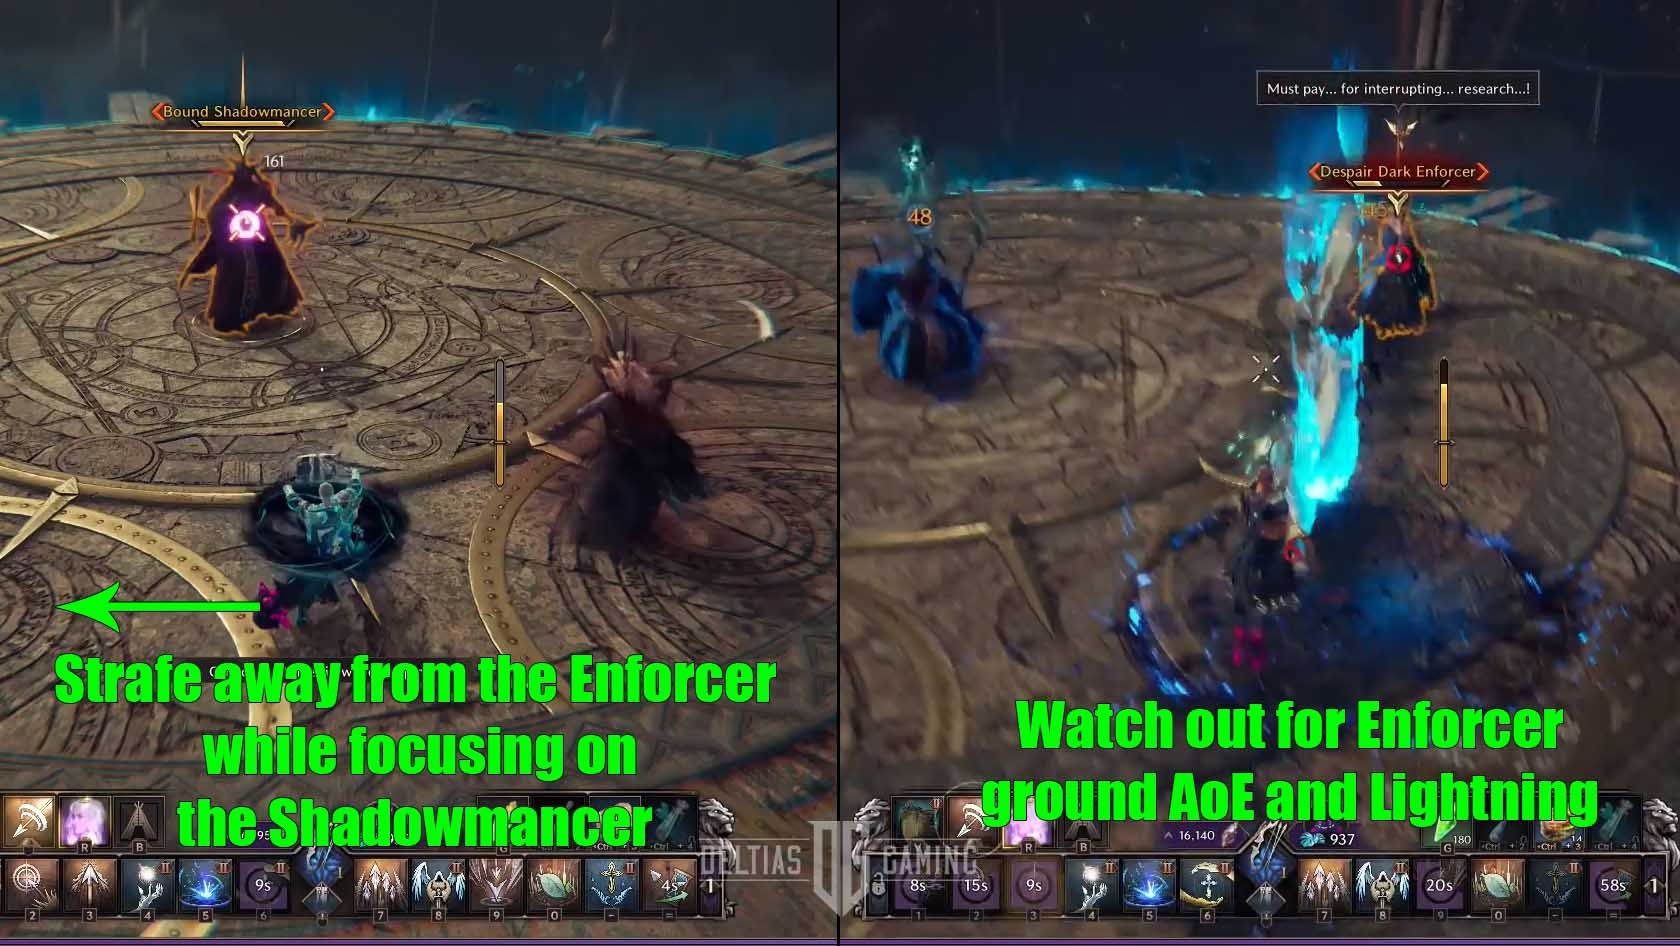
The duo may seem insurmountable at first glance. Thankfully, to beat them, you only need to kill one of them. The Shadowmancer is a ranged boss, while the Enforcer is a melee boss.
Taking a melee battle with the Enforcer while being bombarded with spells would put you at a disadvantage. Instead, we recommend targeting the Shadowmancer. Run around the arena and use ranged attacks to kill the Shadowmancer and finish the boss fight. Stay on the move but do not approach the Shadowmancer. The mage has a blue field around him that deals damage.
Best Abilities to Use for Bound Shadowmancer and Despair Dark Enforcer
The Shadowmancer is your target in this boss fight. We recommend killing the boss as fast as possible so as to not be overwhelmed by the Dark Despair Enforcer. For this, we recommend using the Nature’s Blessing active skill. The skill fires four arrows that deal high damage, helping you take away chunks of the Shadowmancer’s HP with each use. Pair this with the Sniper’s Sense passive skill, which increases your chances for crits based on your distance from the target. Maintain your distance from the Shadowmancer and deal high-damage crits to win.
Best Weapons to Use for Bound Shadowmancer and Despair Dark Enforcer
We recommend using the Longbow for the boss fight. We advise against melee as the Enforcer is aggressive and can overwhelm you as you dodge the Shadowmancer’s attacks. Instead, you can play safe with the Longbow and keep on your toes.
Rewards for Defeating Bound Shadowmancer and Despair Dark Enforcer
Beating the formidable boss duo gets you the following rewards:
- 4x Quality Weapon Growthstone
- 8x Quality Armor Growthstone
- 5x Quality Accessory Growthstone
- 10x Recovery Crystal
Looking For More About Throne and Liberty?
Thank you for reading the guide. We provide the latest news and create guides for Throne and Liberty, Enshrouded, ESO, Baldur’s Gate 3, and more. Also, watch Deltia play games on Twitch or visit his YouTube channel!