Discover the top 10 Beginners Mistakes players often make in Throne and Liberty, and learn how to avoid them!
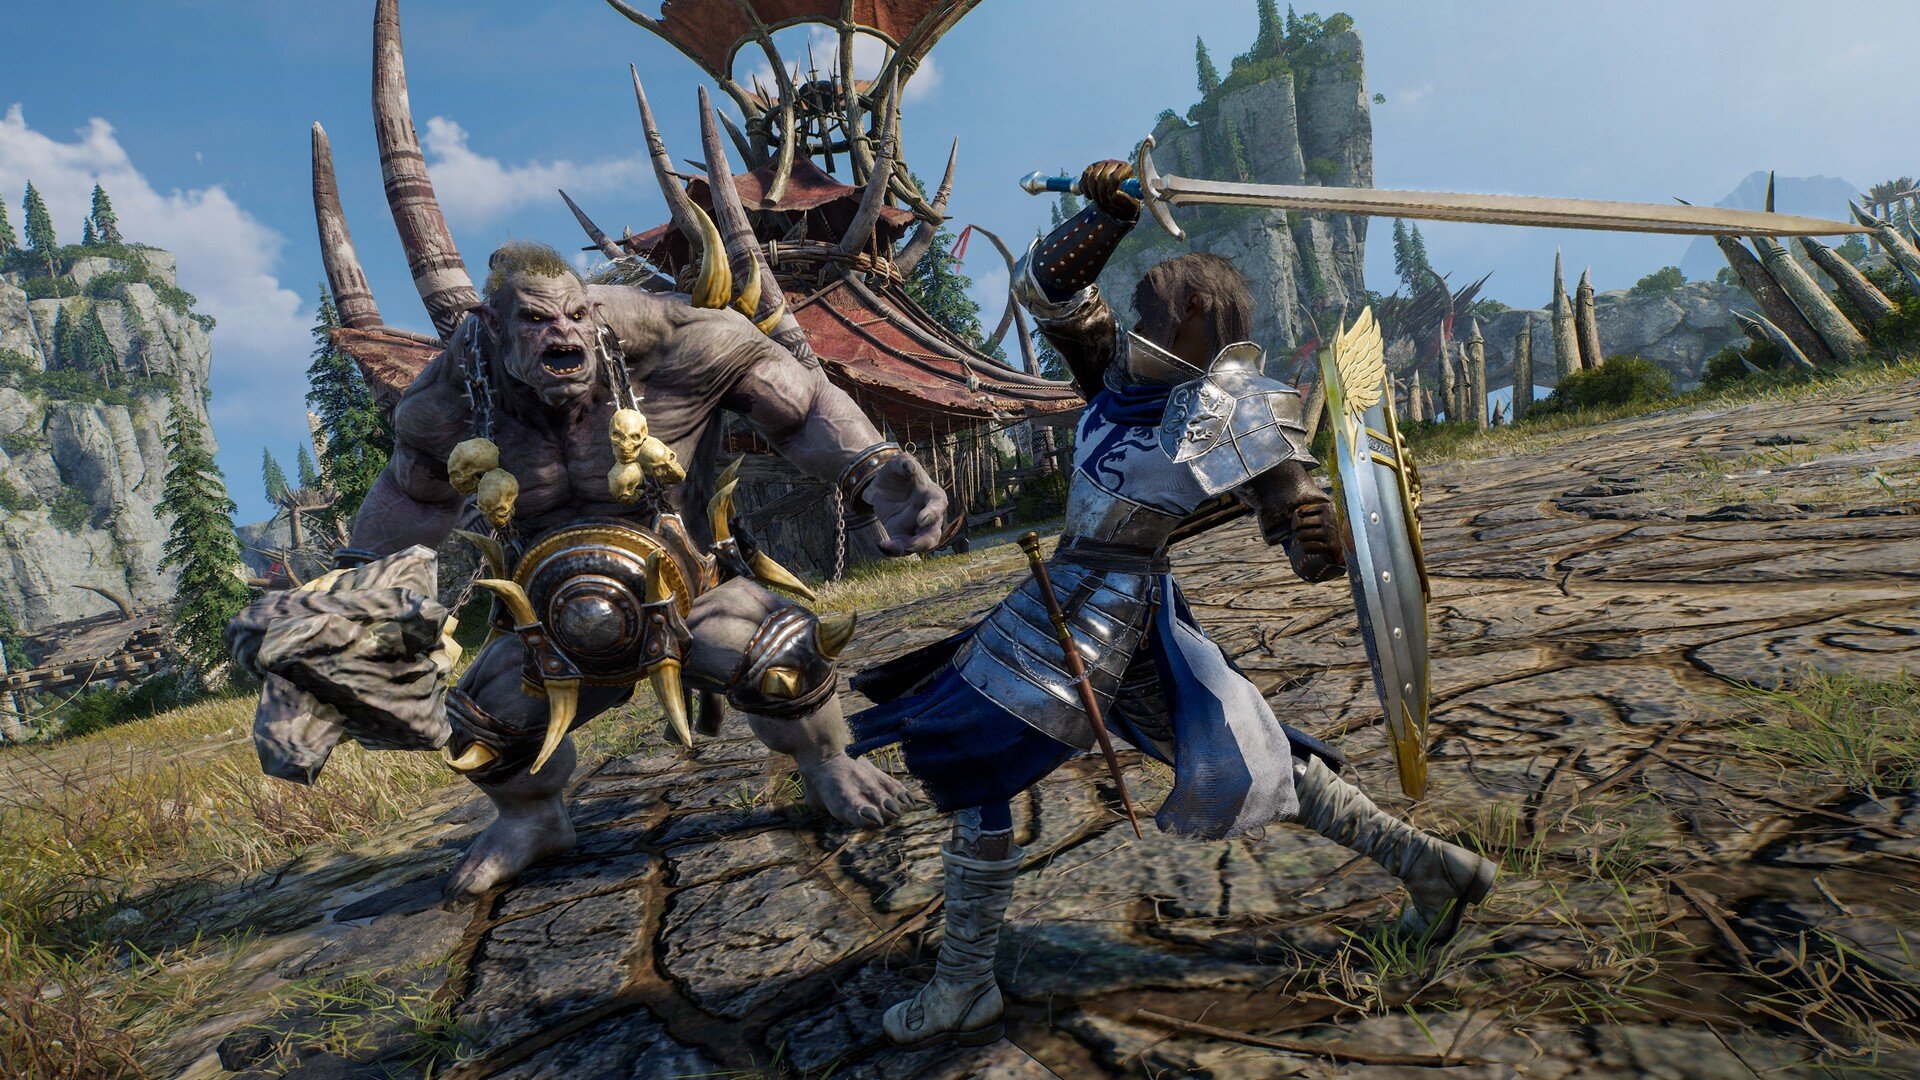
Throne and Liberty is an expansive and engaging MMORPG, with lots of content to complete, activities to participate in, crafting materials to collect, and gear pieces to get. There are a lot of new systems that are introduced one at a time via the early game story quests. However, it’s still a lot to take in, especially for new players who didn’t have time to participate in any of the early betas. With the official launch of the game in early October, now is the time for anyone to try out this new free-to-play game. Check out our Top 10 list of mistakes beginners make in Throne and Liberty and learn how to avoid them for a better first-time experience!
Avoid These 10 Beginners Mistakes in Throne and Liberty
Starting a brand new MMO can be overwhelming to new players and to help you out we’ve made a list of the top 10 mistakes to avoid in Throne and Liberty. In this guide we’ll go over the most efficient way to level, how gear progression works, what dailies to prioritize, and more!
Here are the top 10 beginner mistakes to avoid in Throne and Liberty:
- Leveling Bottle Neck
- Understanding Gear Progression
- Picking the Right Contracts
- Collecting Morphs, Guardians, Amioti
- Using Correct Fury Attacks
- Fix Your User Interface
- Apply Stats, Upgrade Gear, Test Skills
- Use Consumables
- Join a Guild
- Start With High Cooldowns
Leveling Bottle Neck
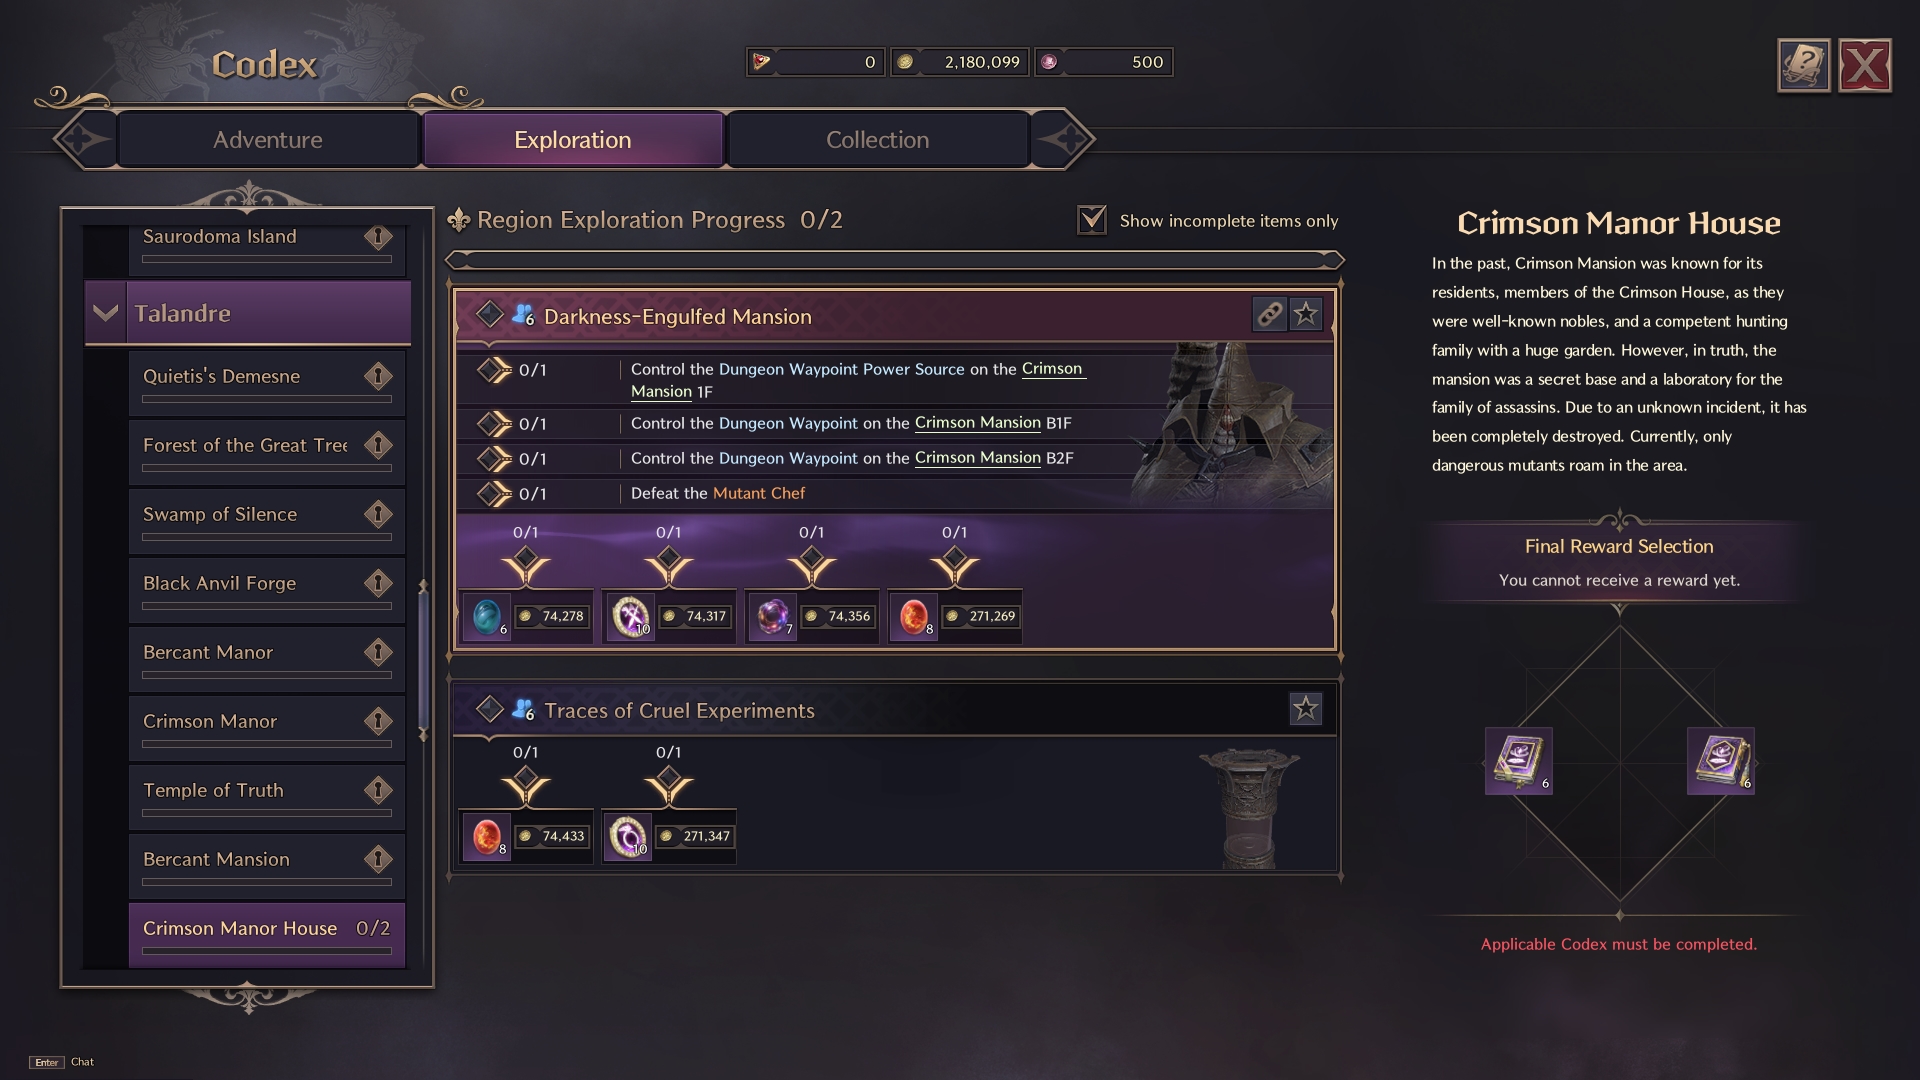
The biggest mistake to avoid when leveling in Throne and Liberty is getting past the bottlenecks. For the most part, the main story quest will get you through Levels 1 to 50, but each portion will have a bottleneck where you need 1-3 more levels. During this part, you need to do alternative activities to push past and get the next main story quest quickly.
The great thing is that you have several different options for getting EXP and can choose the type of gameplay you like best. If you like story content, then each zone has side quests to complete. You can find these listed in blue to the right of your HUD screen, or find them in the Exploration tab of your Codex.
On the other hand, if you prefer to stick to straight combat for EXP, then you also have a lot of options. Take on some Resistance Contracts, join a co-op dungeon, or complete another floor of Taedal’s Tower.
Finally, some activities combine both story and combat, including open-world dungeons (mind that these are PvP spaces at night) and dynamic events.
Understanding Gear Progression
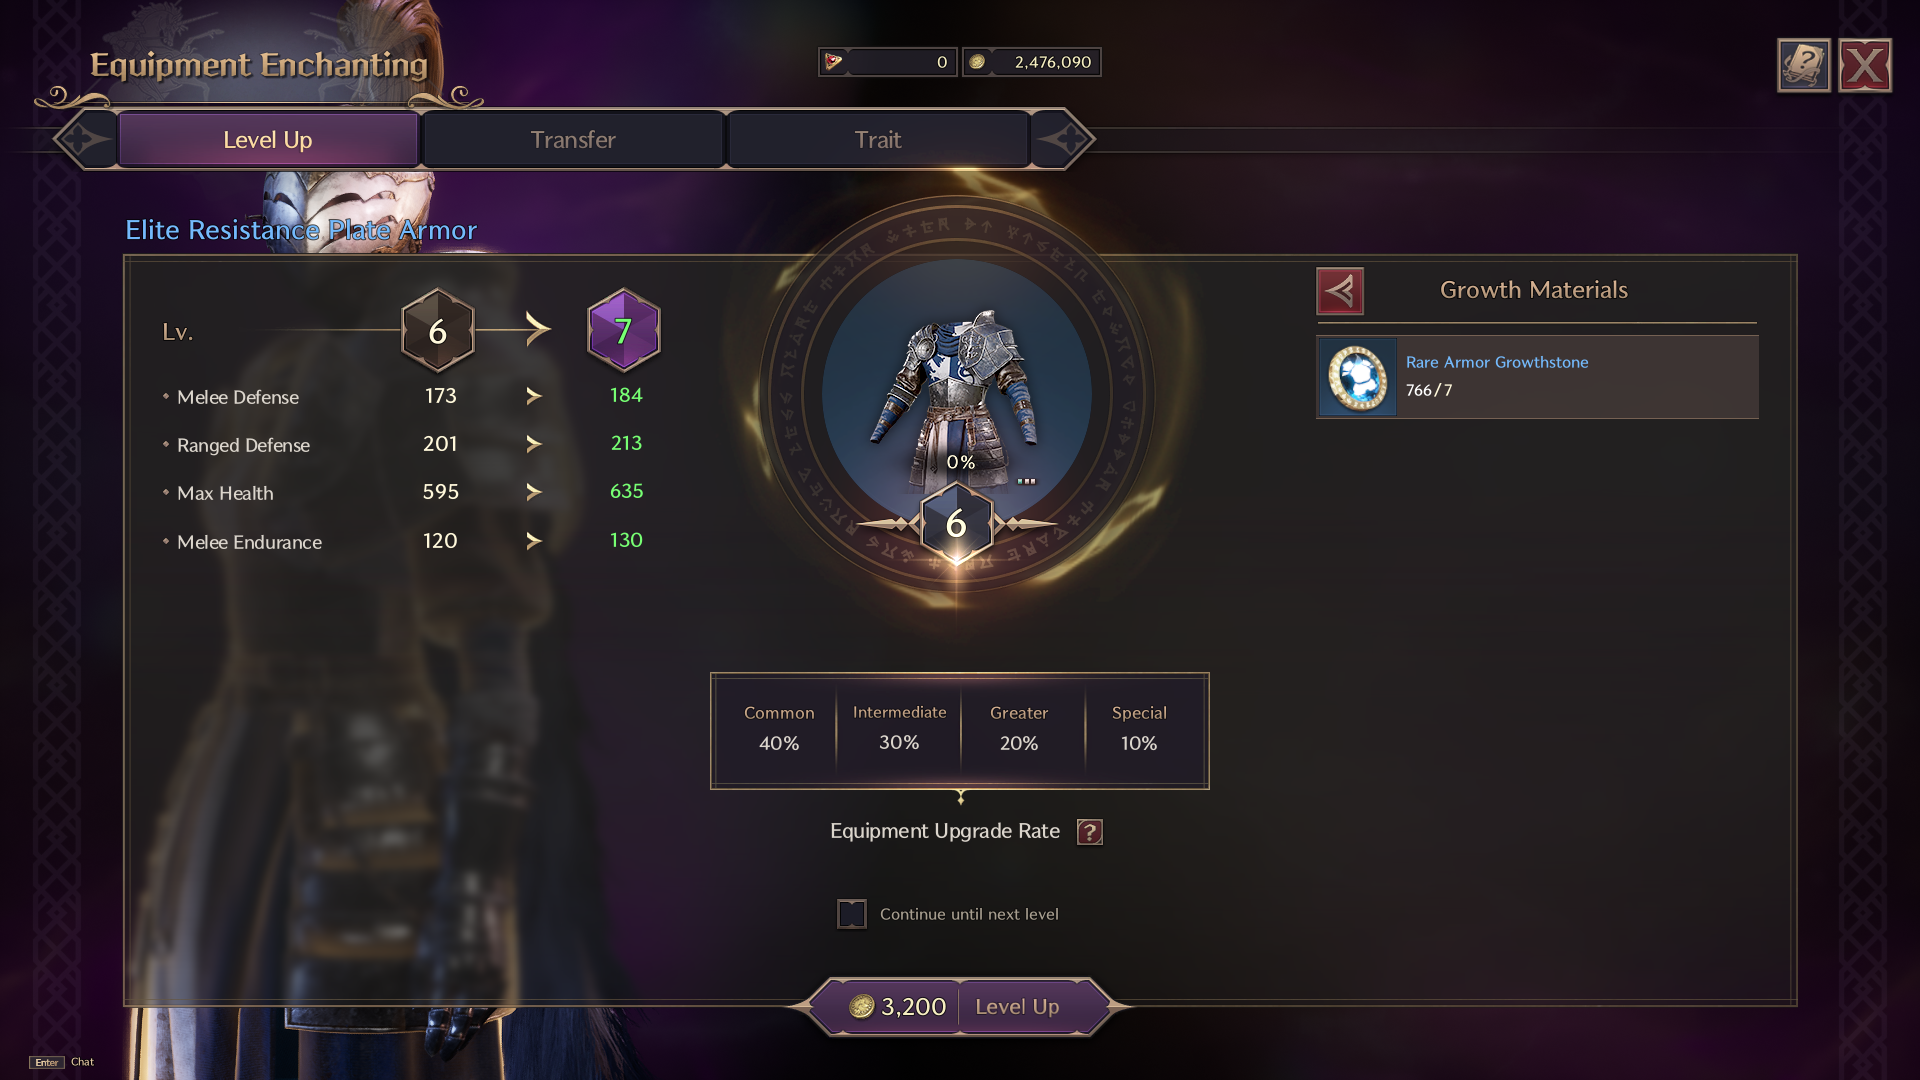
The second biggest beginner mistake to avoid in Throne and Liberty is to not transfer your upgraded weapon or armor into the new tier. In most other games if you get a green piece of gear, then it usually becomes obsolete as soon as you get a blue piece. However, in Throne and Liberty, after you spend resources to level it, that effort doesn’t need to go to waste.
For example, you start with a green weapon. With Growthstones you can improve it to a max of Level 6. Then, when you find a blue version of the same weapon type, use the transfer tab in Equipment Enchanting to transfer the progress on your green weapon to the blue.
Equipment levels in Throne and Liberty work like this:
- Green (Uncommon) gear has a max level of 6
- Transfer a Level 6 green piece into a base Blue piece will increase the Blue item to Level 3.
- Blue (Rare) gear has a max level of 9
- Transfer a Level 9 blue piece into a base Purple (Epic) piece will increase the Purple item to Level 6.
Picking the Right Contracts
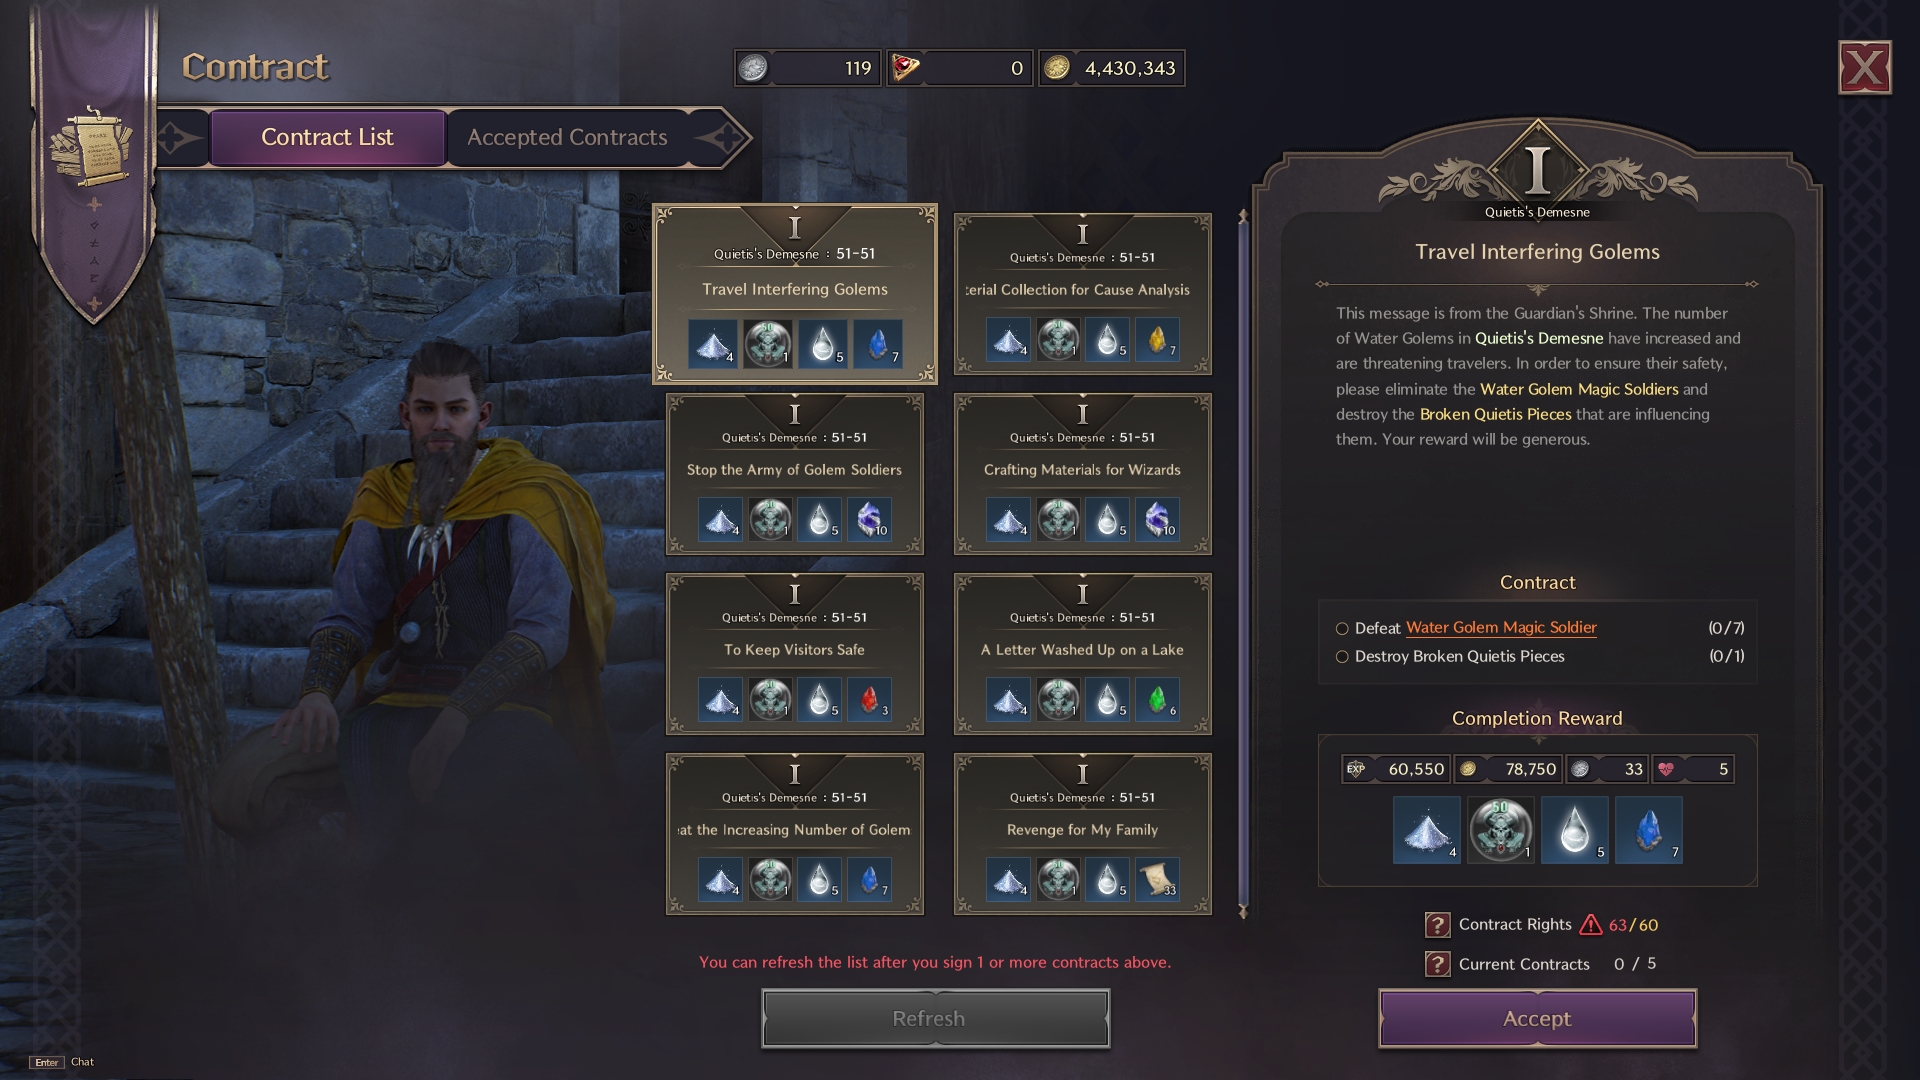
Another mistake to avoid in Throne and Liberty is ignoring the available daily contracts. This is because there is a limit to the number of contracts you can do at a time. Each day you receive 10 Contract Rights and each Resistance Contract you accept will cost you 1 Contract Right. Therefore, if you are keeping up with your contracts, you can only do ten a day.
However, if you do not spend this resource then your contract rights will roll over into the next day. There is a maximum limit of 60 Contract Rights you can hold at a time. Should you spend one, and have 59 out of 60, then the next server reset for the day will give you another ten. You can max out on contract rights at 69\60, but no more.
Contracts are fairly simple daily tasks. Simply go to a Contract Manager, accept any contract you like, go kill the monsters required, and profit. Additionally, you will receive Contract Coins as part of your rewards. Contract Coins can only be spent at the Contract Coin Merchant. Prioritize buying Mystic Keys, which open Mystic Globes found throughout the world. Globes will give you all different kinds of rewards, along with EXP.
Collecting Morphs, Guardians, Amioti
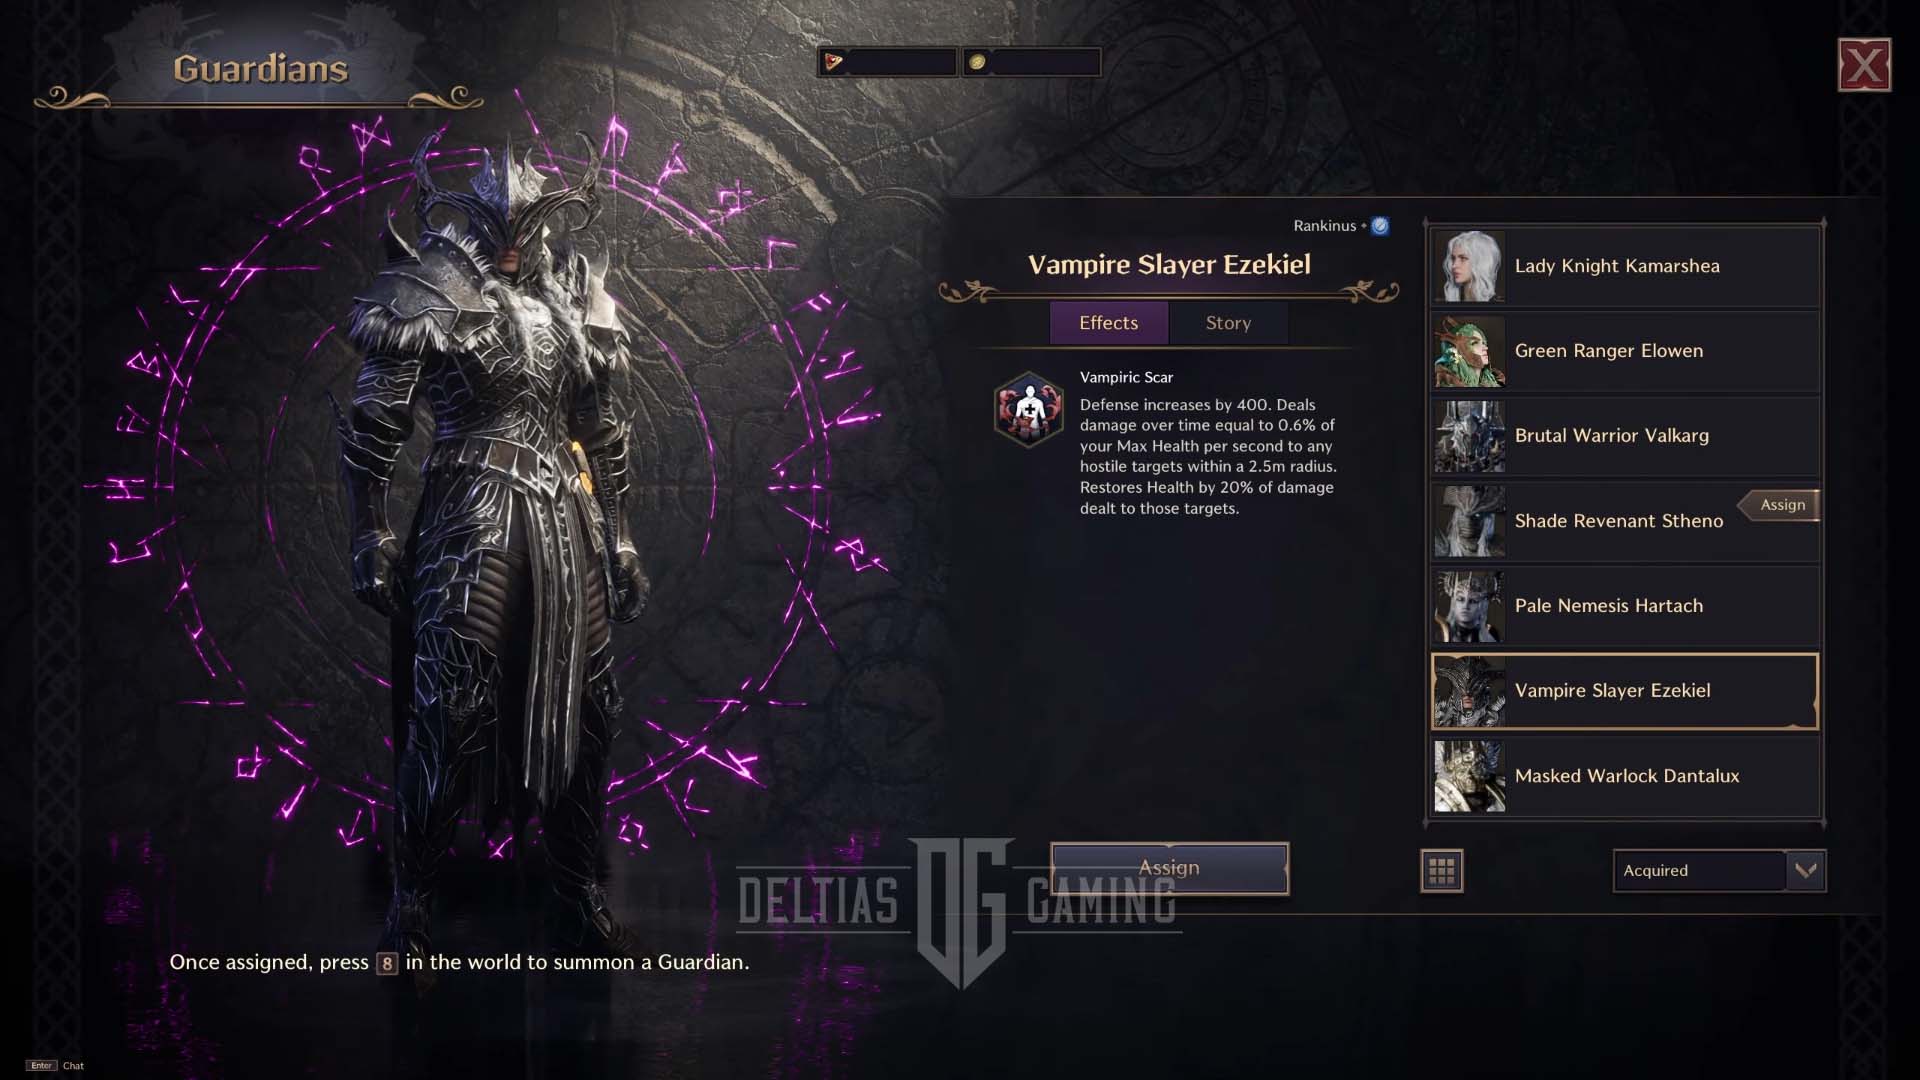
Next, you shouldn’t avoid the side quests or boss battles that can reward you with new morphs, Guardians, or Amitoi. These transformations and ‘pets’ may seem only cosmetic, but they have another purpose in the game, as well.
Morphs are transformations that help our character travel the world of Solisium. Your Dash Morph is how you sprint, your Glide Morph is how you fly, and your Aquatic Morph is how you swim. Moreover, each of these forms can be leveled and the only way to do that is by collecting other morph forms.
Guardians, on the other hand, are powerful combat transformations. They act as an ultimate ability that can be unleashed in times of need. You can start collecting Guardians relatively early on in the game, but you won’t be able to use them until you’ve completed the Chapter 5 quest called ‘A Sacred Pledge of Blood.’
Finally, there are the little Amitoi creatures that can accompany you on your journey. You can find and collect many as you journey through the world, but only one can accompany you at a time. That little friend can help you by passively healing you and by picking up dropped loot. However, with the other Amitoi you can visit the Amitoi house and send a group of them out on an Amitoi Expedition. This is a great way to passively collect crafting materials, especially salt.
Using Correct Fury Attacks
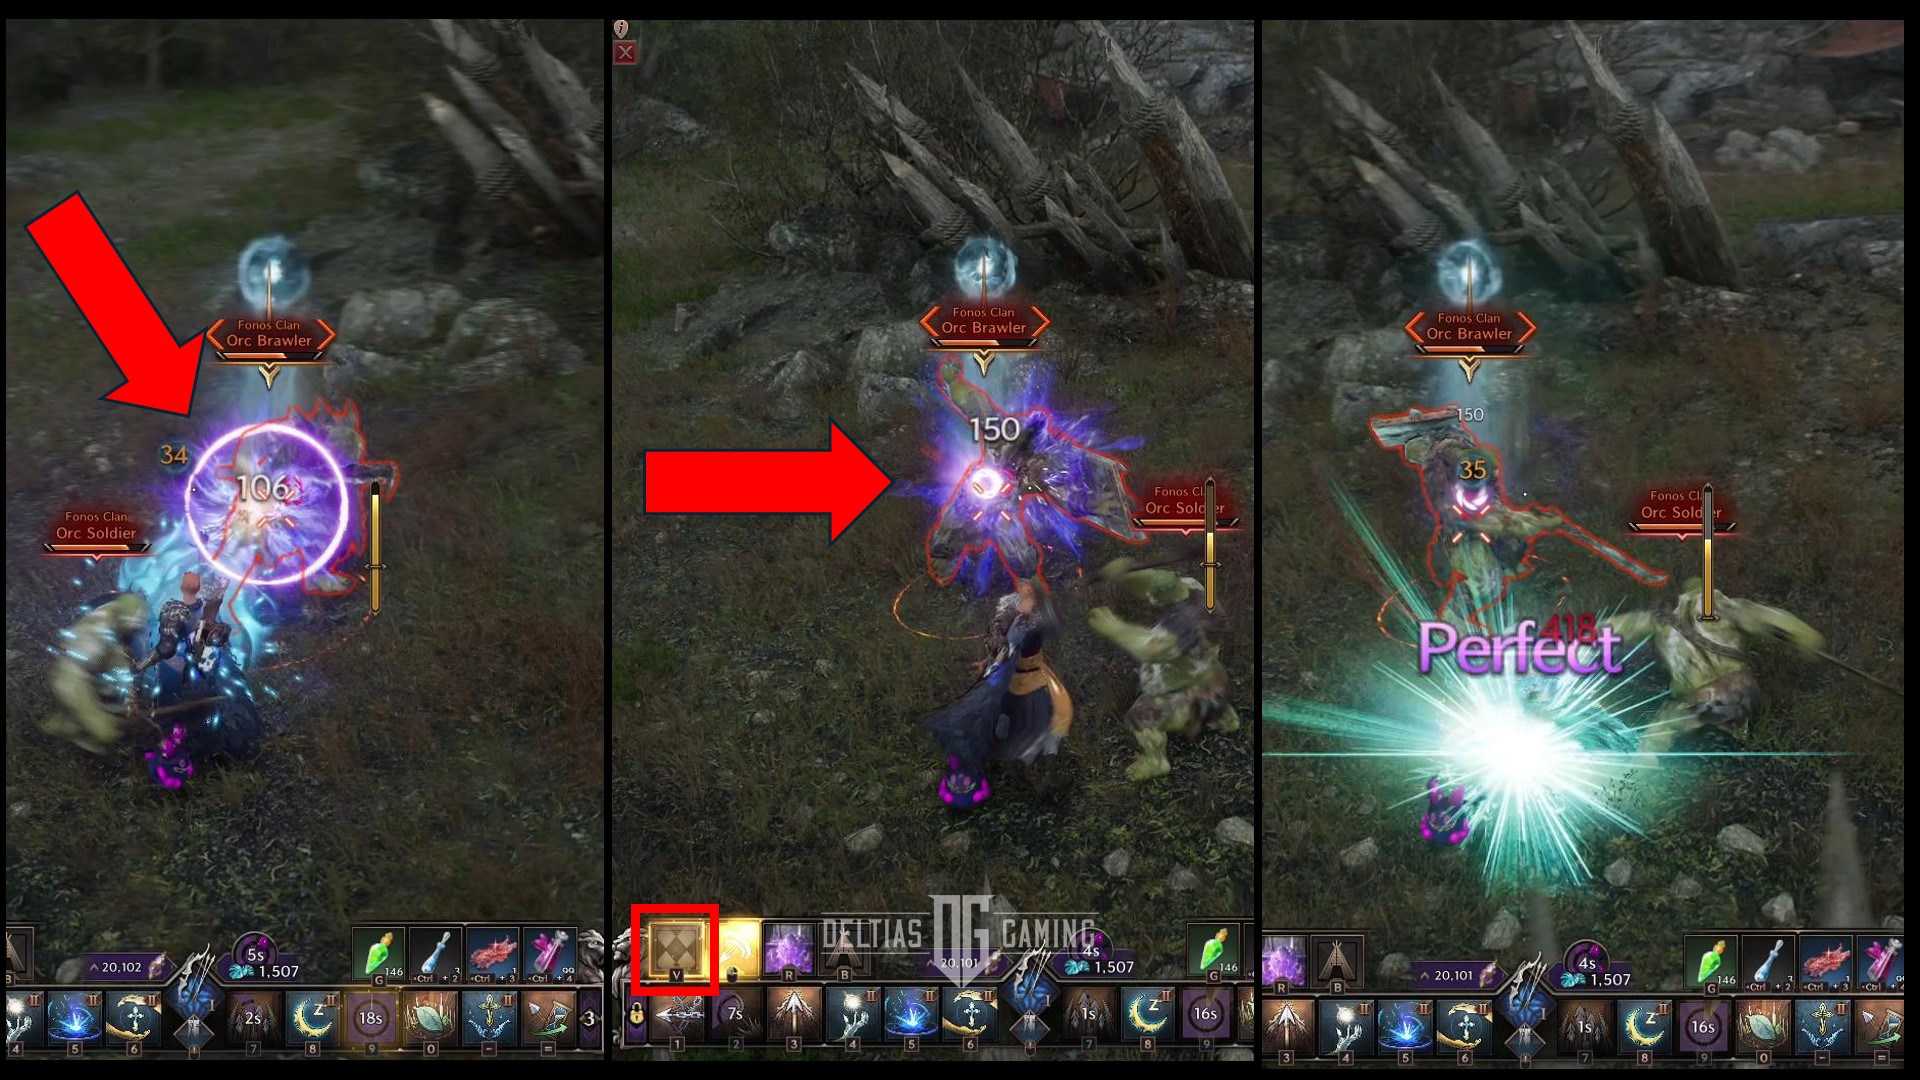
In Throne and Liberty, a Fury Attack will require you to master the mechanic of the perfect block to negate an attacker’s heavy blow and turn the tables. It can be a frustrating mechanic to get right but don’t avoid practicing the timing while you’re still at easy lower levels. Mastering this mechanic will be a necessity for tanks, and all players at higher levels.
In PvE, a purple circle indicator appears on top of an enemy, warning you that the enemy is about to use a Fury Attack against you. The purple indicator helps you to time your response correctly. To avoid the hit you need to press your defensive skill when the purple circle overlaps with the smaller purple circle. Keep an eye on your stamina because you will need at least 35% available to succeed.
Furthermore, you also want to practice executing a perfect block or dodge by using a weapon’s defensive skill. If successful, then not only do you avoid damage, but you will gain a special attack that you can perform in response to the Fury Attack. This typically happens by transforming one of your other active skills into a different form that deals additional damage or grants an additional effect.
Fix Your User Interface
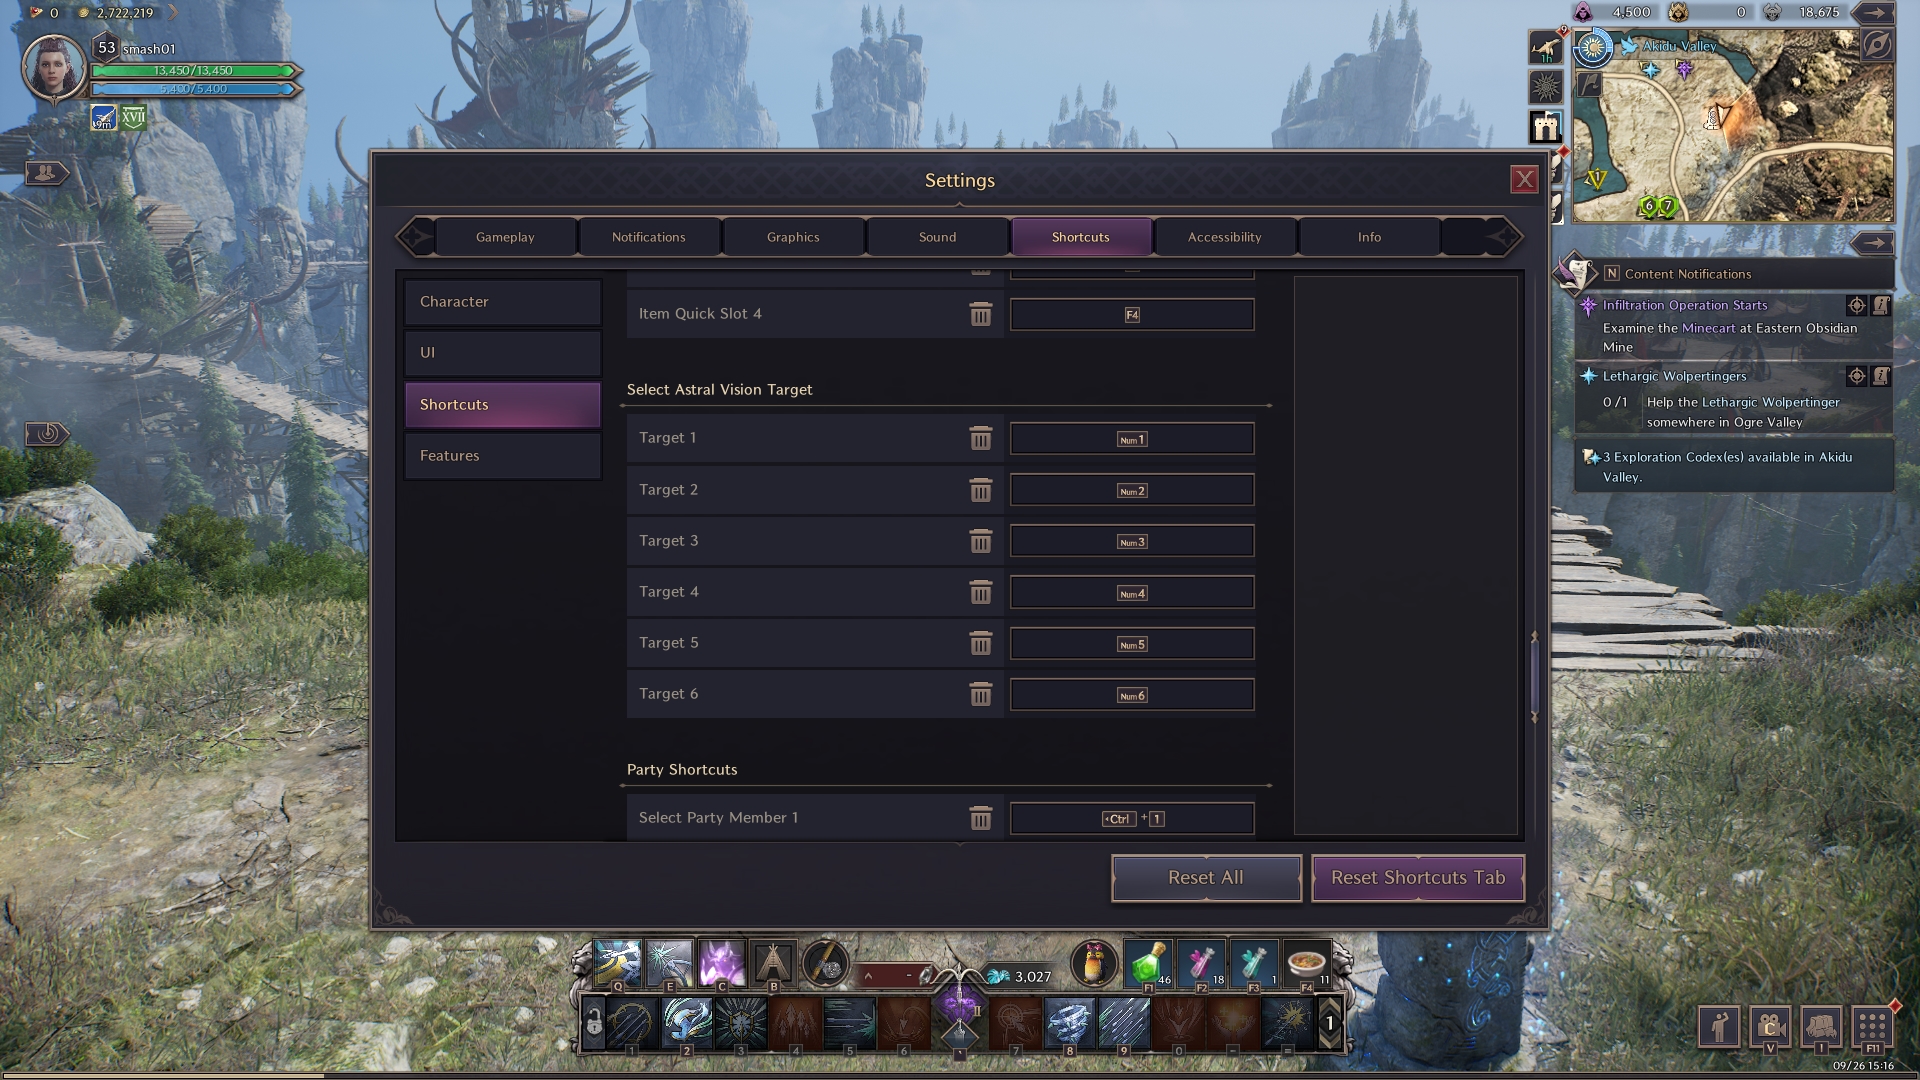
Another basic mistake that beginners can make in Throne and Liberty is not making any changes to their user interface or HUD to suit their own playstyle and needs. To make changes to the user interface you should pull up the main menu and then go into Settings. There are several tabs inside where you can change many settings and shortcuts. One of the easiest things to change is the auto run, and all you have to do to change this setting is press the “/” key on PC.
You can also change the default keybinds within the Shortcuts tab on the Settings screen. Within this screen, you can alter any of the key bind settings for your character, UI, skills, and other shortcuts.
Moreover, this will relate strongly to your skill bar and the order you choose to put your skills in. Ideally, the best order to place skills on your action bar is in the rotation order you use them. However, you may want to tweak this depending on your own muscle memory and playstyle.
Finally, you should also change the UI so that you can easily monitor your health and debuffs. You can do some of this by editing the HUD and moving boxes around to where you can more easily view them during fast-paced combat.
Apply Stats, Upgrade Gear, Test Skills
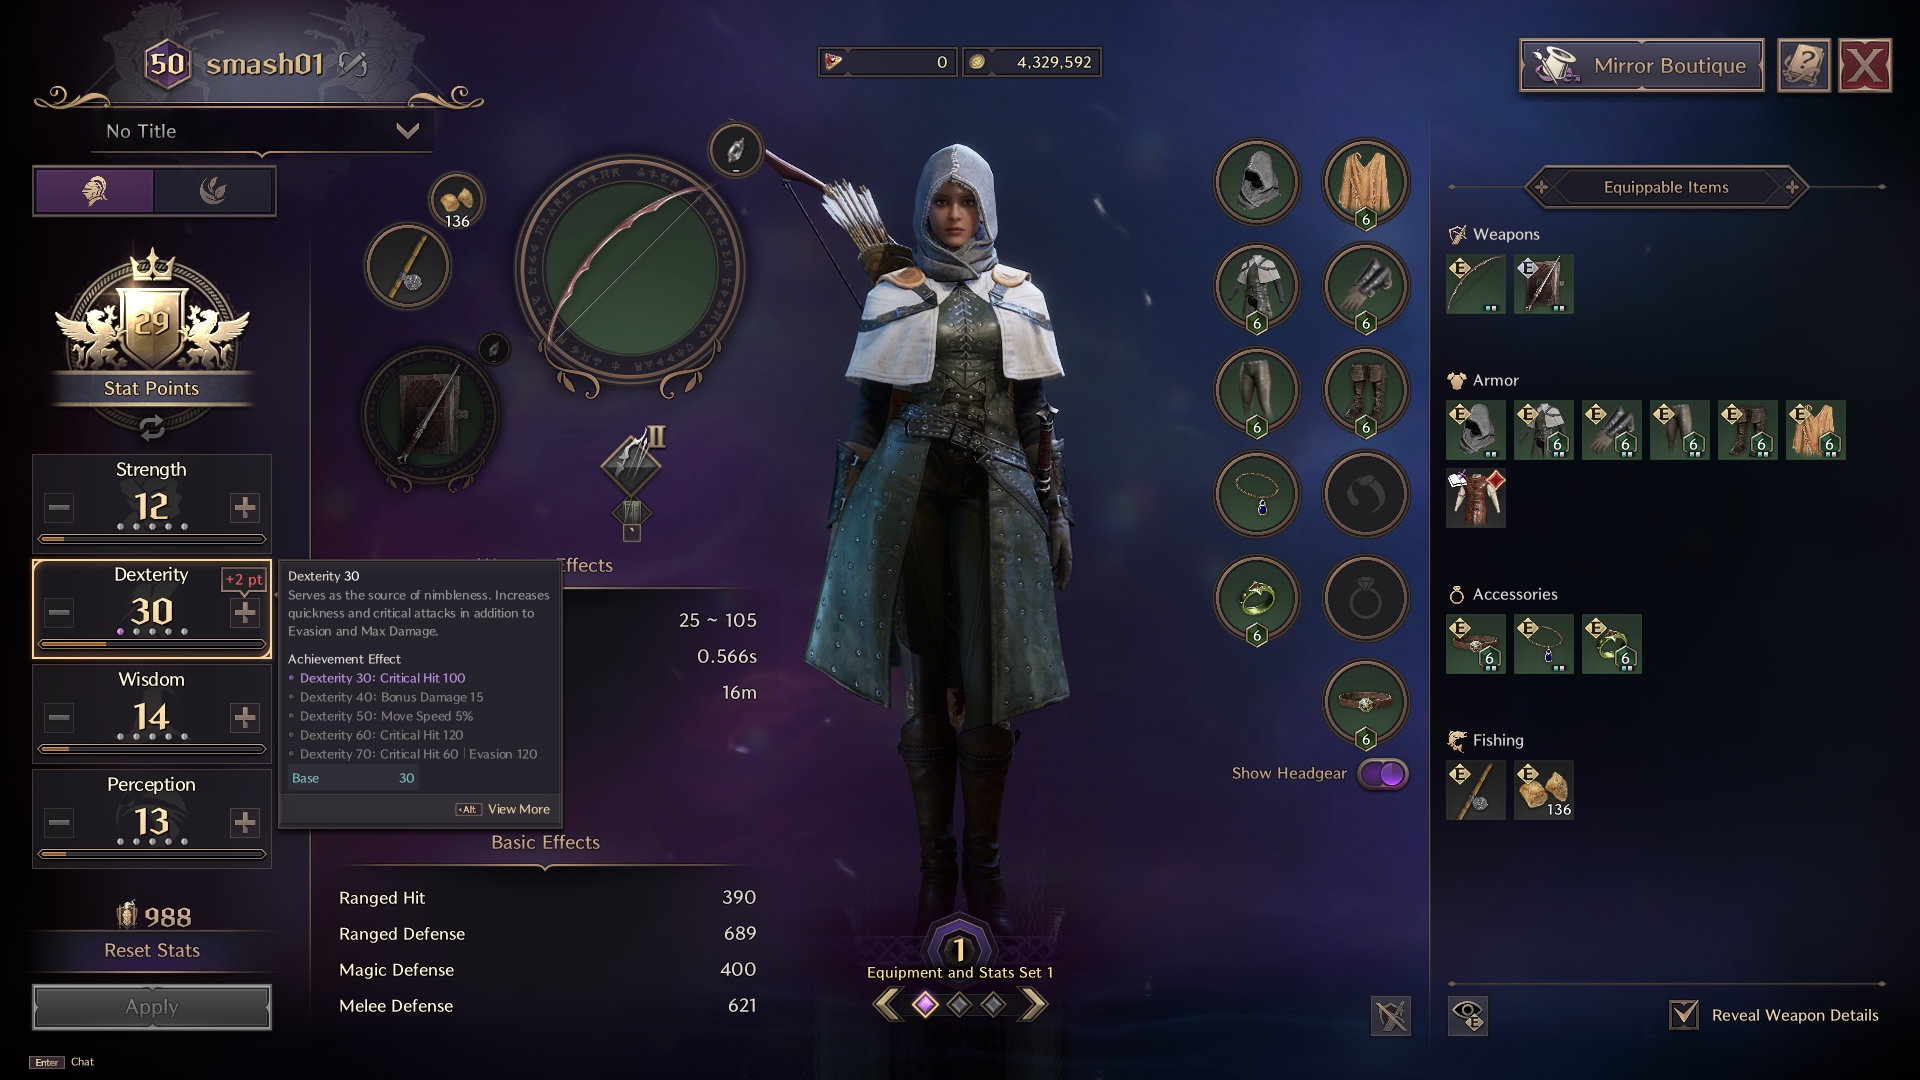
As you are leveling a new character, particularly in the low levels, it’s easy to miss when your character achieves a new level. This is because it usually occurs at the same time you complete a quest and it gets mixed in with other notifications. Each level you achieve grants you one corresponding Stat Point. You can spend this in one of four categories: Strength, Dexterity, Wisdom, or Perception. These will have a huge impact on the power of your character and weapon build.
Furthermore, you want to consistently upgrade your Active, Passive, and Defensive skills as you level. New skills will unlock at certain levels, and you may want to add them to your rotation. You can also test your rotation and practice with new skills on practice dummies. They are available at many locations, including the starting city of Kastleton, Vienta Village, and Stonegard.
Additionally, don’t forget to use Skill Books to level the skills that will be on your bar at end game. Skills level in a similar way to weapons. They will start at Green, and can advance to Blue and then Purple, getting stronger each time. You’ll be getting a lot of green-level Skill books and Growthstones (for gear) as rewards for almost any early-game activity. Don’t hoard them, use them to boost your power!
Use Consumables
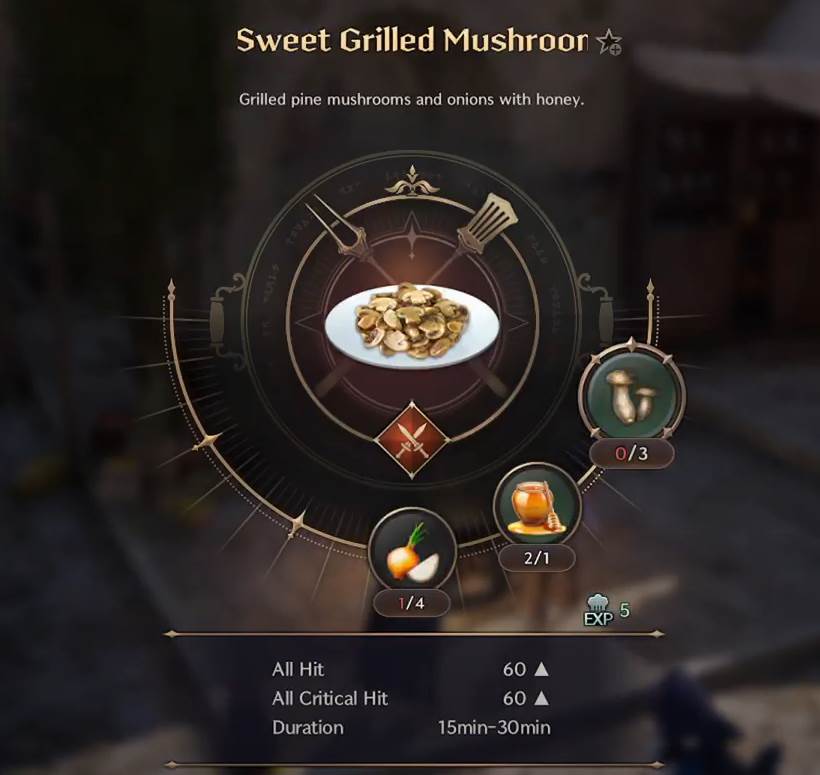
Hoarding consumables for an insanely difficult end-game boss and then never using them is a time-honored tradition for gamers. However, we highly recommend that you avoid that beginners mistake in Throne and Liberty! There will be lots of different consumables available throughout the game. Furthermore, some consumables also come in different ‘qualities’, so saving a low-tier healing crystal for the Level 50 dungeon isn’t worth it.
In the early game, your Amitoi will be a simple way of providing your character with some passive healing. You will need to keep a stock of World Tree Leaves on hand, but these are relatively inexpensive. Then, your Amitoi can use the leaves to heal you for a small amount every 6 seconds.
Cooking is another system in Throne and Liberty that will be introduced to you through the main story quest. There is a wide variety of ingredients you can collect, and you can learn new recipes by creating new dishes and increasing your Cooking level. Similarly, Fishing is another mini-game you will unlock that can provide additional unique ingredients.
Finally, always be on the lookout for material icons on your mini-map in the upper right-hand corner of the HUD. These will mark locations where you can find stones to mine, plants to harvest, or trees to chop down. All of these materials are useful for crafting weapons, growthstones, skill books, and more. Everything will contribute to your character progression in some way!
Join a Guild
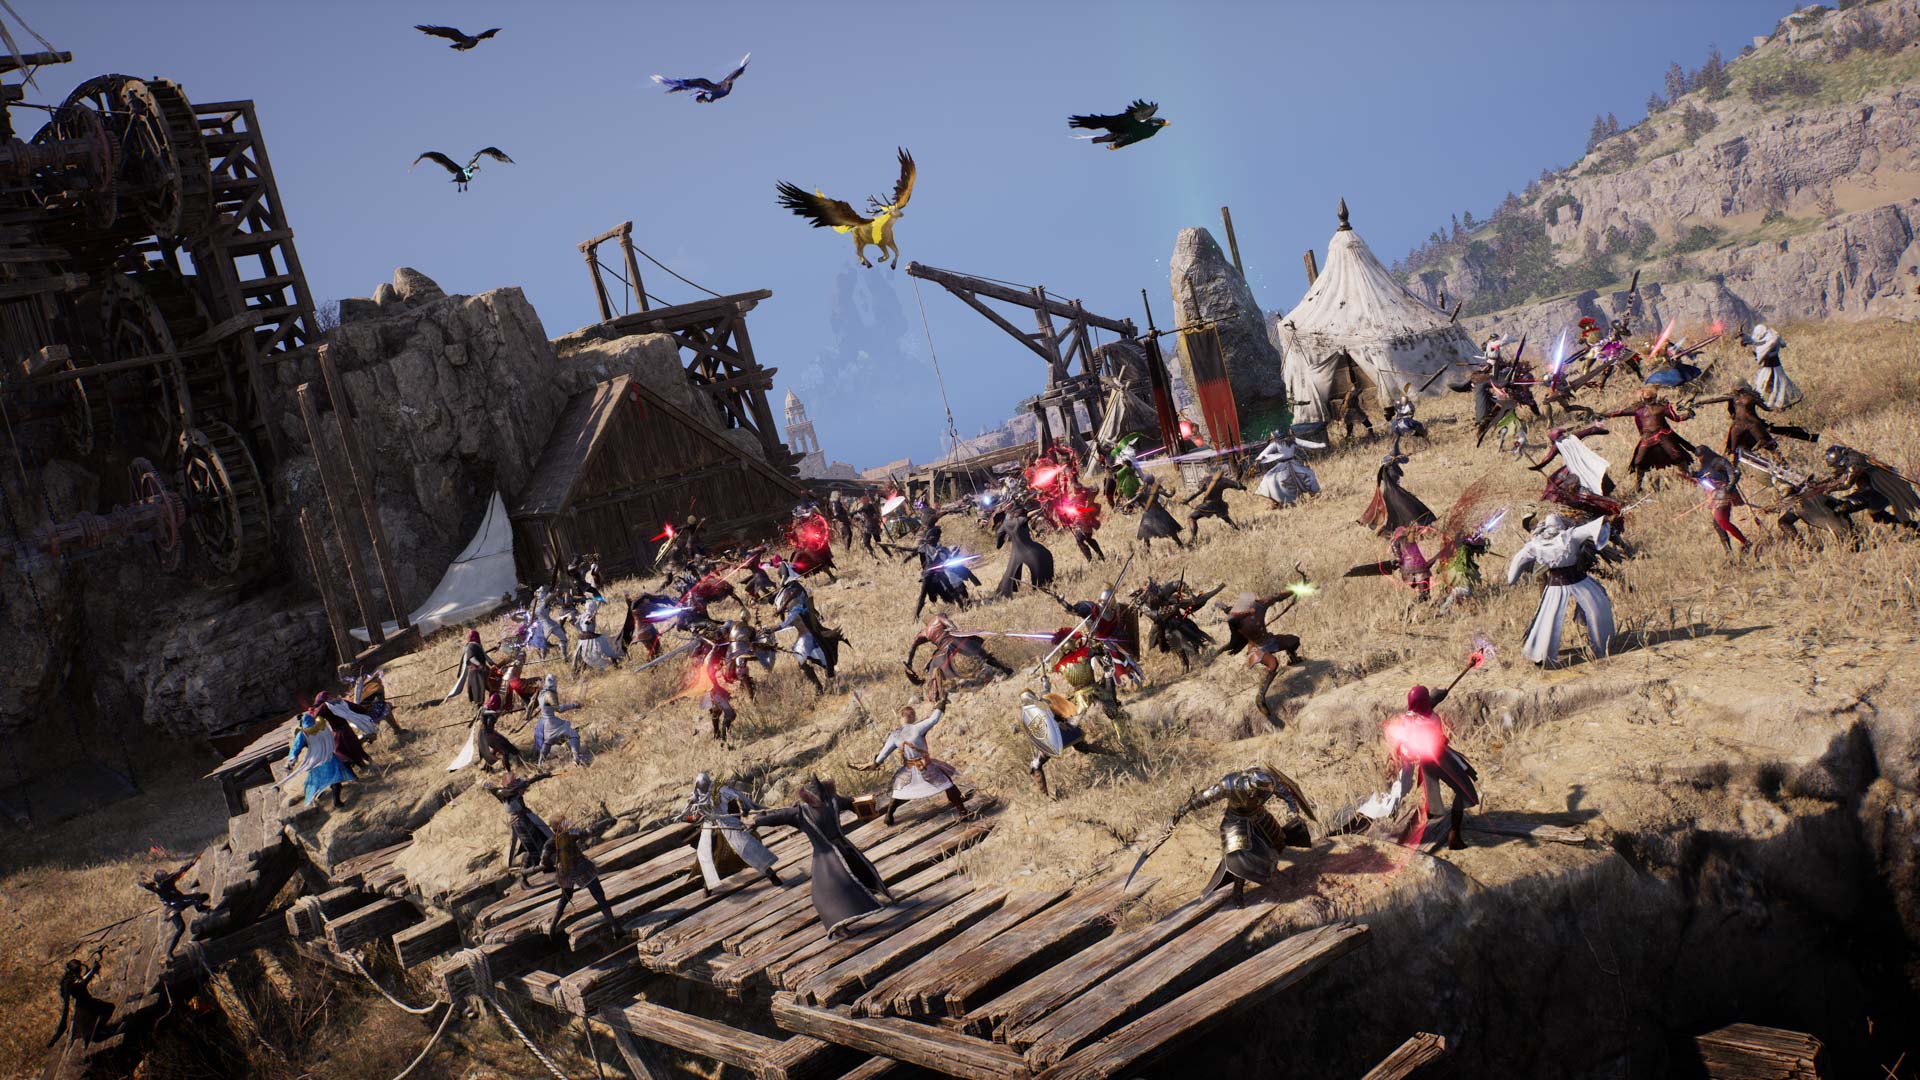
If you’re more into single-player games and story, it can be a tempting beginners mistake to ignore Guilds in Throne and Liberty. However, this game was developed in a way that guilds are a major part of the story and gameplay experience. You might be fine playing through the main story quest while solo, but if you wish to tackle any of the end-game PvE content or attempt PvP activities, then you will need a group. And the best way to form a group in Throne and Liberty is by joining a guild.
Moreover, the game will start to nudge you in the direction of guilds early on. Even if you ignore it, by the time you reach Stonegard there will be at least one quest requiring you to join a guild. Consequently, it’s best to join one early on. Use the guild search to find one that fits your lifestyle and playstyle. There are plenty of hardcore guilds and casual guilds to suit any need.
The benefits of joining a guild are great, even in a more casual one. By participating in activities (or even just donating some sollant regularly) you will receive Guild Coins in return. These can be spent with the Guild Merchant, where you can even buy potions that are better than the standard ones.
Start With High Cooldowns
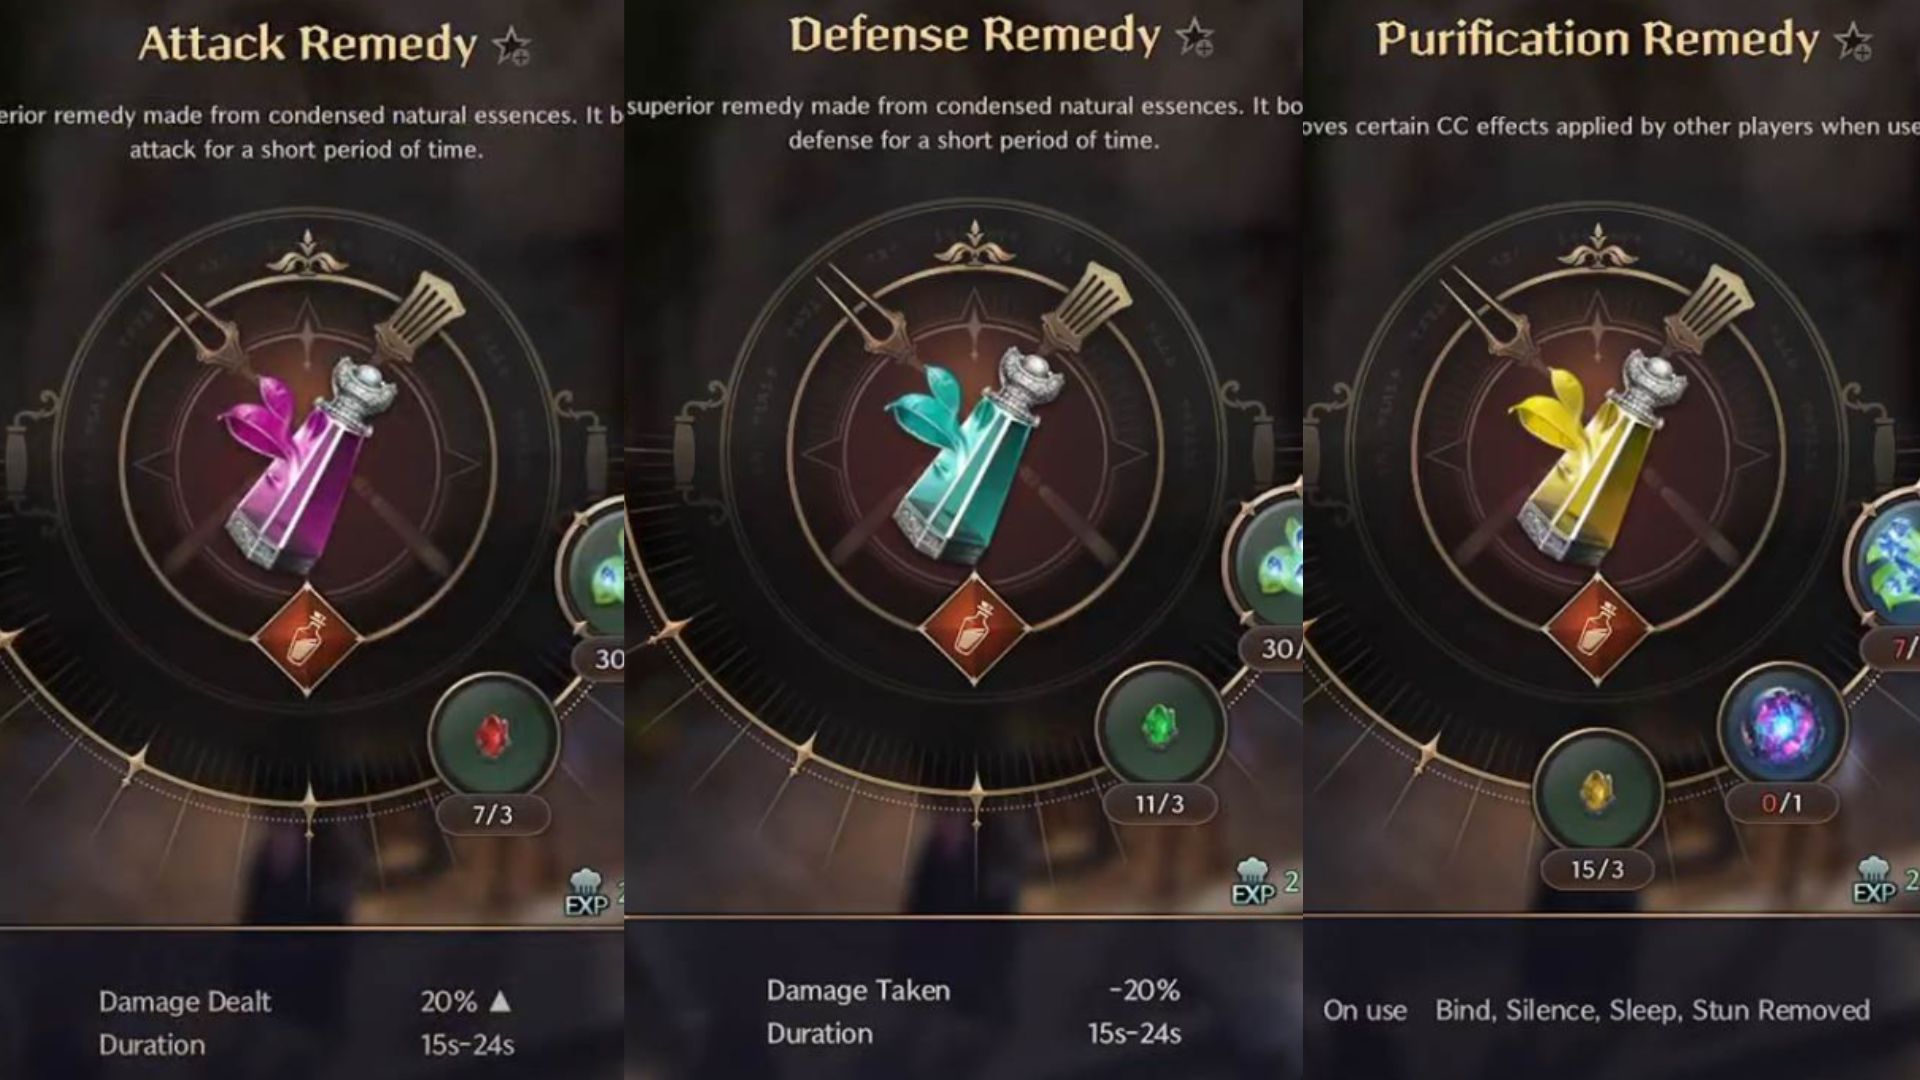
Finally, the last major mistake that beginners make in Throne and Liberty is that they don’t use their long cooldown items and skills at the beginning of combat. Consumables can include Remedies and some Potions. All remedies, for example, will only last for 15-24 seconds. But their cooldown time is two minutes long. Therefore, you’ll want to consume one at the start of combat so the cooldown begins immediately, too.
Additionally, Guardians can also fall into this category. As an ultimate transformation skill, Guardians have a limited use via their long cooldown. You can only summon them once every ten minutes. This means that in most fights you are likely to only get to use them once. However, if you summon your Guardian at the start of combat, you will have an increased chance to use it a second time during more difficult fights.
Moreover, making sure all of your trinkets and consumables are used right at the start of a fight means that their effects can stack. An attack remedy that boosts your damage dealt can also apply to the power of a summoned Guardian.
Looking For More About Throne and Liberty?
Thank you for reading the 10 Beginners Mistakes to Avoid in Throne and Liberty. We provide the latest news and create guides for Throne and Liberty, Enshrouded, ESO, Baldur’s Gate 3, and More. Also, watch me play games on Twitch or visit my YouTube channel!
 Reddit
 Email
Email
