Facebook
 Reddit
 Email
Email
Here is an in-depth walkthrough of the Cluckin’ Bell Farm Raid in GTA Online, including the best options and the payout rewards you can get.
Cluckin’ Bell Farm Raid is one of the best early-game contact missions to run in GTA Online. This is due to how easy it is to complete even without proper weapons. Additionally, the payout for this mission is also decent and can be good starting money for new players. Furthermore, you can also solo this mission, allowing anyone to complete it without diving into public sessions where they might encounter griefers. Overall, whether you are a new player or a veteran, this mission is a good way to earn quick cash.
Here is a walkthrough of the Cluckin’ Bell Farm Raid, along with the rewards you can get.
Also Read: How to Solo Cayo Perico Heist in GTA Online (Job Guide)
Table of contents
- How To Complete the Cluckin’ Bell Farm Raid in GTA Online
- Slush Fund: Steal Cash From a Money Laundering Business
- Breaking and Entering: Locate and Steal a Train
- Concealed Weapons: Steal Weapons and Gear From Three Gangs
- Hit and Run: Steal Getaway Vehicles From Three Gangs
- Disorganized Crime: Ruin the Cluckin’ Bell Underground Operation
- Finale: Scene of the Crime
- Cluckin’ Bell Farm Raid Payout Rewards
How To Complete the Cluckin’ Bell Farm Raid in GTA Online
The Cluckin’ Bell Farm Raid can be finished in less than an hour in GTA Online. However, there are multiple routes you can take depending on your equipment preferences for the finale.
Here is the full walkthrough for the job mission along with the recommended routes you can take for a faster run:
Slush Fund: Steal Cash From a Money Laundering Business
Your first mission is to steal cash from two locations to fund the raid in the finale. If you have the Kuruma (Armored) car, the prep mission will be very easy for you. Otherwise, you can always settle for the Duke O’Death, which is free on the Warstock Cache & Carry website. This will allow you to safely shoot enemies outdoors without having to expose yourself. Alternatively, if you can afford an Oppressor MK II, you can travel quickly from marked locations. However, this vehicle is quite expensive.
Simply enter each building and collect the freshly laundered cash in washing machines. The enemies in each location are fairly easy to take down. Always try to aim for the head for an instant kill.
Breaking and Entering: Locate and Steal a Train
Your first setup mission for this heist is to locate and steal a train that will help you reach the Finale area. Before that, you first need to steal a laptop and a Terrorbyte. You can start with either of the two, and the outcome will still be the same.
Steal Laptop
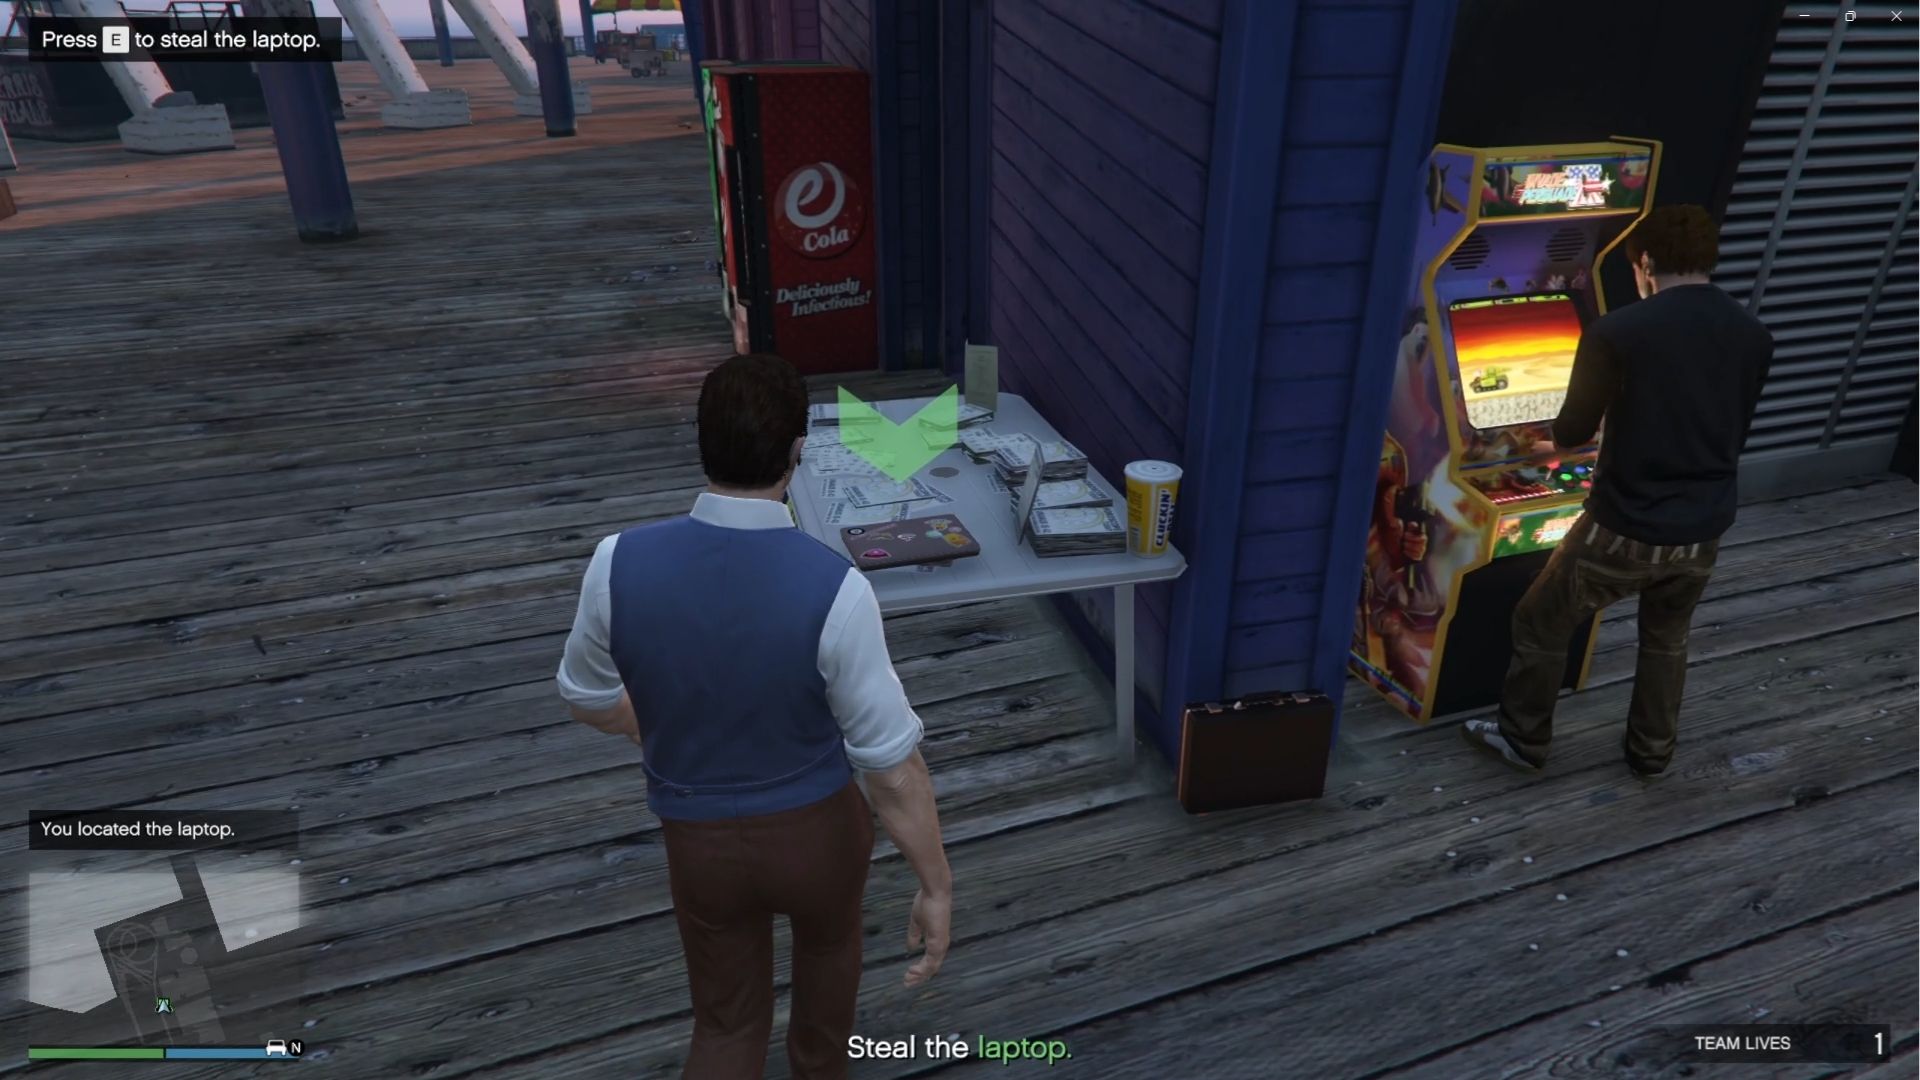
The laptop is fairly easy to find. Simply head to the marked location and find your laptop in the amusement park. Vincent will send you an image of the person who owns the laptop. Take a look at it and find the person. Once you are near enough, the laptop should be marked, making it easier to spot.
You don’t have to kill the owner of the laptop. You can ignore him or punch him to death so you can level up your Strength a bit.
Gather Data From Terrorbyte
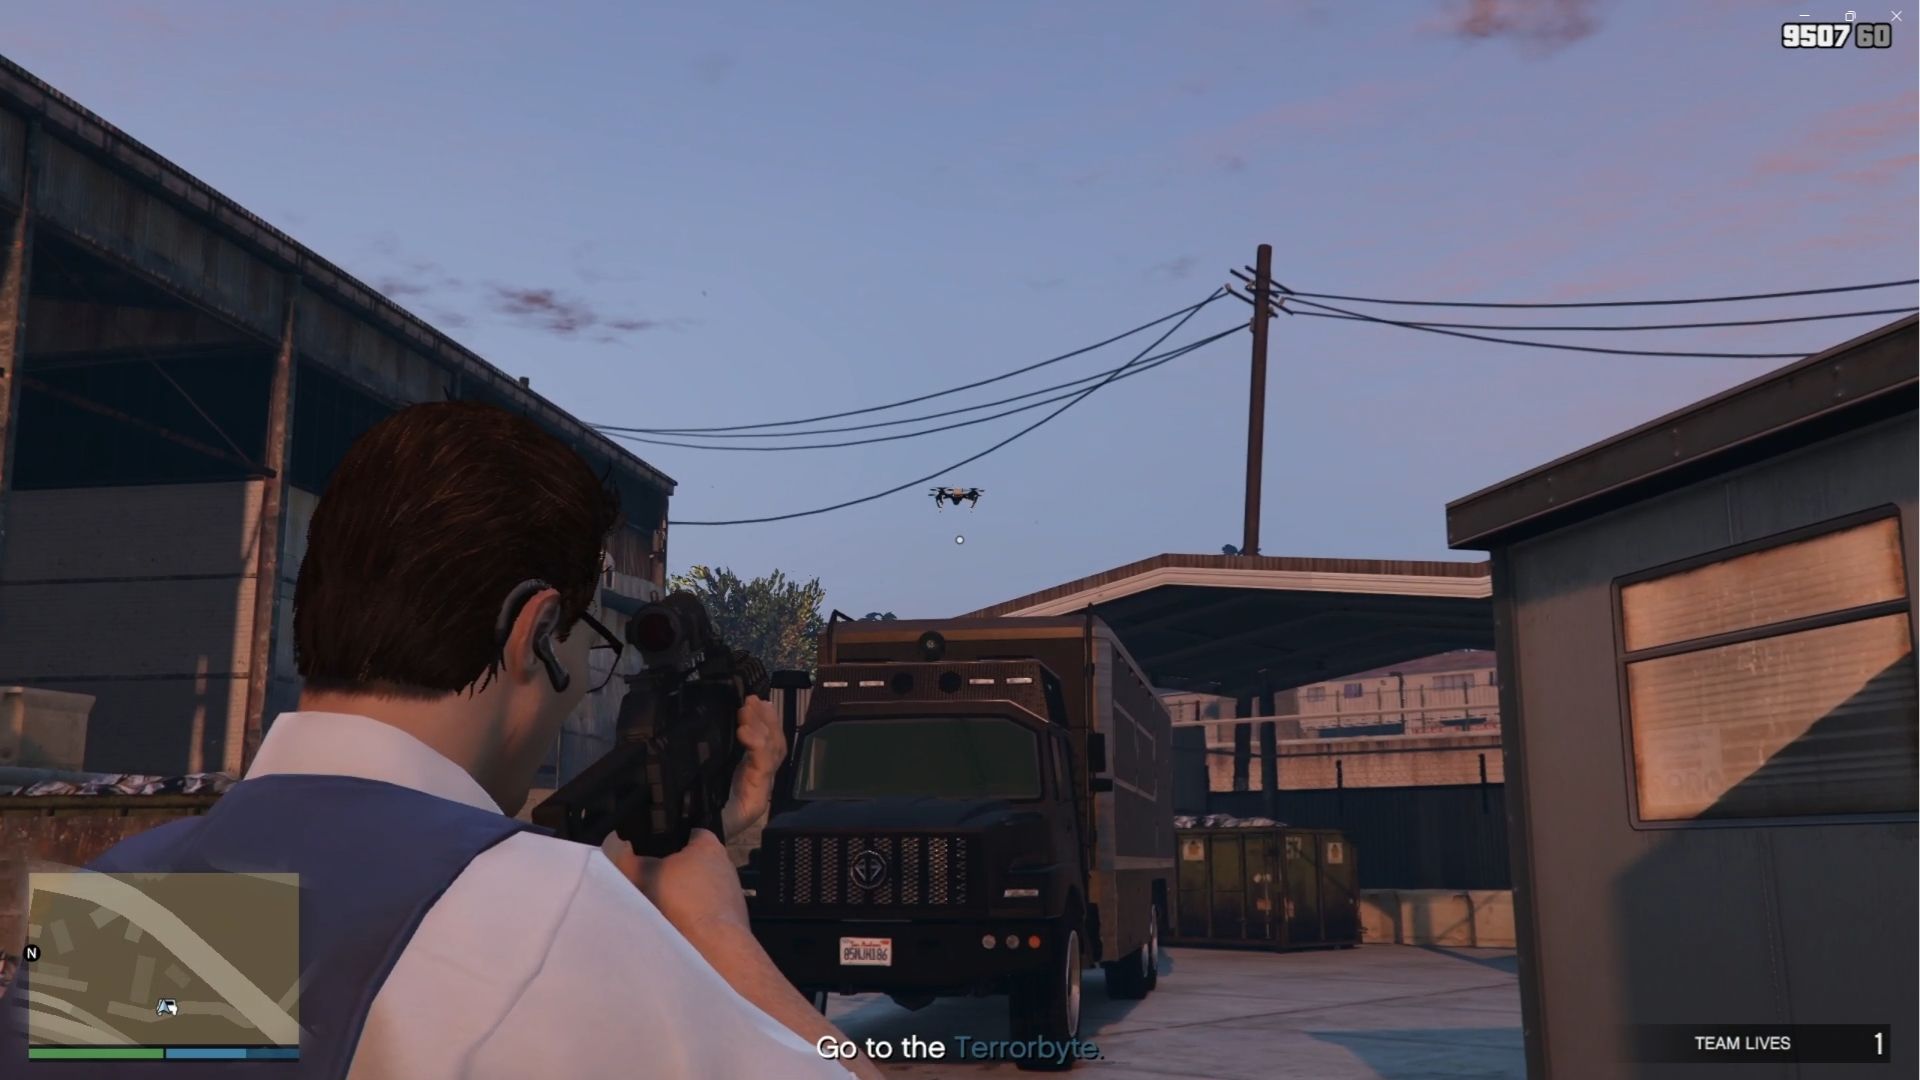
The Terrorbyte will be guarded by drones. Be careful around them, as one drone will fly near you and self-destruct. After clearing the drones, you can enter the truck and steal the data you need to locate the train.
Steal the Train
Once you finish gathering data, the train will be marked on your map. Head to the location and start blasting your way. You will need to find a key that drops from one of the enemies in the area. Once you have the key, you can head to the train and press F (for PC) so you don’t have to climb up and move it forward.
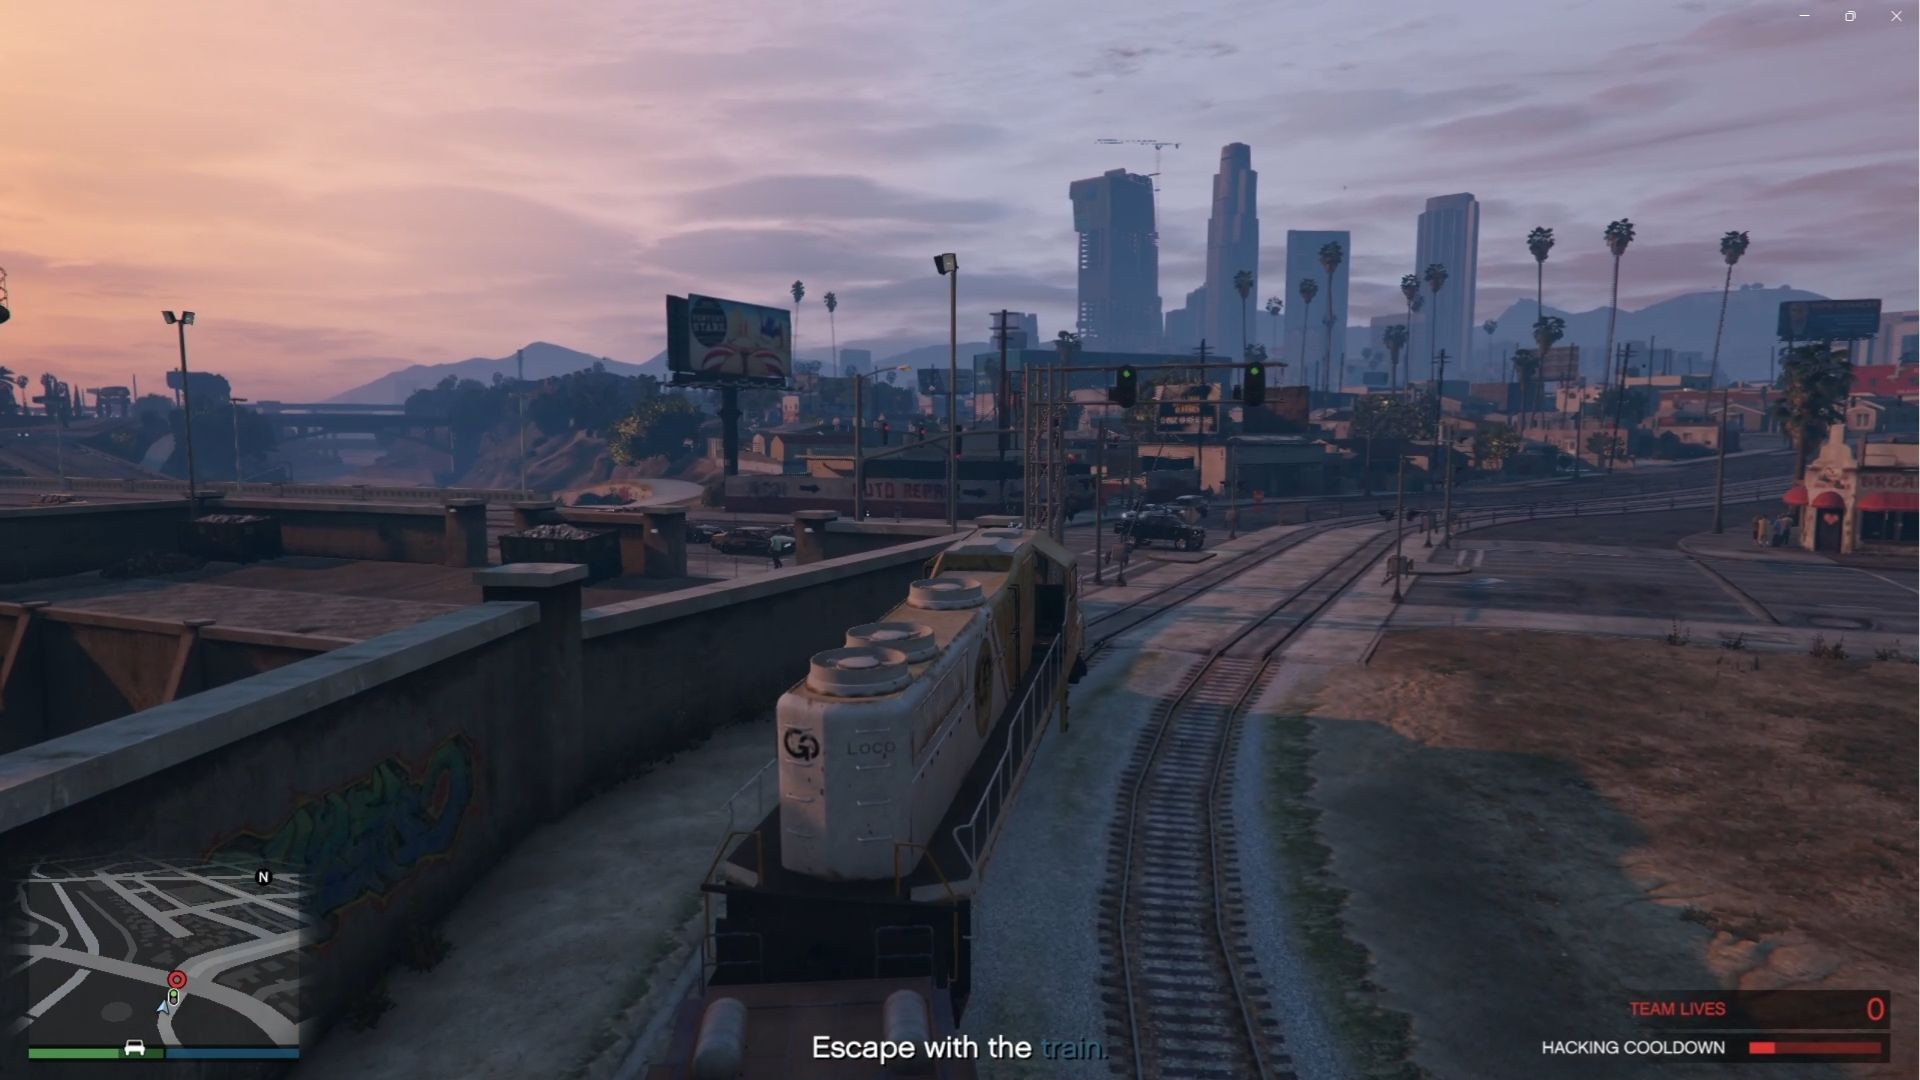
Once you get the train moving, you don’t have to shoot down enemies chasing you. Focus on pressing the forward button while preparing to press the button needed to hack checkpoints. Once the train enters a tunnel, the setup mission is complete.
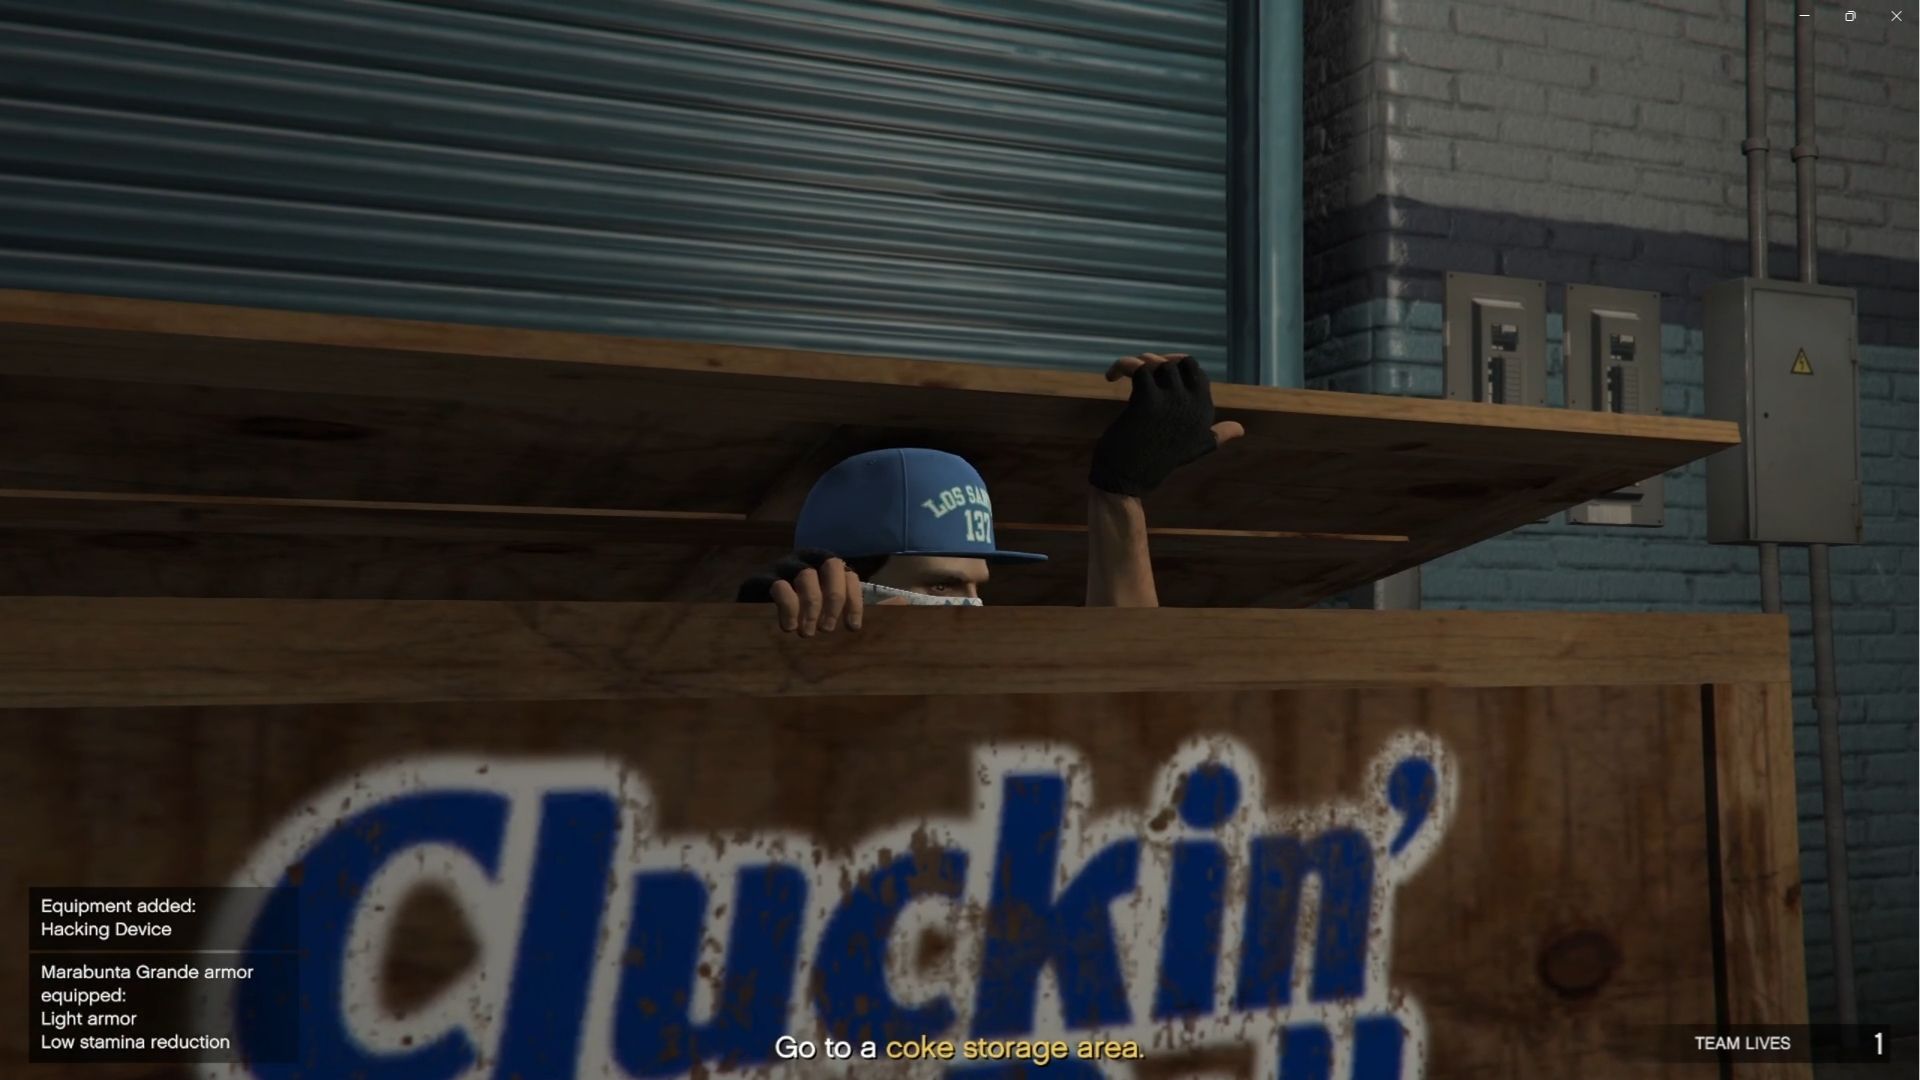
Concealed Weapons: Steal Weapons and Gear From Three Gangs
This is the second setup mission where you need to acquire weapons and equipment from one of the three marked gangs. This is the first setup mission where you must acquire weapons and equipment from one of three marked gangs, each offering a unique loadout with its own advantages and playstyle.
We don’t recommend you steal from all three options at once. Each gang will chase you down once you steal from them. This makes it increasingly harder to finish the setup mission if you have three gang forces hunting you down.
Here is a quick rundown of each gang and their Weapons and Gear for the Cluckin’ Bell Farm Raid:
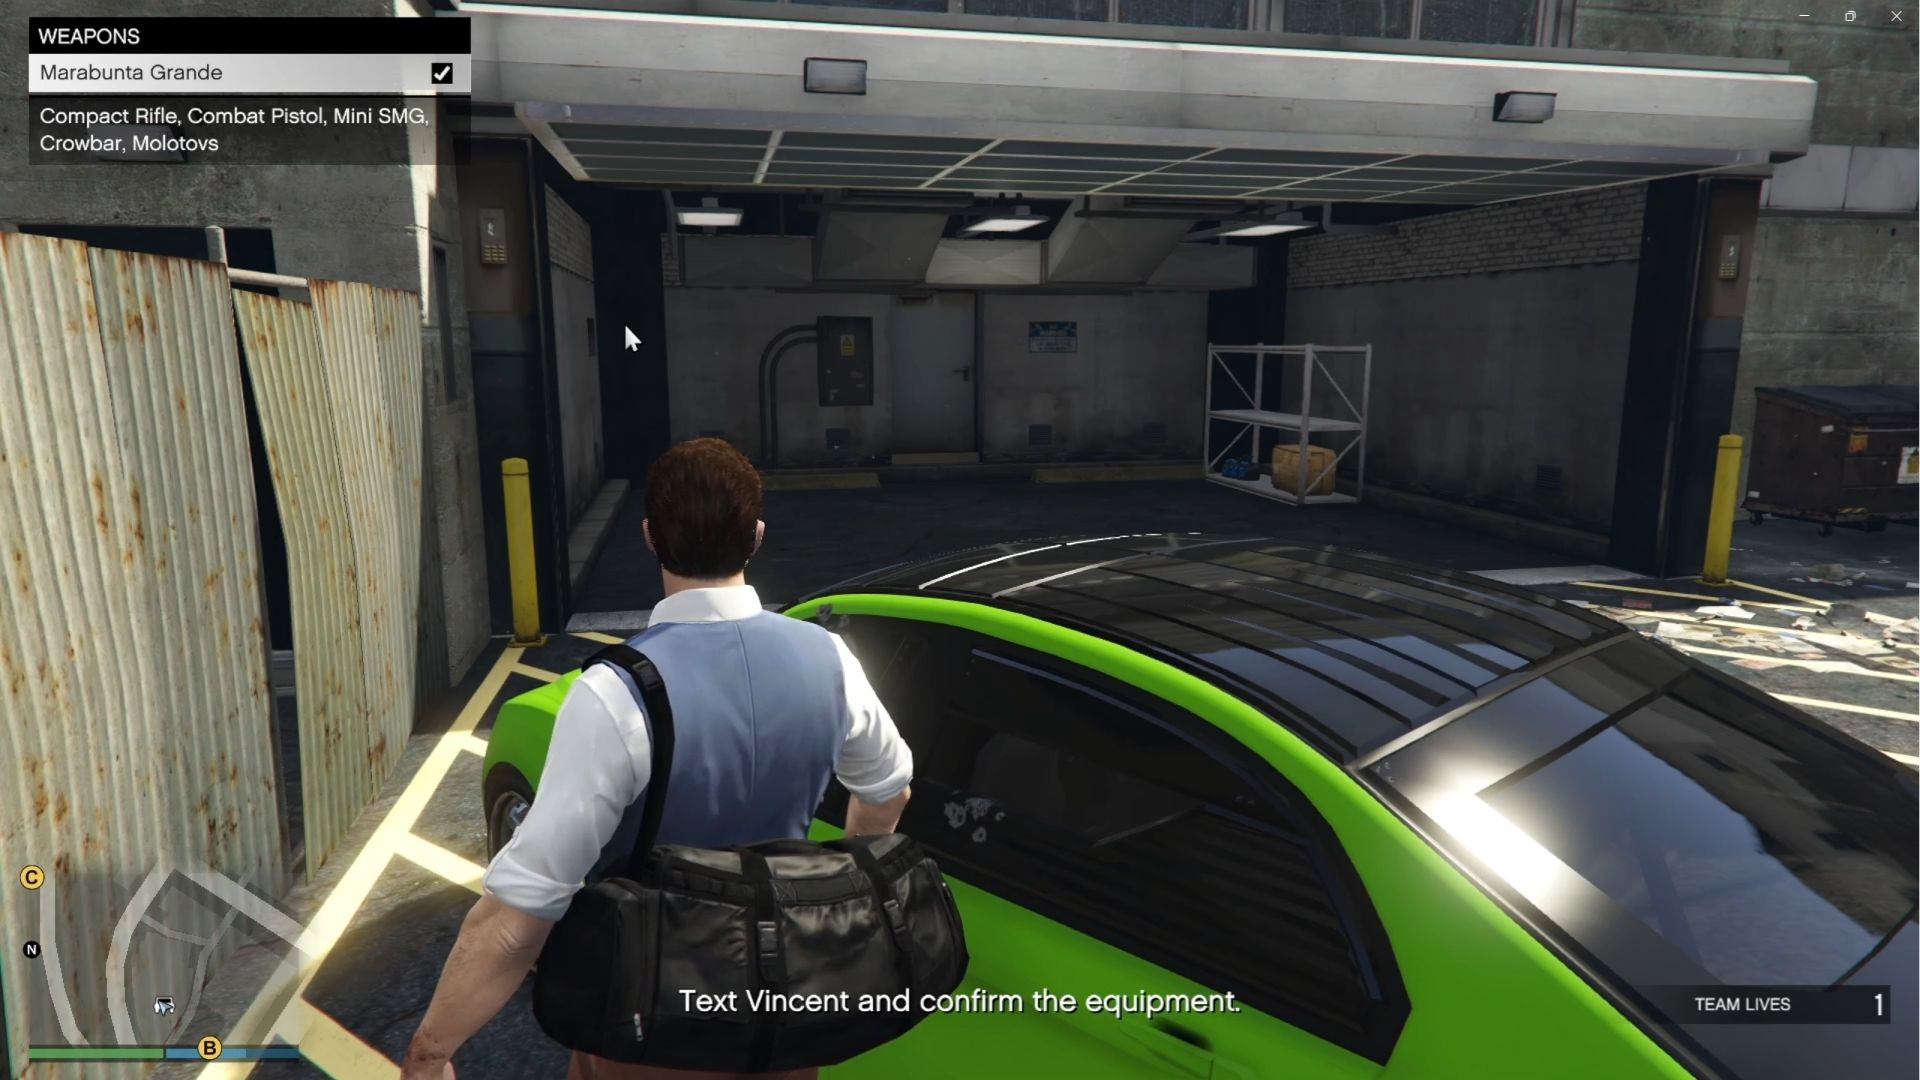
A. Marabunta Grande
Point A gang features low-grade weapons and gear. However, their loadout includes a pistol with a suppressor. This is a game-changer if you want to complete the Finale via stealth gameplay. We recommend choosing this loadout if you are good at aiming headshots.
Loadout:
- Compact Rifle, Combat Pistol, Mini SMG, Crowbar, Molotovs
- Light Armor. Low stamina reduction
B. Professionals
The Point B gang loadout is good for going out guns blazing. Their weapons make a loud noise, so you can’t do any stealth gameplay.
Loadout:
- Heavy Rifle, Tactical SMG, Heavy Shotgun, Pipe Bombs
- Medium Armor. Medium stamina reduction
C. Military
For the final area, the Point C gang has the highest quality weapons and equipment of the choices. However, the location is heavily guarded, which makes it hard to steal supplies from them.
Loadout:
- Machine Gun (MG), AP Pistol, Combat Shotgun, Grenades
- Heavy Armor. Large stamina reduction
You don’t necessarily need high-quality weapons in the Finale. Consider getting the weapons and equipment from Point A or Point B. If you are good with aiming and can hit headshots, Point A is more than enough for you.
Hit and Run: Steal Getaway Vehicles From Three Gangs
Just when the gangs think they have enough to worry about, your next mission is to steal a vehicle from them. Each gang has its own unique ride, each offering distinct advantages.
Here is the list of getaway vehicles that each gang owns in the Cluckin’ Bell Farm Raid:
A. Marabunta Grande
Point A vehicles are quite low quality compared to the other gangs. However, stealing it is easier as they are not much of a threat. To open the lock to locate the vehicle, you need to shoot a power switch just above the garage door.
Possible Vehicles:
- Declasse Tulip
- Declasse Impaler LX
- Declasse Moonbeam Custom
B. Professionals
The getaway vehicles in Point B are very fast, making them a viable option to take. However, these cars are fragile and can easily blow up. You will need to be careful while driving their car in the Finale if you choose to steal from this gang.
Possible Vehicles:
- Coil Raiden
- Dinka Sugoi
- Ocelot Jugular
C. Military
The best getaway vehicles are from Point C. These military vehicles are armored and very durable. However, they are not as fast as the vehicles from Point C. We recommend choosing these vehicles so you can focus on driving and less about worrying when your car would blow up.
Possible Vehicles:
- Canis Terminus
- Mammoth Squaddie
- Mammoth Patriot Mil-Spec
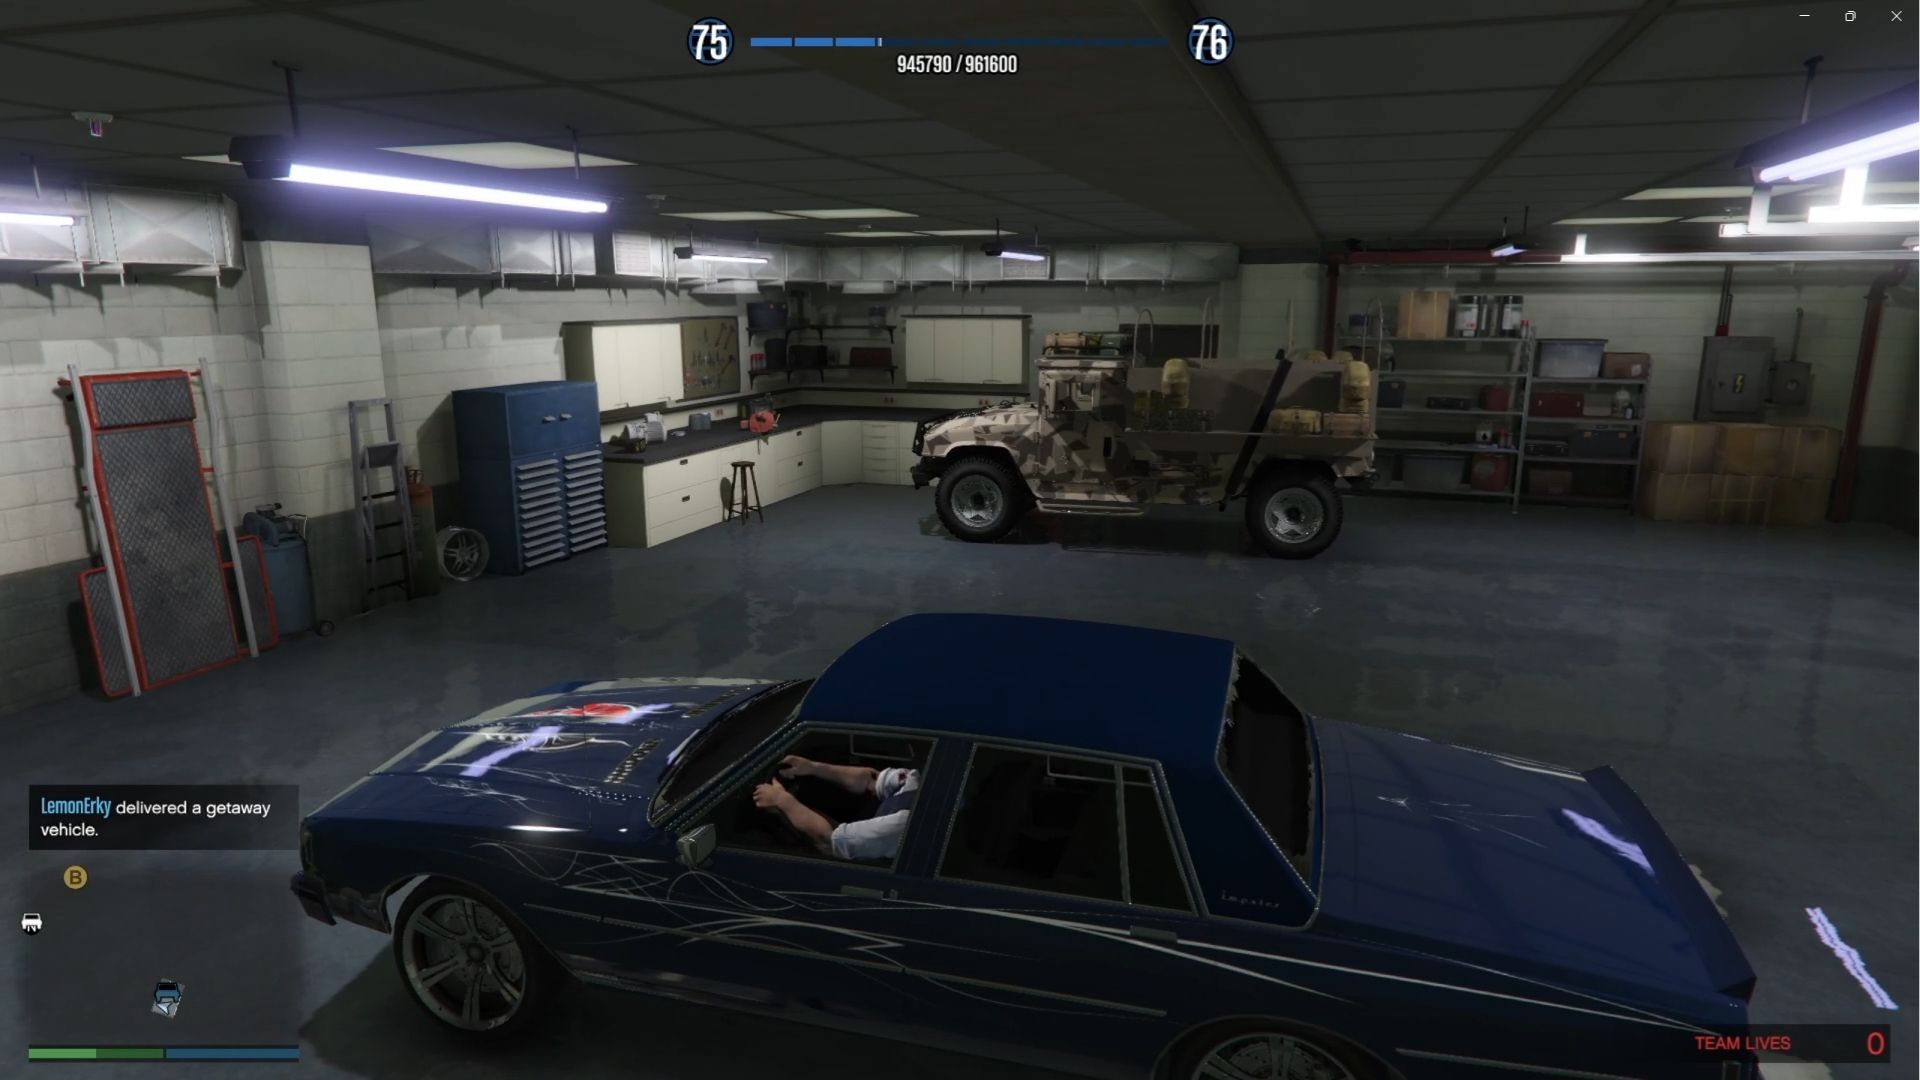
Once you manage to steal a vehicle, you need to take it to a marked location. If it has damage, you first need to take it to a nearby auto shop and have it repaired.
Disorganized Crime: Ruin the Cluckin’ Bell Underground Operation
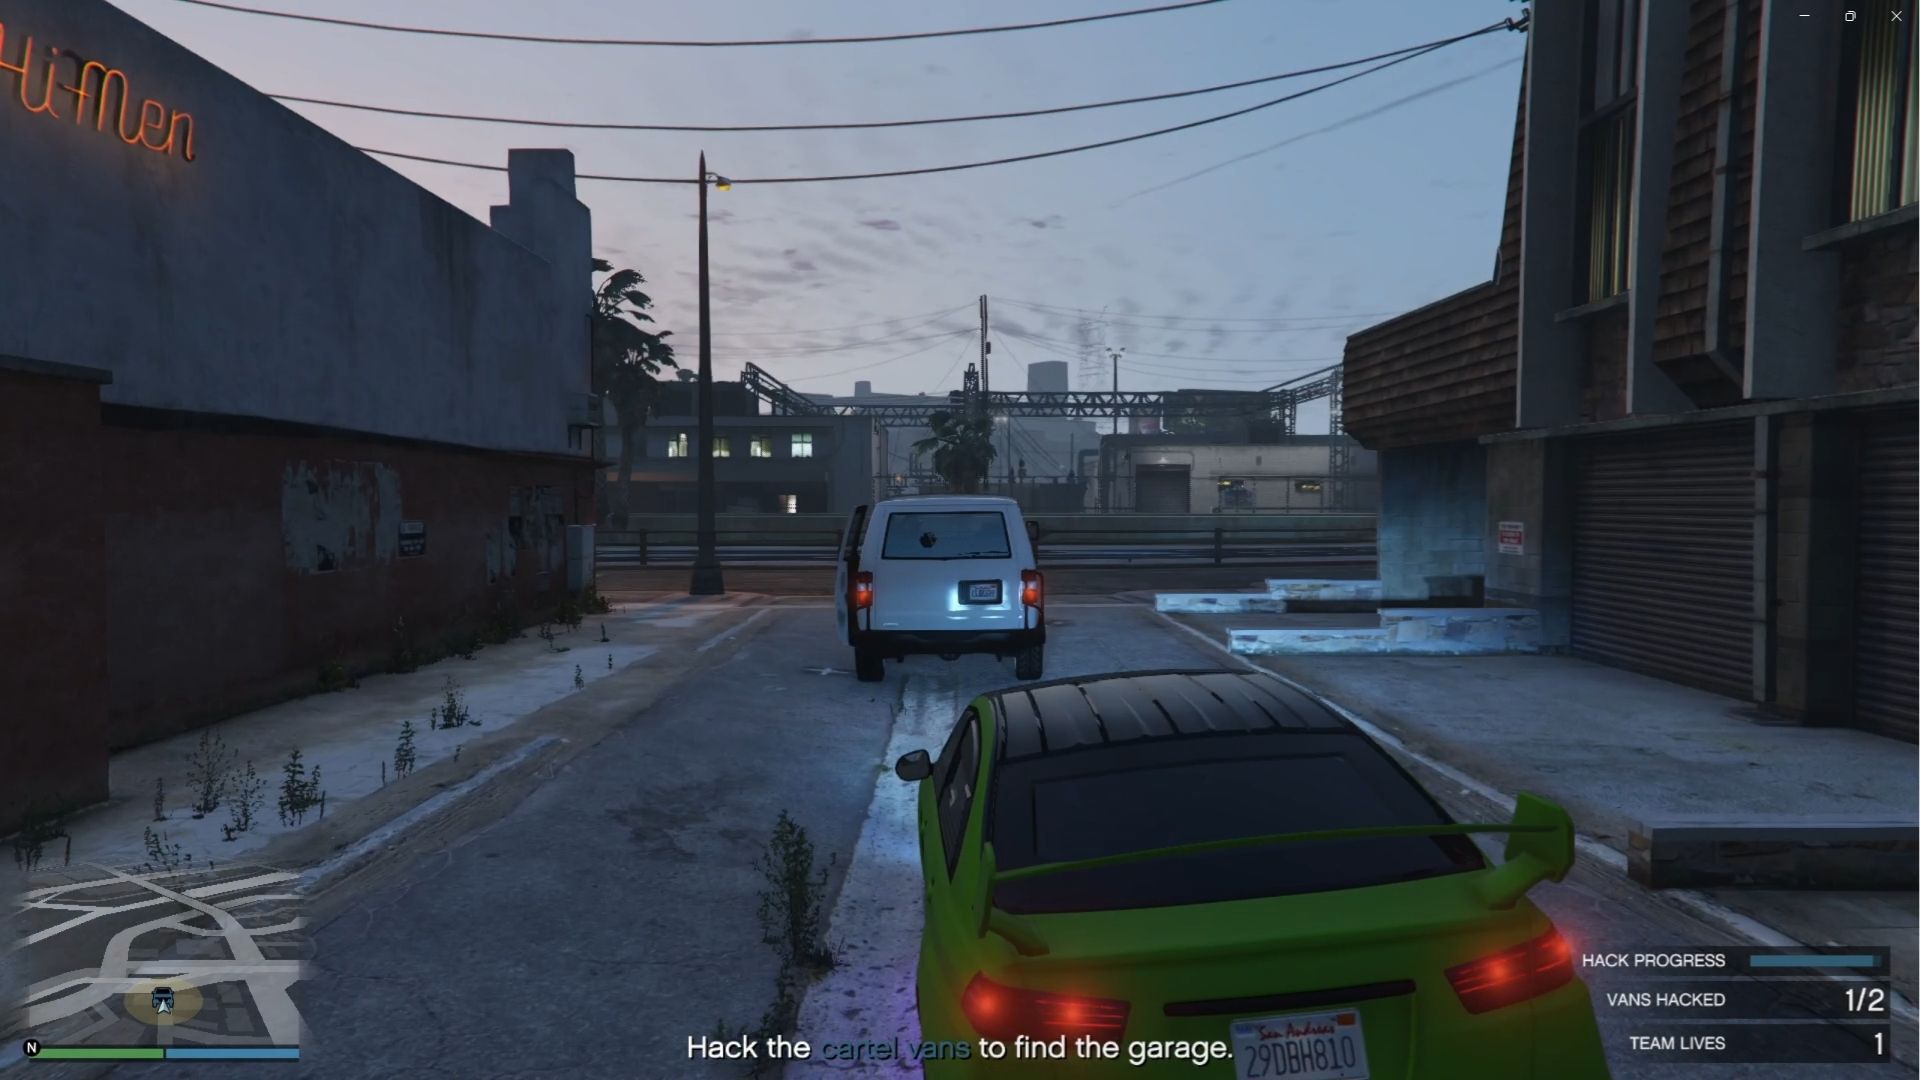
The final setup mission is to sabotage the Cluckin’ Bell’s illegal operation and put them into disarray. To do this, you first need to hack two vans to find the location of one of their hideouts.
Along the way, you can also steal a uniform from one of the vans to disguise yourself in the hideout. You won’t be attacked by anyone inside the hideout if you are wearing a uniform. However, if you stick too close to the guards, they will be alerted. Optionally, if you already know the location of their hideout, you can head straight there. However, you won’t be able to disguise yourself.
Once you are inside, your goal is to sabotage each truck, remove the CCTV footage, take a drill from a nearby workbench, and open lockers to steal a key card in one of the lockers. The last part is hard to complete while playing stealth. The location of the keycard is randomized, and sometimes they spawn near a guard. It could alert the guard if you use a drill, as it makes too much noise.
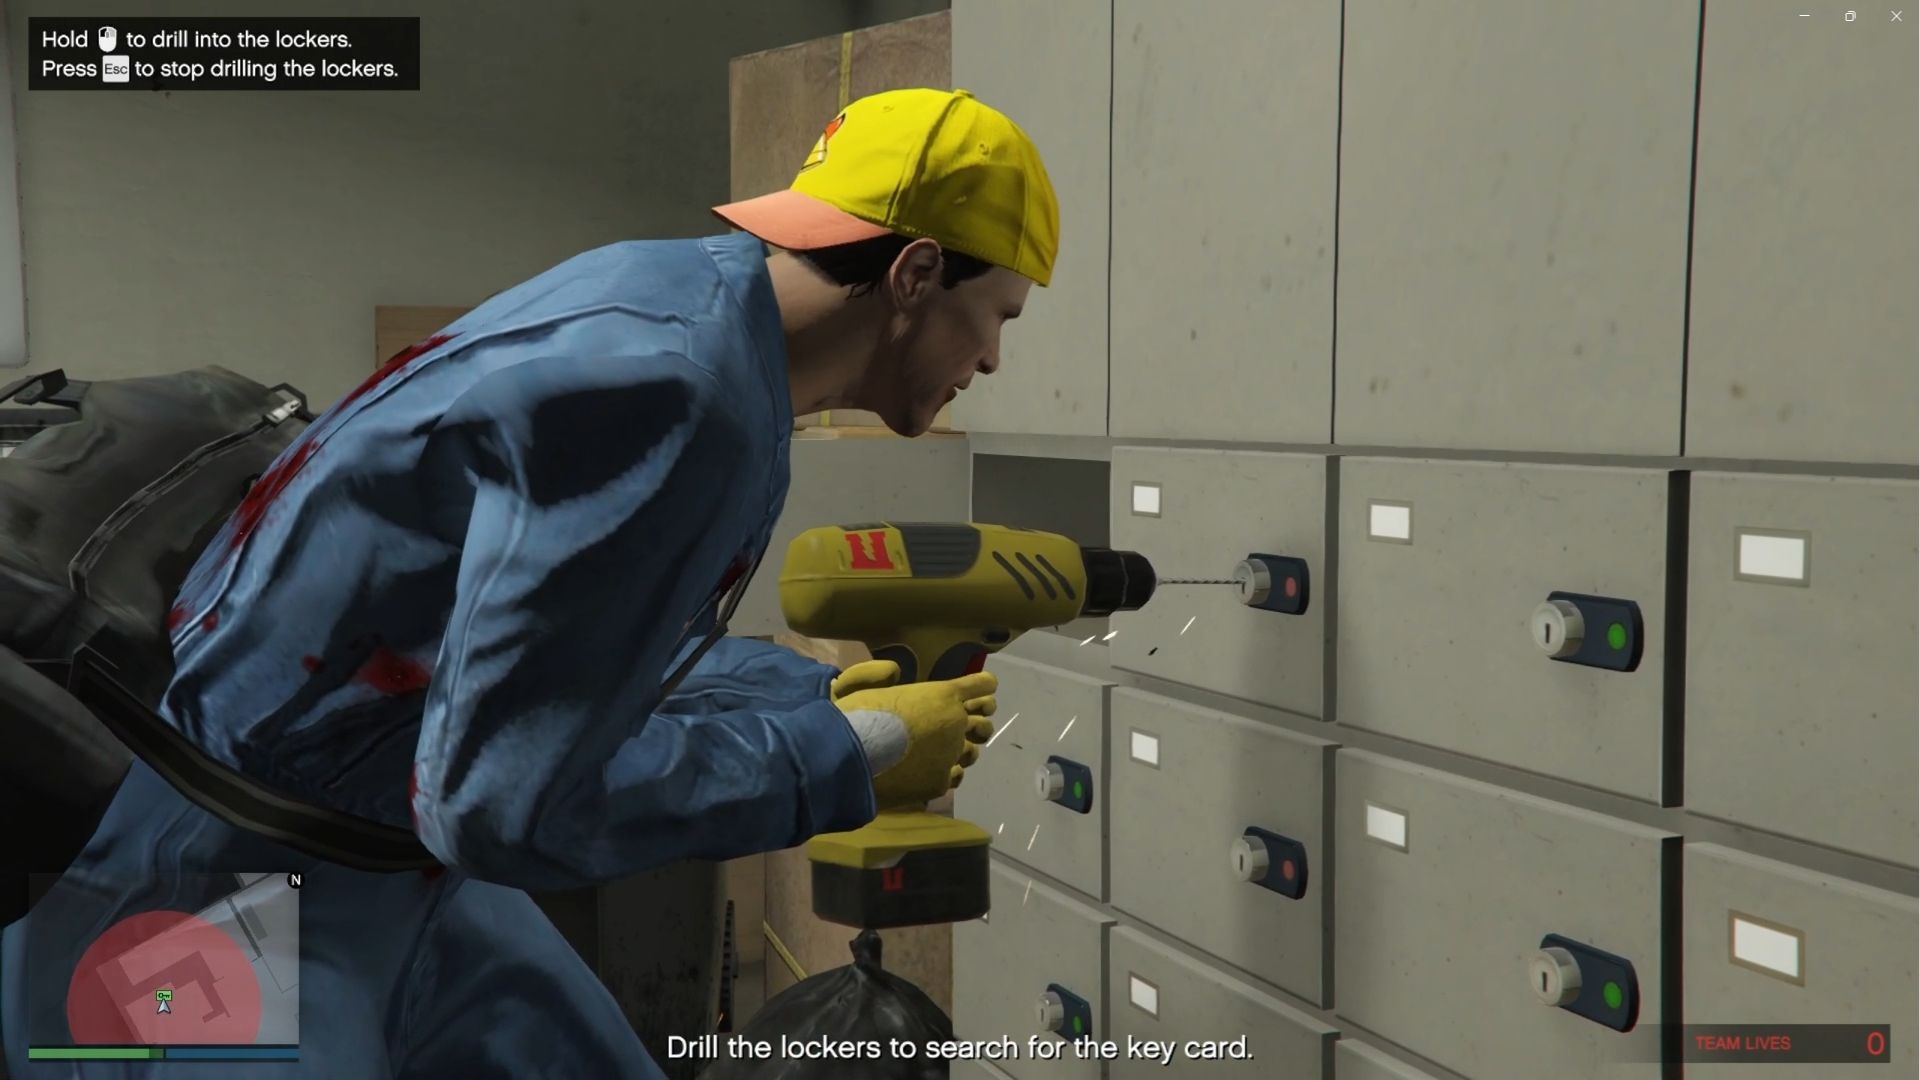
If you are unlucky, the guards will be alerted and start attacking you. You need to kill every last enemy in the location to prevent the enemies in the finale from expecting you. If you managed to clear this stage through stealth or you killed everyone in the hideout, you will need to steal a nearby truck and bring it to a marked location before the mission ends. Otherwise, you simply need to leave the area.
We recommend that you just shoot your way into completing this setup mission. It’s much easier than trying to stealth your way with a chance of failing.
Also Read: GTA Online Agents of Sabotage The Fine Art File Walkthrough (Job Guide)
Finale: Scene of the Crime
Depending on the outcome of the previous setup mission, your entrance will be slightly different.
If you successfully cleared the Hideout from the last setup mission, you can use stealth to take down enemies inside the warehouse in the Finale. Otherwise, the enemies will be waiting and immediately shoot you when the mission starts.
Once you are inside the warehouse, you have a few objectives to do:
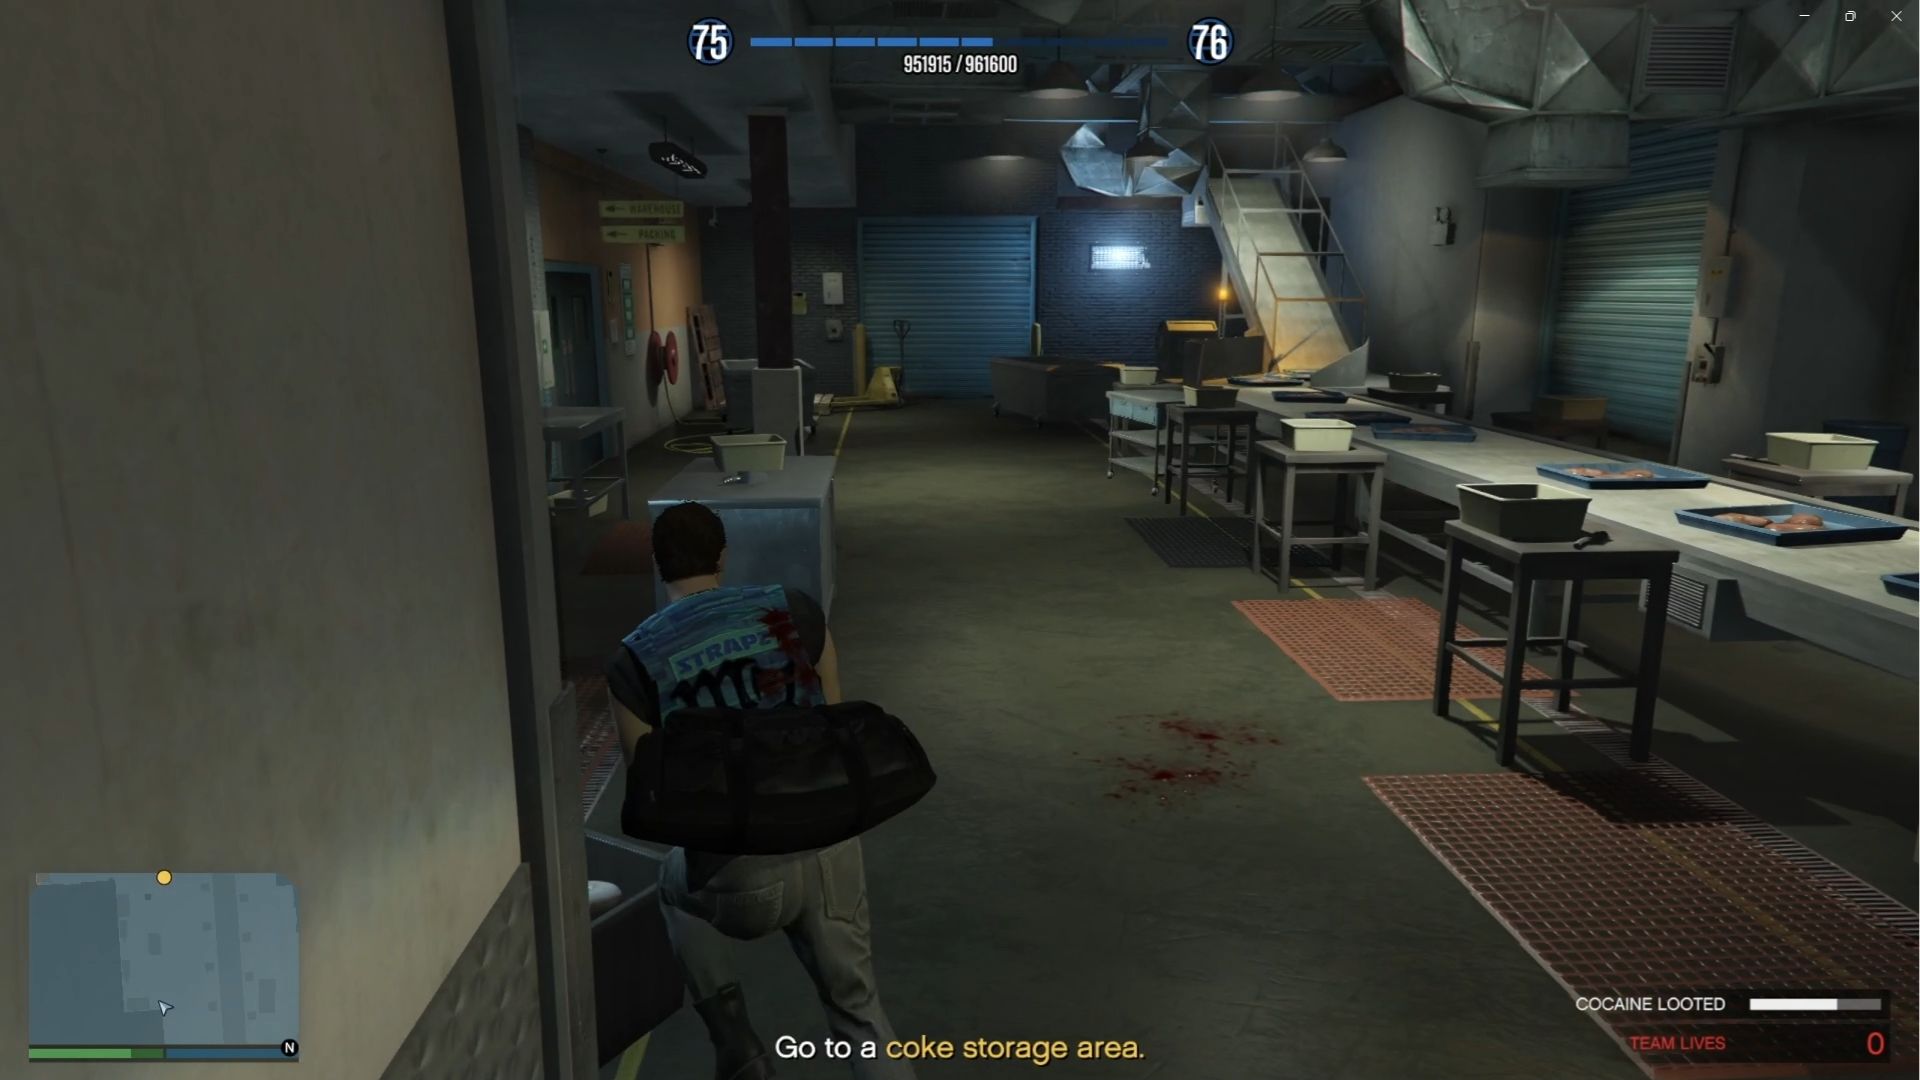
Go to a Coke Storage Area
There are two Coke storage areas in the warehouse. The first one is beside the lockers before entering the double door. You will need to collect all stash in the room before moving on to the next area. The room is similar to the one used in Stash Houses in GTA Online. You can drop a grenade down the stairs to reduce the enemy numbers before appearing.
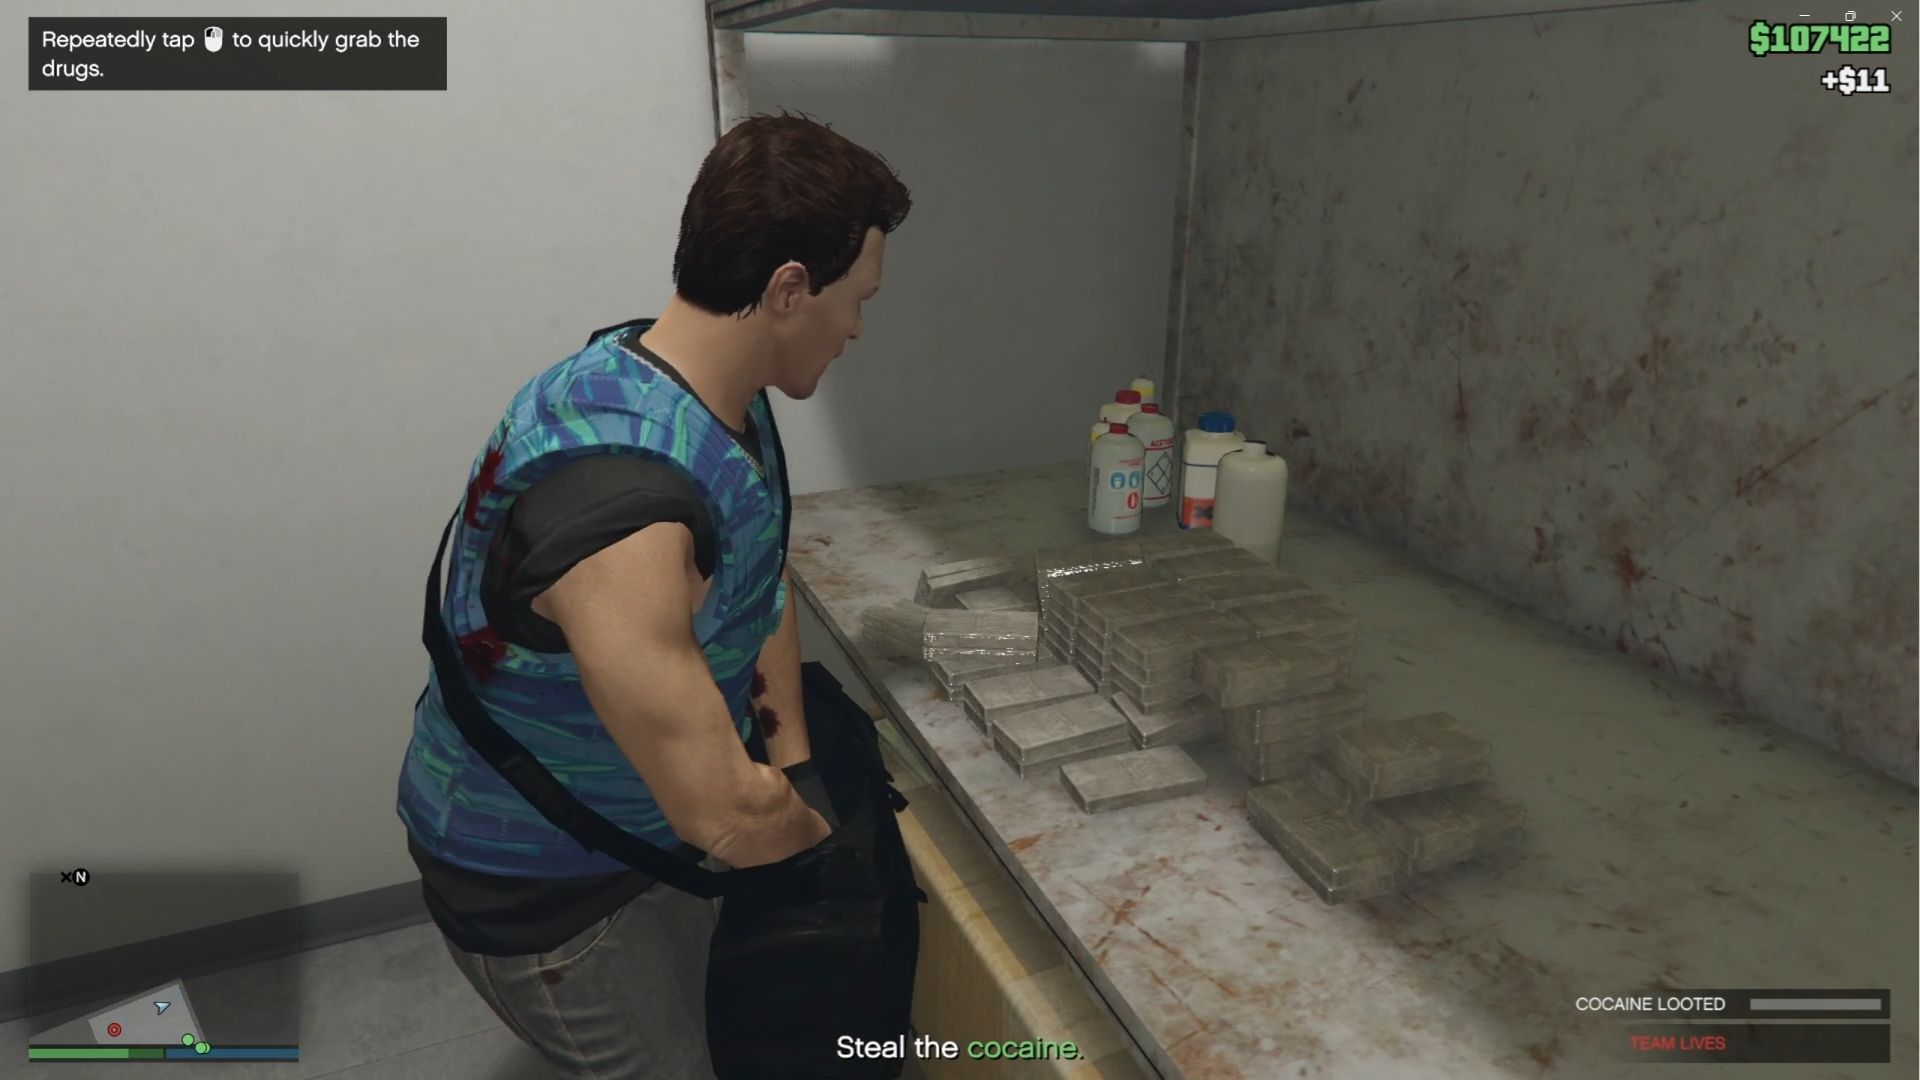
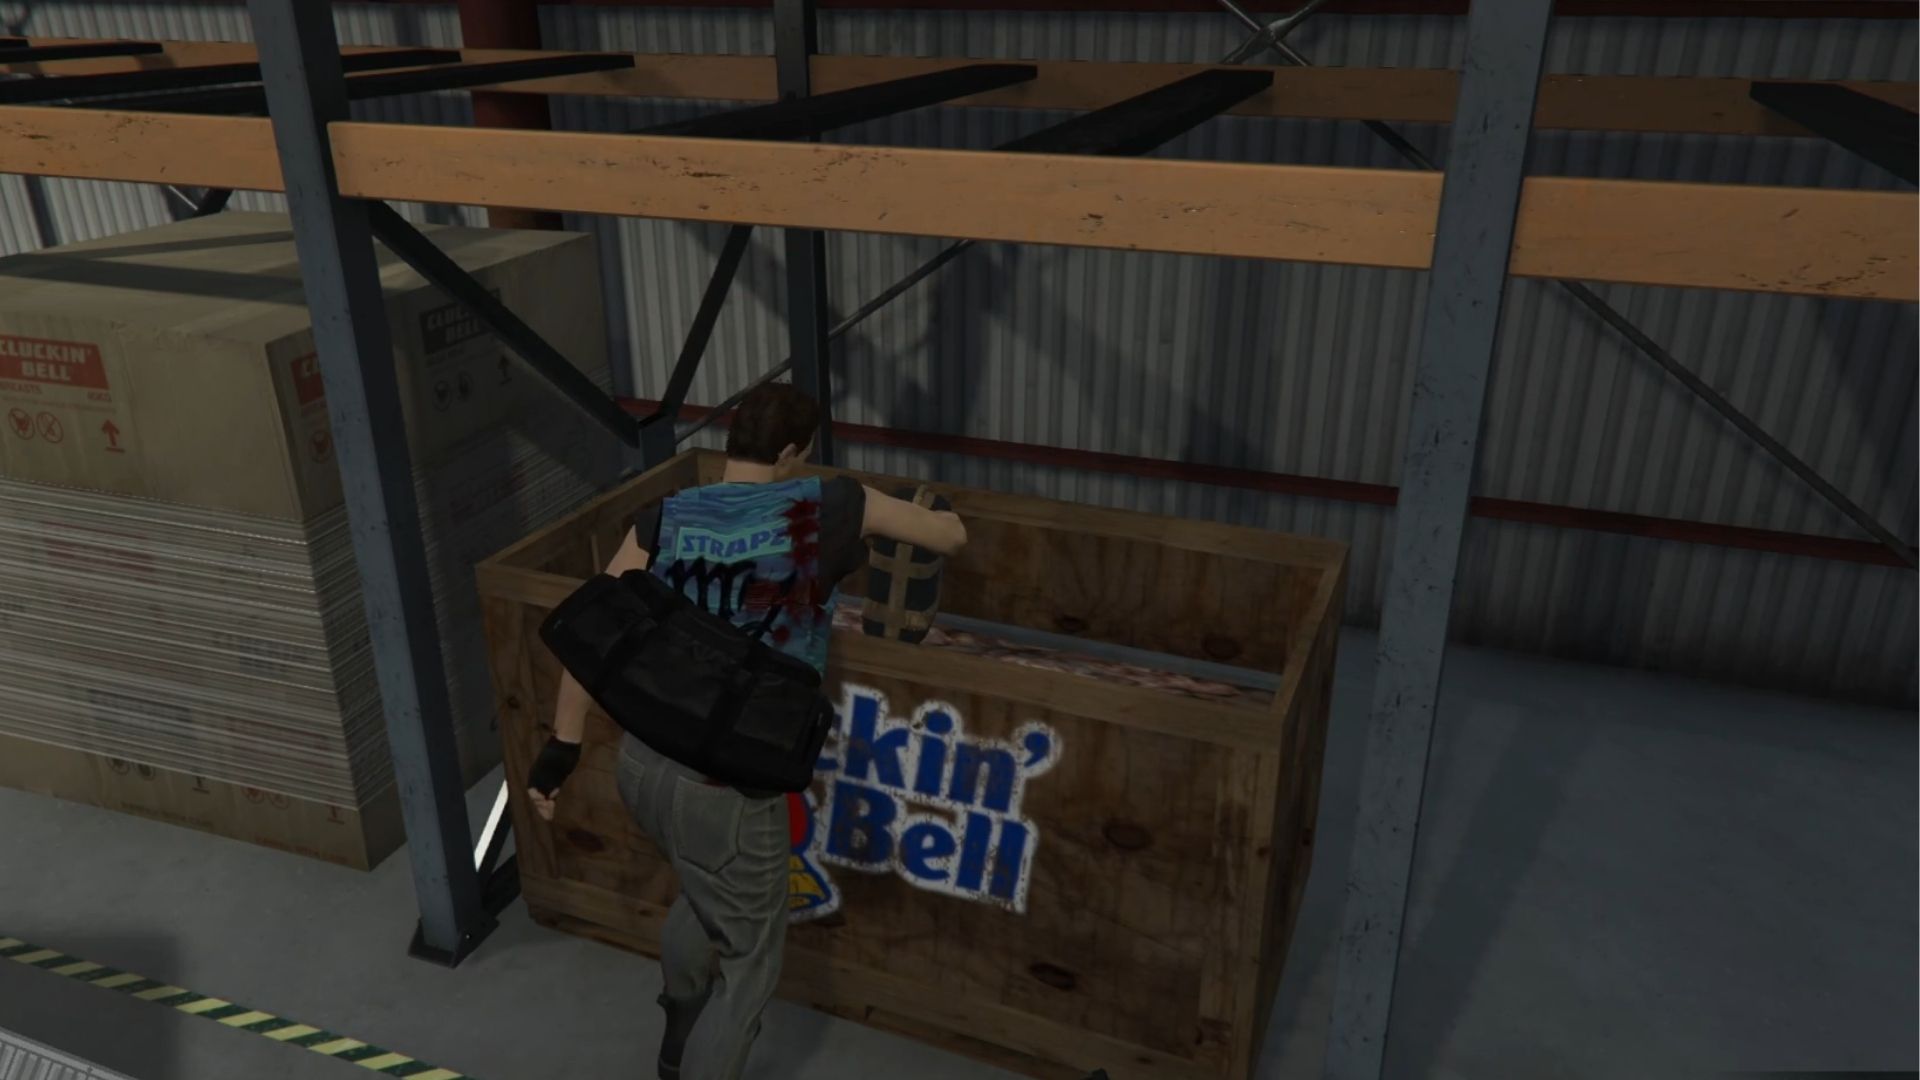
The next location is on the left side upon entering the double door. You need to look for a keypad beside the small sectional door. Once inside, take down the enemies and find a crowbar, unless you already have one. Use the crowbar to open up crates of Cluckin Bell goods. Some of them contain the Coke you need to collect. Once you open all of the crates, head outside and move on to the next objective.
Unlock Office
Your next objective is to open a locked safe. You can shoot it down with your weapons, or you can find the key on a table next to a fire extinguisher. It’s close to the office, so you won’t have a hard time finding it.
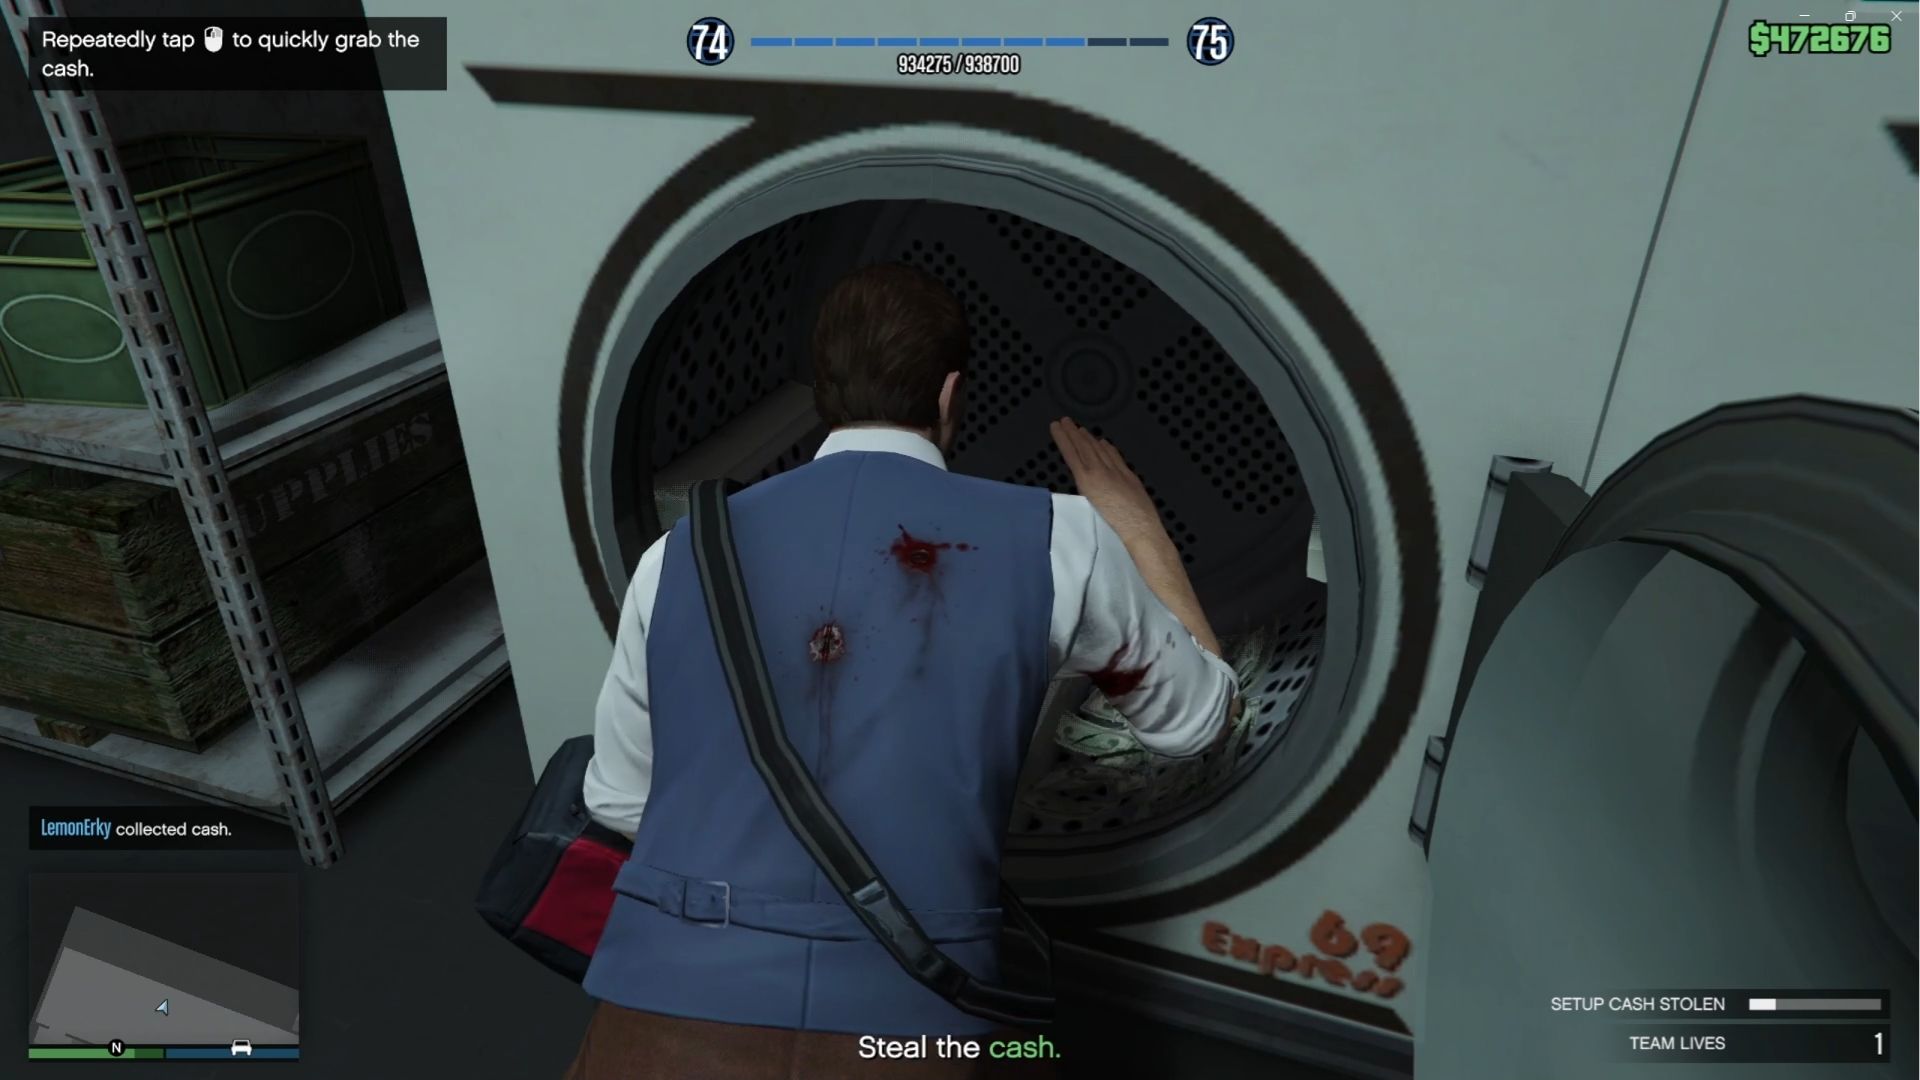
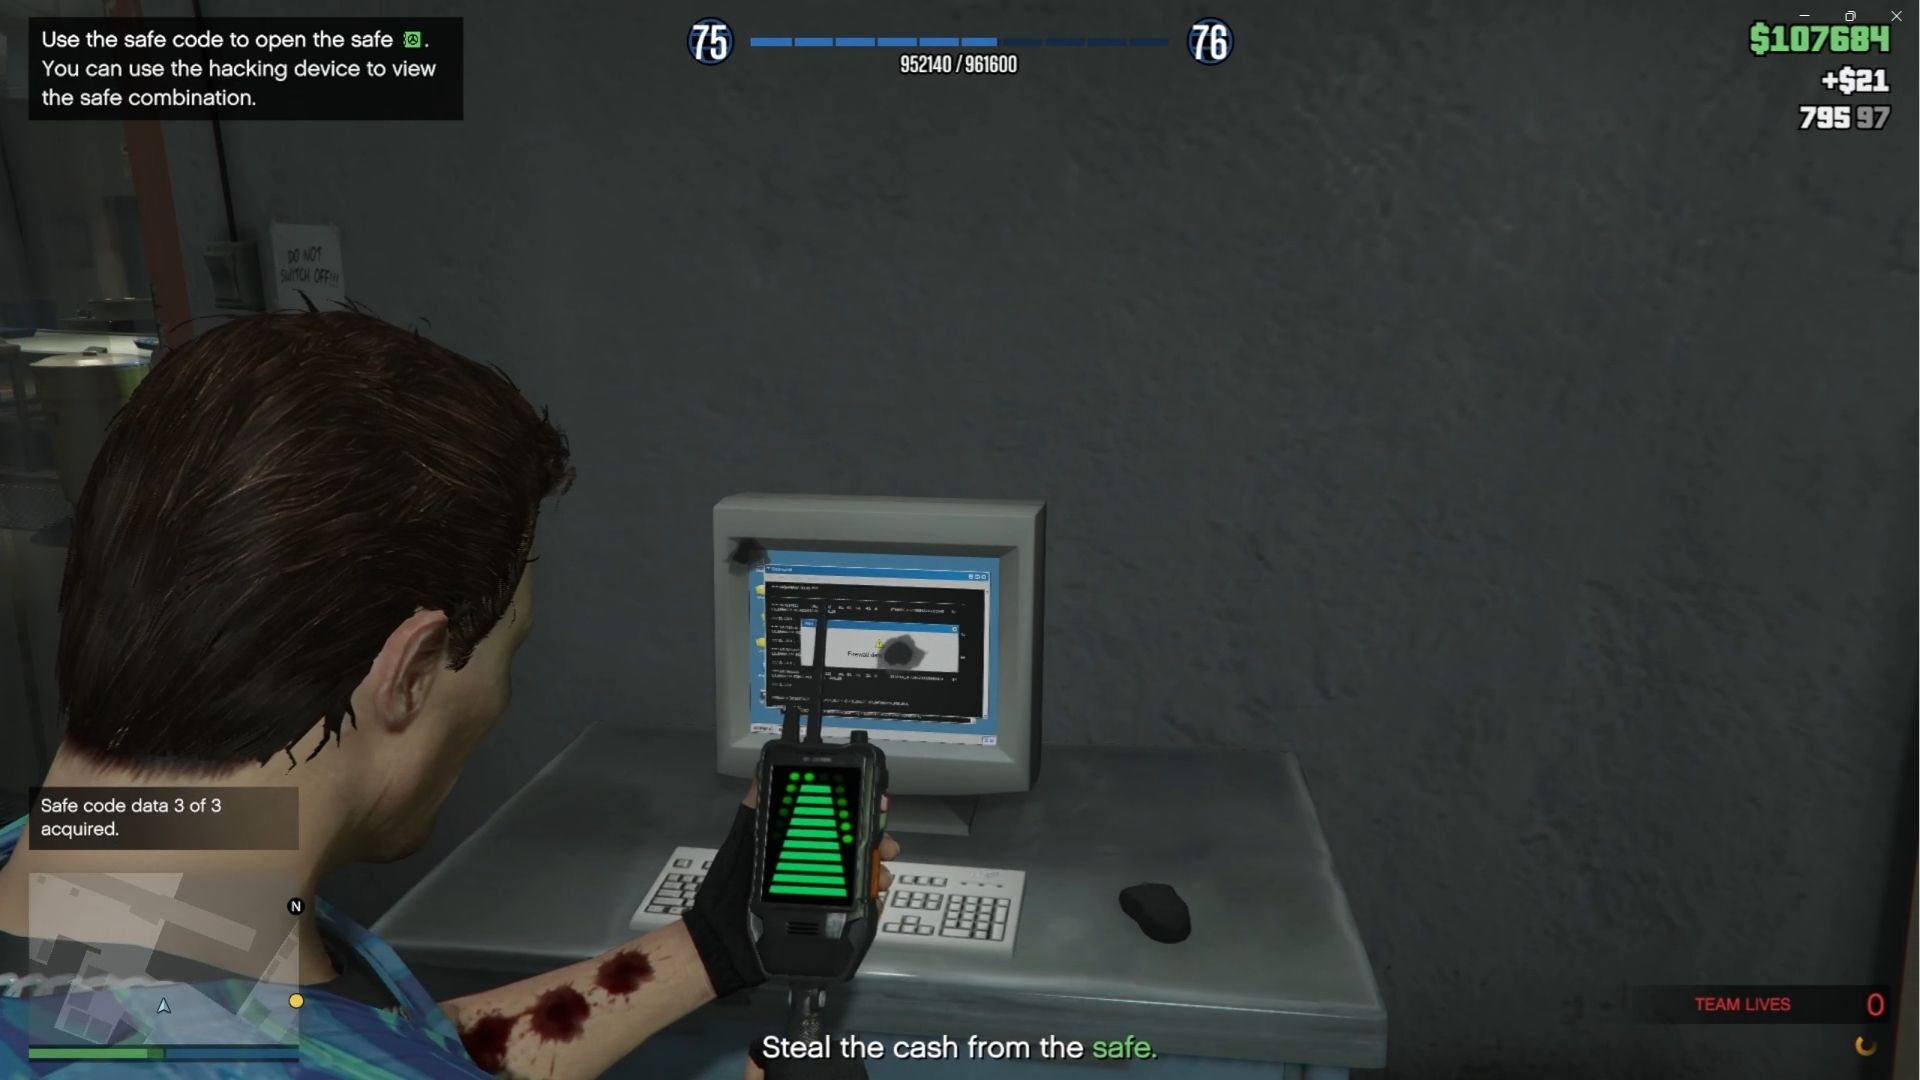
Get Safe Codes
After opening the office, you then need to unlock the safe that contains money. To do that, connect to the computer in front of the safe so you can use the hacking device to locate the three safe codes needed to open it.
Once you established a connection, go to nearby computers outside the office and check your hacking device. If the bar rises, the computer with the code is nearby. Once the bar is full, a code is unlocked. Do this three times, and you will get the safe codes.
Afterward, head back to the office and unlock the safe. Grab its content and proceed to exit the warehouse.
Reach Your Getaway Vehicle
The enemies will be waiting for you outside. You need to run straight to the location of your getaway vehicle. You may need to take down enemies along the way. Once you are inside, ride your vehicle and head back to Vincent’s garage.
Deliver the Loot to Vincent’s Lockup
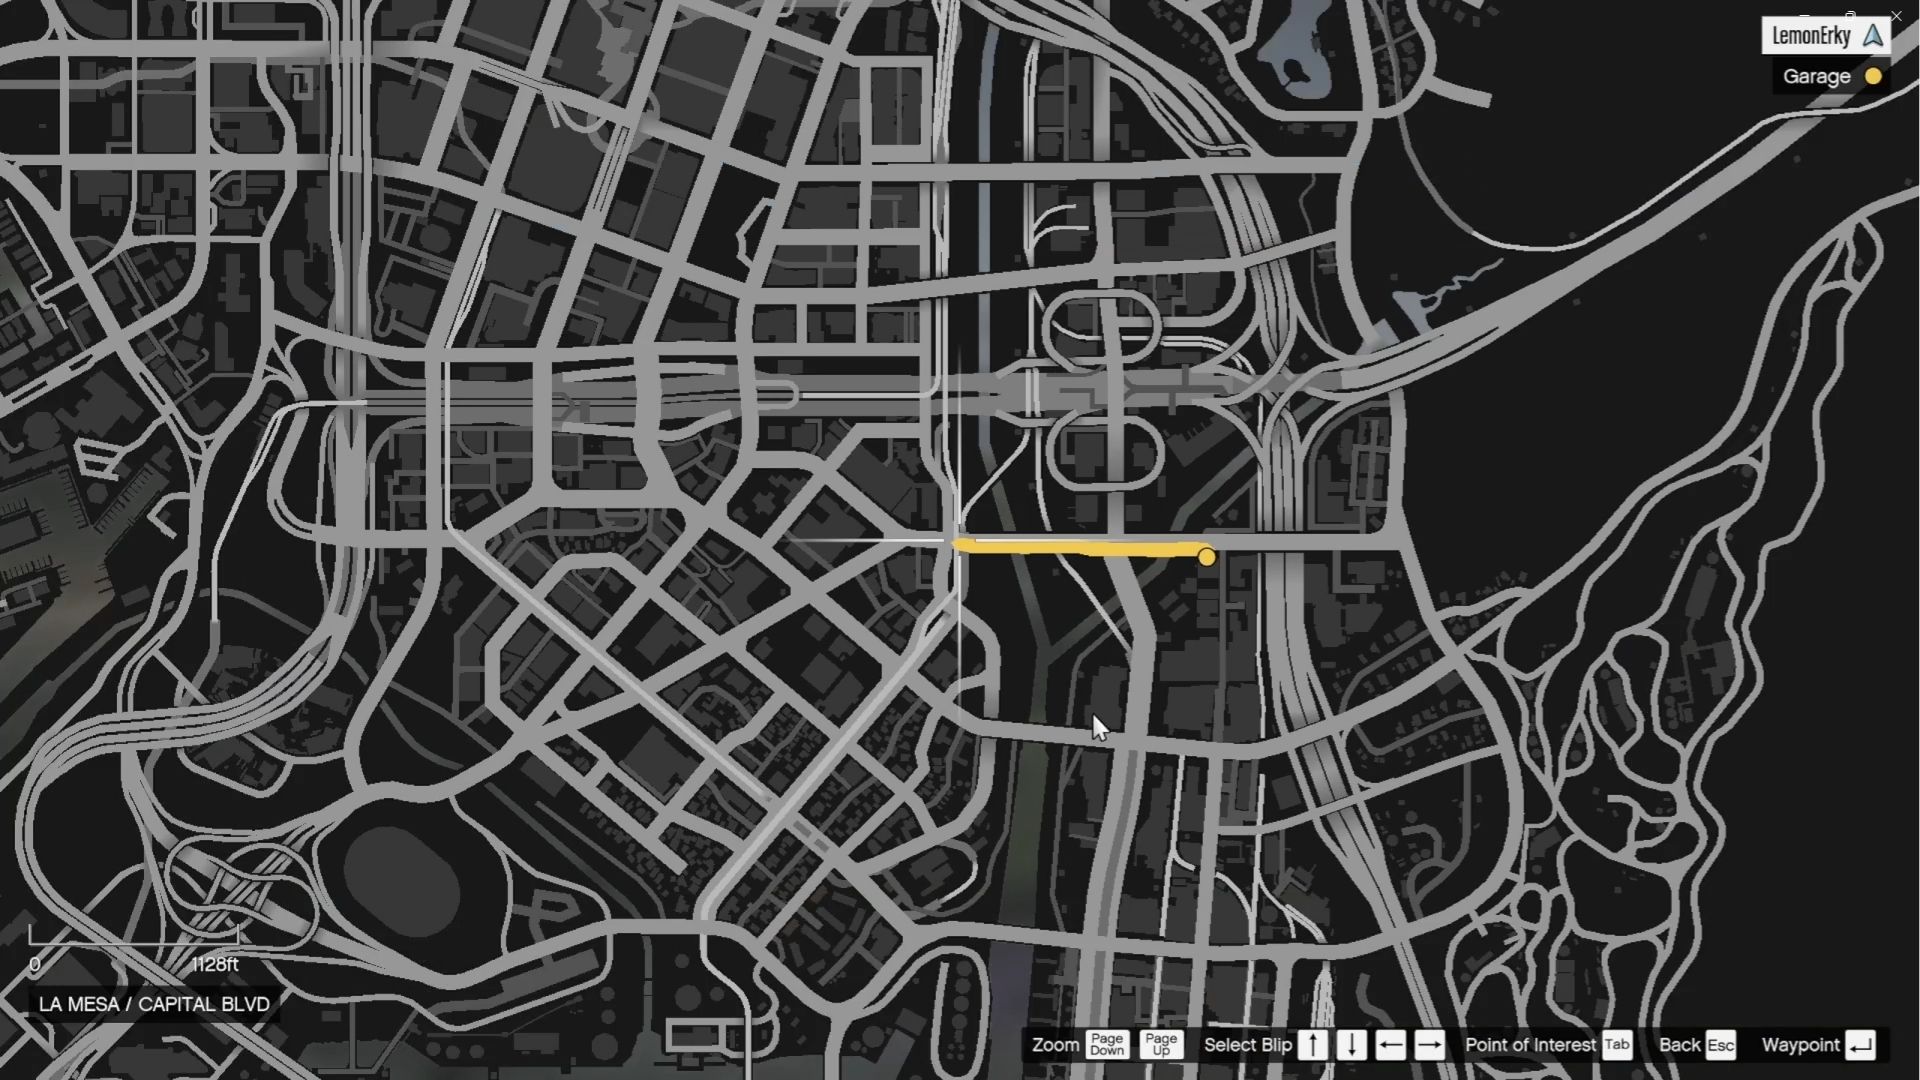
Once you are out of the garage with your getaway vehicle, you can head directly to the main road and travel to the marker’s location. Alternatively, you can break the fence leading to the railway and follow the train tracks for a while. You won’t encounter many cop cars in this area, but it will be hard to drive in this terrain. Be careful not to hit the railings of bridges or risk flying off track.
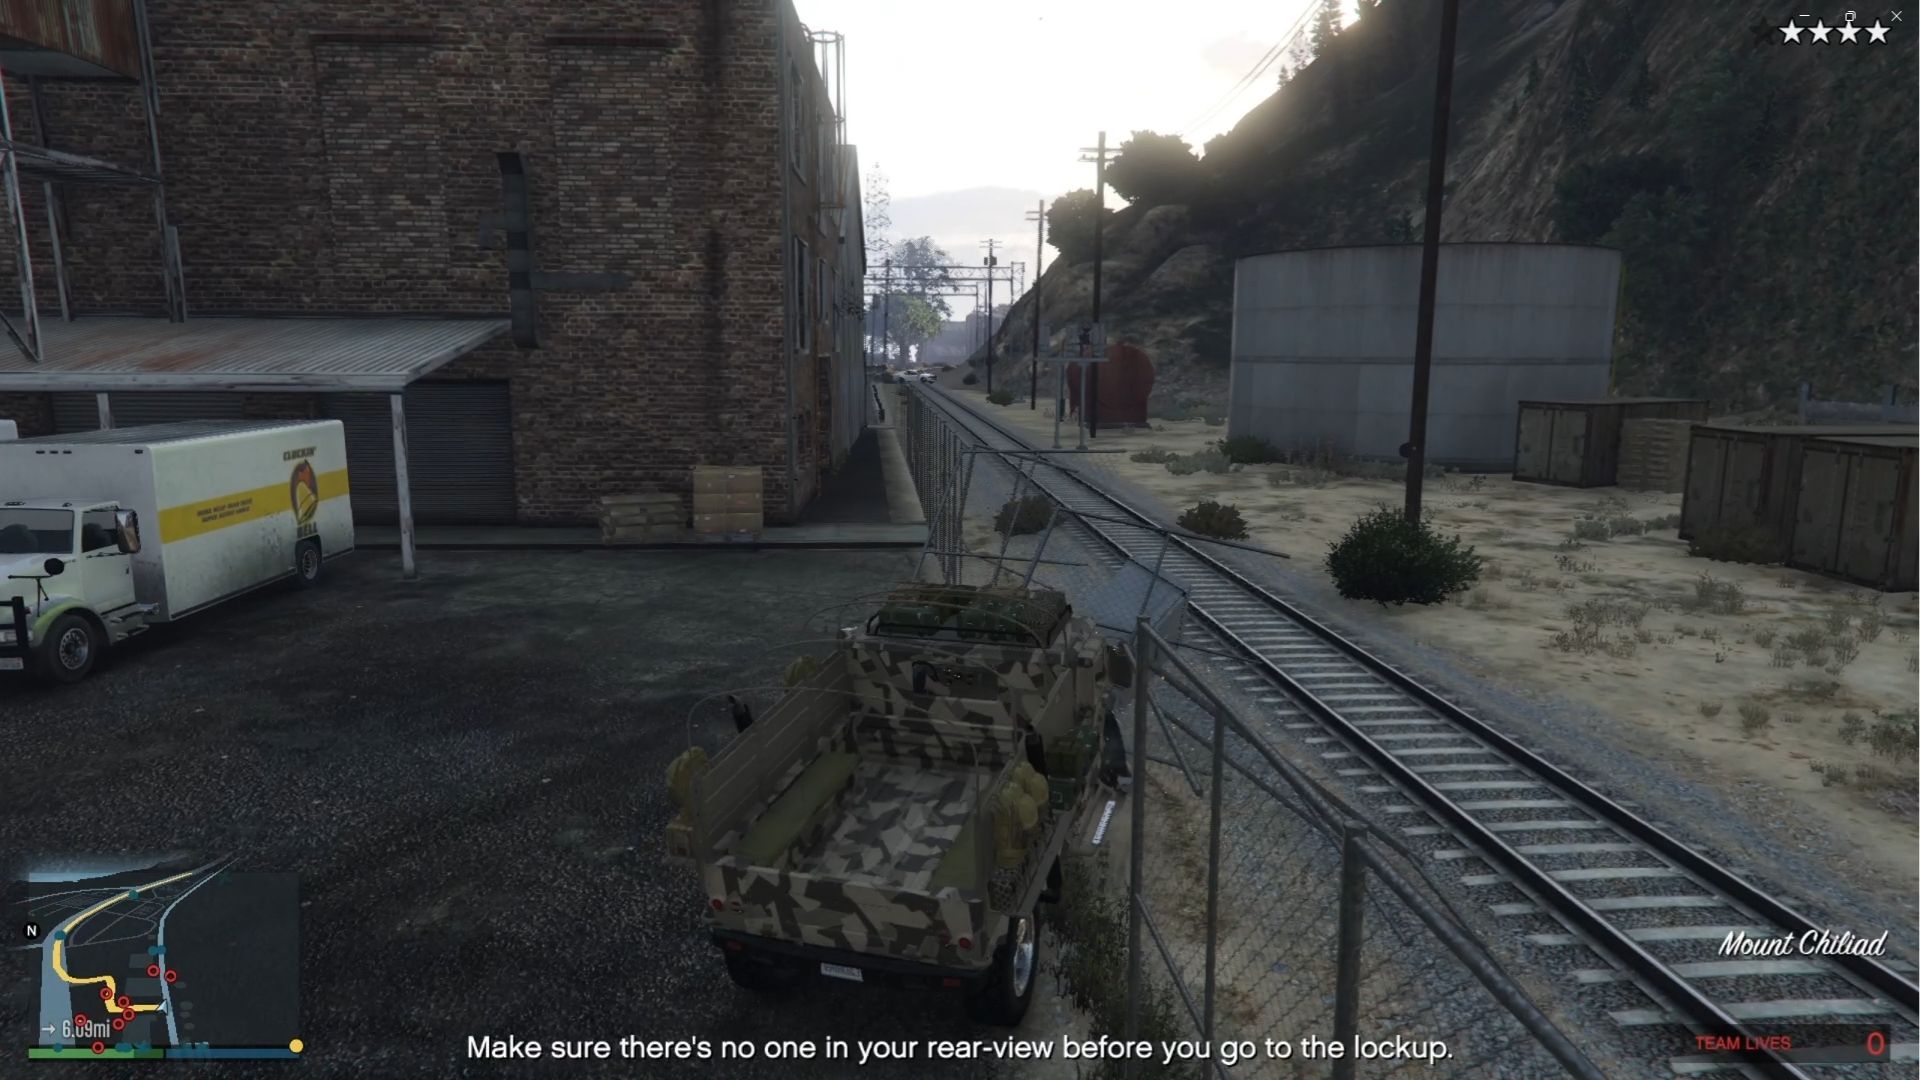
Before you can enter Vincent’s garage, you need to lose the cops first. You can try driving off-road, as most cop cars only follow asphalt roads. Keep driving until you lose your wanted level, and the final location should be open to you.
Cluckin’ Bell Farm Raid Payout Rewards

On top of a decent sum of RP, here are the complete payout rewards for completing the Cluckin’ Bell Farm Raid in GTA Online:
- Main Completion Payout: $500,000
- First-Time Bonus for Completing as a Leader: $250,000
- First-Time Bonus for Completing as a Party Member: $250,000
- Looting All Lockers During Disorganized Crime Setup Mission: $5,000 – $6,000
Back in March 2024, Rockstar Games hosted a limited-time event where players could get an additional $100,000 for completing the mission during the said date.
Looking For More?
Thank you for reading the article. We provide the latest news and create guides for GTA and GTA Online. Also, watch Deltia play on Twitch or visit his YouTube channel!