Facebook
 Reddit
 Email
Email
Learn Mechanics and challenges in ESO Dread Cellar Dungeon with our comprehensive guide.
Welcome to the written guide for the Dread Cellar Dungeon which includes Veteran, Hard Modes and all the Secret bosses. This will cover all the mechanics for the dungeons along with pictures for important aspects of completing the dungeon. This was added in ESO Update 31 and comes with very good gear to collect and is one of the most challenging dungeons to date!
Video Guide for Dread Cellar Dungeon:
The Dread Cellar Dungeon
The Dread Cellar dungeon contains three main bosses and three secret bosses. Each main boss has a hard mode that you can activate which you’ll need to complete each subsequent hard mode if your goal is to finish all the hard modes in the dungeons.
This dungeon is also compromised of three secret bosses each granting a special buff that remains with you throughout the instance. You can use a synergy after you’ve obtained the secret bosses and summon them to your aid for one minute during the fight. It’s highly recommended you do all three secret bosses if your goal is to complete all hard modes, as they are extremely challenging without the buffs.
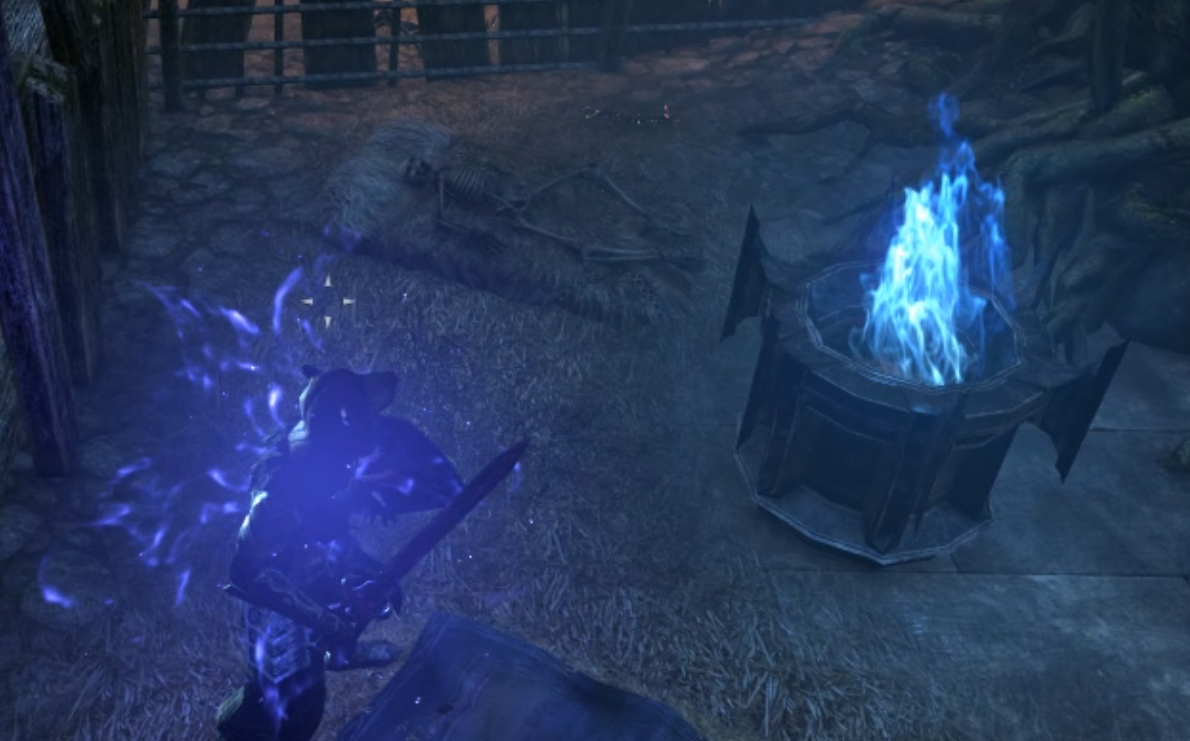
Accessing the Trap Doors
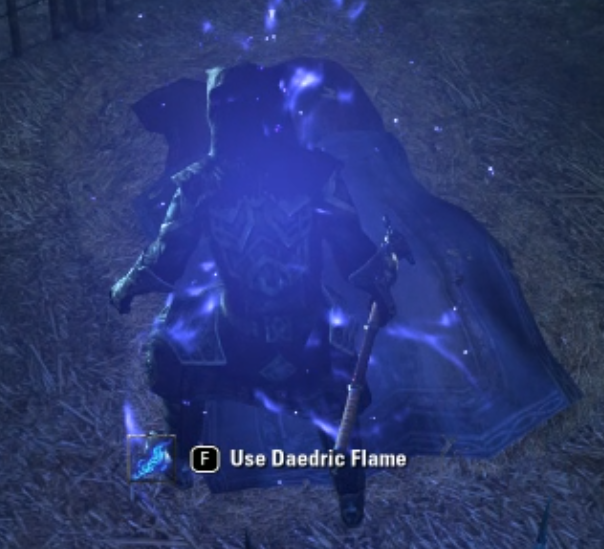
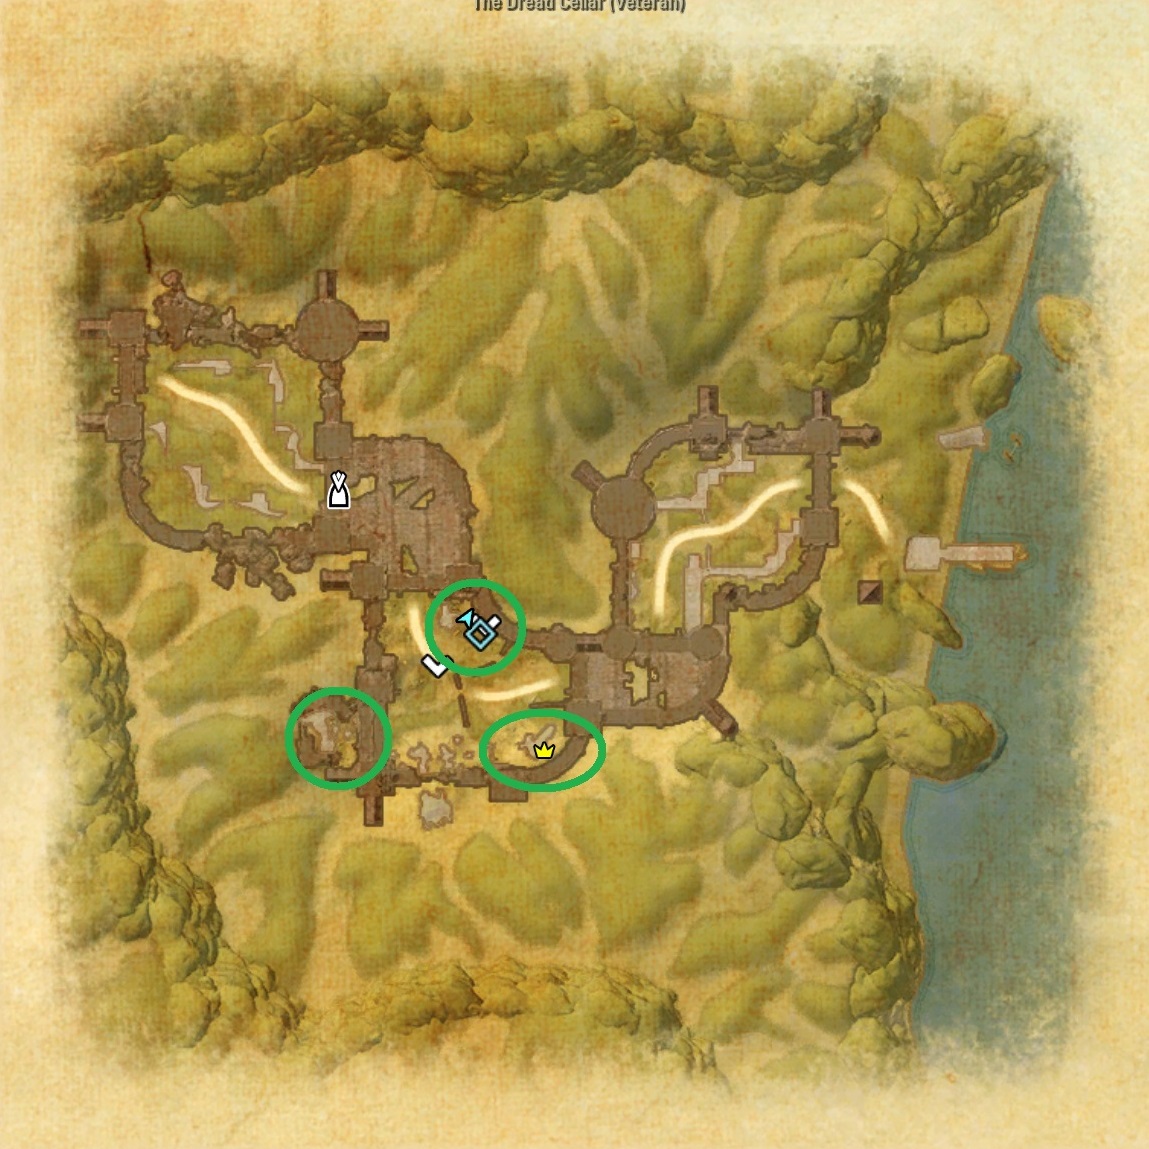
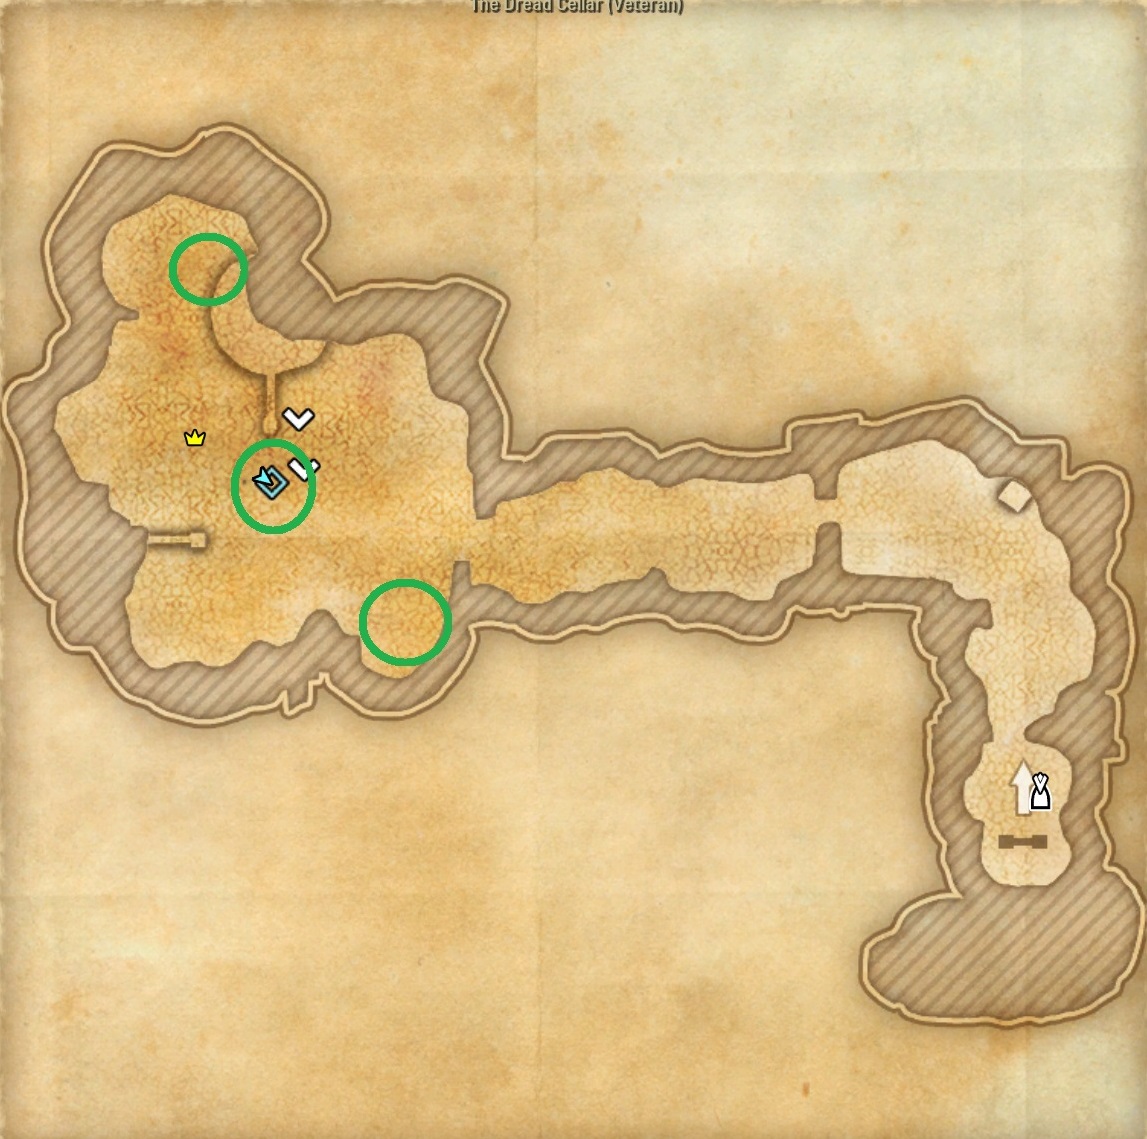
Step 1: access the trap door via acquiring two-four braziers with the synergy key. Deposit each brazier and gain access to the secret boss.
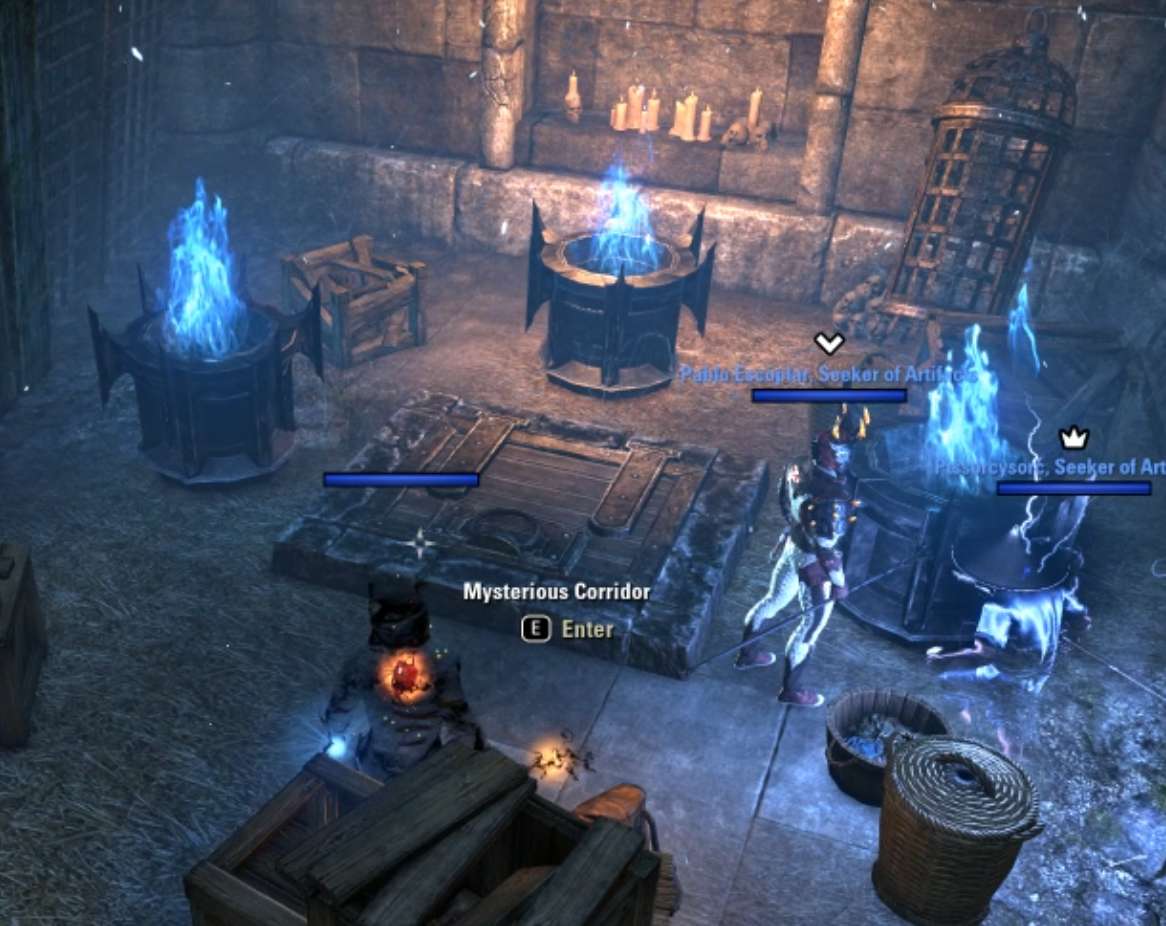
Step 2: you’ll need to simultaneously activate crystals in order for a portal to spawn allowing you entrance in the secret boss area.
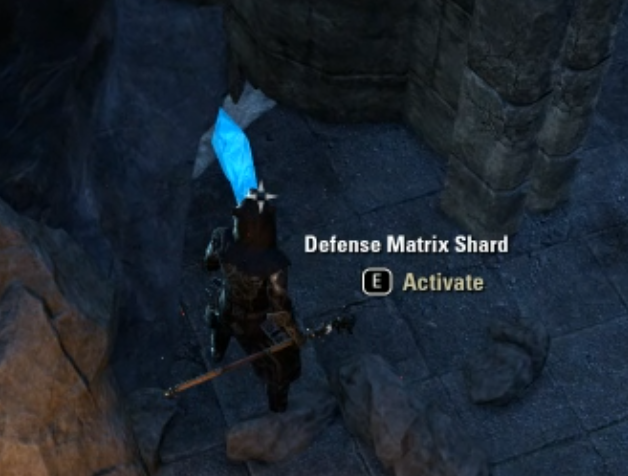
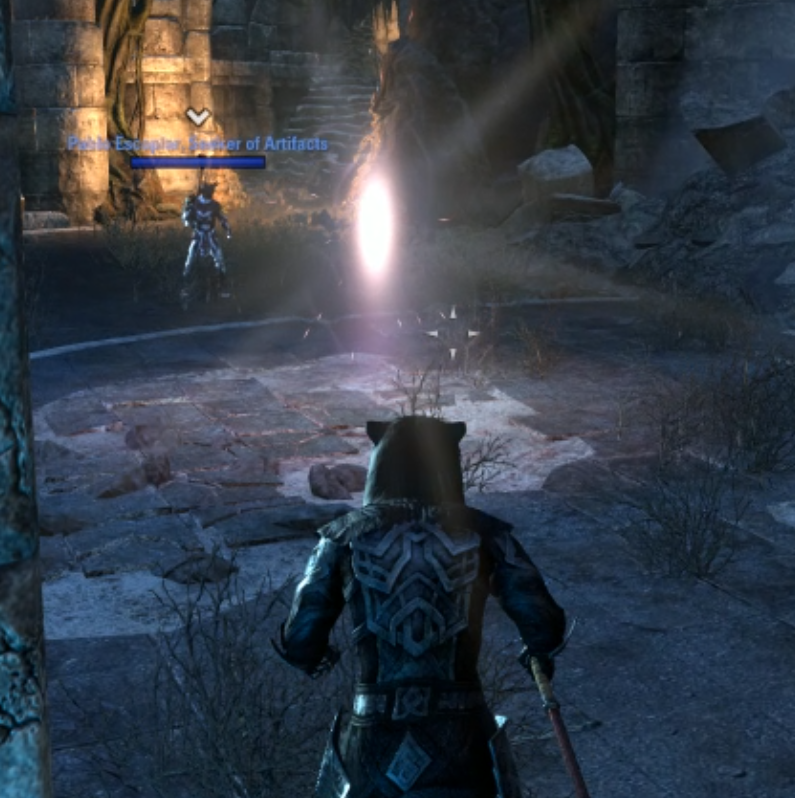
Step 3: grab two more braziers and place at each crystal in order to unlock the boss fight. Kill the boss in order to given their buff along with the ability to summon them in subsequent boss fights.
Available buffs

Gear Sets
Scorion’s Feast (Light Armor)
- (2 items) Adds 1096 Maximum Magicka
- (3 items) Adds 129 Magicka Recovery
- (4 items) Adds 129 Weapon Damage and Spell Damage
- (5 items) When you deal damage with a fully-charged Heavy Attack, you gain an Imbued Aura for 10 seconds, granting you and up to 3 other group members 307 Magicka and Stamina Recovery. This effect can occur once every 20 seconds. If you deal damage with a fully-charged Heavy Attack with an Imbued Aura active, consume it and gain an Overflow Aura for 10 seconds, granting you and up to 3 other group members 307 Weapon Damage and Spell Damage.
Rush of Agony (Medium Armor)
- (2 items) Adds 129 Stamina Recovery
- (3 items) Adds 129 Weapon Damage and Spell Damage
- (4 items) Adds 1487 Offensive Penetration
- (5 items) When you deal direct damage with a Blink, Charge, Leap, Teleport, or Pull ability, pull enemies within 10 meters to you. After 2 seconds, deal 1790 Physical Damage to all enemies within 7 meters. This effect can occur once every 8 seconds and scales off the higher of your Weapon or Spell Damage. The pull will not apply Crowd Control Immunity to a target.
Crimson Oath’s Rive (Heavy Armor)
- (2 items) Adds 1487 Armor
- (3 items) Adds 1206 Maximum Health
- (4 items) Adds 1487 Armor
- (5 items) When you use an ability that applies a Major or Minor buff to yourself or an ally, send out a wave of energy that reduces the Armor of nearby enemies within 12 meters by 3541 for 15 seconds. This effect can occur once every 12 seconds, and will only occur if an enemy is within range.
Magma Incarnate (Monster Helm)
- (1 item) Adds 129 Magicka Recovery, Adds 129 Stamina Recovery
- (2 items) When you heal yourself or a group member with a single target heal ability, grant the lowest Health group member within 28 meters Minor Courage and Minor Resolve, increasing their Weapon Damage and Spell Damage by 215 and Armor by 2974 for 10 seconds. Daedric Energy will then bounce to a nearby group member within 8 meters, up to 3 times, applying Minor Courage and Minor Resolve for 10 seconds. This effect can occur once every 15 seconds.
Secret Bosses
Purgator
- Health = 3,740,235
- Additional Enemies: Flame Atronachs
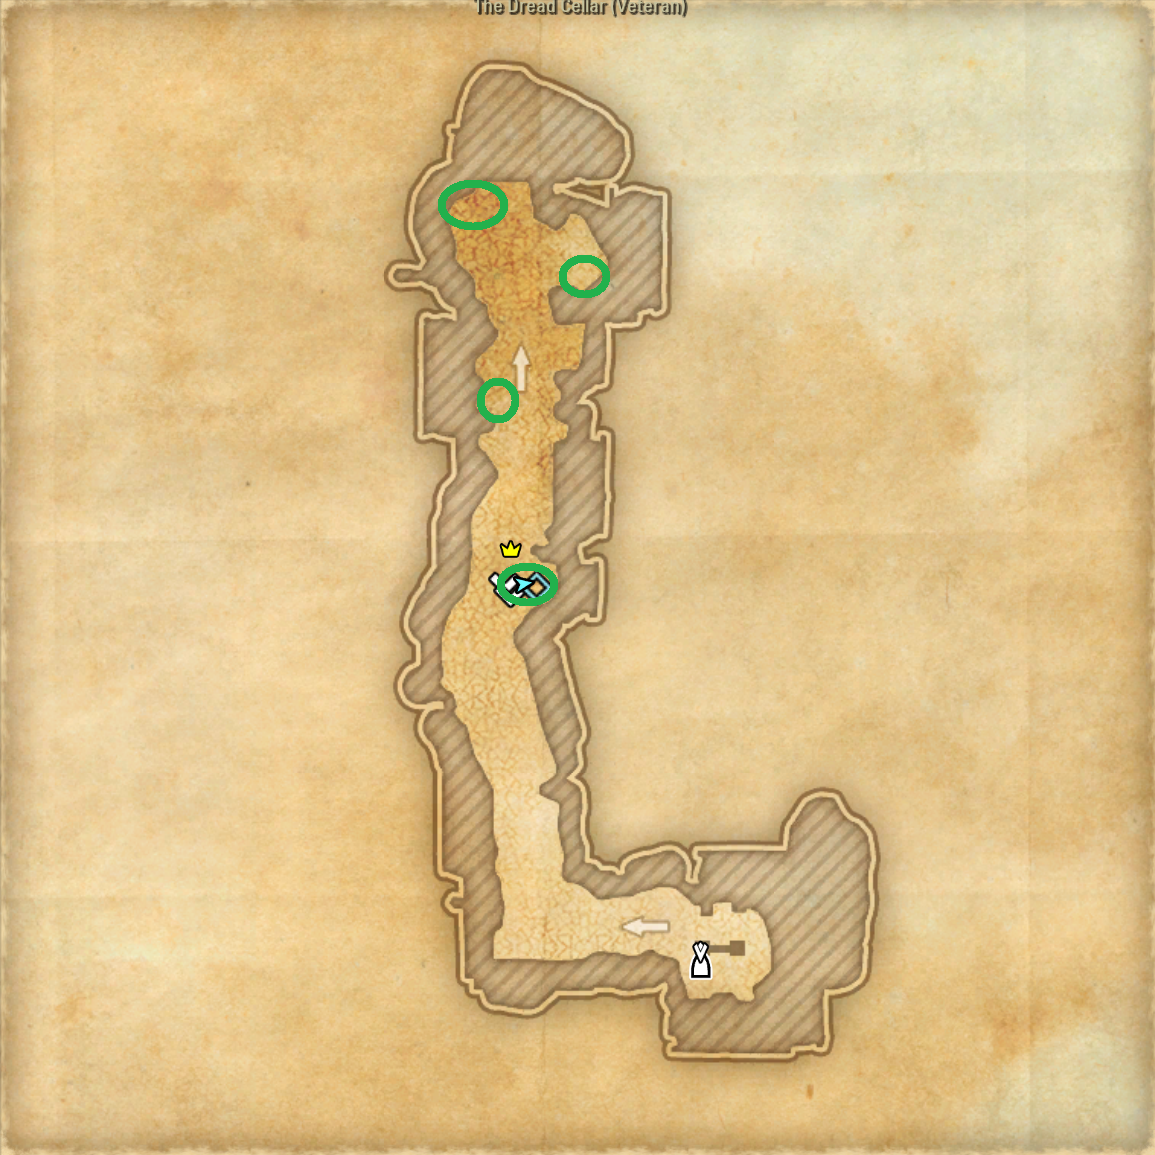
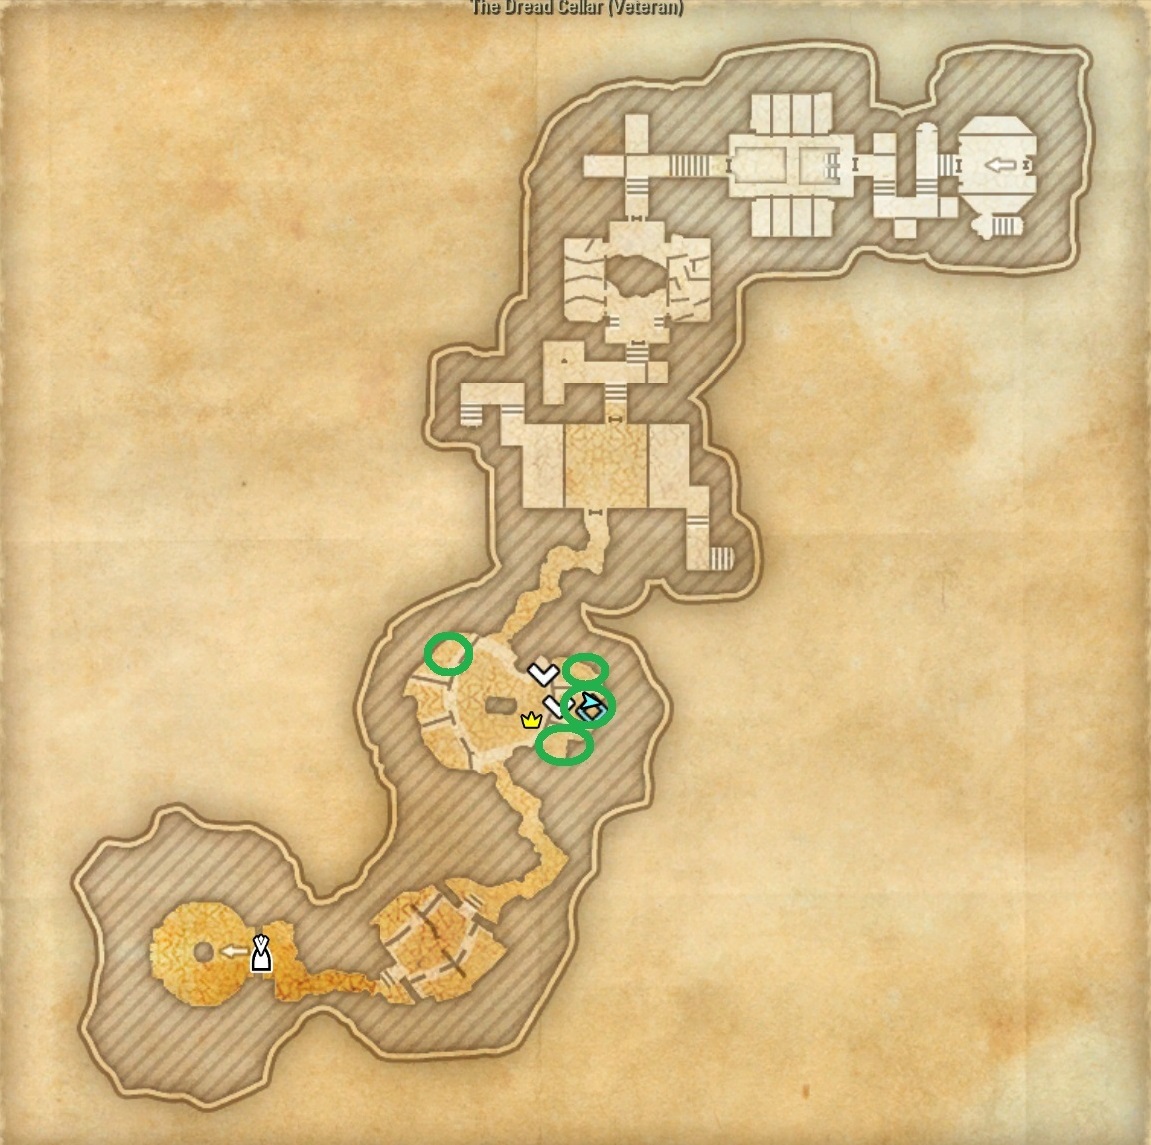
- Access: You’ll need to access braziers and bring to the trap door shown in the picture below, along with simultaneously clicking the crystals also shown below.
- Mechanics: this mini boss is very easy and mimics mini-bosses from Black Drake Villa. Range taunt the adds but they won’t be chained in. Make sure to block heavy attacks and point boss away from group if you’re the tank and it shouldn’t be hard.
- Benefit: Purgator’s Accession gives you a permanent buff going forward and will allow you to summon this mini-boss during upcoming fights. Purgator’s Accession “Weapon and Spell Damage increased by 300. Activating Purgator’s Guardian Stone summons Purgator for 1 minute and resurrects allies. With Purgator active: Light, Medium, Heavy and Bash attacks trigger Searing Sting which deals 50% additional fire damage and grants stacks of Heating Up.”
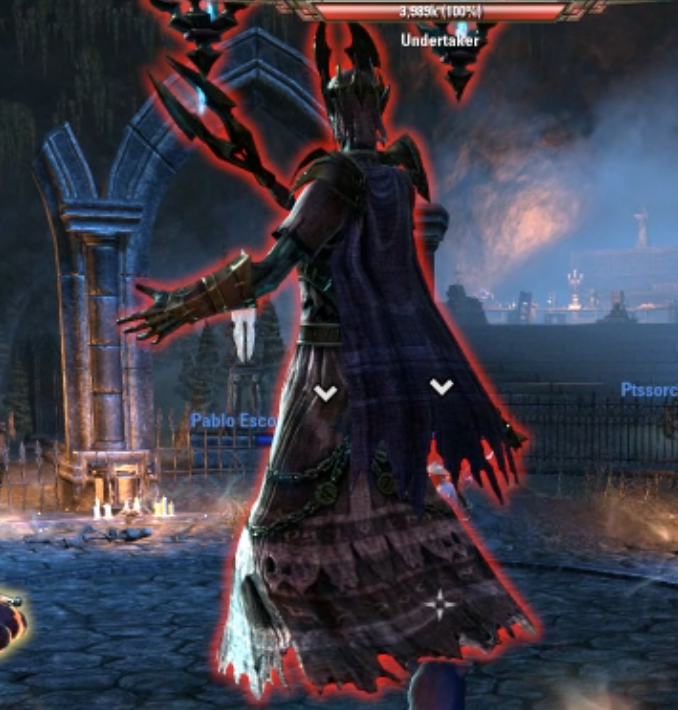
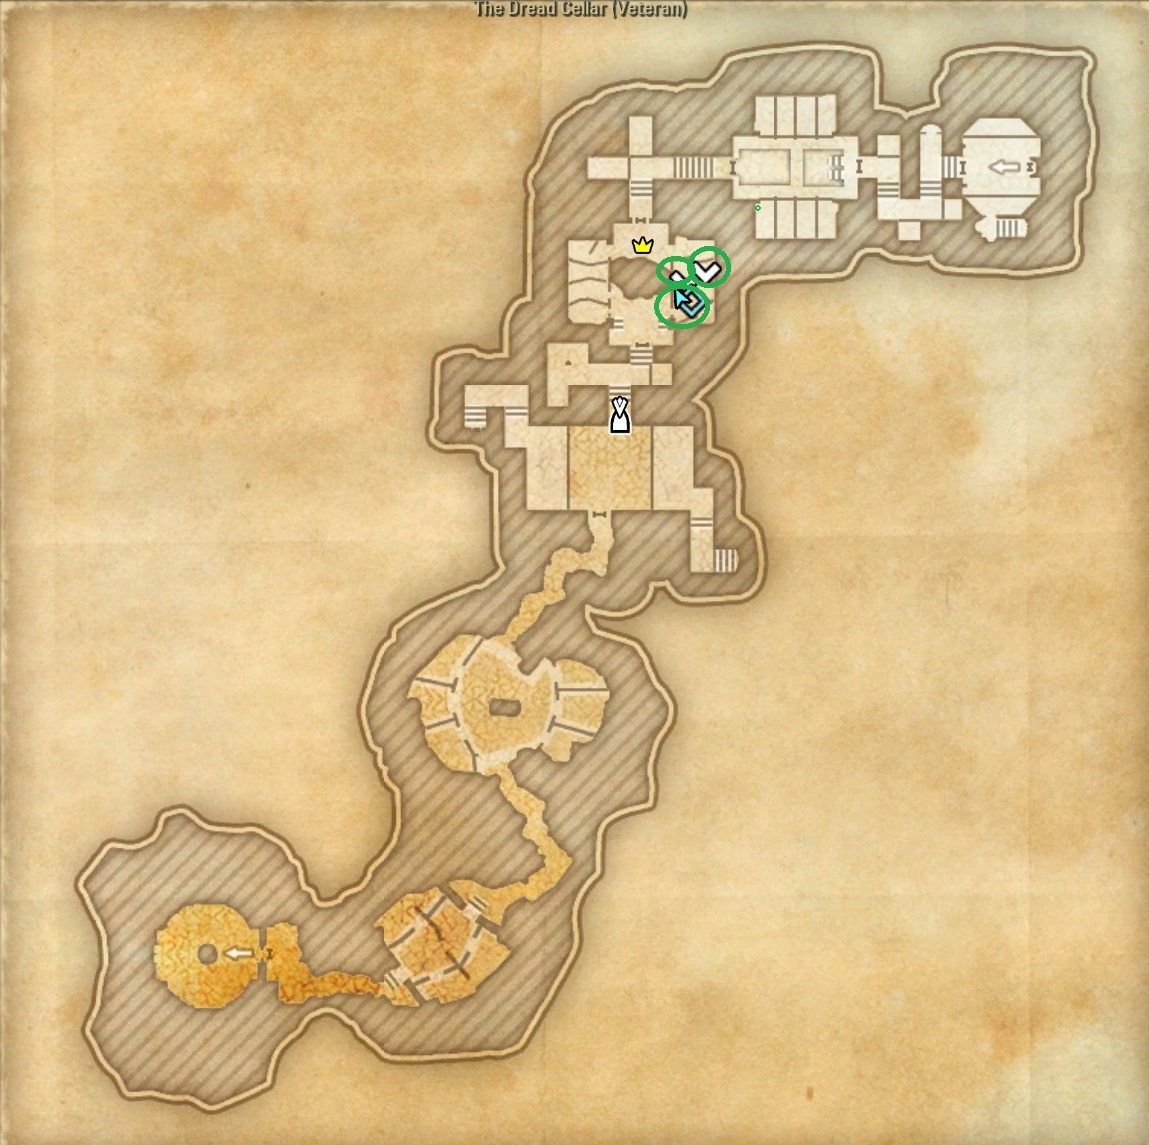
 Undertaker
- Health: 3,890,584
- Additional Enemies: Skeletal Archers
- Access: You’ll need to access braziers and bring to the trap door shown in the picture below, along with simultaneously clicking the crystals also shown below.
- Mechanics: this mini boss is a Lich with very simple ground based AoE damage and Skeletal Archers. Make sure to move out of the AoE ground damage and heal through any hard hitting abilites.
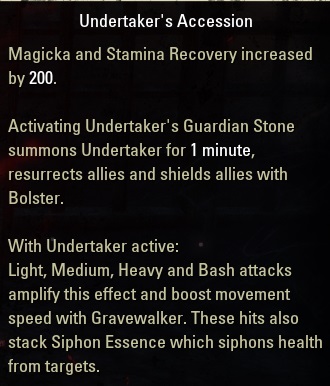
- Benefit: Undertaker’s Accession gives you a permanent buff going forward and will allow you to summon this mini-boss during upcoming fights. Undertaker’s Accession “Magicka and Stamina Recovery increased by 200. Activating Undertaker’s Guardian Stone summons Undertaker for 1 minute and resurrects allies. With Undertaker active: Light, Medium, Heavy and Bash attacks apply stacks of Siphon Essence which saps health from the target based on your max health.”
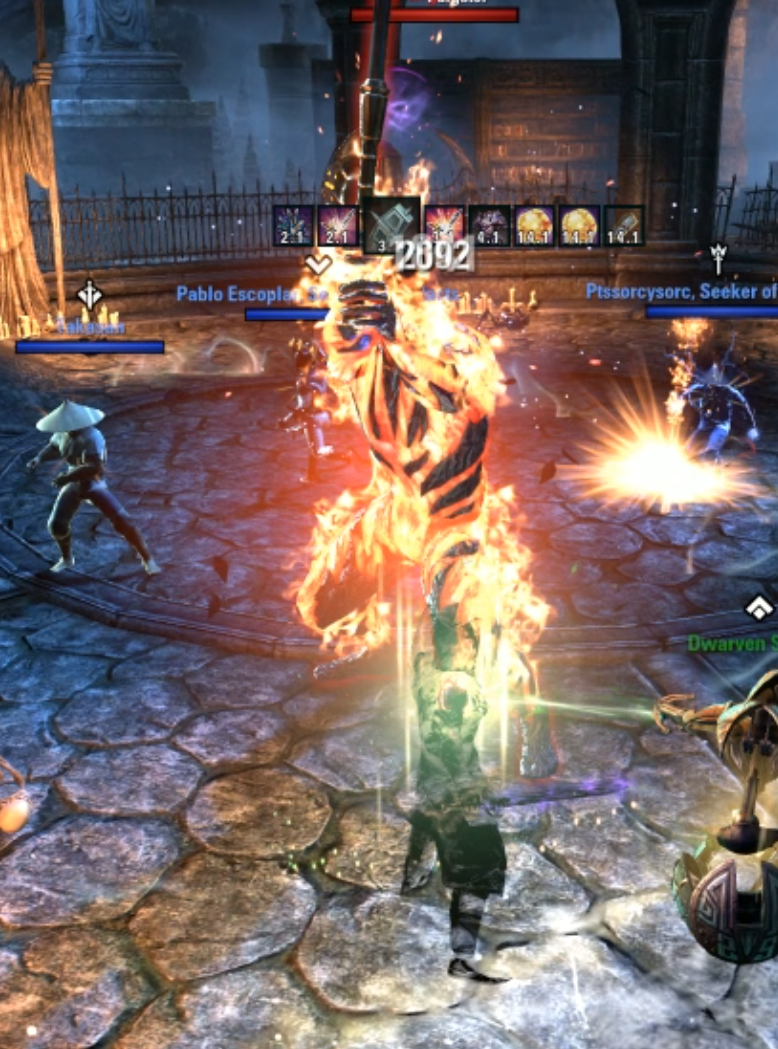
 Grim Warden
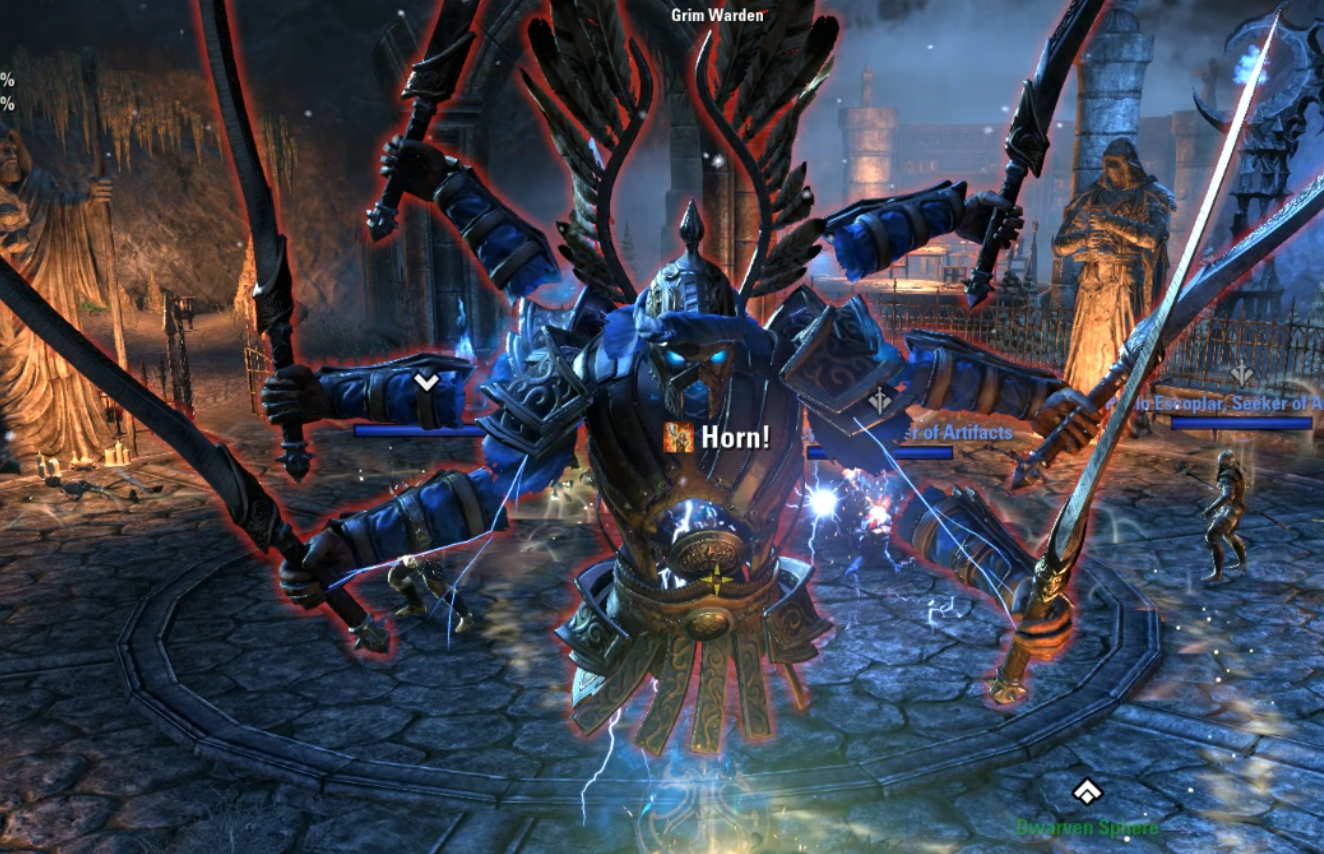
- Health: 4,238,933
- Additional Enemies: Twilights
- Access: You’ll need to access braziers and bring to the trap door shown in the picture below, along with simultaneously clicking the crystals also shown below.
- Mechanics: this mini boss has some hard hitting additional enemies and a spinning mechanic that you need to prepare for. Make sure that the tank blocks and moves out of the AoE, otherwise it could result in a wipe.
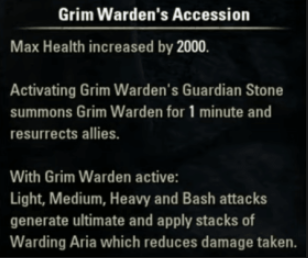
- Benefit: Grim Warden’s Accession gives you a permanent buff going forward and will allow you to summon this mini-boss during upcoming fights. Grim Warden’s Accession “Light, Medium, Heavy and Bash attacks generate ultimate and apply stacks of Warding Aria which reduces damage taken.”
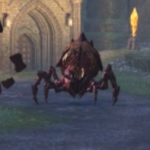 Boss 1 Scorion Broodlord
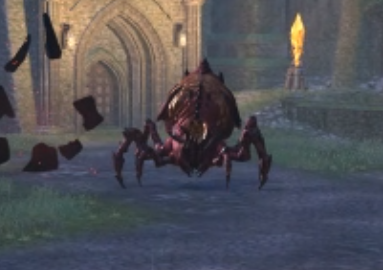
Main Boss #1
This is the first boss boss in Dread Cellar
- Health: Veteran 2,525,979 and Hardmode 8,571,372
- Basics: this is the first boss and very hard for melee DPS. It also has hard hitting heavy attacks and damage over time attacks. It’s highly recommended to bring some type of purge or cleanse for negative status effects if possible. Additionally, you can hit the pylon (crystal) in the corner of the room assuming you’ve completed the first secret boss. This will resurrect fallen comrades and give you a boost in DPS.
- Additional Enemies: Every few percentage of health, the boss will continue to spawn additional enemies. Up to four at a time which can be burned down on top of the boss or on top of the ranged enemy.
Basic Mechanics
- Agonymium Stone: boss will shoot up into the sky, summon this at random throughout the area. This is priority target as it will consume and heal the boss.
- Excruciating Expectoration: a hard hitting damage over time effect and will be a problem for the tank to deal with. Prepare for this and reduce bosses damage and save an defensive ultimate if needed.
- Turmoil: AoE conal, make sure the tank points boss away and DPS/Healer are behind.
- Torrent of Turmoil: AoE circles that do decent damage which will go out in 360 degrees. Do you best to avoid them.
- Crush: a hard hitting heavy attack that the tank should be the one to block and tank.
- Pull & Explode: If you leave the area where the boss is, this mechanic will suck everyone in and do damage.
Hardmode Mechanics
- This gives the boss more HP and more frequent additional enemy spawns. You can stack up the boss along with the adds on top of the Agonymium stone to make it easier, but be prepared for constant enemies and damage.
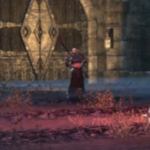 Boss 2 Cyronin Artellian

Main Boss #2
This is the second boss in Dread Cellar
- Health: Veteran 2,873,301 and Hardmode 9,324,750
- Basics: this boss has a lot of mechanics some of which require mobility and can be very difficult if you are not able to dodge roll frequently. Additionally, you can hit the pylon (crystal) in the corner of the room assuming you’ve completed the first and or the second secret boss. This will resurrect fallen comrades and give you a boost in DPS.
Basic Mechanics
- Storm Atronachs: these hard hitting, anti-melee mobs cause a ton of area damage and have a small window to bash and intreeupt. You can destroy them but they will return so clump together on top of the boss whenever possible to kill multiple.
- Boltwyrm: these will tether to a specific player at random and need to be damage be whoever is tethered (even tank) as they will take more damage. Destroy them quickly otherwise you’ll most not likely survive.
- Staff Strike: simple heavy attack that leaves down a AoE damage effect. Be careful where to park this.
- Soulstorm: this will be a one shot via a massive red skull from the center of the boss. You must dodge this and I suggest going further back to help with detection.
- Dread Surge: red waves that flow throughout the room. I would not suggest dodging them as sometimes you die and sometimes you do not. Simply look for the NPC to put up a shield wall and park the boss on there.
Hardmode Mechanics
- This gives the boss more HP and another mechanic which is a debuff that places a negative ground effect on you and will kill if you remain inside.
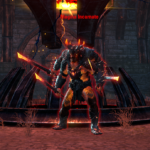 Boss 3 Magma Incarnate
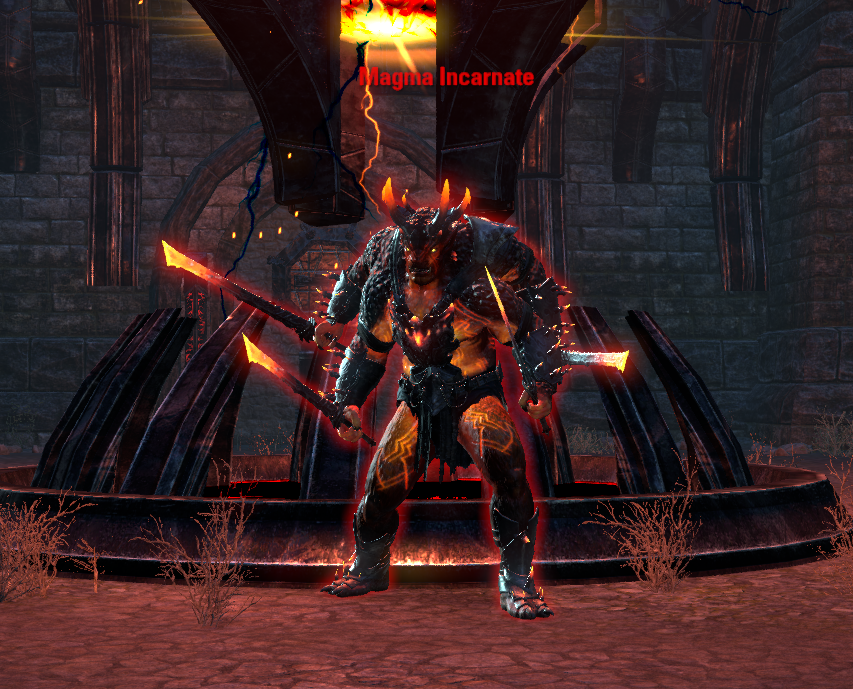
Main Boss #3
This is the third and final boss boss in Dread Cellar
- Health: Veteran 4,125,765 and Hardmode 15,567,056
- Basics: this boss is one of the most difficult in the game and a nightmare on Hardmode. It’s highly recommended to specialize in “tanky” sets, skills and playstyle until you learn the fight. You will need mobility, survivability, and with 15 million HP, a lot of concentration
Basic Mechanics
- Unstable Blitz: a hard hitting attack that should be avoided.
- Dancing Flames: simple AoE fire tornado that moves about. Simply avoid it best you can.
- Catastrophe: targeting multiple players will shot out and hit you with a hard hitting DoT. Try to dodge roll this after roughly 3 seconds though it’ll take some practice. Also don’t stand onto of each other!
- Frenzy: simple heavy attack that needs to be blocked or dodge pending stamina.
- Portal: around 70%/35% health, the boss will become immune to damage and you’ll need to run into the back of the room. Here, you’ll need to use a synergy in kill a crystal inside. Otherwise it’ll empower the boss and be very difficult to deal with.
- Path of Fire: hard mode will leave a pool of fire, because why not?
Hardmode Mechanics
- This gives the boss a lot more HP and two mechanics. One, outburst is a yellowish circle that the tank needs to stand in and block otherwise you will die. Tornado wall which will swirl around the room and you can huge the center to avoid it.
Looking For More About ESO?
Thank you for reading ESO Dread Cellar Guide. We provide the latest news and create guides for ESO. Also, watch me play games on Twitch or visit my YouTube channel!