Facebook
 Reddit
 Email
Email
Welcome to the written guide for the ESO Red Petal Bastion Dungeon which includes Veteran, Hard Modes and all the Secret bosses.
This guide will cover all the mechanics for the dungeons along with pictures for important aspects of completing the dungeon. This was added in ESO Update 31 and comes with very good gear to collect and is one of the most challenging dungeons to date!
Table of Contents
Video Guide
About This Dungeon
The Dread Cellar dungeon contains 3 main bosses and 3 secret bosses. Each main boss has a hard mode that you can activate which you’ll need to complete if your goal is to finish all the hard modes in the dungeons. This dungeon is compromised of three secret bosses each granting a special buff that remains with you throughout the instants. It’s highly recommended that you do all three secret bosses if your goal is to complete all hard modes, as they are extremely challenging without the buffs.
Available buffs
Gear Sets
Thunder Caller (Light Armor)
- (2 items) Adds 1487 Offensive Penetration
- (3 items) Adds 129 Weapon Damage and Spell Damage
- (4 items) Adds 129 Weapon Damage and Spell Damage
- (5 items) Dealing damage with a fully-charged Heavy Attack calls a bolt of lightning at your target, dealing 1875 Shock Damage and leaving a 4 meter lightning crater at their location for 6 seconds, dealing 393 Shock Damage per second to enemies touching the crater. This effect can occur once every 12 seconds and scales off of the higher of your Weapon or Spell Damage.
Grisly Gourmet (Medium Armor)
- (2 items) Adds 1096 Maximum Stamina
- (3 items) Adds 129 Weapon Damage and Spell Damage
- (4 items) Adds 1487 Offensive Penetration
- (5 items) Adds 526 Maximum Stamina, Dealing Light Attack damage grants you a stack of Baker’s Delight for 5 seconds. When you gain 3 stacks, you create a Sweetroll next to your target for 5 seconds. If you or an ally touches the Sweetroll, both you and your ally gain one of the following effects: -Restore 1593 Health, Magicka and Stamina -Gain Empower for 10 seconds -Gain Major Force for 10 seconds This effect can occur once every 2 seconds.
Silver Rose Vigil (Heavy Armor)
- (2 items) Adds 1096 Maximum Stamina
- (3 items) Adds 1206 Maximum Health
- (4 items) Adds 1096 Maximum Stamina
- (5 items) Blocking an attack grants you a stack of Realmshaper for 15 seconds, gaining up to 1 stack every 0.5 seconds. When you reach 3 stacks, you consume them and launch necrotic energy at your attacker, dealing 3226 Magic Damage and applying Major Maim for 12 seconds, reducing their damage done by 10%. Once you fire the necrotic energy, you cannot gain additional stacks of Realmshapper for 12 seconds. Damage scales off of Maximum Health
Prior Thierric
- (1 item) Adds 129 Weapon Damage, Adds 129 Spell Damage
- (2 items) Dealing direct damage with an area of effect ability creates a 6 meter shadowy whirlwind below your enemy for 7 seconds. Enemies within the whirlwind take 297 Physical Damage each second and increase their damage taken from your area of effect abilities by 5%. This effect can occur once every 15 seconds.
Secret Bosses
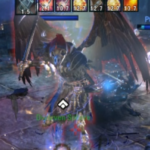
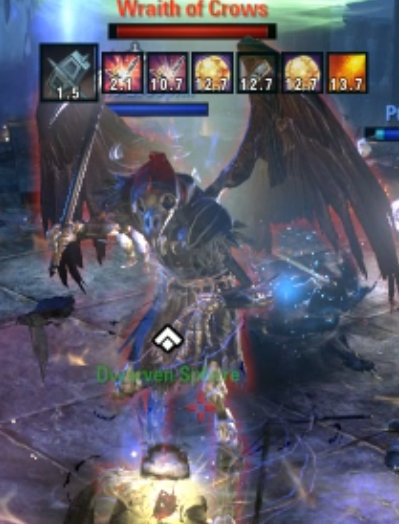
 Wraith of Crows
- Health = 2,679,408
- Additional Enemies: none, must be killed to activate boss fight
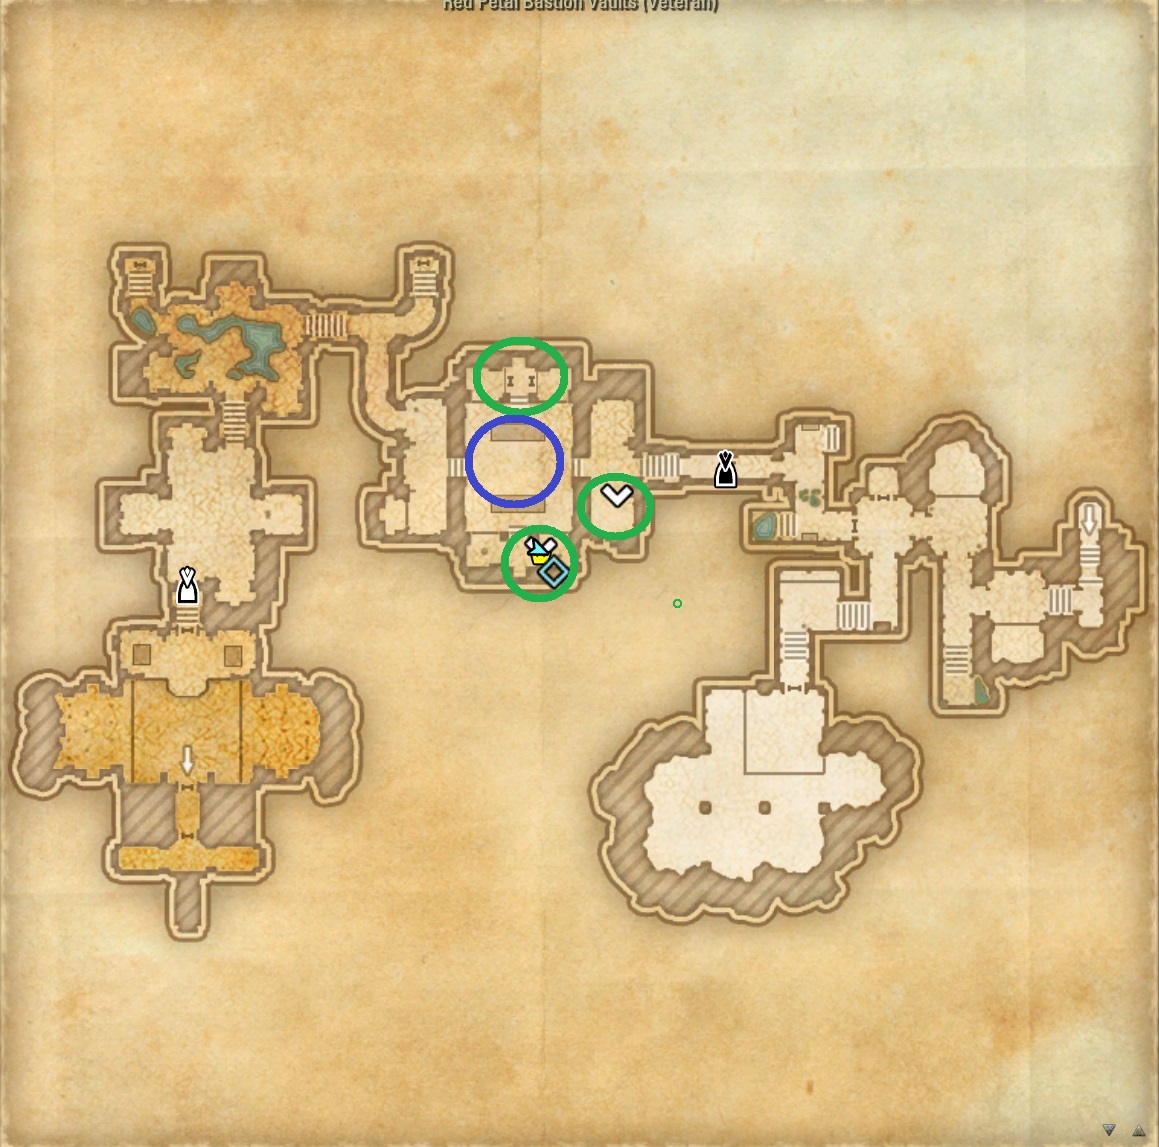
- Access: you need to clear out mobs in the first main area then stand on three platforms at the same time which will spawn a portal. Go through, activate crystal, kill boss for buff.

- Mechanics: very simple twilight mob that doesn’t hit too hard. Make sure to taunt and or chains in remaining enemies for a quick kill.
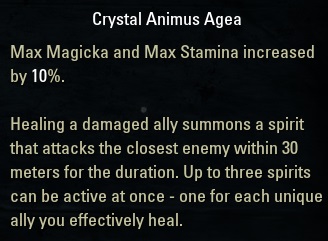
- Benefit: dungeon buff Crystal Animus Agea – max magicka and max stamina increased by 10%. Healing a damaged ally summons a spirit that attacks the closest enemy within 30 meters for the duration. Up to three spirits can be active at once – one for each unique ally you effectively heal.
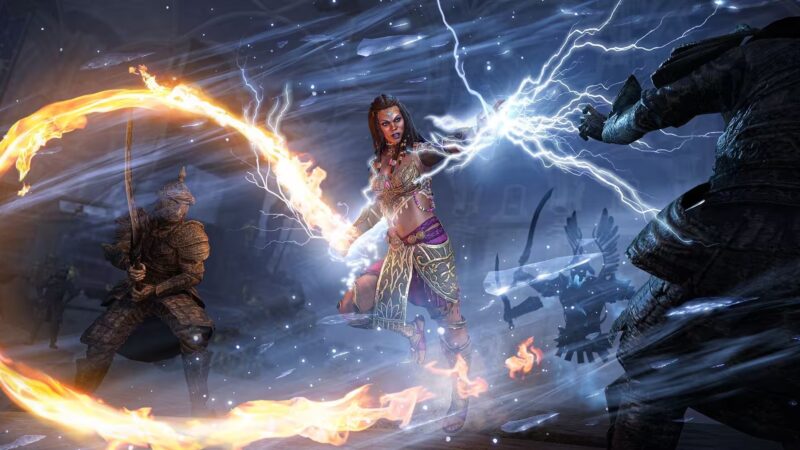
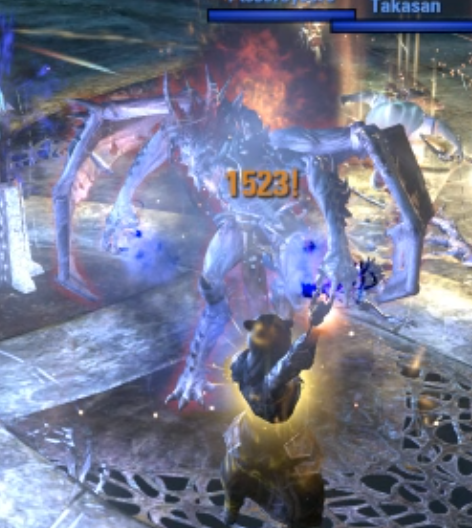
 Spider Daedra
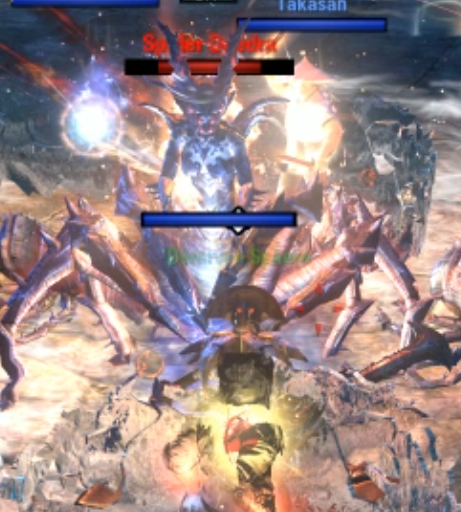
- Health = 2,679,408
- Additional Enemies: none, must be killed to activate boss fight
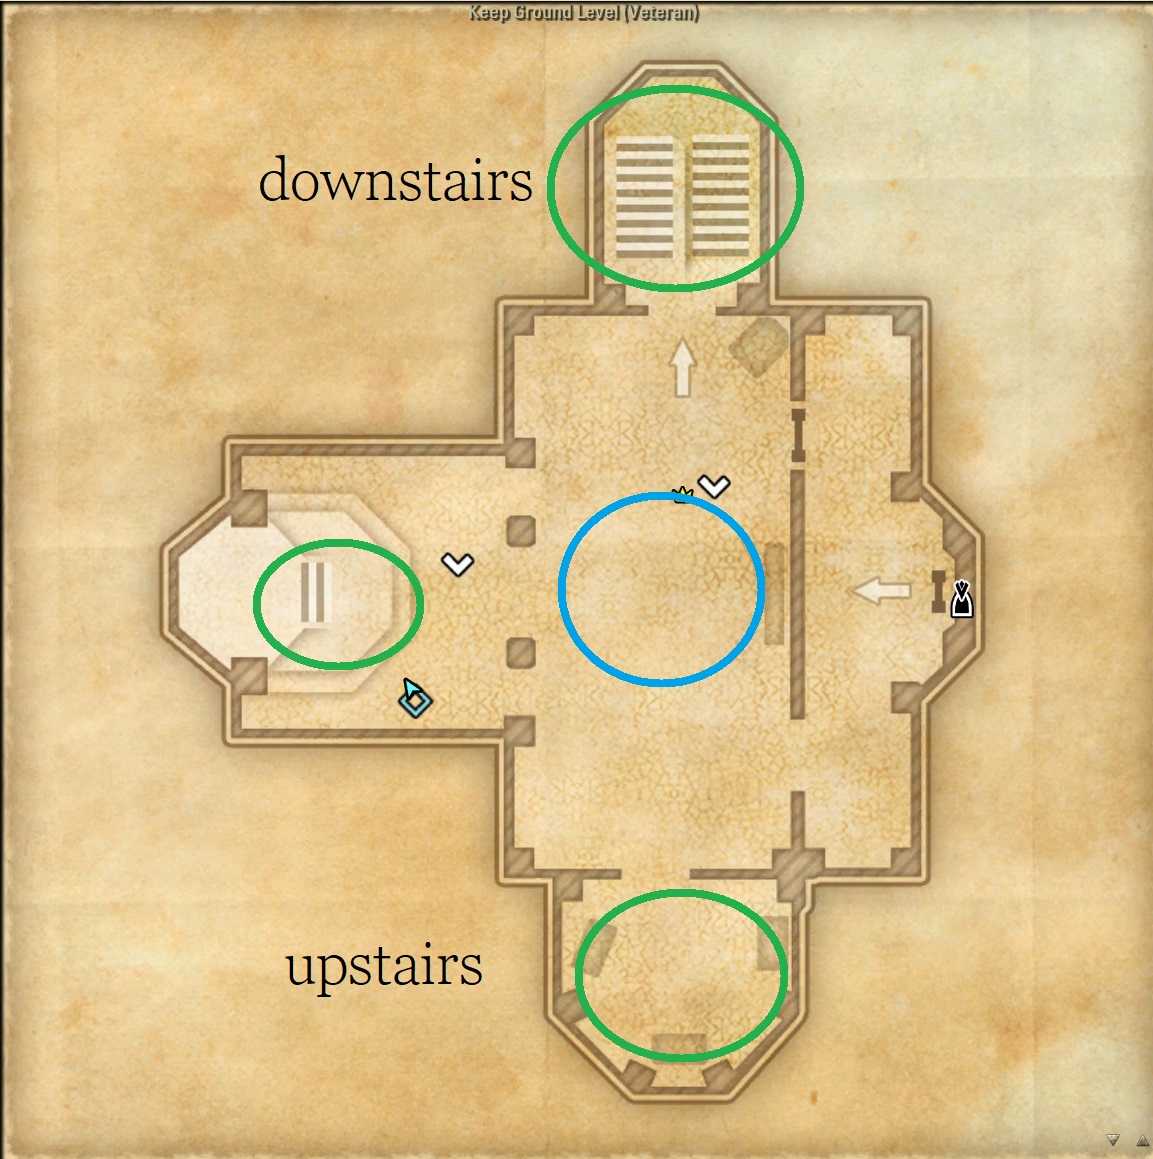
- Access: you need to clear out mobs in a house looking area and then stand on three platforms at the same time which will spawn a portal. Not there is one on basement, main floor and top. Go through, activate crystal, kill boss for buff.
- Mechanics: another simple fight with little mechanics other than getting out the wait and killing additional adds.
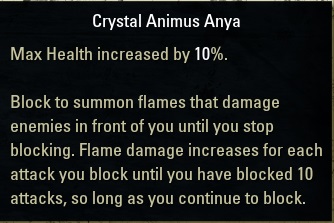
- Benefit: dungeon buff Crystal Animus Anya – max health increased by 10%. Block to summon flames that damage enemies in front of you until you stop blocking. Flame damage increases for each attack you block until you have blocked 10 attacks, so long as you continue to block.
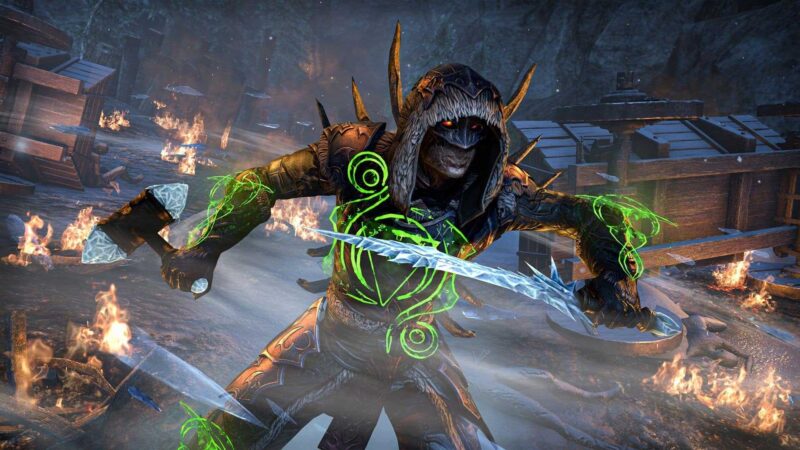
 Grievous Twilight
- Health = 2,679,408
- Additional Enemies: none, must be killed to activate boss fight
- Access: you need to clear out mobs in the area shown below then stand on three platforms at the same time which will spawn a portal. Go through, activate crystal, kill boss for buff.
- Mechanics: this boss is somewhat similar to Lord Warden in which the tank needs to get in front in order to absorb some of the blast damage.
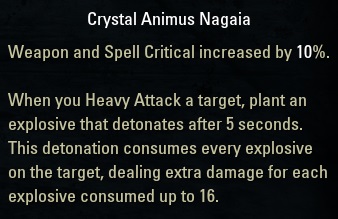
- Benefit: dungeon buff Crystal Animus Nagia – Weapon and Spell Critical increased by 10%. When you heavy attack a target, plant an explosive that detonates after 5 seconds. This detonation consumes every explosive on the target, dealing extra damage for each explosive consumed up to 16.
Boss 1 | Rogerain the Sly
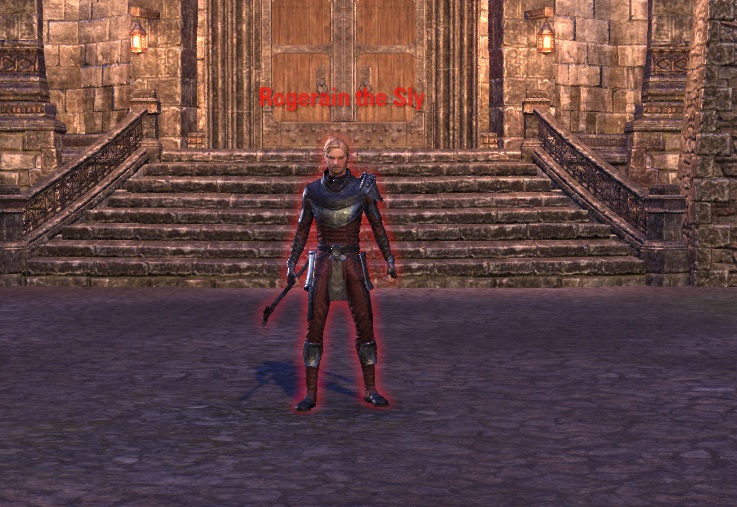
Main Boss #1
Rogerain the Sly is first boss in ESO Red Petal Bastion
- Health: Veteran 3,182,733 and Hardmode 12,789,390
- Basics: This is the simplest boss in the dungeon and very little danger here. The only issue is having someone turn into a goat–specifically if your healer does. Therefore, it is important to make sure to have some form of shields or heals and DPS gate (portal) when it appears.
- Additional Enemies: Death Hopper, Chaos Spider and Watcher
Basic Mechanics
- Heavy Attack: A simple heavy attack that needs to be blocked. This has an added effect of creating tornados on the ground that do small damage but stuns so make sure you have enough stamina to break free
- Unspeakable Void: A massive AoE void fog that does a lot of damage. The upside is it can be easily avoided, although it creates more damage effects.
- Chaos Rains: AoE poison damage that can be healed with strong heals over time, so its helpful to have a healer on hand
- Chaos Gate: The boss will randomly cast a gate (portal) somewhere in the area. This portal will spawn enemies and needs to be destroyed. You can expedite this destruction by having the player that’s a goat, use their ability to charge the portal, so thats one way to make use of this goat mechanic.
- Goatification: Randomly, one player will be turned into the goat. You can run around eating sweatrolls to gain one of three buffs,or charge the portal which will make it easier to destroy.
Hardmode Mechanics
- no new mechanics with hardmode just additional hit points (a lot more).
Boss 2 | Eliam Merick
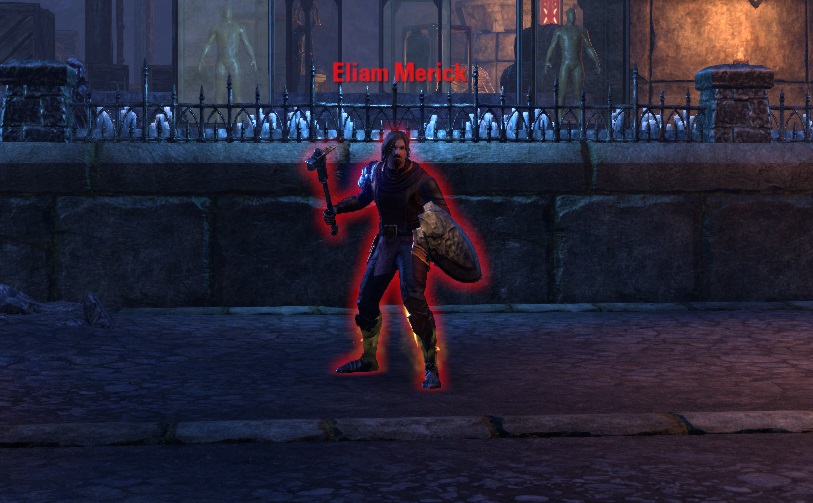
Main Boss #2
Eliam Merick second boss boss in ESO Red Petal Bastion
- Health: Veteran 4,092,086 and Hardmode 14,075,098
- Basics: Another simple boss, but one that has a ton of hit points. You’ll have kick with stun and knockback, regardless if you block. This is challenging as a tank so positioning is key. Then you’ll have two hard hitting adds that need to be destroyed as they appear. Mobility is key and this one is pretty easy to recover if someone goes down on your team.
- Additional Enemies: Liramindel and Ihudir
Mechanics
- Aftershock: boss puts AoE electricity on the ground which can kill you very quickly even as a tank.
- Stonesplitter Plunge: a random charge if you are far away from the boss. You can dodge or avoid this, but keeping semi-close to the boss is a safe bet.
- Rockslide Rush: this is a easily telegraphed attack on the tank that needs to be blocked, dodged or side stepped.
- Archer Add (Liramindrel): at various intervals (timed or health) the boss will spawn an archer add. This add will put traps on the ground and on hardmode the boss will have a shield. Make this your priority to kill once appeared.
- Melee Add (Ihudir): at around 50% health you’ll now get a melee add to deal with. Interrupt the add who teleports around. A ranged interrupt like crushing shock is very helpful.
- Both Adds: at around 30% you’ll have both adds to deal with. Make sure to stack up and kill them if possible.
Hardmode Mechanics
- Shield mechanic: the archer add will create a bubble around the boss when spawned that will largely reduce damage. Also, the melee mob will empowered the boss making both adds in this fight more of a pain to deal with.
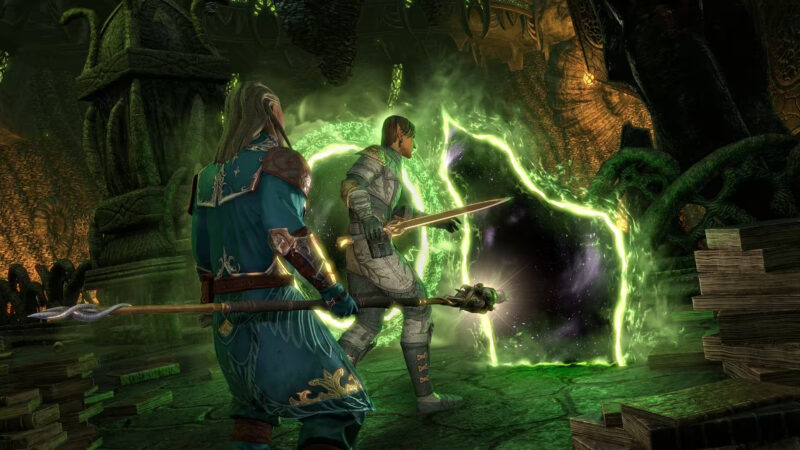
Boss 3 (final) | Prior Thierric Sarazen
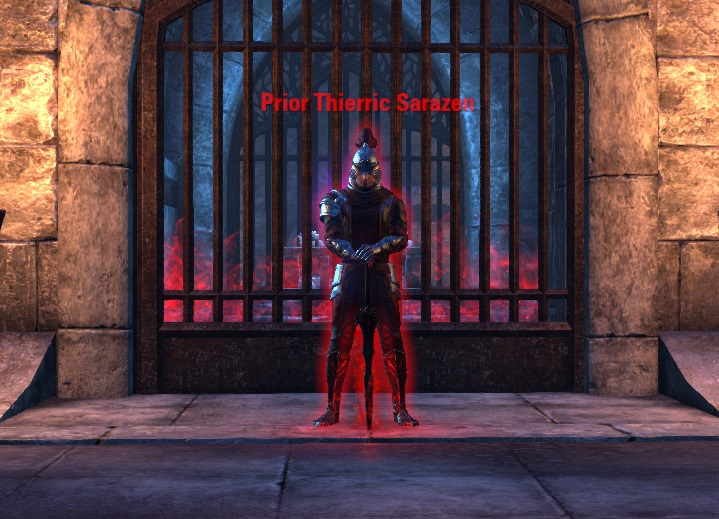
Main Boss #3
Prior Thierric Sarazen third and final boss in ESO Red Petal Bastion
- Health: Veteran 4,318,304 and Hardmode 17,049,630
- Basics: the TLDR version of this is massive amount of damage on the ground. You’ll have a ton of HP to deal with, adds, and require constant interrupts. You can recover from a death on this fight and largely it’s taking your time and coordinating your position.
- Additional Enemies: Realmshaper and Relic Fiend
Basic Mechanics
- Heinous Highkick & Wide Slice: a kick that stuns/knocksback even while blocking and immediately followed by a slice of AoE cleave damage in front.
- Aftershocks: Avoidable AOE damage
- Rockslide Rush: a simple charge attack that can be dodge or avoided.
- Opalescent Impale: a interruptable ability that if not interrupted, will impale and kill a group member.
- Duplicate Wall: a wall that goes through the room and will change sides. If you touch one of these walls, it’ll stun you and as the tank can instantly kill you if the kick happens as well. You’ll find specific spots to hang out in that make it much easier to avoid.
- Adds: simple adds that have a very annoying mechanic requiring constant bashes. Easiest way to deal with them is park boss on top of one, while another member watches or uses range interrupts on furthest enemy.
Hardmode Mechanics
- The boss will have much more heal and do more damage.
- Shield: when the impale mechanic happens, you’ll have to get inside the bubble to interrupt which requires mobility.
- Stun Orbs: more things on the ground that will of course stun and do damage.
Looking For More About ESO?
Thank you for reading ESO Red Petal Bastion Guide Guide. We provide the latest news and create guides for ESO. Also, watch me play games on Twitch or visit my YouTube channel!