Facebook
 Reddit
 Email
Email
Discover the best one-bar Builds in ESO as this PvE Tier list ranks the best and worst for The Elder Scrolls Online Update 42 Gold Road Chapter.
This build has been updated for the Updated 42, the Gold Road Chapter of the Elder Scrolls Online (ESO).
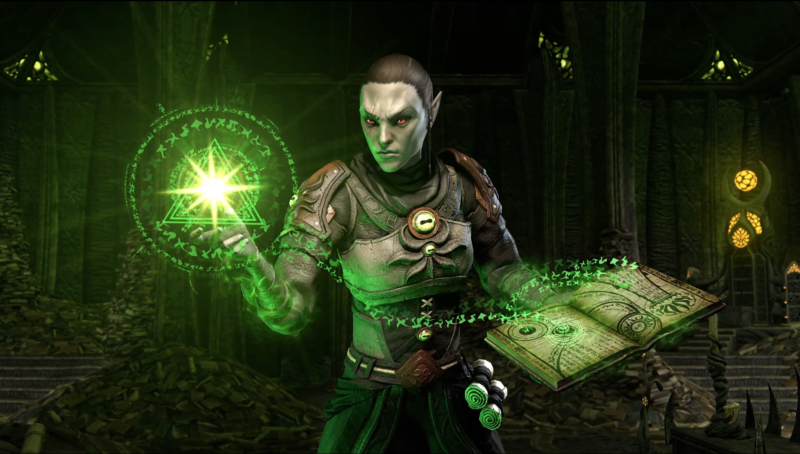
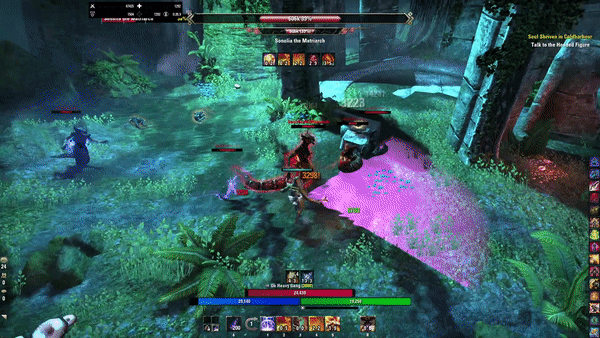
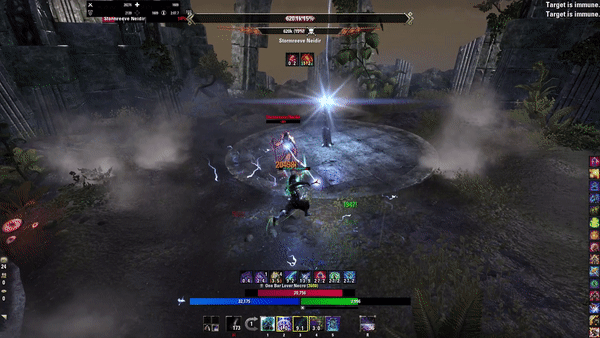
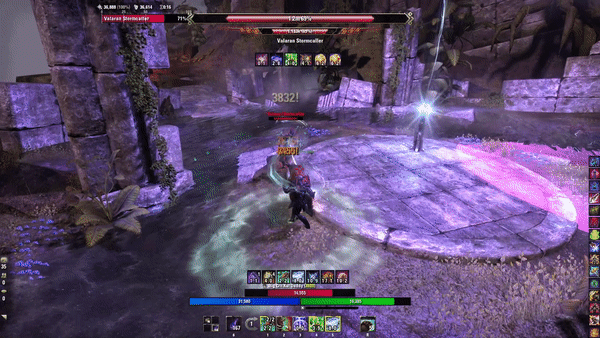
ESO one-bar builds are commonly referred to as “heavy attack builds.” These builds use the Oakensoul Mythic and other five-piece gear sets to do really solid damage using only one bar. ESO combat is complicated, and it’s especially difficult for newer players who are trying to learn gameplay mechanics, dps rotations, and light attack weave efficiently all at the same time. Instead, using a heavy attack build can help you hit really high numbers, while giving you the chance to focus on positioning and gameplay instead of your ability bars. It can even accelerate your progression into veteran difficulty content, getting you some much needed gear and monster helmets.
In the current meta, one bar (heavy attack) builds perform well, but they aren’t as strong as well optimized two-bar PvE builds. Still, they give you a simpler rotation, better survivability, and unless you’re already very competent on a two-bar build, they’ll probably do more damage in the Elder Scrolls Online too. Our tier list ranks the best and worst classes using a medium armor, magicka-based heavy attack build setup.
What’s the Best One Bar Build in ESO?
The best one-bar build in ESO Update 42 Gold Road Chapter is the Sorcerer because of damage, survivability, and ease of play. Ranked as an S+ tier, the Sorcerer one bar using Oakensoul Mythic with pets makes the build less complex and produces the highest single-target damage. A secondary choice is the Templar, which has excellent damage and survivability due to its execute Radiant Glory. Moreover, the Templar has additional group utility with synergy skills, making it a perfect choice for group-oriented players. These are ESO’s best and worst One Bar PvE Builds and classes in Update 42.
ESO PvE One Bar Class and Build Tier List:
- S Tier Classes – Sorcerer, Templar
- A Tier Classes -: Warden, Arcanist
- B Tier Classes – Necromancer, Nightblade
- C Tier Classes – Dragonknight
The Table below ranks and lists all ESO Classes using the one bar build from the best to the worst:
| ESO One Bar Rank | Class | Tier Ranking |
|---|---|---|
| 1 | Sorcerer | S+ |
| 2 | Templar | S |
| 3 | Warden | A+ |
| 4 | Arcanist | A |
| 5 | Necromancer | B+ |
| 6 | Nightblade | B |
| 7 | Dragonknight | C |
Related:
7 Dragonknight | C Tier
| One Bar Dragonknight Pros | One Bar Dragonknight Cons |
|---|---|
| Good Area Damage | Complicated |
| Damage Over Time | Lacks Bar Space |
| Melee Focused |
On our list, we rank the Dragonknight (DK) as a C Tier, marking it as the least effective one-bar build in ESO. The problem is not that DKs are weak, they’re actually one of the strongest dps classes in the game right now, its that the DK’s strengths clash with the strengths of a heavy attack build. A lightning staff heavy attack takes 2.2 seconds to channel, but Burning Talons, the DK’s strongest ability, lasts for 5 seconds. You’re almost always either missing damage ticks or causing downtime in your strongest aoe ability.
There’s also the problem of melee versus ranged dps. Heavy attack builds are usually ranged, due to the lightning staff doing the most damage. The DKs strongest abilities are all melee ranged, however. That isn’t necessarily an issue, it just forces you to get up close to enemies, whereas staying at range is huge for your survivability. You can of course still do solid damage heavy attacking with the DK, other classes just don’t have these problems, putting DKs last on the list.
Dragonknight Heavy Attack Pros
- Good Area Damage – hitting many targets simultaneously, the DK excels at area damage.
- Damage Over Time – damage over time in an area is the strength of the dragonknight.
Dragonknight Heavy Attack Cons
- Complicated– you’ll need to spend more time managing cooldowns than other one-bar builds.
- Lacks Bar Space – DKs use a lot of DoTs to do great damage, and Oakensoul limits that.
- Melee Focused – the DK wants to be close, but the Oakensoul Heavy Attack doesn’t; thus, they conflict.
If you think about every class like a tool, the strength of the Dragonknight is its ability to put out almost its total single target damage in an area around your character. DKs have quite a few of the strongest DoTs in the game, one of the best damage ultimates, and tons of utility for solo PvE play. Heavy attacking on a one bar build conflicts with your heavy attacking channel, and you lose out on several really strong DoTs when you limit the DK to one bar.
We suggest you not play the DK in a one-bar build. If you want to play the DK, commit to learning the rotation and load up a second bar with our Magicka DK PvE build. It’s more difficult, but the DK is so strong that it’s worth taking the time to learn. Up next on our Best One Bar Build for ESO PvE Tier List is another class with similar problems using Oakensoul, the Nightblade.
6 Nightblade | B Tier

| One Bar Nightblade Pros | One Bar Nightblade Cons |
|---|---|
| Excellent Mobility | Lacks Bar Space |
| Single Target Damage | Lacks Passive Healing |
| Ease of Play | Weak AOE |
The Nightblade is ranked B tier on our one-bar list due to its overall weak dps in content. Concealed Weapon was changed, requiring stealth to gain a damage bonus, thus making it an entirely PvP-focused skill. This leaves the Nightblade with weak magicka-based spammables and weaker DoTs than other classes on this list. Similar to the DK, if you really want to play a Nightblade, you’re better off just learning a full stamina Nightblade two-bar build. There are just plenty of better options for heavy attacking in the Elder Scrolls Online.
Nightblade Heavy Attack Pros
- Excellent Mobility – using Twisting Path provides you and your team with great mobility.
- Single Target Damage – the Nightblade still possesses powerful single-target damage.
- Ease of Play – like other Oakensoul builds, it’s very simplistic.
Nightblade Heavy Attack Cons
- Lacks Bar Space – Because Nightblades are just weaker in content right now, they are even worse when limited to one bar.
- Lacks Passive Healing – unlike other builds, you get little to no healing with a heavy attack build.
- Weak AOE – The AOE is dreadful due to a lack of bar space. You either get good single target or okay aoe dps, not both.
The main issue with the Nightblade One Bar build is the lack of bar space. This lack of bar space makes you compete for good single target damage or okay aoe damage. You ultimately have to choose between the two, but not have both simultaneously. However, the Nightblade can be fun and fast to play solo, with great range and ultimate generation. It is still one of the weakest one-bar builds and not one we suggest using.
5 Necromancer | B+ Tier
| One Bar Necromancer Pros | One Bar Necromancer Cons |
|---|---|
| Area Damage | Weak Single Target |
| Survivability | Complicated |
| Group Utility | Lack of Bar Space |
Ranking B+ Tier on our One Bar PvE Tier list, the Necromancer is still weaker than other classes on this list while providing some additional group utility than classes lower on this list. The Necromancer has one of the best sources of Major Vulnerability through its ultimate Glacial Colossus. While the Necro just doesn’t do as much dps as other classes on this list, you do help the rest of the group do more dps.
Necromancer Heavy Attack Pros
- Area Damage – Blighted Blastbones in an insane amount of aoe dps.
- Survivability – the Necromancer has innately high survivability.
- Group Utility – Major Vulnerability from your ultimate is great for group dps.
Necromancer Heavy Attack Cons
- Weak Single Target – either you have high area damage or mediocre at best single target for boss fights, but not both.
- Complex – managing Blighted Blastbones can be a choir in between heavy attacks.
- Needs More Bar Space – The Necromancer doesn’t have many abilities that do single-target, AOE, and one.
The cons of the Necro one bar are more complex rotation, weaker single target, and lack of bar space. Necros have fallen behind other classes in dps for the last couple of patches, and this isn’t different for heavy attack builds. In fact, it’s worse because Blighted Blastbones doesn’t line up well with the lightning staff heavy attack, similar to the Dragonknight. You do get the extra group source of Major Vulnerability, however.
4 Arcanist | A Tier

| One Bar Arcanist Pros | One Bar Arcanist Cons |
|---|---|
| Great Range | Doesn’t Heavy Attack |
| Survivability | Requires Purchase |
| Damage | Fatecarver Channel Dependent |
This is a bit of a cop-out, considering it isn’t a heavy attack build.
The Arcanist one-bar build does not utilize Oakensoul due to the Fatecarver skill which is still a very long channel. Thus, we rank it A Tier on this list due to its damage and survivability, but ultimately, it doesn’t play with heavy attacks. The premise of the class is the 4-second channel Fatecarver skill, eliminating the possibility of heavy attacking consistently. Still, you have a similar amount of downtime while dealing damage, and Oakensoul gives you a ton of buffs, allowing you to hit really hard even without heavy attacking.
Arcanist Pros
- Great Range – Plays at range very well, dealing damage in a large line instead of just on your target.
- Survivability – Incredible healing and shielding.
- Damage – The Arcanist’s damage is still high and one of the best in the game.
Arcanist Cons
- Doesn’t Heavy Attack – Unlike other builds, the Arcanist uses the Fatecarver skill rather than heavy attacks.
- Requires Purchase – Behind a paywall means not everyone can access this class.
- Fatecarver Channel Dependent – Fatecarver can be difficult to cast solo with enemies constantly attacking you.
The problem with a one-bar Arcanist class is you might as well use Fatecarver instead of heavy attacking. If you’re running Fatecarver, however, you might as well run a full two-bar build. It just isn’t that much more difficult, and your damage is a lot higher, especially in group content. Moreover, you still need to purchase the Necrom chapter to obtain the class, creating a paywall for players. Try this one-bar build if you like the Arcanist, and want something more straightforward and still effective. You should definitely be looking to running the full two-bar build though.
3 Warden | A+ Tier
| One Bar Warden Pros | One Bar Warden Cons |
|---|---|
| AOE Damage | Medium Range |
| Survivability | Pet Ultimate |
| Group Utility | Infinite Archive |
If you want a sturdy and durable one-bar build, look no further than the Warden ranked A+ tier on our list. Update 41 changed and improved elemental status effects, making chilled do even more damage and improving the Warden’s damage overall. Moreover, this high ranking is partially because the Warden performs so strongly in the Infinite Archive area. With passive healing, good area damage, and high survivability, the Warden makes a fantastic one-bar build for that type of content. Its power fades in solo arenas, but the Warden is in a great place for most players.
Warden Heavy Attack Pros
- AOE Damage – Deep Fissure nukes and debuffs armor to nothing.
- Survivability – The Warden feels like an unkillable monster in PvE.
- Group Utility – Change one skill, and you can provide great healing to teammates.
Warden Heavy Attack Cons
- Medium Range – The Warden plays at medium range due to deep fissure, so you’ll have to position it carefully.
- Pet Ultimate – The best ultimate is a single target pet, which is great passive damage, but lacks burst potential like other ultimates.
- Infinite Archive – Wardens are especially good in Infinite Archive with the Focused Efforts vision.
Consider playing the Warden if you want something with high survivability, group utility, and area damage. This is a great all around build to take into most content, and Wardens have some of the best skill animations in the game.
2 Templar | S Tier

| One Bar Templar Pros | One Bar Templar Cons |
|---|---|
| Best Execute | Not Highest Damage |
| Great Damage | Needs Bar Space |
| Utility | Low Mobility |
The second best one-bar build is the Templar, which ranks S tier due to its best execution skill, group utility, and great overall damage. Templar’s Radiant Glory is an execute that out performs your heavy attack at around 15-20% boss health. This execute also heals based on damage done, keeping you healthy during the last portion of a boss fight. Moreover, you have a good balance of area damage and single target with good survivability.
The best advantage to the Templar is how easily you can tweak a few skills to make this build a competent healer. You can easily swap your morph check out the build to see how to do that.
Templar Heavy Attack Pros
- Best Execute – Radiant Glory is incredible, even on a one-bar build.
- Great Damage – not the highest overall damage, but close in both AOE and single target.
- Utility – Throwing shards, the ritual of retribution, and adding healing skills gives the Templar some extra healing and group synergies.
Templar Heavy Attack Cons
- Not Highest Damage – For those looking to max damage, the Templar falls behind the Sorcerer in single-target.
- Needs Bar Space – Like many classes, you just need some more bar space to cast more DoTs.
- Low Mobility – If you’ve ever played a templar, you know how dreadful their mobility is and that’s true on a one bar build.
The major weakness of the Templar is it just does less damage than the next class on this list, and you have to change your rotation in execute. Radiant Glory is challenging to light attack weave for players who haven’t played the Templar extensively. However, if you’re looking for a great base game class to use Oakensoul heavy attack build with amazing utility and execute dps, the Templar is your choice in ESO Update 42 and beyond.
1 Sorcerer | S+ Tier

| One Bar Sorcerer Pros | One Bar Sorcerer Cons |
|---|---|
| Best Damage | Weak AoE |
| Ultra Simple | Pet focused |
| Best Survivability |
The best one-bar build in ESO in Update 42 is the Sorcerer with almost no nerfs to any classes this patch, ranking it S+ tier again. The Sorcerer retains the highest single-target damage with ease of play and survivability. Using two pets carries your damage and survivability, allowing you to focus on precise heavy attack timing and rotation. Additionally, the developers buffed status effects in the previous update, resulting in more Concussed damage overall and even more for the Sorcerer. Thus, you can expect a big damage buff to an already powerful build and one bar load out.
Sorcerer Heavy Attack Pros
- Best Damage – If you’re playing a heavy attack build, this one does the highest overall damage.
- Ultra Simple – The simplest and most effective one bar build.
- Best Survivability – Pets and Critical Surge give the Sorcerer unparalleled survivability when you need extra healing.
Sorcerer Heavy Attack Cons
- Weak AOE – Heavy attack builds have good aoe in general, but Sorcerers have weaker aoe abilities than other classes.
- Pet Focus – Due to two pets on your bar, you do just have less to do while you’re playing the Sorcerer.
The only downsides to the Sorcerer is the overall weaker aoe skills and the reality that you just have less to do with fewer skills on your bar. Still, this is the strongest class for heavy attacking, and you can competently complete most Veteran content on the build. Like all heavy attack builds, however, the main benefit is to get into harder content earlier and learn some of the mechanics before throwing in a more difficult two-bar rotation on top of mechanics you don’t fully understand yet.
Therefore, Sorcerer is still the best one bar build in ESO and we recommend it for any player looking to do heavy attacks.
Changes in Update 42 Gold Road Chapter DLC
Patch 10.0.5 brought ten new item sets, three new mythics, and the Scribing feature. There were minor balance changes due to introducing 11 new skills via Scribing called Grimoires. With new skills that can be changed via scripts, however, many skills have delays or long animations. This doesn’t fit the typical Oakensoul Heavy Attack One Bar build playstyle, though some uses can be found for buffs. The Scribing system allows you to gain buffs, healing, shields, and so forth that help fill the weakness in your builds. However, the passive and active skills still determine the overall strength of the class and why you should use them.
Here is a brief summary of the biggest changes from Update 42:
- Scribing – the new system gives you access to 11 new, unique, customizable skills you can use!
- Grimoires – 11 new skills that can be changed via Scripts with stuns, immobilization, pulls, and knockbacks.
- Class Balance – the main changes are to the Templar blazing spear with minor changes.
- Skill Styling – select new color variations on popular existing skills from the Weapon, Guild, and World Skill Lines.
- New Zone West Weald – Located just west of Cyrodiil and east of the Gold Coast, West Weald remains a stronghold of Imperial prosperity.
- Lucent Citadel New Trial – 12-player trial with the portal located in northern West Weald, with new gear and achievements.
- New Gear Sets – overland, crafting, trials, and mythics.
- HDR Support – Windows HDR Color Settings adjust various brightness settings.
- Mail Improvements – many changes to player, system, and system alert mail functions.
- New Achievements – many new achievements were added to the chapter and base game Update 42.
How Does One Bar Heavy Attack Build Work in ESO?
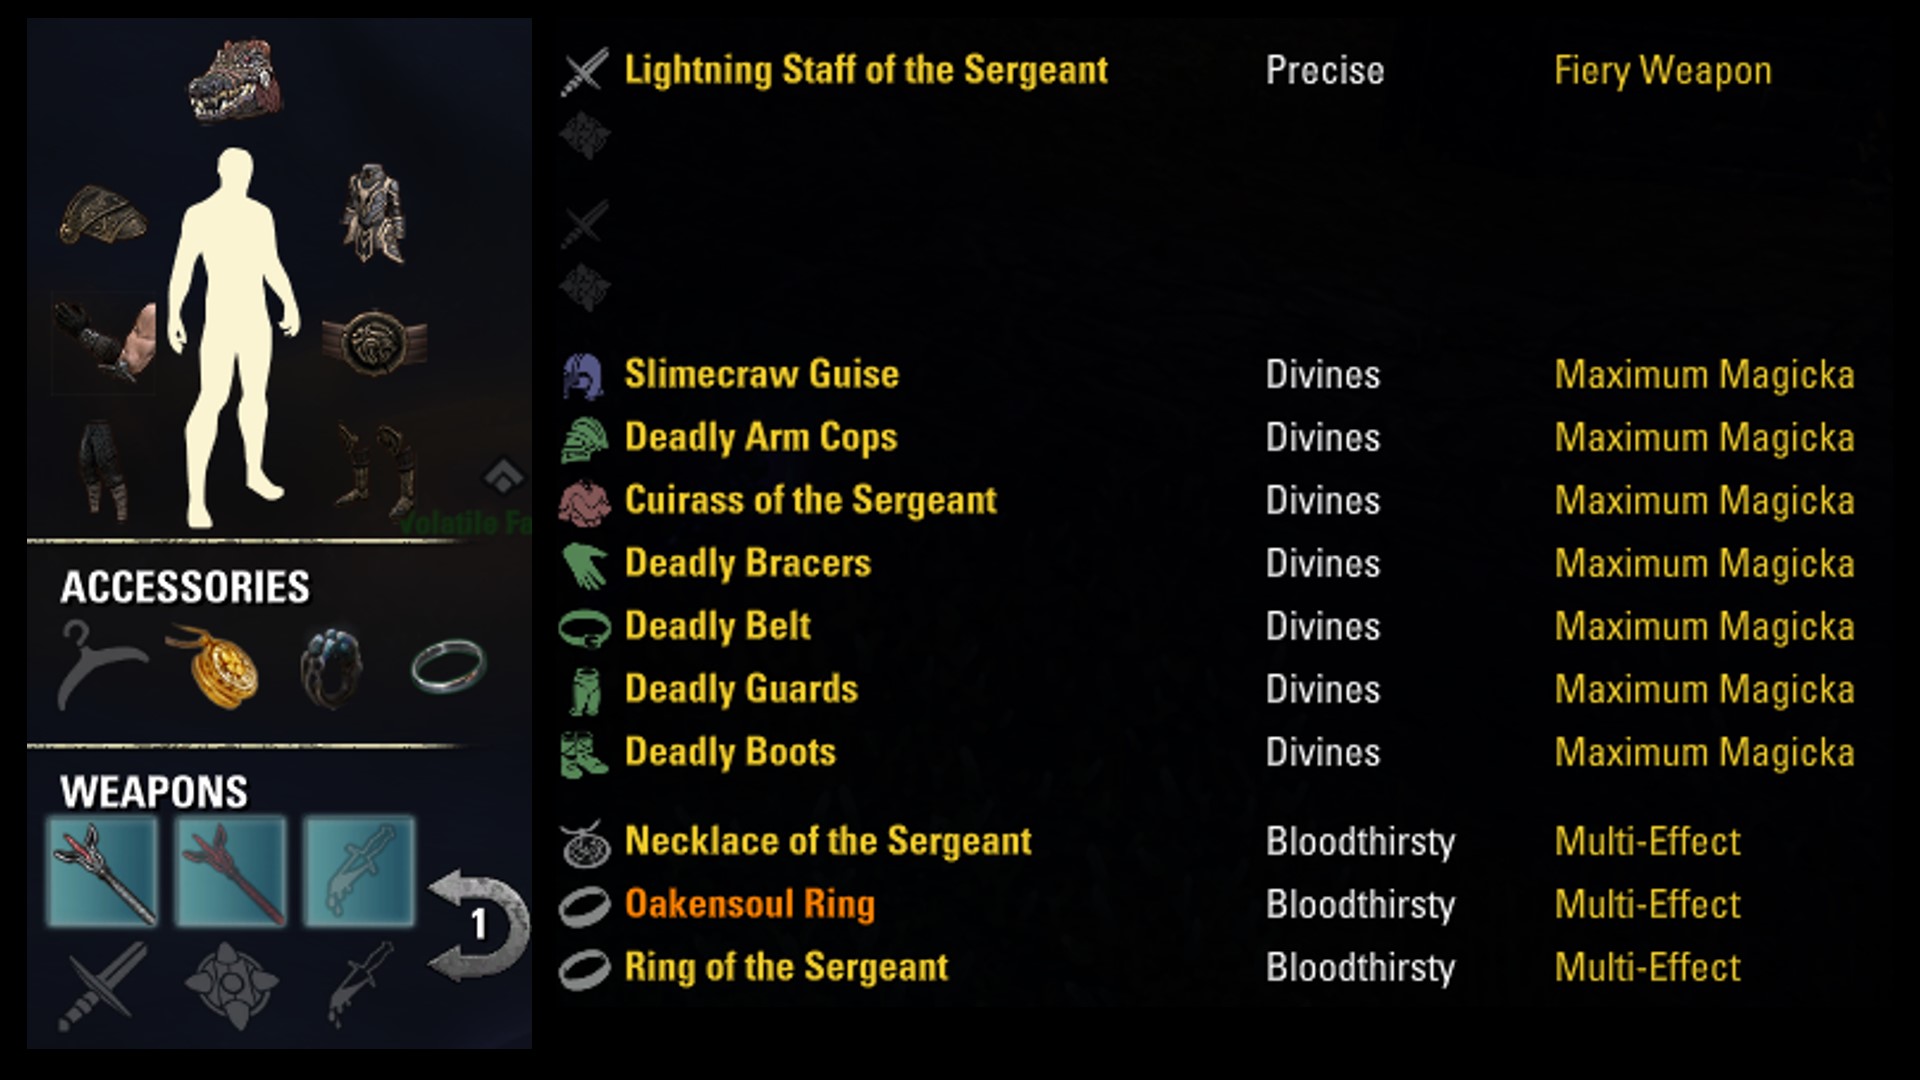
Below are some of the features found using the Oakensoul Heavy Attack builds in the Elder Scrolls Online:
- Weapon: Lighting Staff is used for its heavy attack channel, passives, and off balance.
- Armor Types: 1 Light, 5 Medium, 1 Heavy – medium is preferred because all light usually puts you too far over penetration in content. Medium can get you closer to critical damage cap though, resulting in more damage.
- Race: Dark Elf – best race for a balanced stat pool.
- Set 1: Deadly Strike – increased damage over time and channels.
- Set 2: Sergeant’s Mail – increase heavy attack damage. This is your most impactful heavy attack set and you should always wear Sergeant’s.
- Mythic: Oakensoul ring – provides buffs and damage at the expense of an additional bar.
- Attributes: 64 Magicka – increase magicka to help with shields and casting spells. Lightning heavy attacks also return magicka, giving you better overall sustain.
- Mundus Stone: Thief is best for gaining critical chance, and medium armor increases critical damage.
- Exploiter Champion Point – gives 10% more damage during the off-balance phase.
These builds aim to continually hit fully charged heavy attacks to increase your damage via gear sets. Additionally, you want to proc off balance as often as possible, with 7 seconds of uptime (active) and 15 seconds of downtime. The builds prioritize one or two damage over time effects, Wall of Elements for off-balance proc, and constant fully charged heavy attacks.
With the gear loadout we have provided, which works on every class, you can easily reach 25-27,000 health, 30,000 magicka, and near infinite resource sustain. Moreover, on a 21 million health parse dummy, these fully-charged heavy attacks can see numbers over 90,000 in damage per second! The best and worst one-bar builds on this PvE tier List for ESO either do more damage and have greater survivability or ease of play.
Looking For More About ESO?
Thank you for reading Best One Bar Build for ESO: PvE Tier List Guide. We provide the latest news and create guides for ESO. You can also watch me play games on Twitch or visit my YouTube channel!